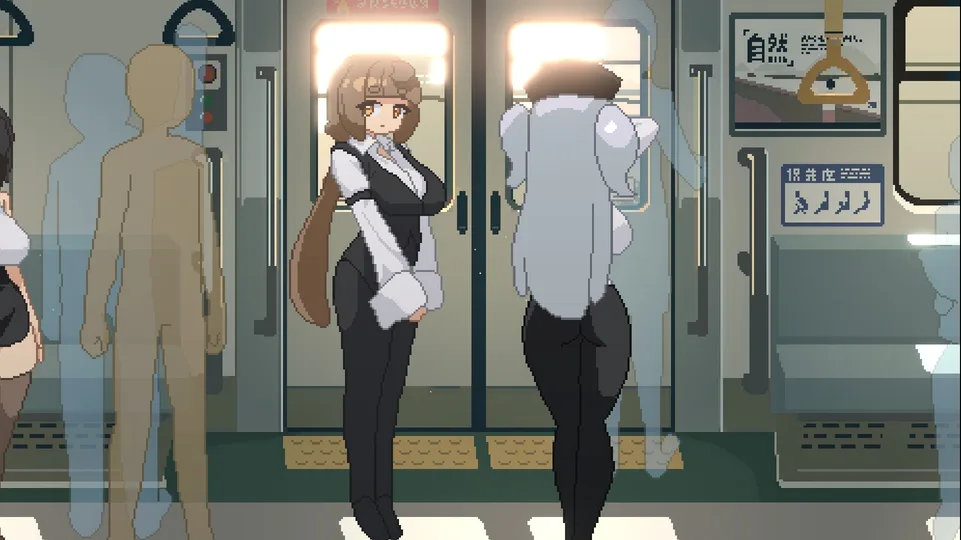
In Train45, items and equipment help me find anomalies faster, farm more tickets, increase affection, and unlock specific terminus routes. In this guide, I explain how I use items, how equipment slots work, and what each shop item does.
All Items, Shop and Equipments
In this Train45 items guide, I list every item with its ticket cost, slot cost, and effect. Some items are used as terminus hints, while others directly help with Sense, ticket farming, partner affection, ghost encounters, or Car Navigation.
How Items Work in Train45
I use items by equipping them before exploration. Each item has a slot cost, so my equipment capacity decides how many useful items I can carry at the same time.
Tickets are easy to farm by exploring with a companion and spending time together when the desire gauge reaches its limit. There are also items that increase ticket gain: one gives tickets after clearing a room, and another rewards me for finding an anomaly quickly.
Some anomalies can also be used for ticket farming, but this requires specific items. For ghosts I use Broken Key, and for the main heroines I use Clogged Lock.
My general setup is simple: I carry two or three ticket farming items, Spare Panties to speed up partner affection, and one item that makes anomaly searching easier.
I also try to clear terminus routes as early as possible, because reaching them increases my equipment capacity and lets me carry more items.
Train45 Items
This table shows the main items, their ticket cost, equipment slot cost, and effect.
| Item | Tickets | Slots | Effect |
|---|---|---|---|
| Padlock | 150 | 0 | A hint for a specific terminus. It seems it can give a lost item. |
| Flyer – Pachinko | 1400 | 0 | A hint for a specific terminus. Mai is interested in it. |
| Torn Fan | 200 | 0 | A hint for a specific terminus. It seems it can give a lost item. |
| Door Repair Notice | 1500 | 0 | A hint for a specific terminus. Mai is interested in it. |
| Validated Ticket | 1500 | 0 | A hint for a specific terminus. It seems it can give a lost item. |
| Lover’s Letter | 1400 | 0 | A hint for a specific terminus. It seems it can give a lost item. |
| Train Inspection Report -3- | 1000 | 0 | A hint for a specific terminus. Mai is interested in it. |
| Dog Collar | 1000 | 0 | A hint for a specific terminus. Reina is interested in it. |
| Groper Warning | 300 | 0 | A hint for a specific terminus. It seems it can give a lost item. |
| Train Inspection Report -2- | 200 | 0 | A hint for a specific terminus. It seems it can give a lost item. |
| Empty Milk Bottle | 1000 | 0 | A hint for a specific terminus. Reina is interested in it. |
| Broken Clock | 1500 | 0 | A hint for a specific terminus. It seems it can give a lost item. |
| Slow Zone Notice | 150 | 0 | A hint for a specific terminus. It seems it can give a lost item. |
| Commemorative Coin | 1200 | 0 | A 10th anniversary coin for Number 45. It opens an unvisited car in navigation. |
| Clogged Lock | 0 | 2 | After a successful Sense, it clears anomalies that appear on the partner. |
| Retro Game Console | 650 | 3 | Speeds up the desire gauge drain during partner H scenes. |
| Broken Key | 0 | 4 | After a successful Sense, it clears some ghosts. |
| Crude Fan | 0 | 6 | Hold the Sense key to pull dropped tickets toward me. |
| Silent Alarm Clock | 530 | 7 | Use Sense successfully within the time limit to get bonus tickets. |
| Unpaired Earphone | 320 | 7 | Expands the Sense radius. |
| Cheap Charm | 390 | 8 | Gives bonus tickets for each successful exploration. |
| Okaboshi 0.00001 | 300 | 8 | Gives an extra chance after a failed exploration. |
| Imitation Breasts | 330 | 8 | Expands the item collection radius. |
| Cute Massager | 340 | 9 | Reduces the time needed for Sense. |
| Spare Panties | 450 | 9 | Gives extra partner affection for each successful exploration. |
| Ancient Record Tablet | 0 | 9 | If already discovered cars appear in a row, the next car changes to one I have not found yet. No route must be set. |
| Love Love Lotion | 320 | 10 | Increases movement speed. |
| Empty Beer Can | 0 | 11 | While equipped, I am immune to ghost interference. |
| Fizzy Cola | 480 | 12 | I keep moving until the cola pops to learn the anomaly location. |
| Dim Red Light | 500 | 13 | Shows the zones where an anomaly may be. If there is no anomaly, it shows a random zone. |
| Coffee-Colored Stockings | 700 | 14 | Divides the anomaly height into upper, middle, and lower. If there is no anomaly, the height is random. |
| Daruma | 1500 | 15 | If there is no anomaly in the car, Daruma appears. |
| Used Lipstick | 1800 | 20 | Shows the anomaly location as five options. If there is no anomaly, all options are random. |
| Copper Bracelet | 0 | 45 | Raises Konial affection after a successful Sense. While equipped, it disables Car Navigation and resets all routes. |
Additional Shop Items
These extra shop items are mainly used for lost item tracking and equipment capacity.
| Item | Tickets | Effect |
|---|---|---|
| Lost Item Location Hint -1- | 1500 | Marks cars with lost items in navigation from cars 1–20. |
| Lost Item Location Hint -2- | 2500 | Marks cars with lost items in navigation from cars 21–40. |
| Lost Item Location Hint -3- | 4000 | Marks cars with lost items in navigation from car 41 onward. |
| Equipment Cost | 500 | Increases the equipment limit. The higher this value is, the more items I can bring with me. |