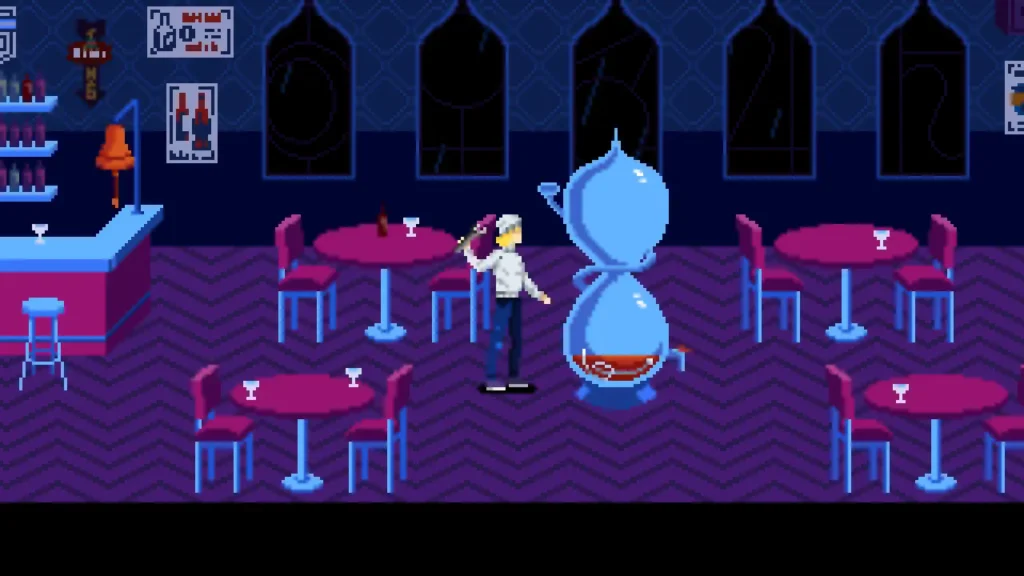
Tenebris Somnia has several boss encounters and puzzles where it is easy to miss an item, interaction, or next step. In this walkthrough, I explain how I handle the harder boss fights and solve the main puzzles throughout the game.
Puzzles Guide and Boss Fight Walkthrough
This guide covers the boss mechanics and puzzle solutions I use while progressing through Tenebris Somnia. There are major spoilers throughout, including late-game puzzle sequences and the route toward the ending.
Boss Fight Tips
1. Obscuratus Candle Fight

When I begin the Obscuratus boss fight, the boss is invisible. I run around the arena and interact with every lit candle. Once all of the candles are extinguished, Obscuratus is revealed and I can damage him.
I have to repeat this process several times during the fight, extinguishing the candles and revealing him again until I have dealt enough damage to defeat him.
2. Fumus and the Red Circles

During the Fumus fight, red circles appear on the ground. What happens when I step on one depends on the weapon I am holding.
- If I am holding a loaded firearm, the character turns the weapon on herself and dies.
- If I am holding a melee weapon, the character hits herself with it and takes damage.
- If I am holding an unloaded firearm, I cannot fire it, but I still have to sit through a long animation.
The strategy I use is to unequip everything before running into the circles. This makes them disappear immediately and clears some of the hazards from the arena.
3. Breaking Enemy Grapples

Some enemies and bosses can grab me and lock me into a grapple. These attacks are dangerous if I do not react quickly.
During the Vitria boss fight, for example, Vitria can grab Julia by the throat with a tentacle and slowly pull her closer until she can be killed instantly. Relicta ghosts can also grab me and drain my health while attached.
Whenever I am caught in one of these grapples, I rapidly press the interact button until I break free.
4. Sanguis Beast Form
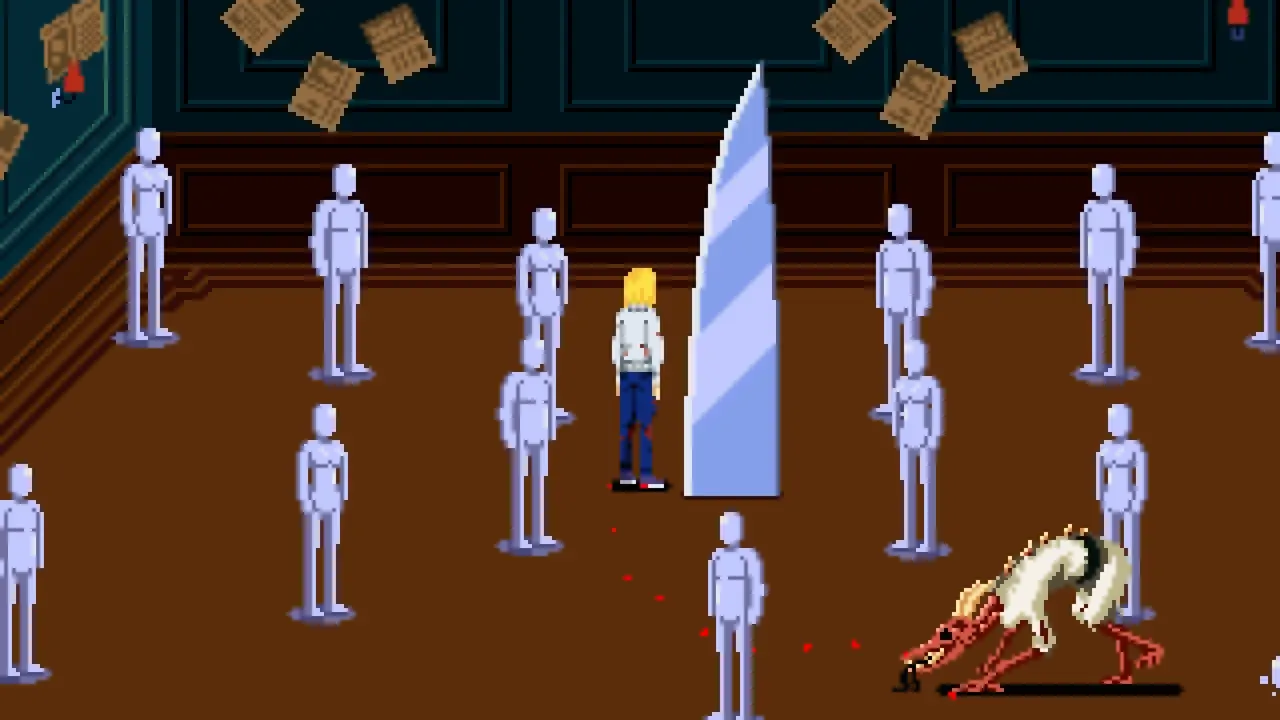
To defeat Sanguis in Beast Form, I lure him toward the giant knife near the end of the chase sequence.
I can either time his pounce so that he lands over the knife or position him directly above it. When done correctly, the knife impales Sanguis and ends the fight, allowing me to continue to the next area.
5. Studio Lights in Sulfur Fight

During the Sulfur statue fights, I can see glowing studio lights around the arena. If too many enemies begin to overwhelm me or the Sulfur statue, I run to one of these lights and break it with either a firearm or melee weapon.
Breaking a studio light instantly kills all enemies currently on screen. I can also break these lights whenever I encounter them elsewhere in the game.
Puzzle Guide
1. Door Puzzle in Ivan’s Apartment

- I enter the bathroom through the blue door beside the Devora poster and pick up the Wrench.
- I go to the kitchen through the grey door to the right of the bathroom and collect the Developing Chemical.
- I enter Ivan’s bedroom using the door to the right of the TV.
- Inside the bedroom, I equip the Wrench and attack the boarded window on the right side of the room.
- Once the bottom board falls and sunlight enters the room, I go to the opposite side and collect the Glass from the nightstand.
- I return to the bathroom, stand in front of the broken mirror, open my inventory, and use the Glass. This gives me Glass with Blood.
- I combine the Glass with Blood and Developing Chemical to create Glass with Chemical and Blood.
- I return to the bedroom and use the Glass with Chemical and Blood beside the window I opened earlier. This gives me Auritsatio.
- Finally, I return to the locked Study Door and use Auritsatio to unlock it.
2. TV Remote Puzzle

- I inspect the clothes rack in Ivan’s office on Floor 2, beside the laptop desk, and collect the Glove.
- I return to the kitchen, stand beside the circuit breaker on the left, and use the Glove.
- After the power goes out and the washing machine stops, I collect the first Battery.
- I go back to the bathroom and interact with the tub curtain to reveal the second Battery.
- I leave the apartment, take the elevator to Floor 3, and return to the earlier version of Ivan’s apartment.
- In Ivan’s office, I stand beside the TV remote on the desk and use both Batteries.
- I return to the Floor 2 apartment. The TV now displays a sequence of symbols instead of static. I quickly press the matching floor symbols to unlock the door to the right of the TV.
Note: This puzzle is randomized, so the symbol order can change between playthroughs.
3. Key Stuck in Door Puzzle

- After speaking with Sanguis, I collect the blue Triangular Stone from the candle arena. It is to the right of the red candle.
- I return to the main apartment area and make sure I have both the Scissor Blade and X-Ray.
- I can find the Scissor Blade on the kitchen counter and the X-Ray on the short bookshelf directly below the apartment’s front door, between a picture frame and a lamp.
- I leave the apartment and head toward the green Floor 2 elevator. At the blue symbol door, I use the Triangular Stone.
- Inside, I go to the leftmost door marked A.S., where a red carpet sticks out underneath it. I use the Scissor Blade first and then the X-Ray to obtain the A.S. Key.
4. Poster Cutouts and Devora Picture Puzzle

- I enter the director’s office, interact with the desk, and collect the second Scissor Blade. I combine both Scissor Blades to make Scissors.
- I leave the office and look for poster cutouts in the hallway that appear out of place. I stand in front of each one and use the Scissors to obtain a Cardboard Piece.
- I collect all six Cardboard Pieces from the hallway and return to the director’s office.
- At the ripped poster in the back-left corner of the office, I use one Cardboard Piece to begin the next part of the puzzle.
- I reconstruct the Devora poster using all six Cardboard Pieces.
- Once the poster is complete, I use the Lighter on it. The poster burns and I receive the Bathroom Key.
- I leave the director’s office and enter the bathroom directly to the left of its door.
- Inside the bathroom, I collect the Mop Handle because it is needed later.
5. Where to Use the Mop Handle

- I return to the Floor 2 apartment and go back to the area where I met Sanguis and collected the Triangular Stone.
- In the candle arena, I stand beside the square on the wall near the windows.
- I open my inventory and use the Mop Handle, then prepare for the fight that follows.
6. Glass Liquid Sound Puzzle

- I go to the symbol door just left of the Floor 3 elevator and use the blue Triangular Stone.
- Once outside, I head left, collect the first Bottle, and enter the bar.
- Inside the bar, I collect another Bottle from the table, one from behind the bar, and one from the bathroom.
- I return to the counter and ring the bell, paying attention to its tone.
- At the large glass pitcher, I use Bottles to add liquid. Each Bottle changes the pitch. I hit the pitcher with the Wrench to hear its current tone and use empty Bottles when I need to remove liquid.
- Once the pitcher matches the bell’s tone, I return to the bell and ring it again. The glass shatters and I can collect the USB Cable.
Note: This puzzle is randomized, so the required Bottle order may be different in each playthrough.
7. Projector Room Puzzle

- I take the elevator to the 1st Floor and head right to Door 6.
- I walk to the far-right side of the room and enter through the doorway where light is shining through.
- In the dining room, I use the third door on the right.
- I climb the staircase to the top and collect the USB Adapter from the floor near the boarded door.
- I combine the USB Cable with the USB Adapter to create the USB Charger.
- I return to Ivan’s apartment on Floor 3 and enter the purple door to the left of the broken TV.
- On the right side of the room, I stand beside the wall outlet and Ivan’s phone and use the USB Charger. This gives me the projector room code.
- I return to the 1st Floor, go left to Door A, and enter the code to unlock the door. If I forget the code, I can check the Old Book in my inventory.
8. Dinner Plate Puzzle and Green Square Stone Sequence

- I go to the projector room and use the Devora 1 Film Canister on the projector. If I do not have it yet, I can find it inside the chest on the left side of Ivan’s Floor 2 office.
- I head downstairs to the room where the projector door was unlocked and enter the theater through the double doors at the top of the screen.
- The leftmost box in the theater is now open, so I collect the Plate with X.
- I return toward the 1st Floor elevator, enter Door 6, move to the right side of the room, and go through the lit doorway.
- In the dining room, I use the third door on the right.
- I climb the stairs to the first door, enter, go left, and collect the Black Tape from the counter.
- I return to the dining room and use the Black Tape on the upper-left plate. I then place the Plate with X in the empty space beneath it. This unlocks the central double doors.
- I enter through the double doors and collect the green Square Stone.
- I return to Ivan’s Floor 3 apartment, go all the way right to the green symbol door, and use the Square Stone. Inside, I collect the White Candle from the dresser on the left.
9. Electrical Current Puzzle Room

- In the film school, I enter the green door leading to the electrical puzzle room.
- I interact with the bottom-left electrical switch and wait until the gate rises completely.
- I activate the bottom-left switch again and quickly cross the room to reach the bottom-right switch before the gate lowers. I watch the cables because they glow when electrified.
- After using the bottom-right switch, the box at the top opens. I collect the Piece of Cable and move to the upper-left switch.
- At the upper-left switch, I use the Piece of Cable and then interact with the switch so it is in the upward position.
- I return to the bottom-left switch and activate it again. The statue in the center collapses and I collect the RCA Cable from where it stood.
- I return to the cinematography room downstairs and use the RCA Cable on the camera.
10. Cinematography Class Puzzles
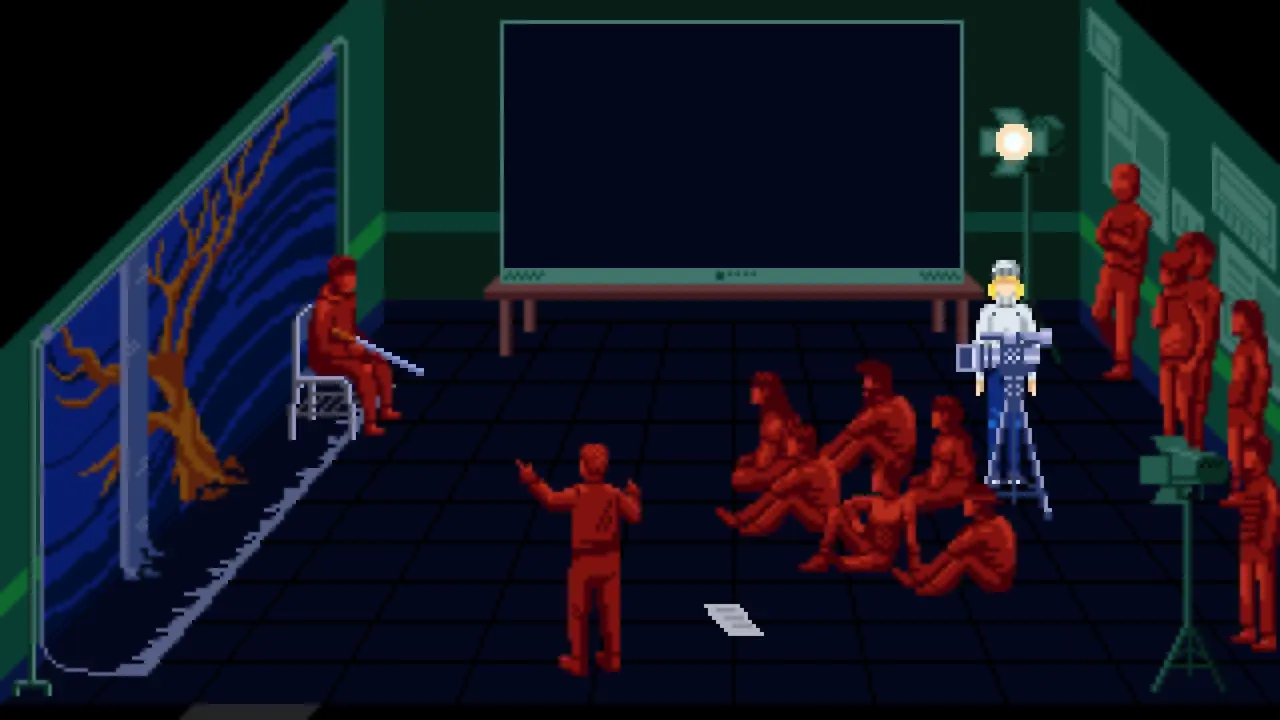
- I first make sure the RCA Cable has been used on the camera.
- I repeatedly interact with the camera until the outline of a female figure appears on the wall.
- I stand inside the outline and match the pose to fill the empty space.
- I return to the camera and change the scene until the green door appears on the camera feed.
- I hit the glass window that the female figure is pushing against with a melee weapon until it breaks.
- I continue changing the camera view until a bird appears. I keep interacting until it lands on a tree branch with a green Copper Seed in its beak.
- I approach the bird and collect the Copper Seed.
- I go to the first floor and head all the way left until I find a green vase.
- I use the Copper Seed on the vase to grow Flowers.
- I collect the Flowers and return to the cinematography class.
- I use the Flowers on the female figure.
- I return to the camera and continue changing the scene until the female figure crumbles and the male statue in the chair kills himself.
- After the male statue falls from the chair, I collect the green Copper Key from the seat.
- I use the Copper Key on the green door and enter.
11. TV Room
- After completing the Cinematography Class puzzles, I use the Copper Key on the green door and enter the TV Room.
- I immediately move north through the darkness while repeatedly pressing the interact button.
- I gradually activate TVs around the room, which slowly illuminates the area.
- I stay alert because a Vorax enemy appears and ambushes me while I am activating the TVs.
- Once the entire room is illuminated, the color pattern shown on the TVs is recorded in the Old Book.
- I collect the Black Candle from the desk and leave the room.
- I combine the Black Candle with the Lighter in my inventory to light it.
12. Elevator Puzzle

- After getting the Black Candle from the TV Room, I combine it with the Lighter.
- I take the lit Black Candle into the elevator and use it while standing inside.
- The candle is placed inside the elevator and the puzzle begins.
- I check the Old Book for the color sequence I need to follow.
- I read the sequence from top to bottom and travel to the floors matching those colors.
- The floor colors are: Floor 3 is blue, Floor 2 is green, Floor 1 is red, and the Ground Floor is white.
- I visit the floors in the order shown in my Old Book. As I enter the correct sequence, the elevator becomes increasingly corrupted until Floor -1 appears on the panel. I select -1 to continue.
Note: The color pattern is randomized for each playthrough.
13. Second Film Canister and Cow Skull

- After solving the elevator puzzle, I arrive on Floor -1 in the lowest part of Ivan’s memories.
- I move through the corridors, heading right whenever possible. After breaking both glass windows and moving the obelisks, I eventually reach a door leading into Ivan’s childhood room.
- I collect the Film Canister beside the Ivan statue.
- I retrace my route back to the elevator.
- The elevator automatically rises and stops on the Ground Floor of the apartment building.
- I use the elevator again, travel to the 1st Floor, and return to the projector room.
- I use the second Film Canister on the projector. This opens the second metal box in the theater.
- I go downstairs to the theater and collect the Cow Skull from the opened box.
- I return to the elevator hallway, enter the dining room, and take the far-right door into the staircase.
- I enter the first door I encounter while climbing the stairs.
- I go all the way left through the hallway and use the Cow Skull on the white door.
14. Cursed Film Canister

- I enter the film school and go to the first floor.
- I walk all the way left through the hallway until I reach a blue door.
- I enter the room and interact with the Film Canister on the table.
- After being teleported to the film studio lobby, I return to the film school and interact with the Film Canister again.
- After the second teleport, I return to the film studio lobby and find Sanguis sitting beside one of the statues.
- I speak with Sanguis and exhaust all of his dialogue options to receive key items and continue the story.
15. Silver Key Guide

- After interacting with the Cursed Film Canister twice, I arrive in the film studio lobby where Sanguis is waiting.
- I finish his initial dialogue and then repeatedly choose the SPELL dialogue option until he writes information in the Old Book and gives me the Silver Key.
- I go to the bathroom in the Floor 2 apartment and use the Silver Key on the locked cabinet beside the sink. Inside, I obtain the Silver Bottle.
- I then use the Silver Bottle on three save points.
- The route I follow is: Floor 2 apartment bedroom save point, Floor 3 apartment office save point, then the Floor 2 director’s office save point.
- After using all three save points, the Silver Bottle contains three doses of water.
16. Red Pentacle Stone and the Purified Water
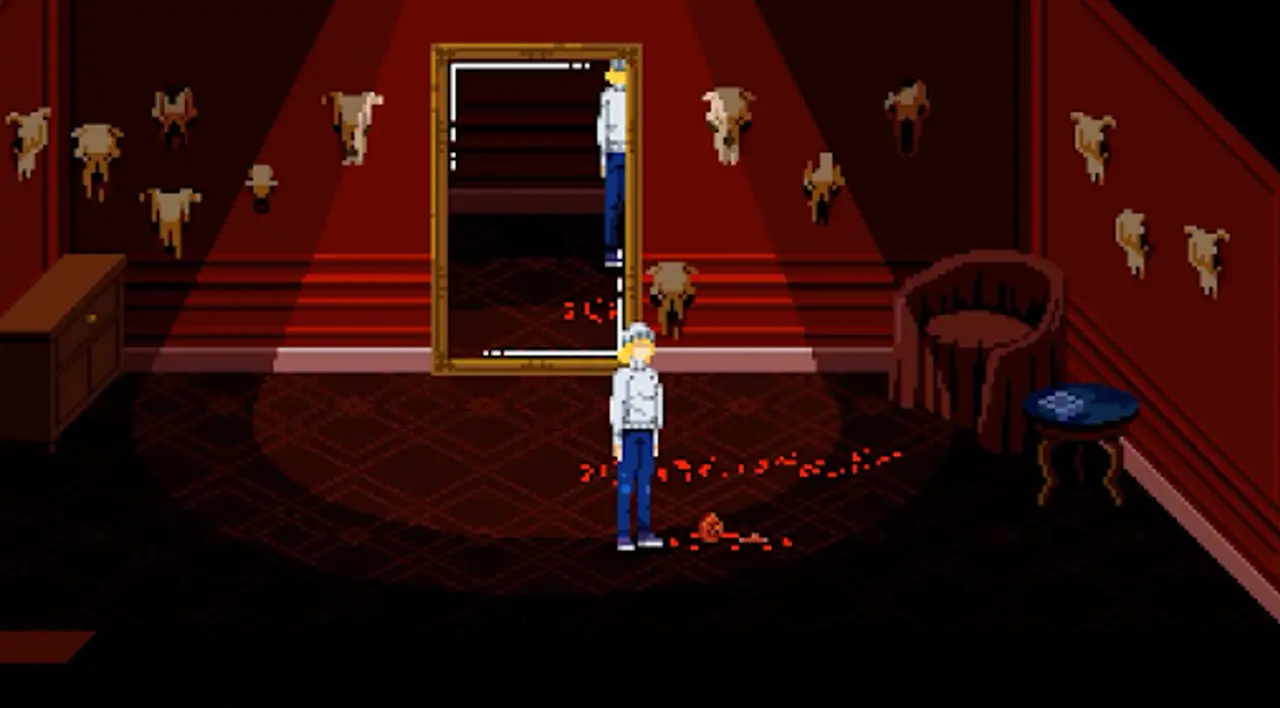
- After defeating Fumus, I collect the red Pentacle Stone dropped on the ground.
- I return to Ivan’s apartment on the third floor.
- I use the red Pentacle Stone on the bathroom door. Since I need this location again later, I can also collect the Chemicals from the table to the south now.
- I return to the second floor and enter the film studio lobby through the door on the far left.
- I use the Pentacle Stone on the white door with the red symbol. If I already used it on Ivan’s bathroom door, the stone crumbles after this use.
- Inside the hotel room, I finish the dialogue and approach the window beside the Julia statue.
- I use the Bottle With Three Doses of Water at the window, purifying it with moonlight.
- I return to the first floor of the film school and enter the room containing the Cursed Film Canister.
- I use the Purified Water on the Cursed Film Canister.
- After cleansing it, I receive the third and final Film Canister.
17. Chisel Guide
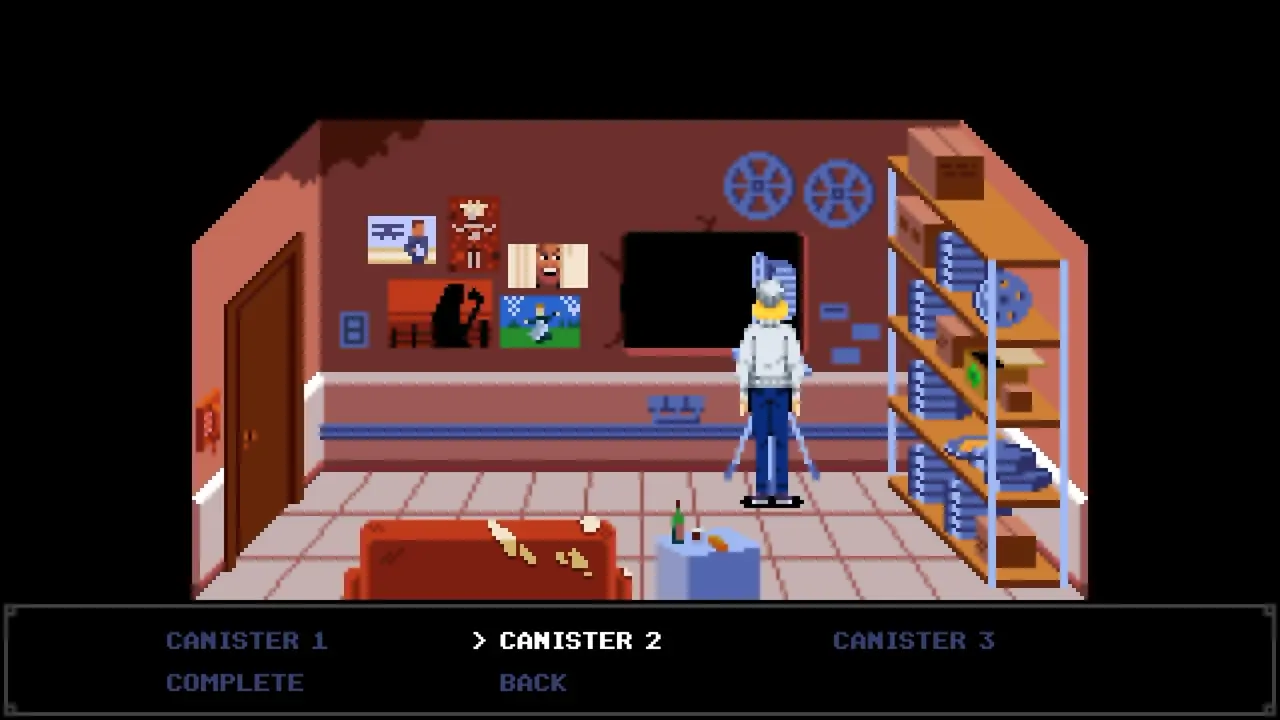
- I return to the projector room and either watch the complete movie or only Canister 3. Either option unlocks the final box in the theater.
- After the cutscene, I go to the theater and collect the Cold Chisel from the newly opened box.
- I return to the apartment hallway and enter the dining room.
- I use the far-right dining room door to reach the staircase.
- At the top of the staircase, I use the Cold Chisel on the boarded door.
- I attack the boards with a melee weapon until they come off.
- Once the doorway is clear, I can continue into the next area.
18. Light Bulb Puzzle
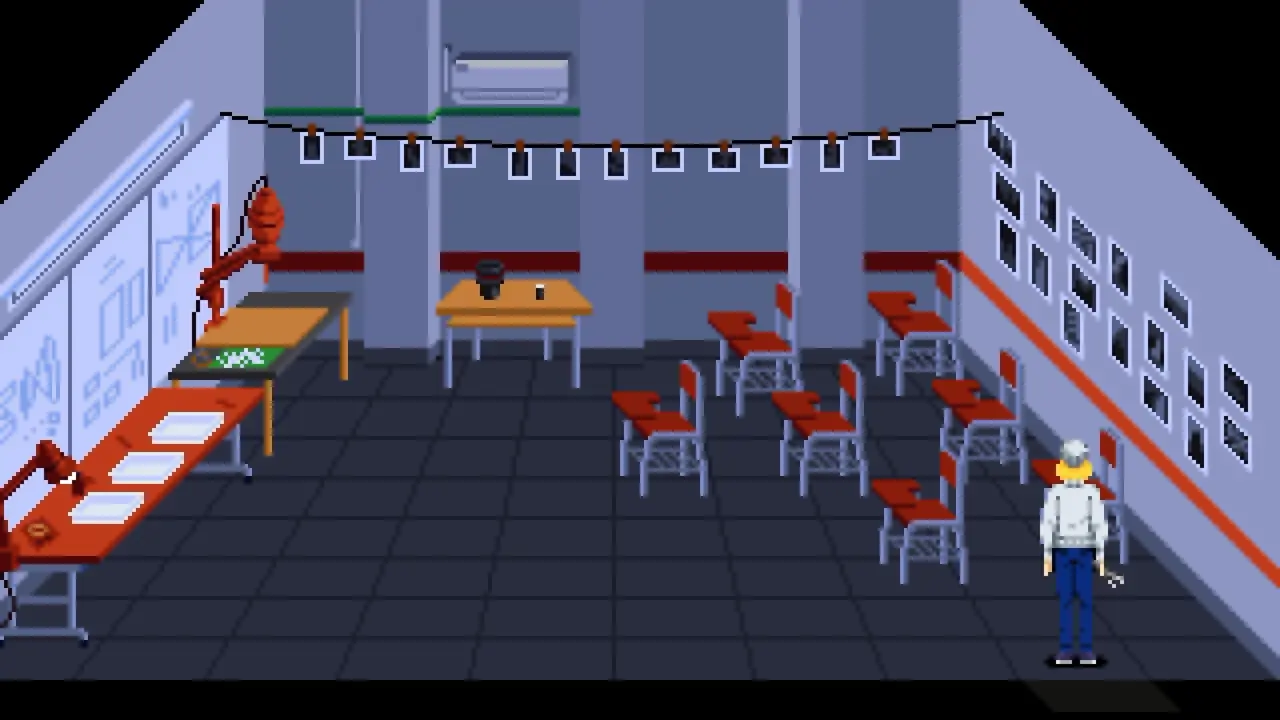
- I go to the first floor of the Film School and enter the photo developing room.
- I interact with the lamp in the left corner to obtain the Lightbulb.
- I return to the dining room on the first floor of the apartment building.
- I enter the staircase using the rightmost door in the dining room.
- I climb to the top floor and enter through the door. If it is still boarded, I use the Cold Chisel and then break the boards with a melee weapon.
- I move all the way right and push the bookcase aside.
- In the next room, I use the Lightbulb on the bloody table to obtain the Red Lightbulb.
- When I leave the room, a cutscene plays followed by an ambush.
- After surviving the ambush, I can return to the Film School photo developing room and use the Red Lightbulb on the lamp.
19. Photo Development Puzzle

- I make sure to collect the Photo Roll from the floor of the theater lobby on the 1st Floor of the apartment building.
- I go to Ivan’s Floor 3 apartment and enter the bathroom.
- If the bathroom is still locked, I use the red Pentacle Stone. Inside, I collect the Chemicals from the table to the south.
- I return to the Film School and enter the photo developing room on the first floor.
- I use the Red Lightbulb on the lamp.
- I use the Chemicals on the trays directly above the lamp.
- At the northernmost center table, I use the Photo Roll.
- I move left and use the Negative on the table.
- I then use the Photo Paper to create the Printed Photo.
- I return to the chemical trays and use the Printed Photo on them, triggering a cutscene.
- After the cutscene, I receive the Photo.
- I leave the Film School and return to Ivan’s bedroom on Floor 3.
- I use the Photo on the table with the picture frame to unlock the drawer.
- I interact with the table again and collect the Hexagonal Stone from the drawer.
- I return to the Film School and go to the second floor, where Sanguis is lying against the wall. After finishing his dialogue, I use the Hexagonal Stone on the locked symbol door to continue.
20. Desiderium – Film School

- I enter the TV Room on the first floor and activate the TVs in the dark room.
- Once the TVs are on, I collect the Blue RCA Cable from the table.
- I leave the room, run along the hallway, and enter the blue door.
- I collect the Black Lightbulb from the desk and return to the first floor.
- In the photo developing room, I use the Black Lightbulb on the lamp in the left corner. The game’s colors invert and the Blue RCA Cable becomes yellow.
- I return to the ground floor and enter the film production room.
- I use the Yellow RCA Cable on the camera, then interact with the rope to move to the next area.
- I activate the lever in the bottom-left corner and wait for the gate to rise completely. I activate the lever again to turn off the electrical current, then move safely to the box and interact with it.
- I return to the first floor and enter the room that originally contained the Cursed Film Canister. I break the glass and use the Apartment Key on the purified water.
- I return to the ground floor and enter the room where I originally collected the Black Lightbulb. I interact with the Julia statue among the statues surrounding the table and receive the Red Candle. I combine it with the Lighter.
- I return to the ground floor apartment lobby and take the door to the right of the elevator into the stairwell.
- I use the lit Red Candle on the wall marked with the red symbol.
21. Desiderium – Fly Puzzle
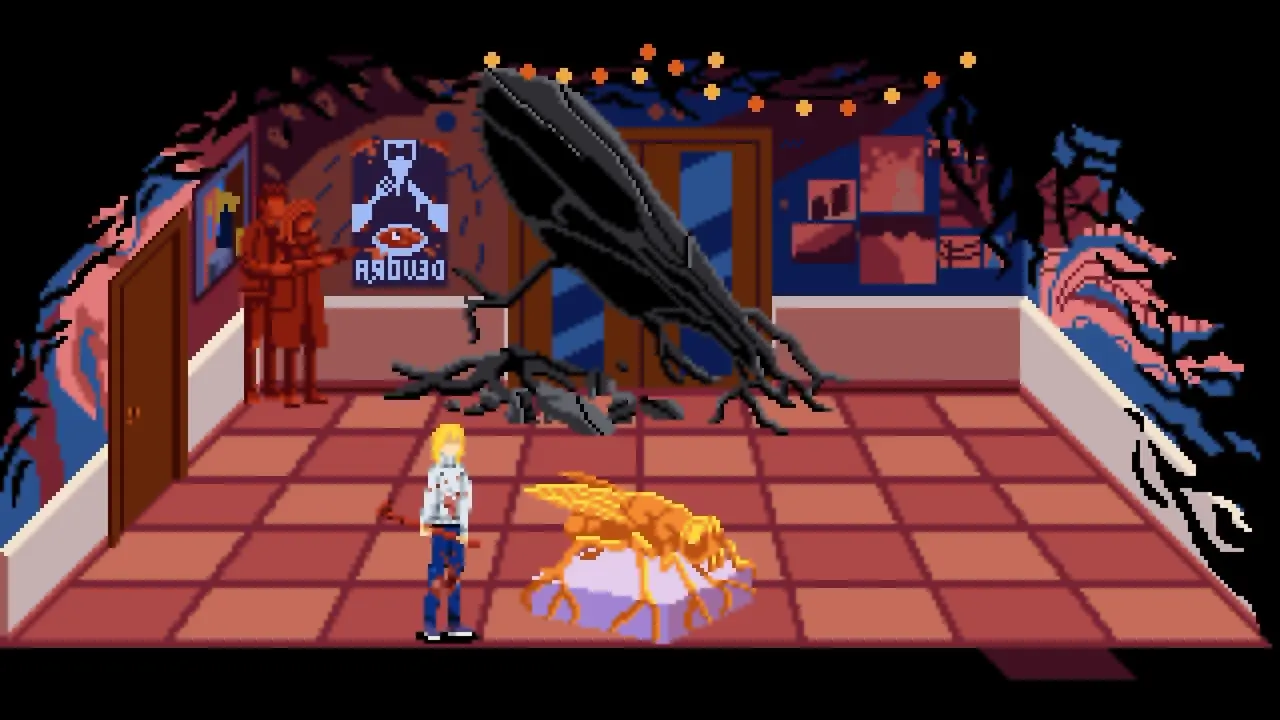
- After breaking the first fly statue, I memorize the exact floor tile pattern I followed in the previous room.
- In the next room, I follow that same tile pattern from beginning to end.
- As I step on correct tiles, the statue becomes progressively more golden. If I step on the wrong tile, I return to the beginning and try the pattern again.
- When I reach the final correct tile, the fly statue becomes gold and can be broken. Destroying it breaks the final fly wing and unlocks the door to the theater room.
- Inside the theater, I collect the Lead Fly from the Julia statue sitting near the center of the room.
- I return to the apartment hallway and use the Lead Fly on the locked door marked with the fly insignia.
Note: The floor tile pattern is randomized for each playthrough.
22. Desiderium – Tin Key and Green Candle Puzzle

- After the final Carnito fight, I leave the room and collect the Tin Key hanging on the wire.
- I use the Tin Key on the locked door and return to the hallway.
- I go to the theater room above the location where I destroyed the giant fly statue.
- I use the Tin Key on the box in the middle of the room and collect the Green Candle.
- I combine the Green Candle with the Lighter.
- I return to the stairwell and climb the stairs until I reach the green icon on the wall.
- I use the lit Green Candle on the wall, opening access to the second and third floors of the apartment building.
23. Desiderium – Apartment Rooms
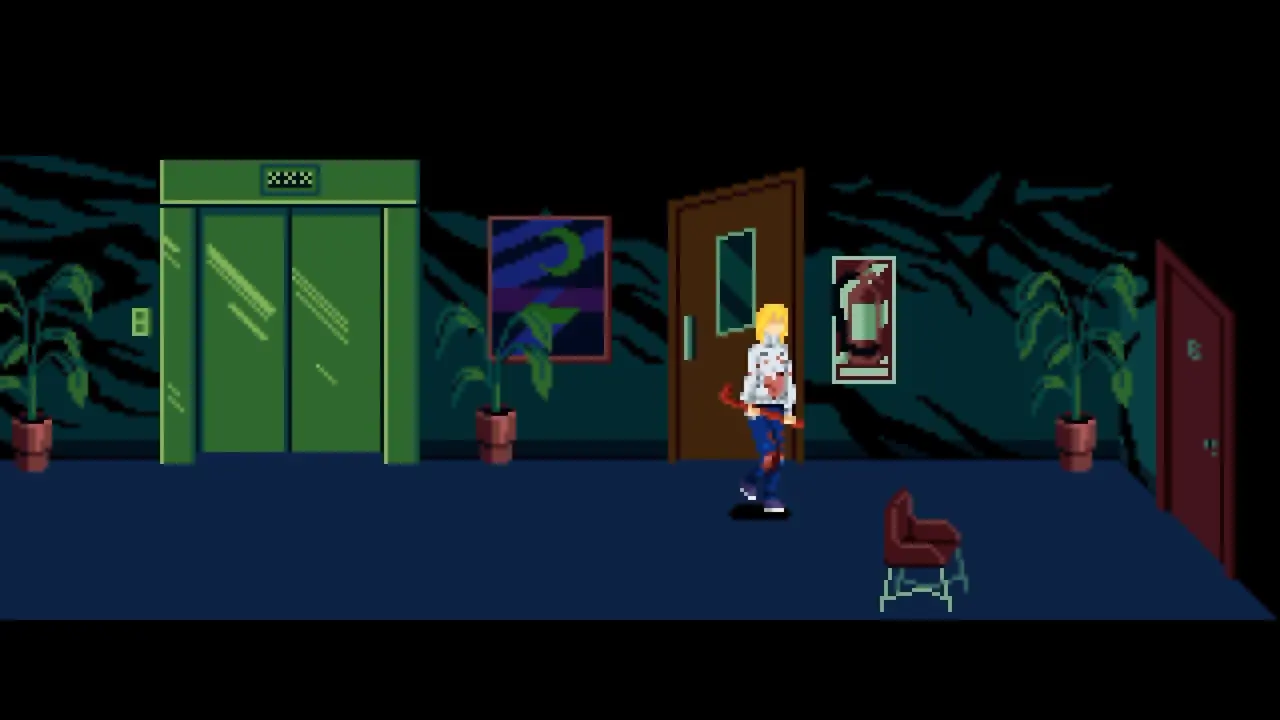
- I go to the second floor of the apartment building and enter Ivan’s apartment.
- I enter the bathroom and interact with the faucet. After leaving the bathroom, I interact with the Ivan statue holding the knife in the living room. I make sure to do both because they are important later.
- I enter the bedroom and collect the Glass Box from the table beside the bed.
- I enter the office and interact with the clothes rack to obtain the Photographs.
- I leave the apartment and break through the flooded stairwell wall with a melee attack. I enter the bathroom through the hole and interact with the shower curtain to reveal a route into the kitchen.
- I return to the stairwell and go to the third-floor apartment.
- In the office, I interact with the plant vase on the table and collect the Glass Vase.
- I combine the Glass Vase with the Film Canisters in my inventory.
- I inspect the poems on the wall marked with Roman numerals. After reading each poem, I use the Photographs on the Roman numeral wall and select the photograph matching each poem.
- After solving the poem puzzle, I return to the second-floor kitchen.
- I use the VASE FILLED WITH CHEMICALS AND BLOOD on the oven and then use the Lighter on the oven to burn the vase’s contents. I collect the Circular Plate from the table afterward.
- I go to the office on the same floor and collect the Julia Figure. I use the Circular Plate on the chest in the corner to obtain the VHS Tape, then combine the Glass Box with the Julia Figure.
- I return to the third-floor living room and use the VHS Tape on the TV. I fight the enemy waves that can only be seen on the TV screen. After defeating them, I collect the Ivan Figure from the TV screen and combine it with the Glass Box.
- I return to the second-floor hallway, enter the blue door on the far left, and go left through the A.S. door until I reach a statue with a hole in its chest.
- I use the Glass Box on the statue. Once the statue turns gold, I break it.
- I continue left until I reach the studio light and use the VASE FILLED WITH CHEMICALS AND BLOOD on it to obtain the Auritsatio mixture.
- I return to the Ivan statue in the second-floor living room and use Auritsatio on it to receive the Lapis Fictus Knife.
24. Desiderium – Poem Outcomes
The first poem determines which four photographs I need to place for the puzzle. I match the opening of the poem with the corresponding photographs below.
He nestles in her hand…
- Hand with Ring
- Ear with Earring
- Shiny Dress
- Pearls Necklace
You’re dead…
- Cross Necklace
- Feet
- Sunglasses
- Black Veil
I’m dreaming…
- Mouth with Lipstick
- Sunglasses
- Ear with Earring
- Black Dress
Adorned with the blue of silver…
- Feet
- Shiny Dress
- Closed Eyes with Big Eyelashes
- Black Glove
25. Desiderium – Aurifer Knife

- After obtaining the Lapis Fictus Knife from the Ivan statue, I leave the apartment and return to the stairway.
- I reach the kitchen again through the bathroom.
- I use the Lapis Fictus Knife on the kitchen fusebox to obtain the Melanosis Knife.
- I return to the apartment hallway, interact with the elevator door, and use the ladder to climb down.
- At the bottom of the elevator shaft, a cutscene plays. When it ends, I run from the group of Relicta ghosts.
- I sprint left, continue down the hallway, and enter the door on the right.
- Inside, I move all the way right and enter another door.
- I use the Melanosis Knife on the mercury puddle to obtain the Virdis Knife. I then interact with the statues on the bed and the hole in the wall below the health potion.
- After interacting with the hole, the TV drops the Lead Key. I collect it, interact with the hole again to leave, and climb the stairs back to the Ground Floor.
- I enter the stairway, return to the second floor, go all the way left into the Studio Lobby, and use the Lead Key on the symbol door.
- Beyond the Lead Key door, I continue north through every door until I reach the locked Hotel door. I use the Virdis Knife on it to trigger a cutscene, after which I receive the Aurifer Knife.
26. Desiderium – Finale Route

At this point, I can determine which ending I receive based on what I do with the Aurifer Knife.
- Bad Ending: I kill at least one Relicta ghost with the Aurifer Knife.
- Good Ending: I reach the end without killing any of the Relicta ghosts.
If I have a save at this point, I can reload it to take the other route.
- After deciding which ending I want, I continue downward through the Hotel doors until I return to the Studio Lobby.
- I leave the Studio Lobby and return to the apartment building hallway.
- I use the far-right door to enter the apartment stairway.
- I run all the way up to the third floor and enter the apartment hallway.
- I head all the way left and enter the door with water leaking from underneath it.
- Outside, I move left along the street until I reach the SEPTIMO ARTE building guarded by multiple Relicta ghosts.
- Once I enter the Septimo Arte building, I reach the final area of the game and approach one of the final boss encounters.