In this Goblin Cleanup secret areas guide, I show the hidden areas, fake walls, buttons, levers, hidden notes, and achievement-related paths I found across the Dark Tower maps.
Dark Tower Secrets Guide
I wrote this guide to make each Dark Tower secret easier to follow. I go through every area in order and explain where I look, what I interact with, and which hidden paths I use.
Table of Contents
Dark Tower – The Entrance
None
I have not found any secret areas here yet.
Dark Tower – The Library
Silence Room – Fake Wall
After I enter the area behind the golden door that requires a key, I reach a Fire Blades trap. From there, I walk through the wall inside the left archway.
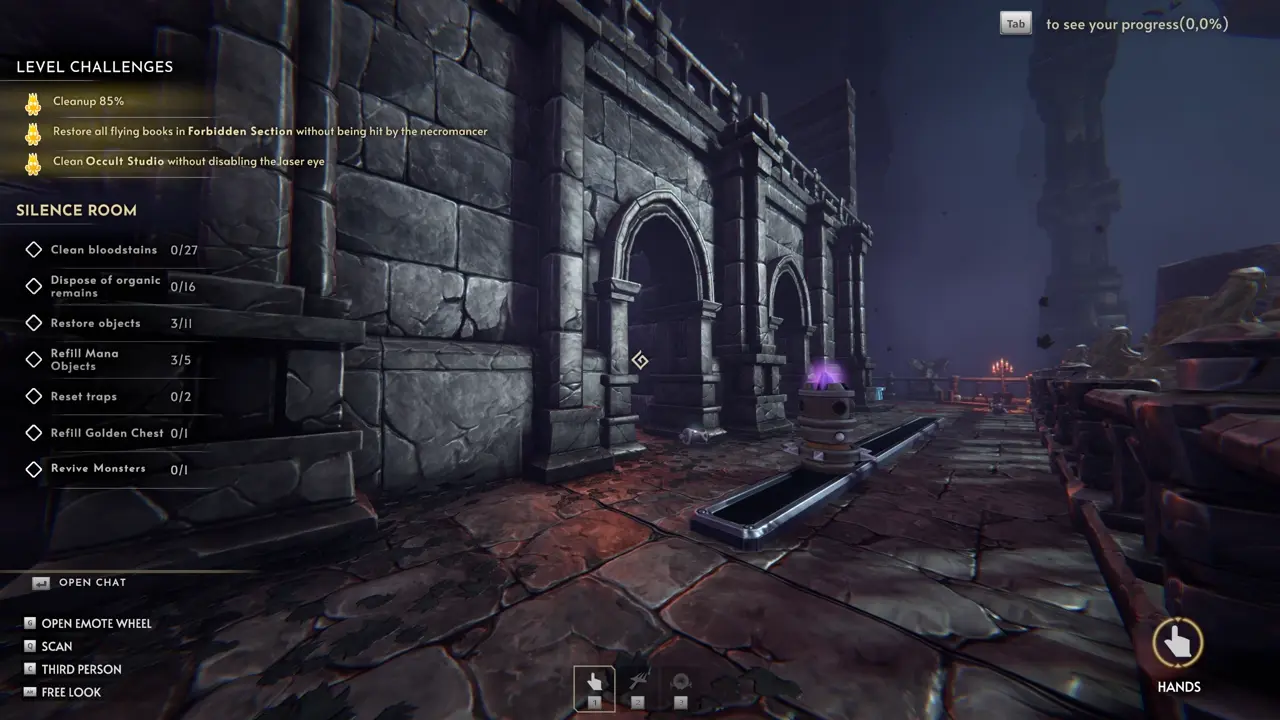
Silence Room – Forgot The Lockpick Achievement
To reach the other side of the map without using the key on the golden door, I wake up the Necromancer by running or jumping. Then I let him hit me, which teleports me to a random spawn point on the map.
If I do not land on the other side of the golden door, I repeat the same process.
Dark Tower – The Prison
None
I have not found any secret areas here yet.
Dark Tower – The Botanical
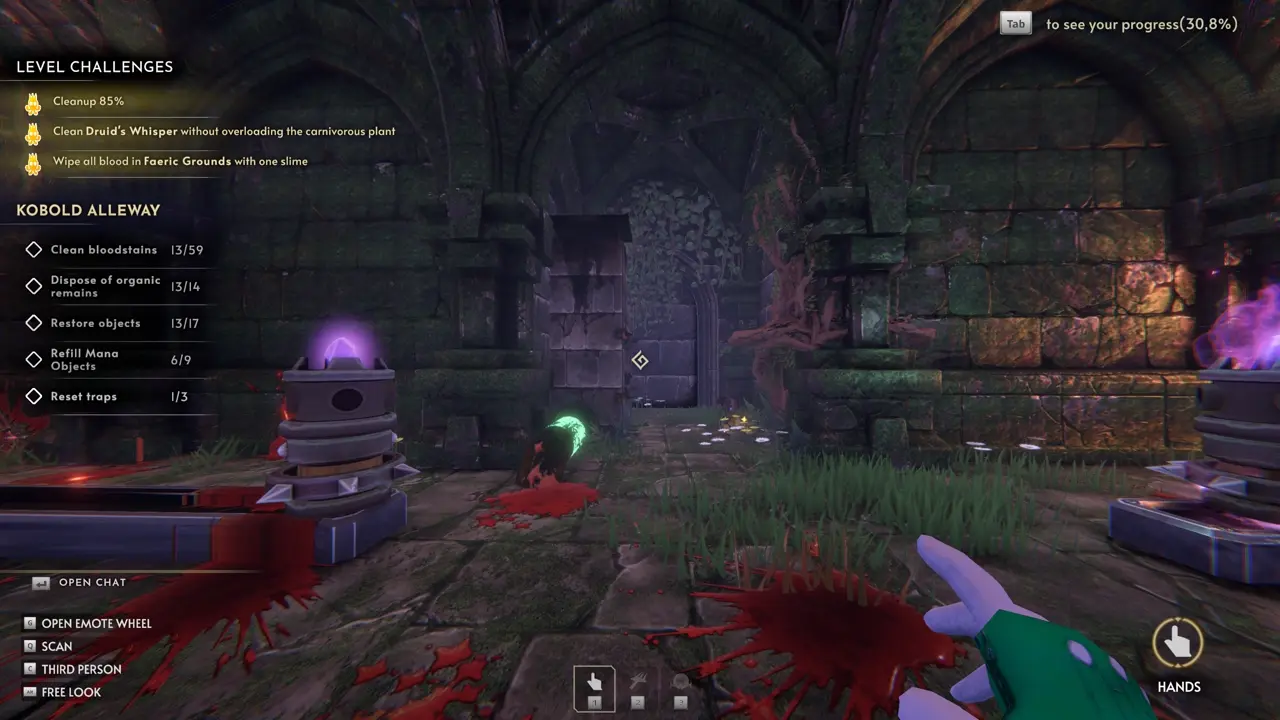
Kobold Alleyway – Button
Near the end of this level, I reach a section with many Spike Ball traps. I go into the darker area and find a button next to the fireplace pipe.
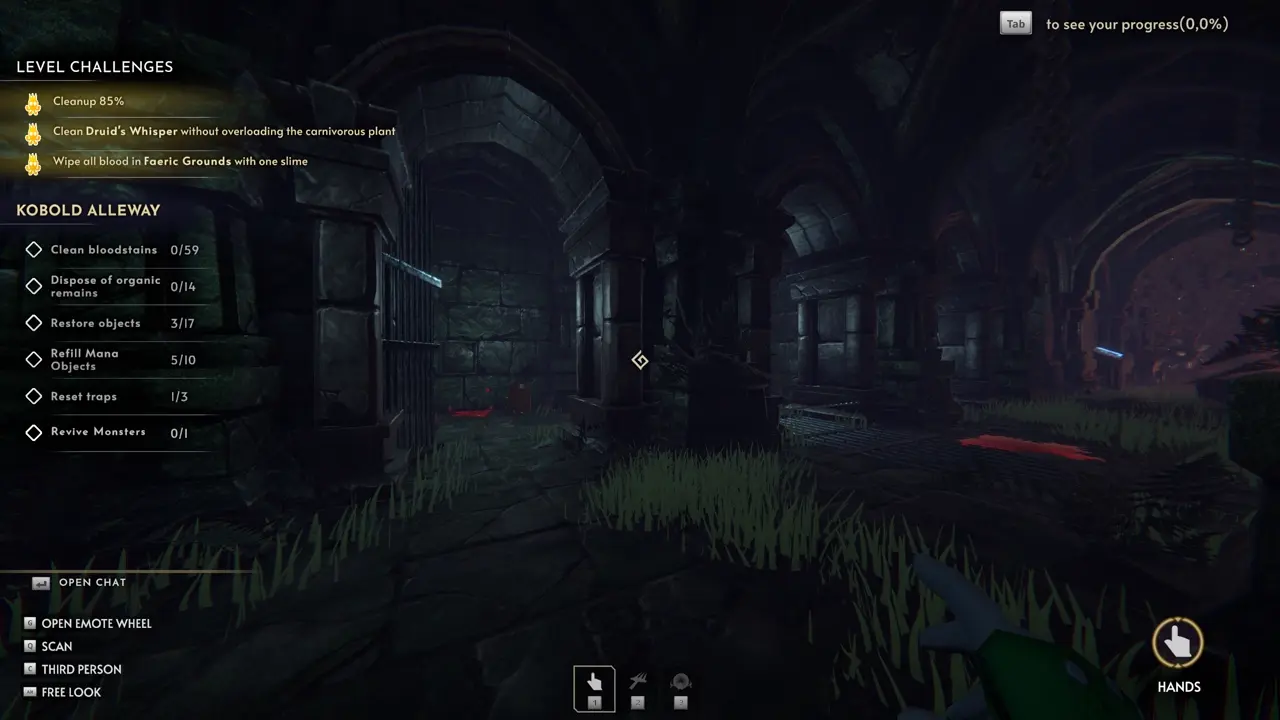
When I press the button, a not-so-obvious door opens to the left of it.
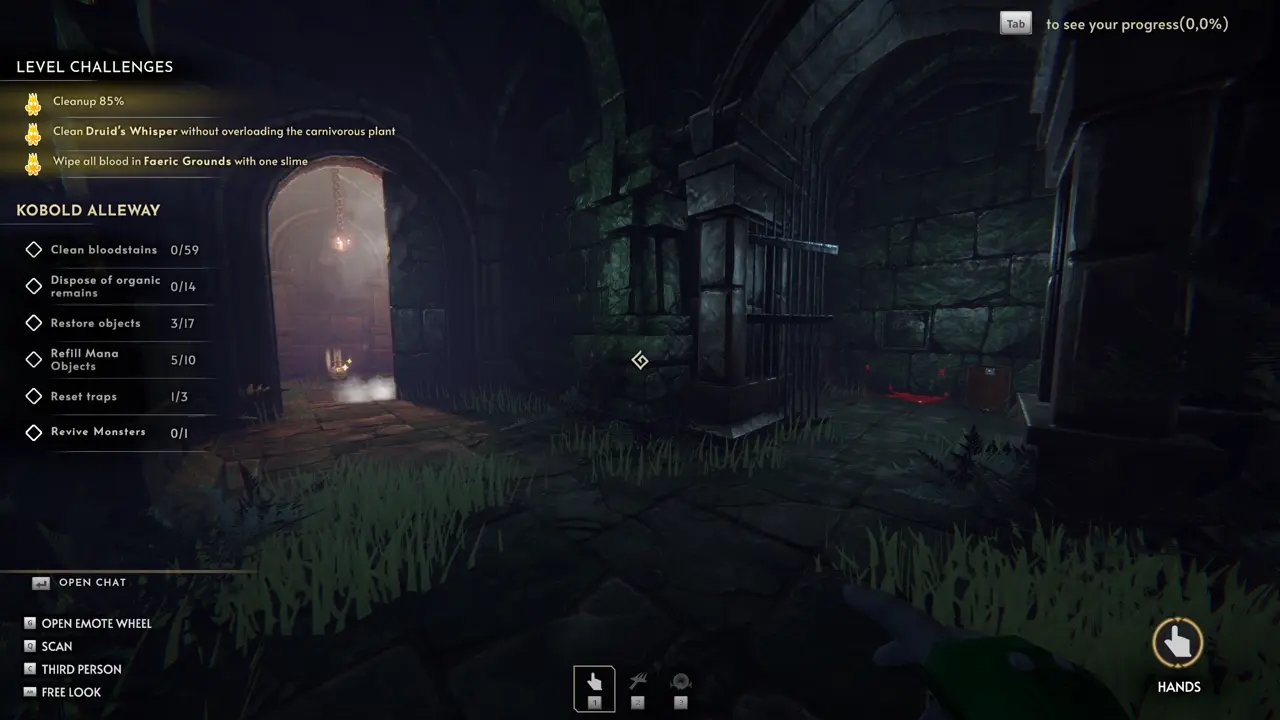
Kobold Alleyway – Fake Wall
This secret is also near the end of the level, behind the Spike Ball traps, but this time I go to the lighter area. I find two Fire Blades traps and walk through the fake wall behind the fireplace.
Dark Tower – The Great Room
This level has a lot to cover, so I break it into smaller steps. There are two main secrets here: a second lever and a hidden path into the Dragon’s Lair.
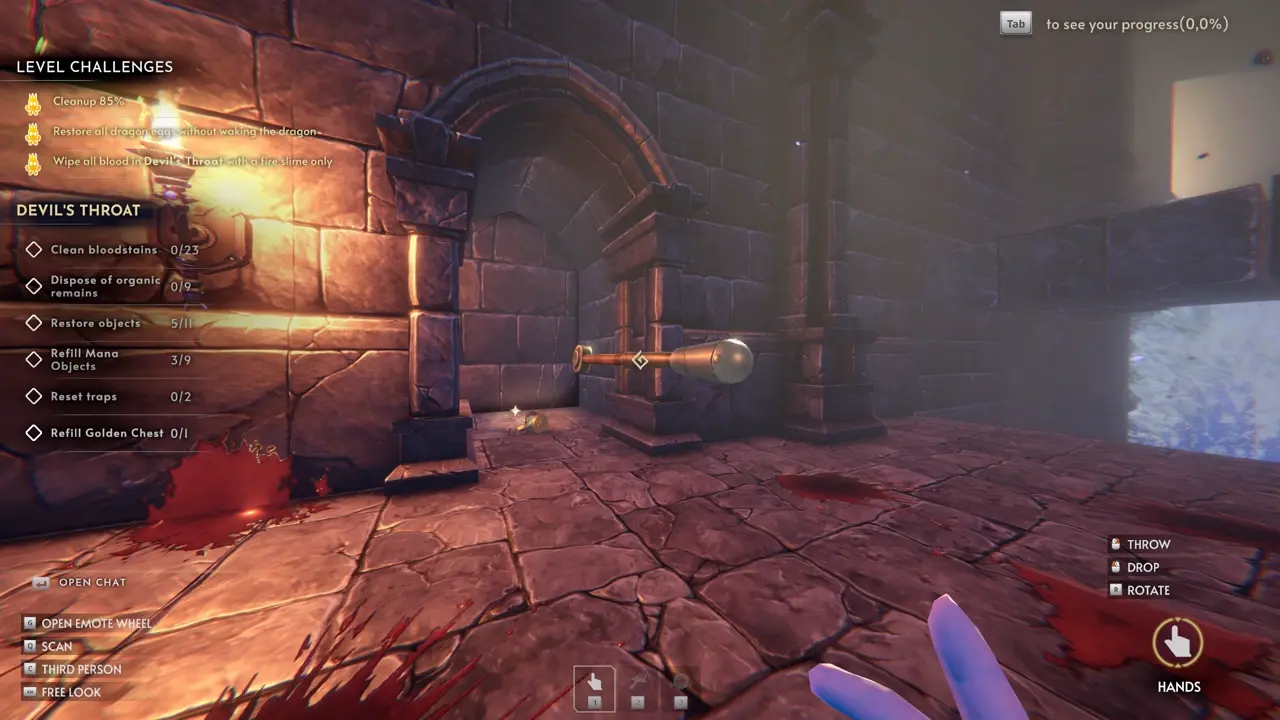
Devil’s Throat – Secret 2nd Lever
Next to the Fire Blades trap in Devil’s Throat, I find a button behind a table. When I press it, the hidden door in the archway above opens.
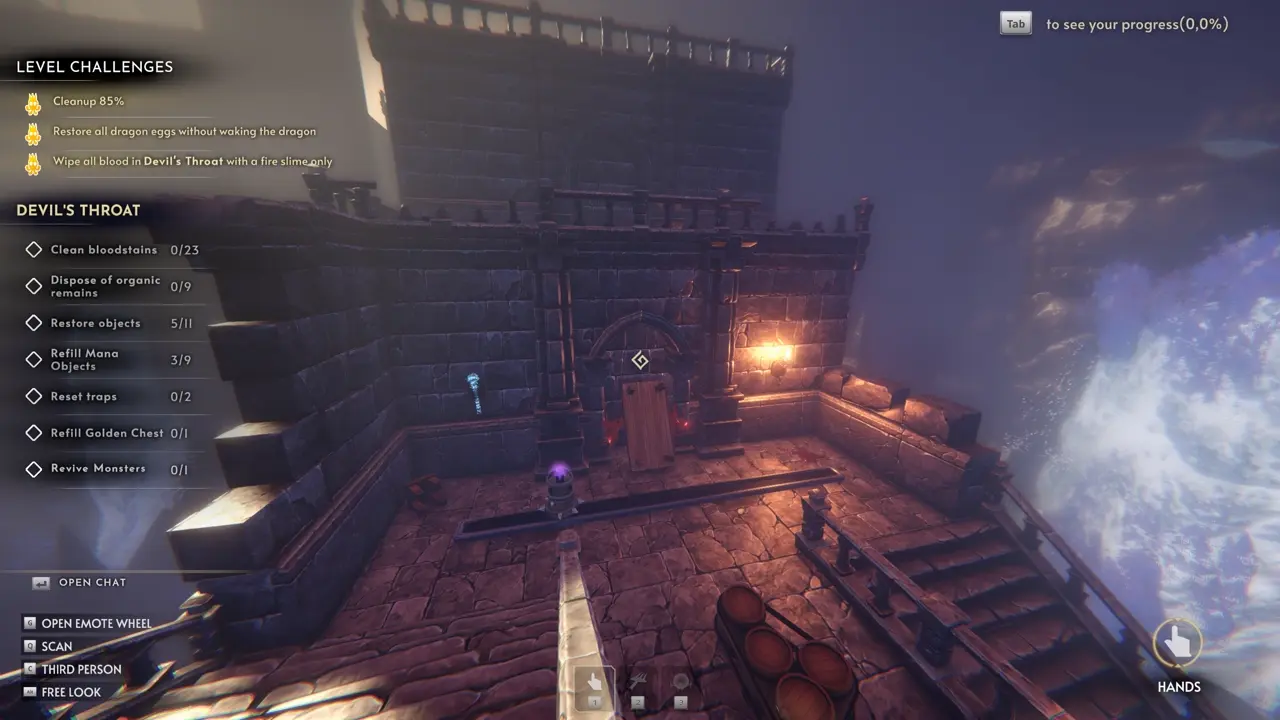
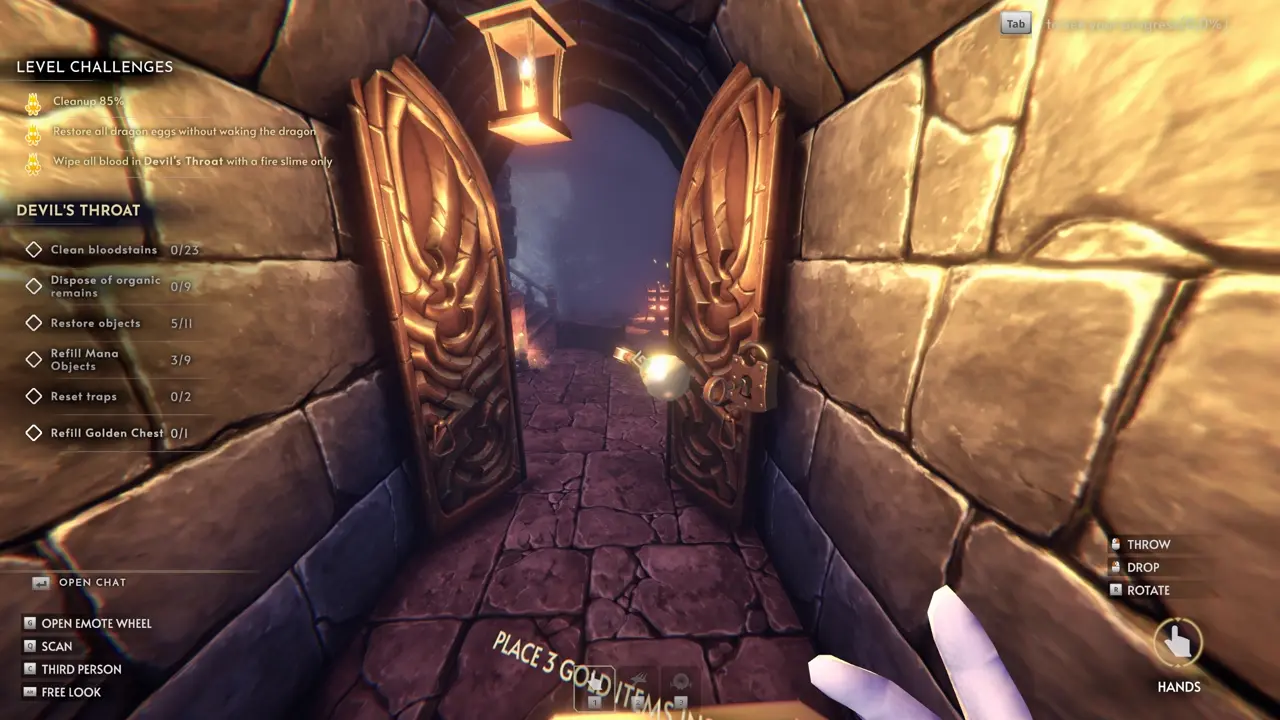
I take the key from the archway above and use it on the golden door in the same area, near the button I just pressed.
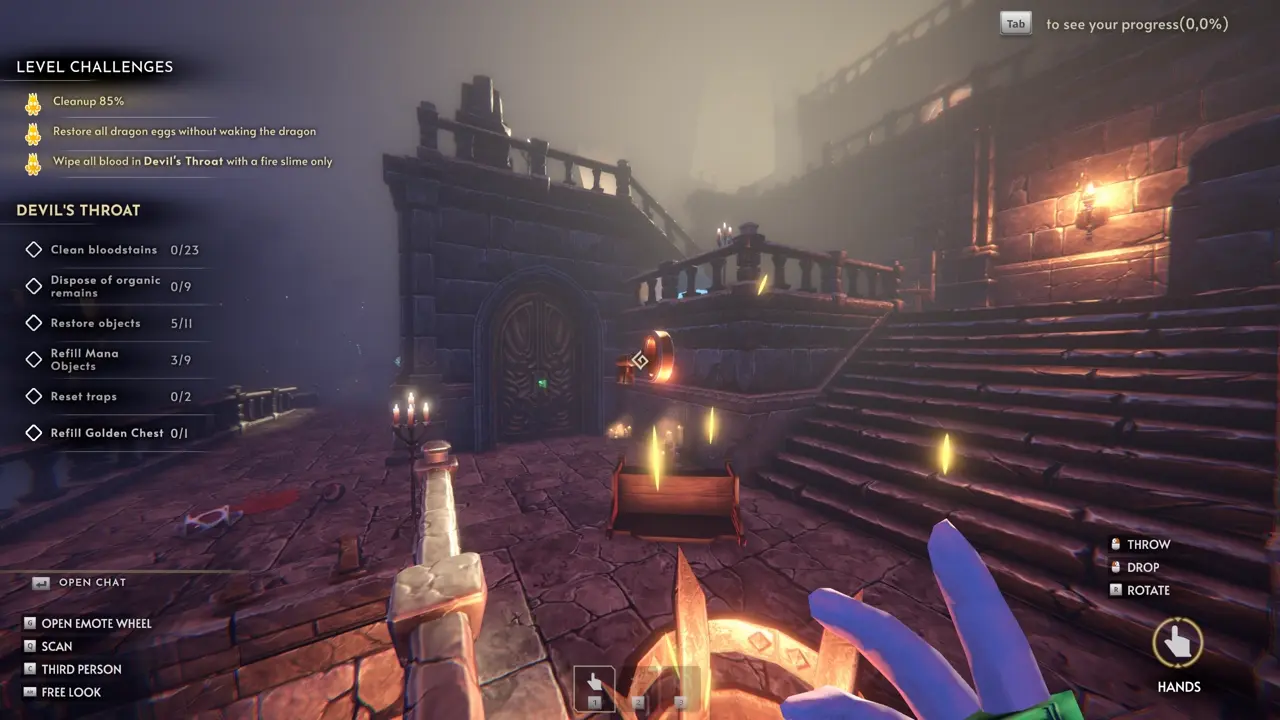
Inside, I find the golden chest and the obvious lever. Instead of using that lever to lower the drawbridge, I bring it to the secret area.
From the room with the golden chest, I jump down to the lower platform with many blood stains.
Down there, I find an archway with a golden item inside. I walk toward the fake wall behind the golden item and activate the mechanism with the lever.
This opens a secret door in Recluse Keep. After that, I change area.
Recluse Keep – Secret 2nd Lever Part 2
From the entrance, while looking toward Recluse Keep, the hidden door in the archway is on the lower platform on the left-hand side.
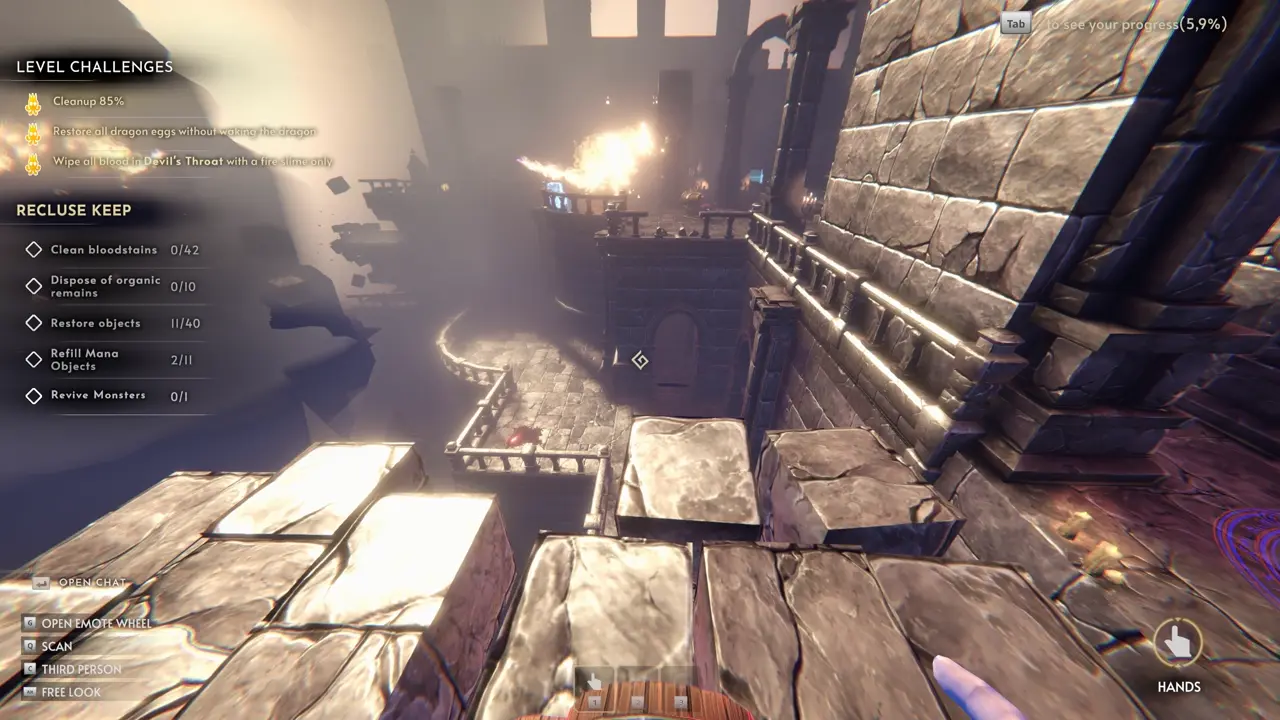
Inside, I find the secret second lever. I can use it to lower the drawbridge, or I can ignore it and take the hidden path into the Dragon’s Lair without using any lever.
Void Step – Off The Beaten Path Achievement
To reach the Dragon’s Lair through the alternative path, I go to the area with two Mana Dragon traps facing each other.
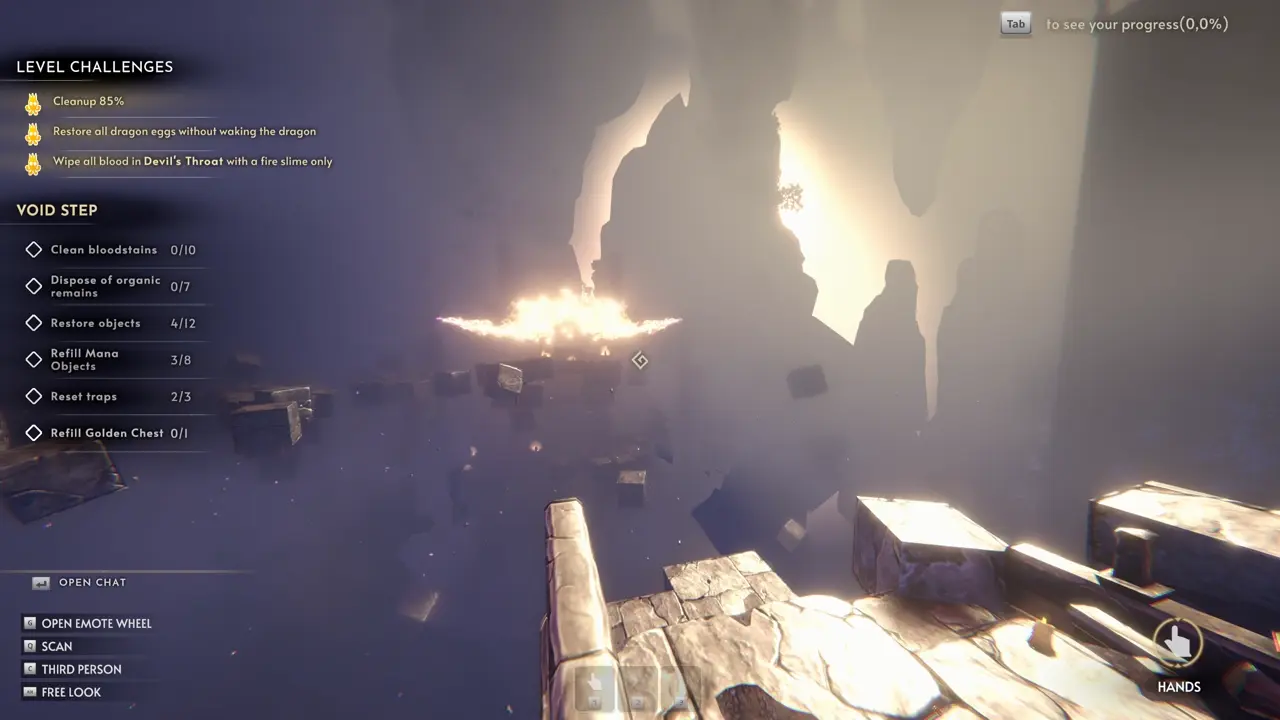
On one side, I can see damaged railings.
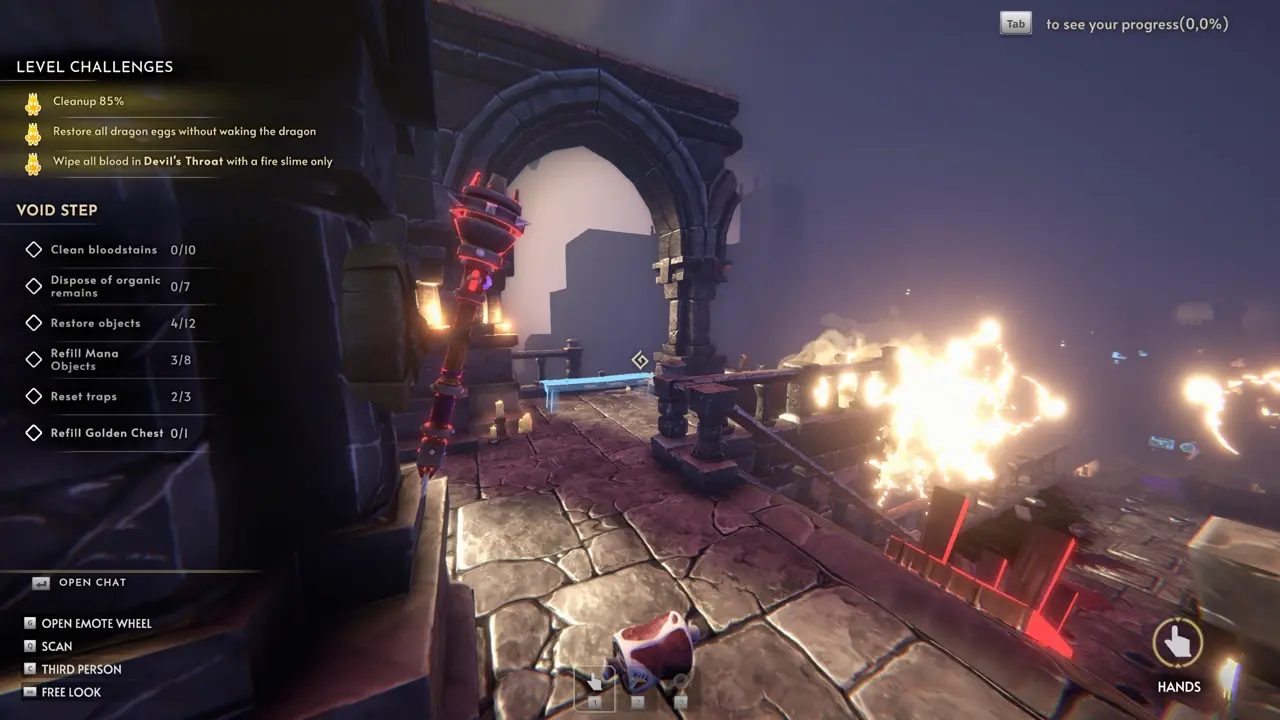
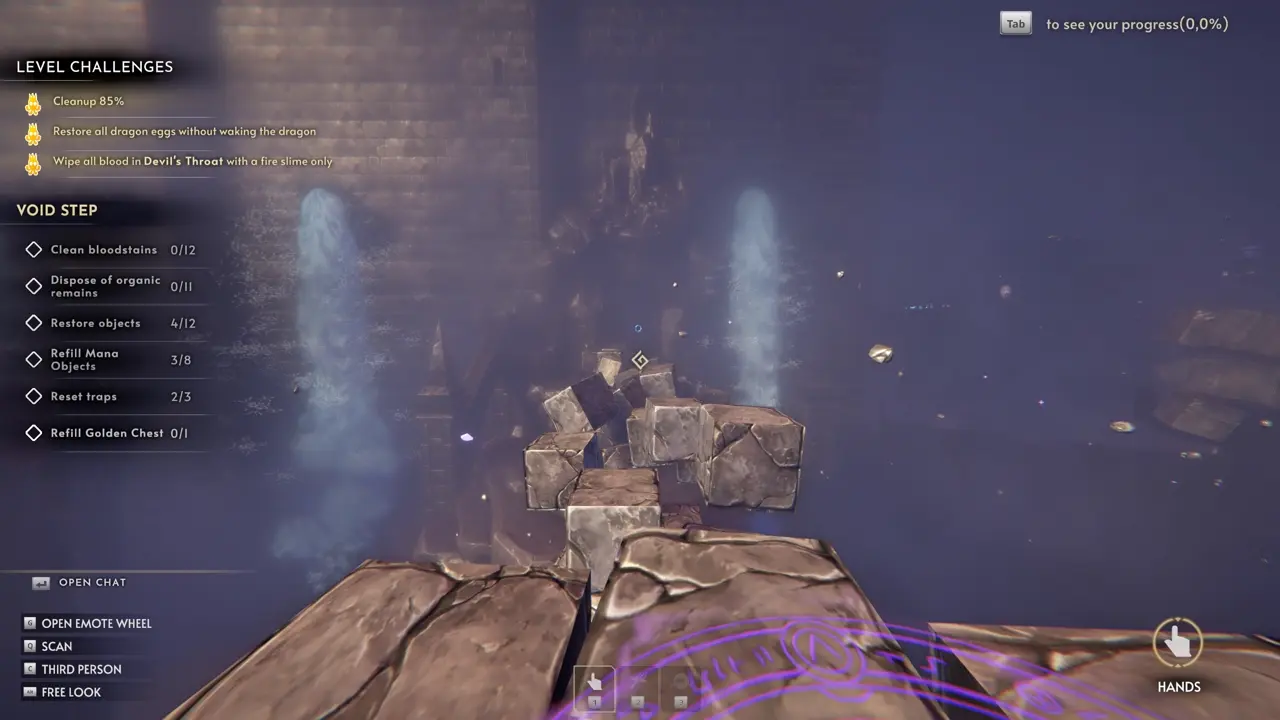
I go down there, where the spiky top part of the pillar is missing, and find a platform with a purple magic circle that creates a bridge below.
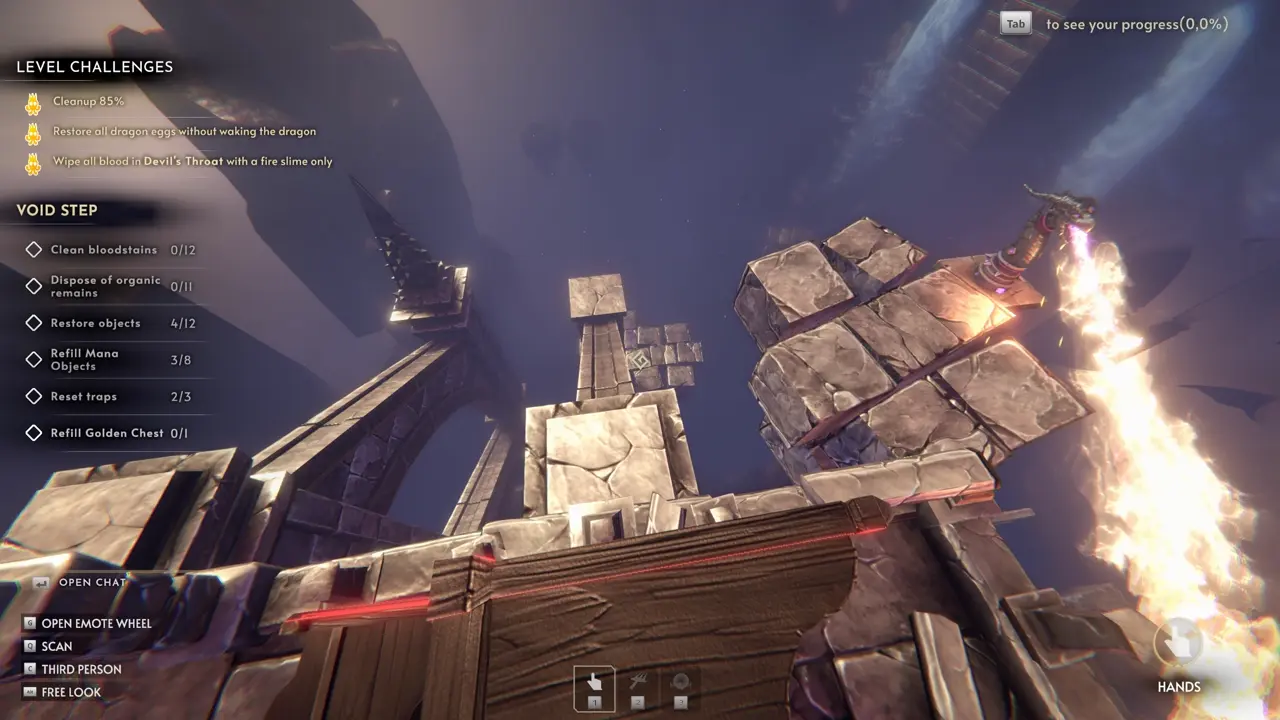
I follow the bridge and reach the secret entrance into the Dragon’s Lair.
Dark Tower – The Dining Room
Noble’s Banquet – Button
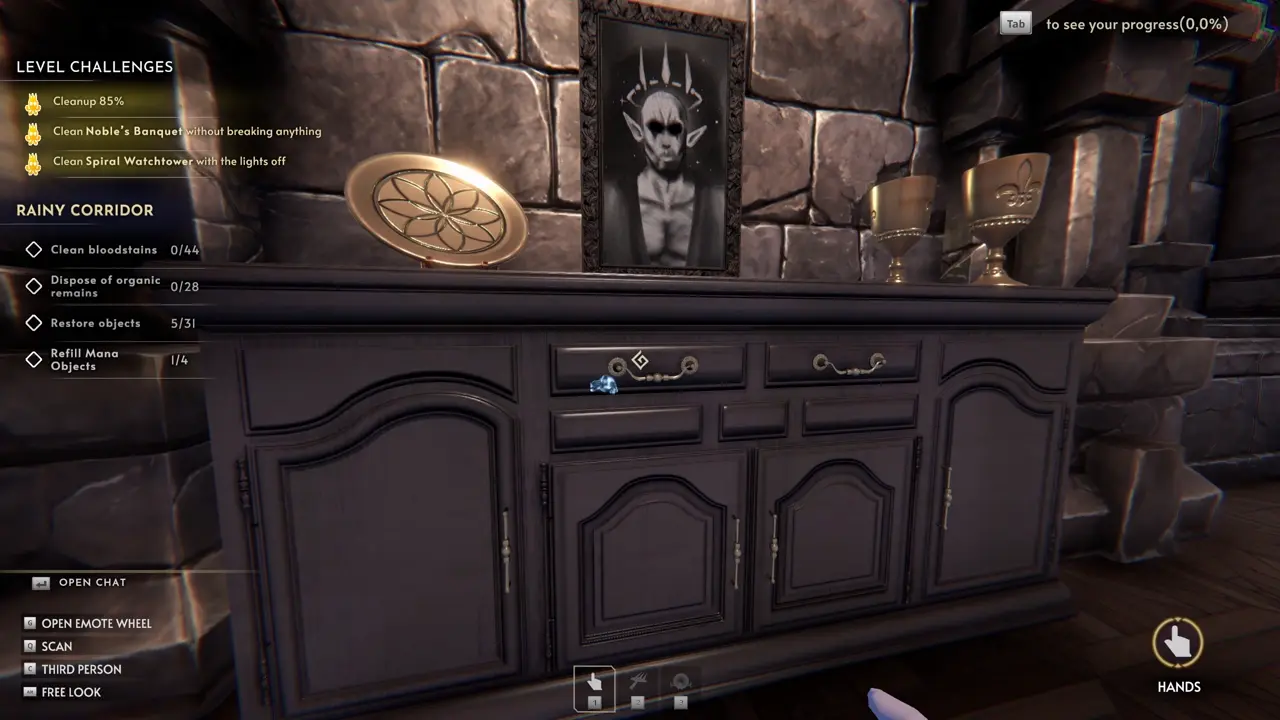
This secret is about reaching the last golden item behind the Vampire painting in the Rainy Corridor section.
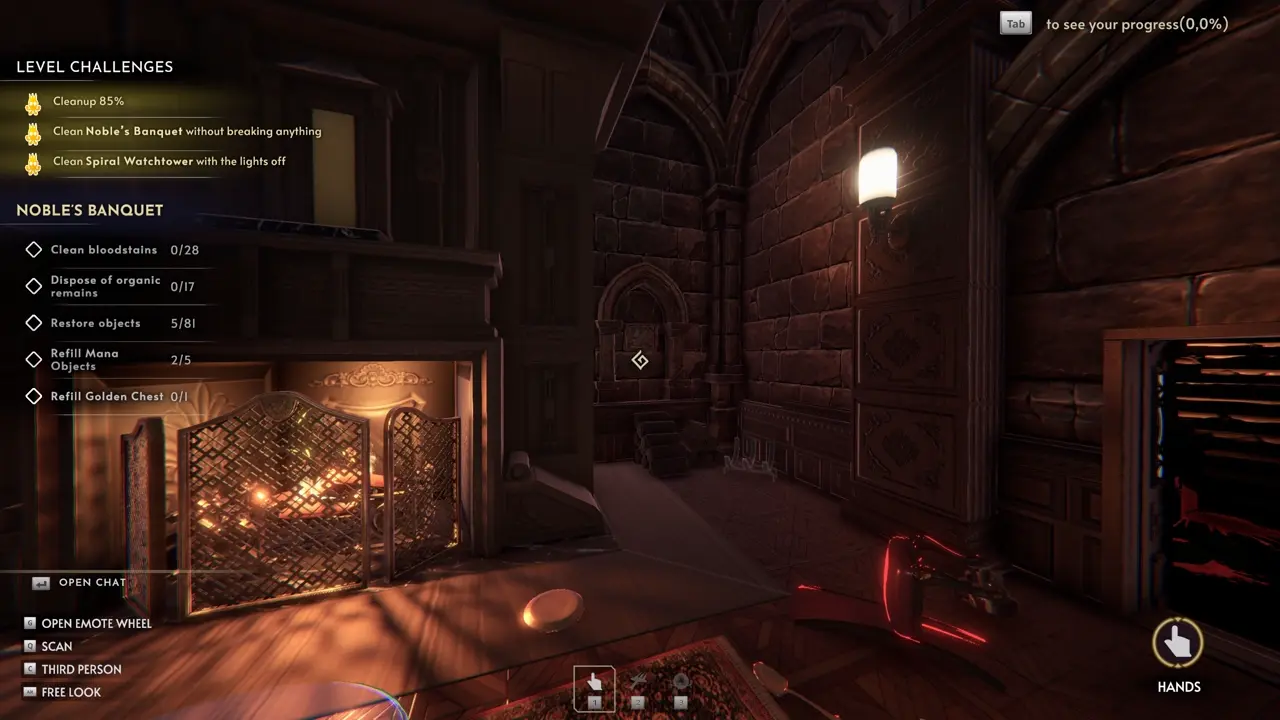
I go back to the main hall in Noble’s Banquet, right in front of the big fireplace, and press the button on the right-hand side of it.
Dark Tower – The Kitchen
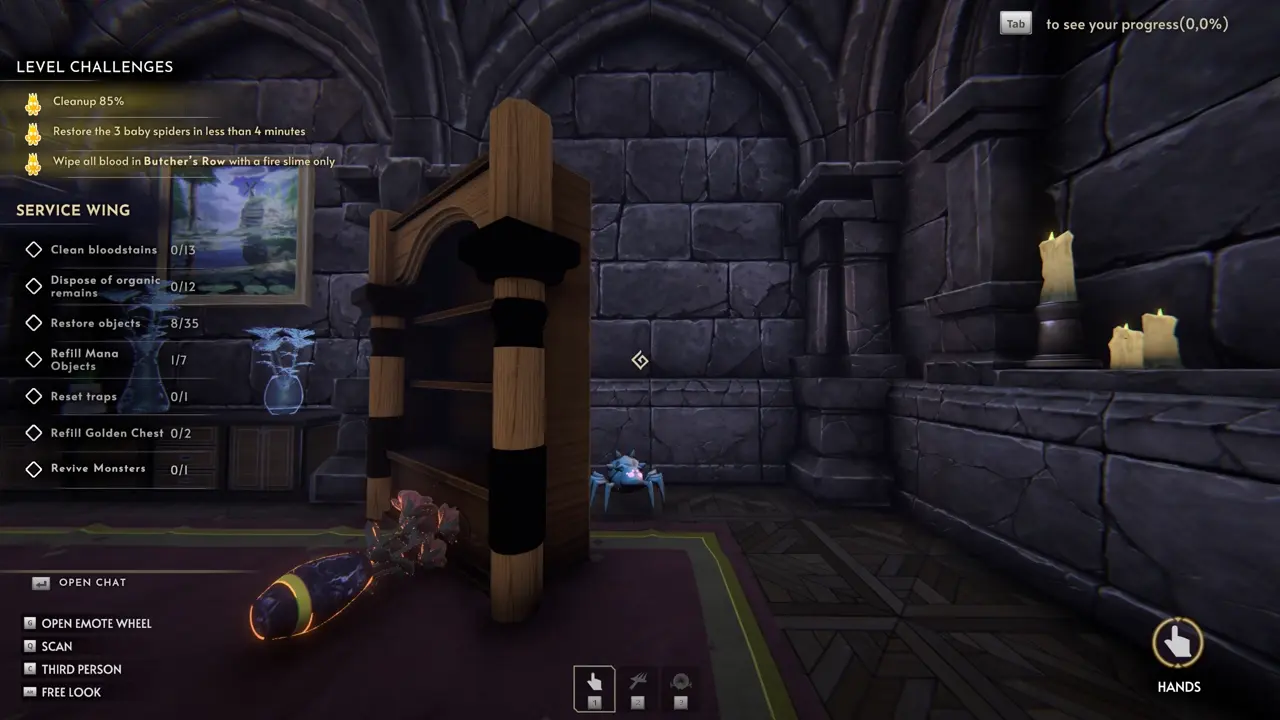
Service Wing – Fake Wall
In the Service Wing, I walk through the fake wall behind the shelf and the baby spider.
Dark Tower – The Frozen Dragon’s Lair
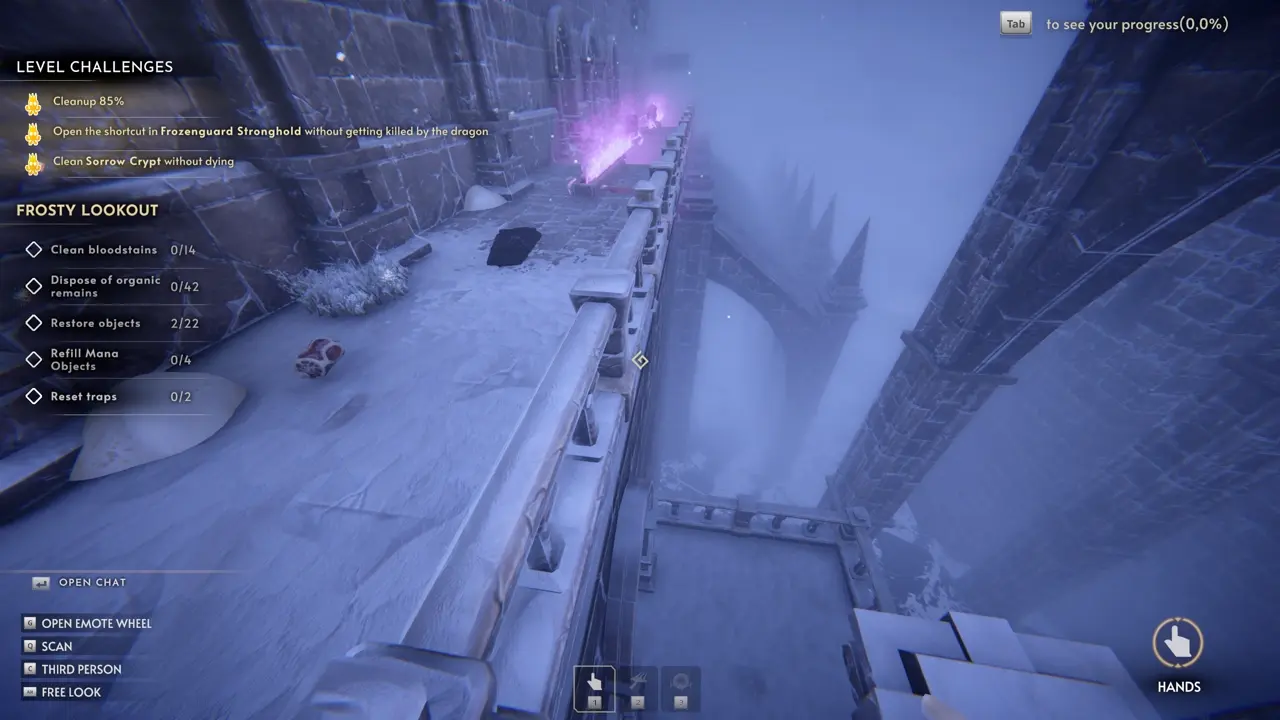
Sorrow Crypt – Entrance
While looking toward the entrance of this map, I look down at the spot shown in the screenshot.
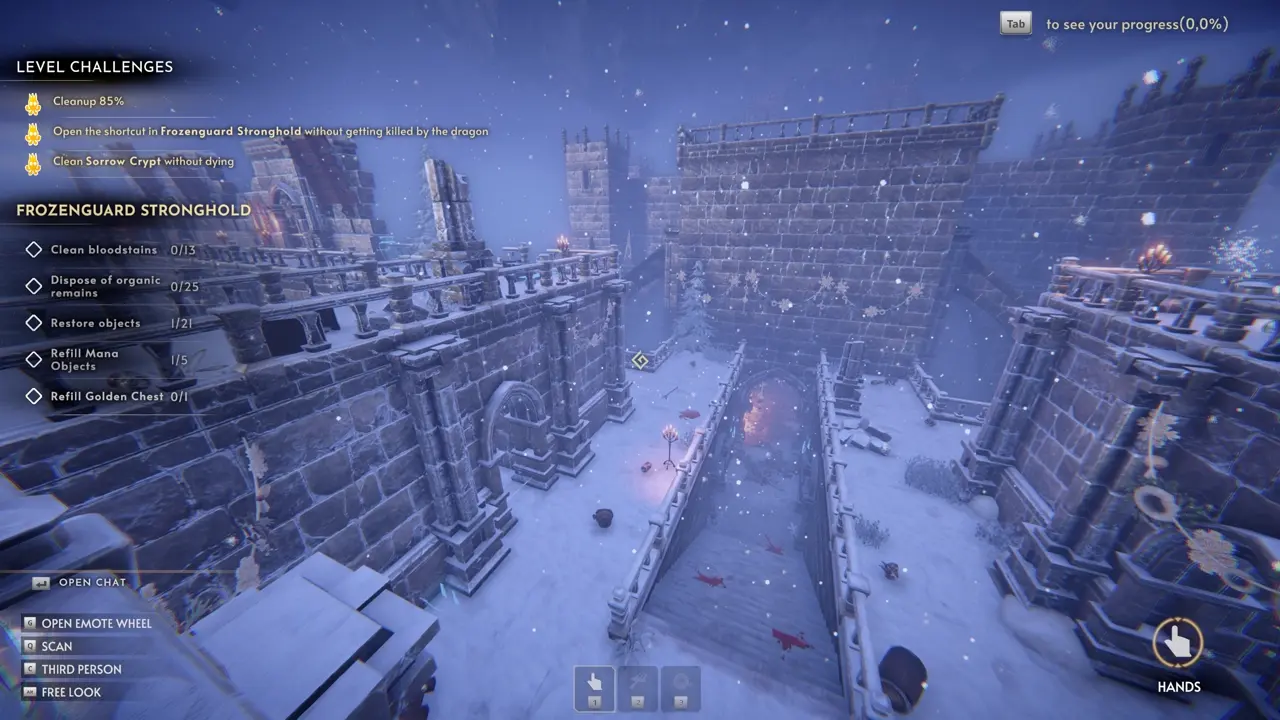
I find a platform below, jump down to it, and use it as the entrance to Sorrow Crypt.
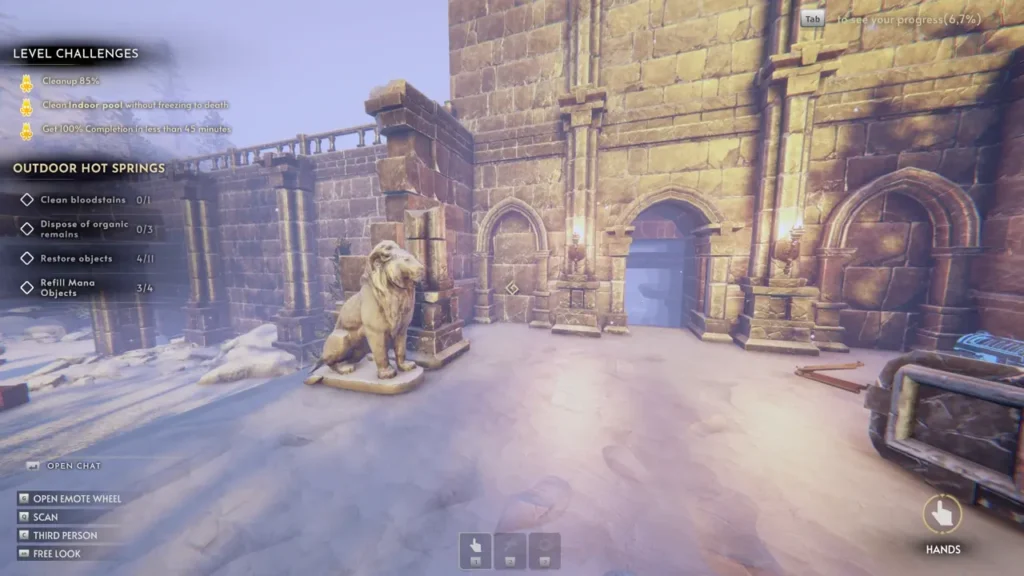
Dark Tower – The Hot Springs
Snowy Forest – Save Passage Achievement
I follow the archway behind the Ice Golems.
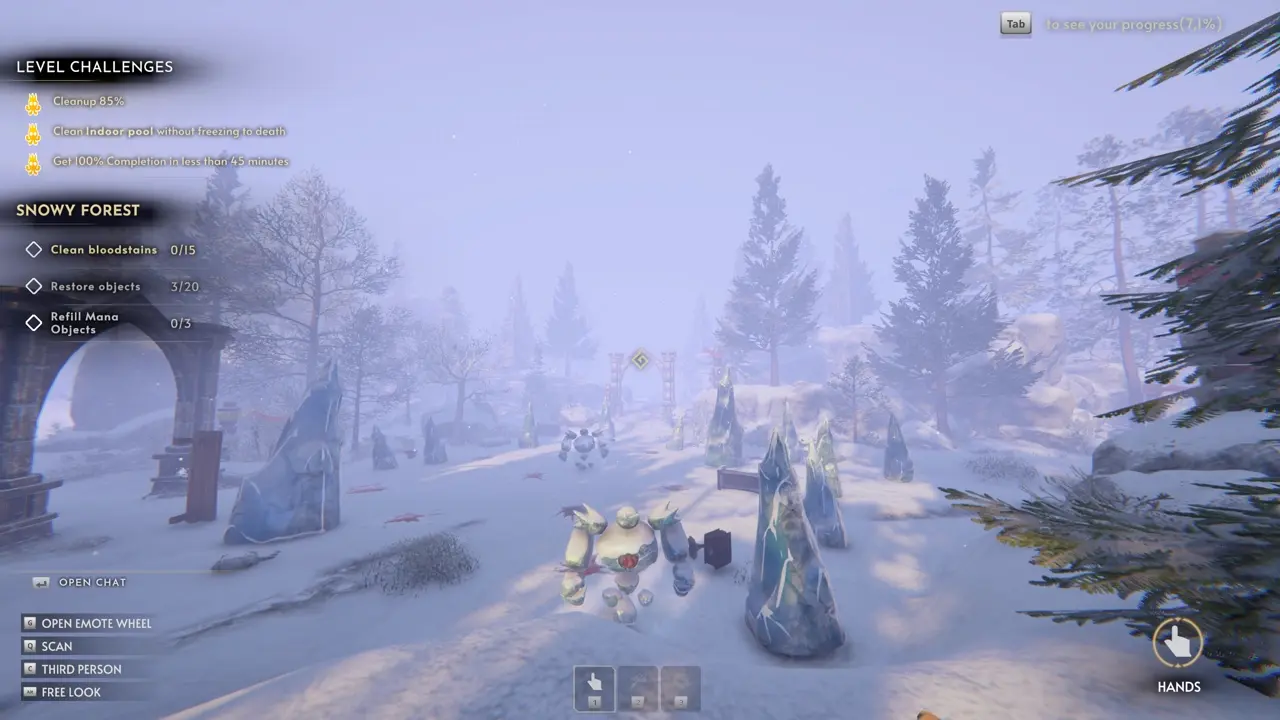
After that, I reach the area where the red and blue flags cross. I continue toward the next archway with the blue flags.
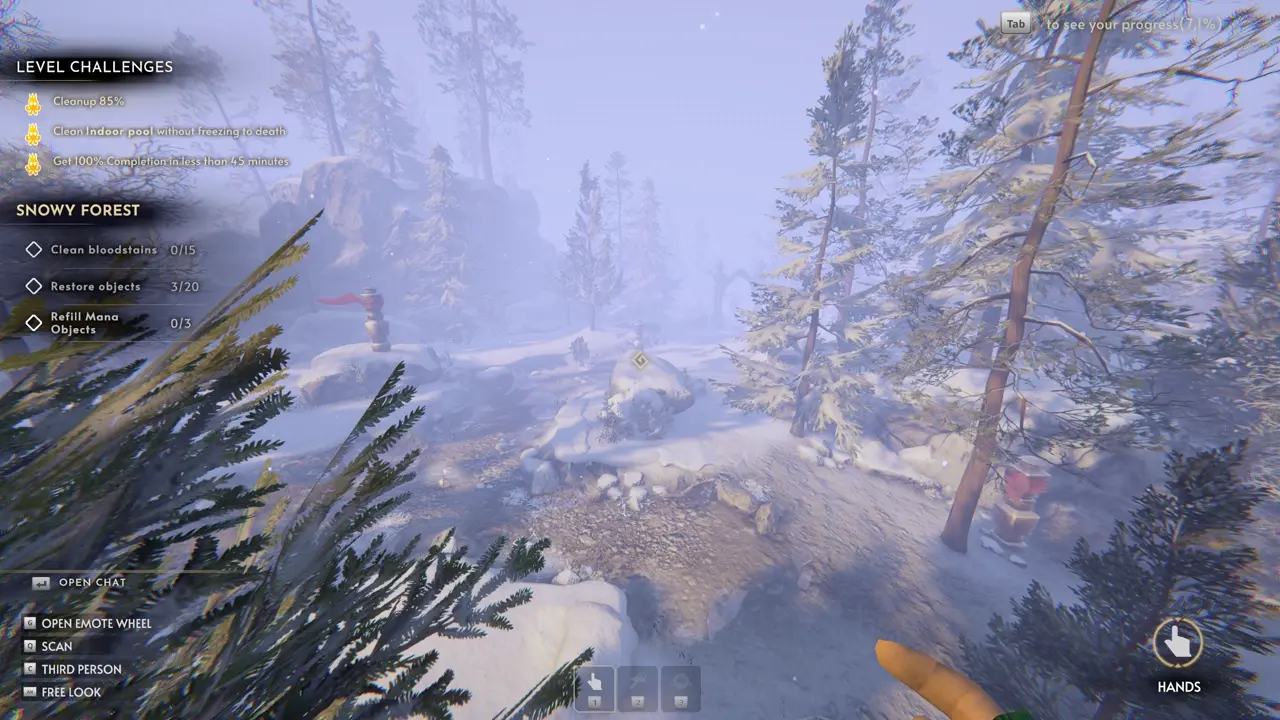
When I reach the two lion statues, I go offroad at the marked spot and find a path leading upward.
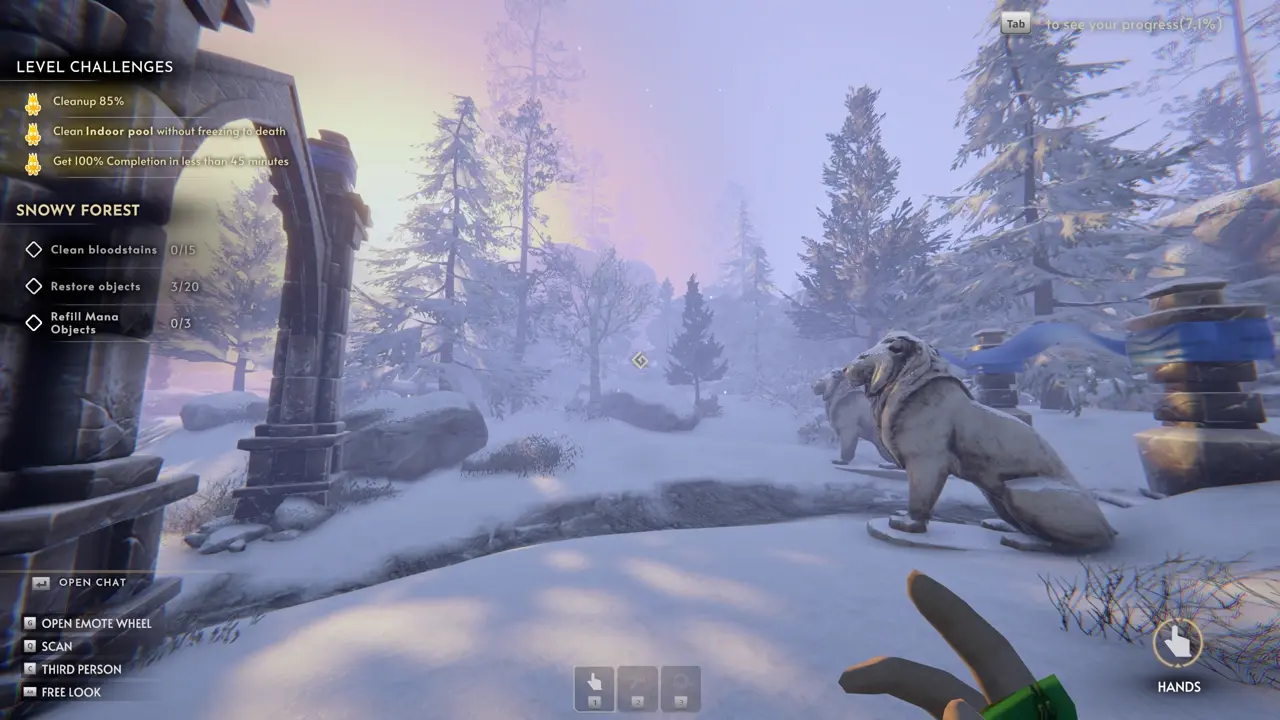
I follow that path and stay on top of the hill until I get behind the wall.
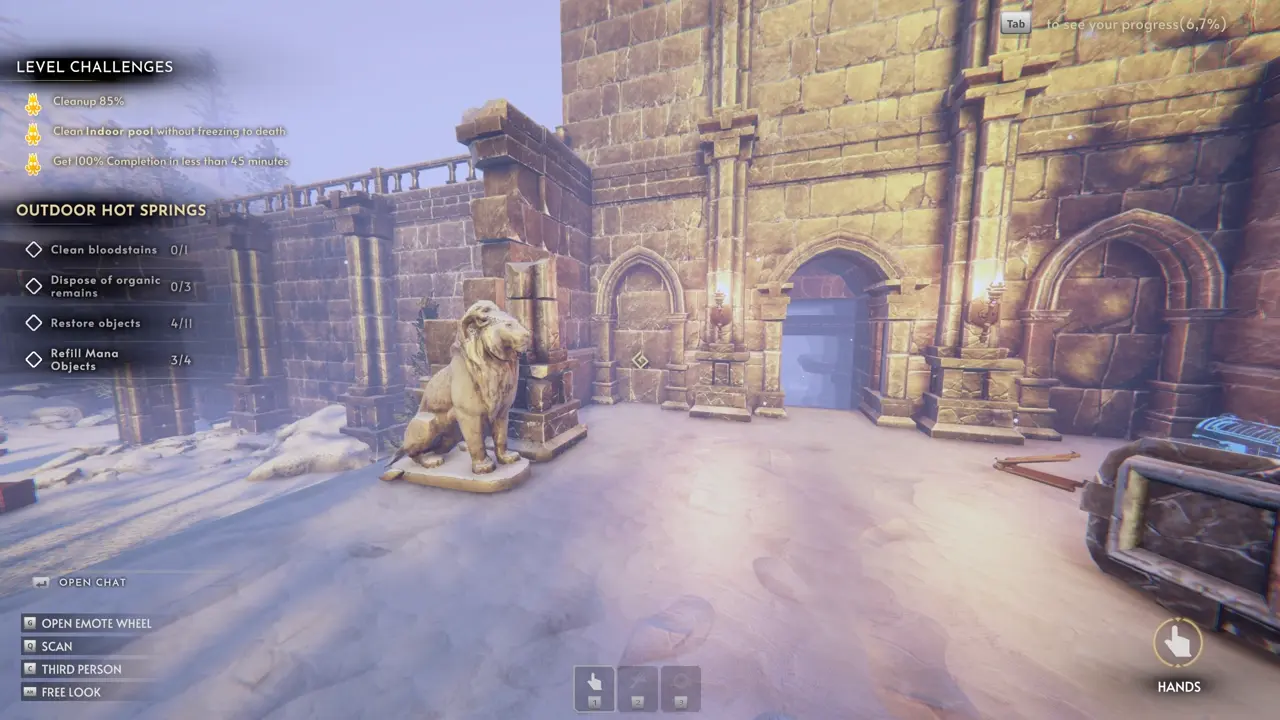
Outdoor Hot Springs – Fake Wall
I can walk through the wall in the archway to the left of the actual Indoor Pool entrance.
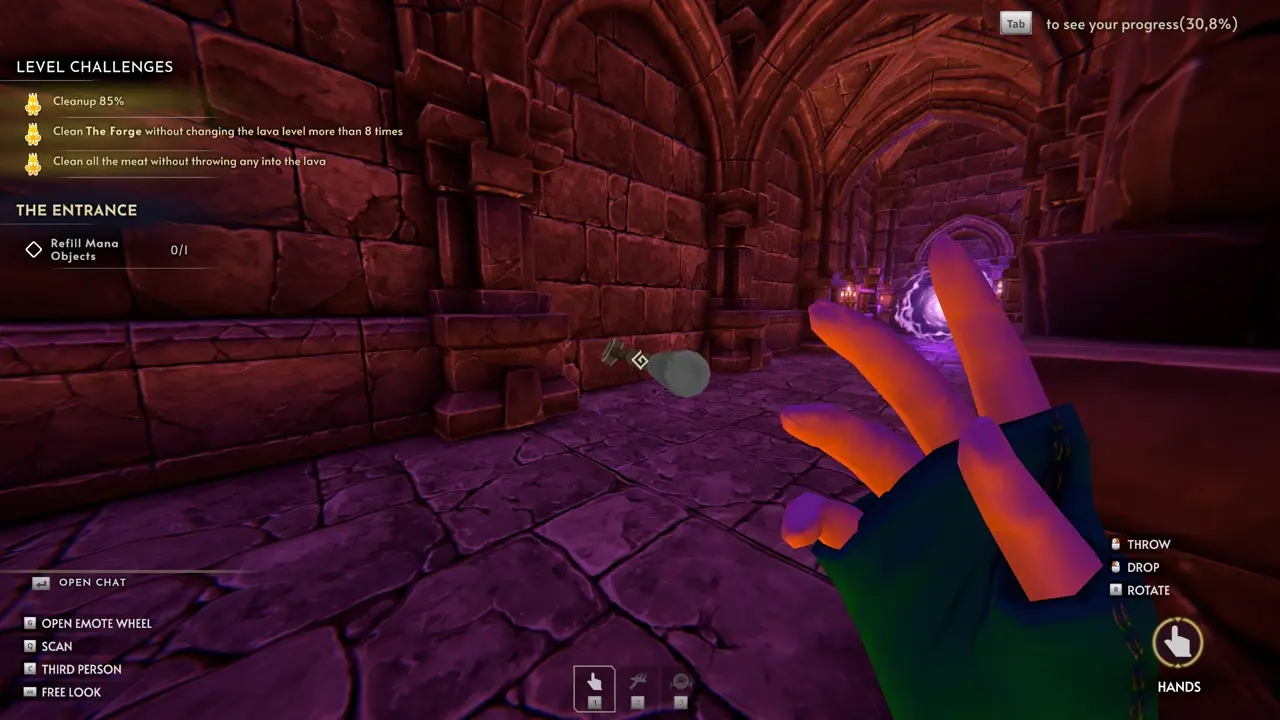
Dark Tower – The Forge
This level also has a lot to cover, so I break it into smaller steps. I start after the shortcuts in this map have been unlocked and opened.
The Forge – Fake Wall #1
Once I reach this room, I go into the archway visible on the far left side of the screenshot. Farther down the stairs, I find a Roof Trap.
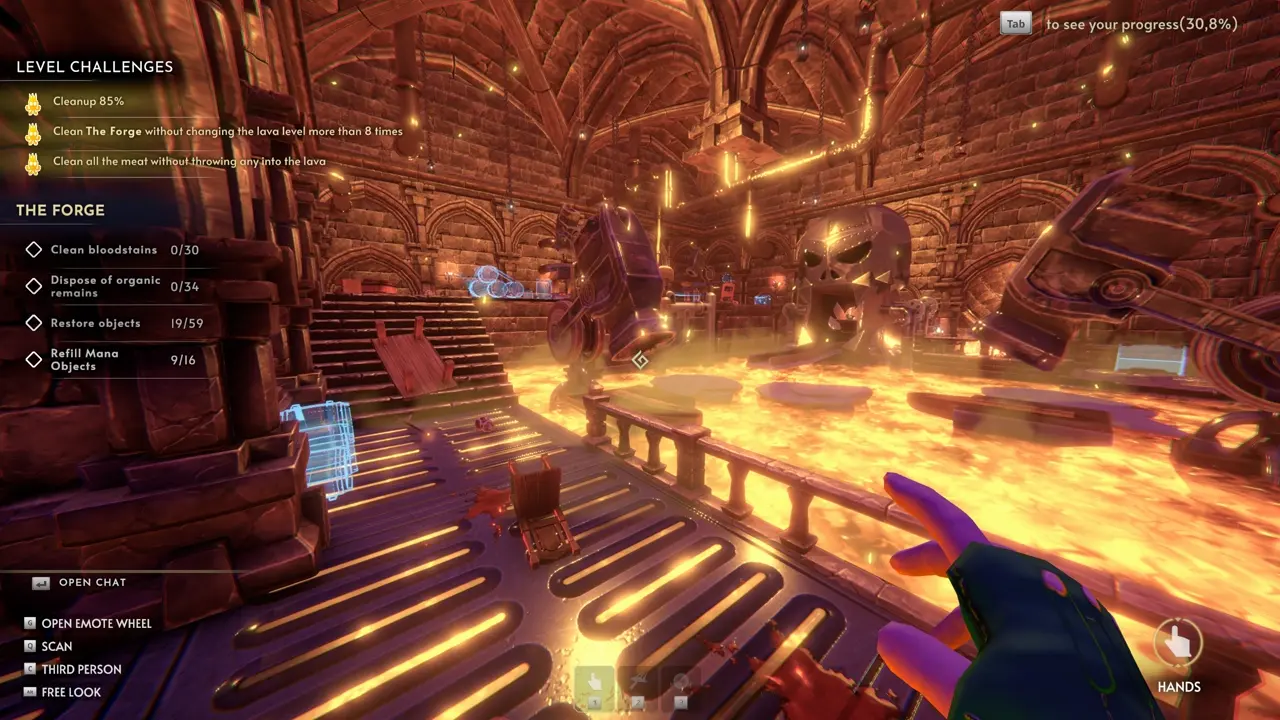
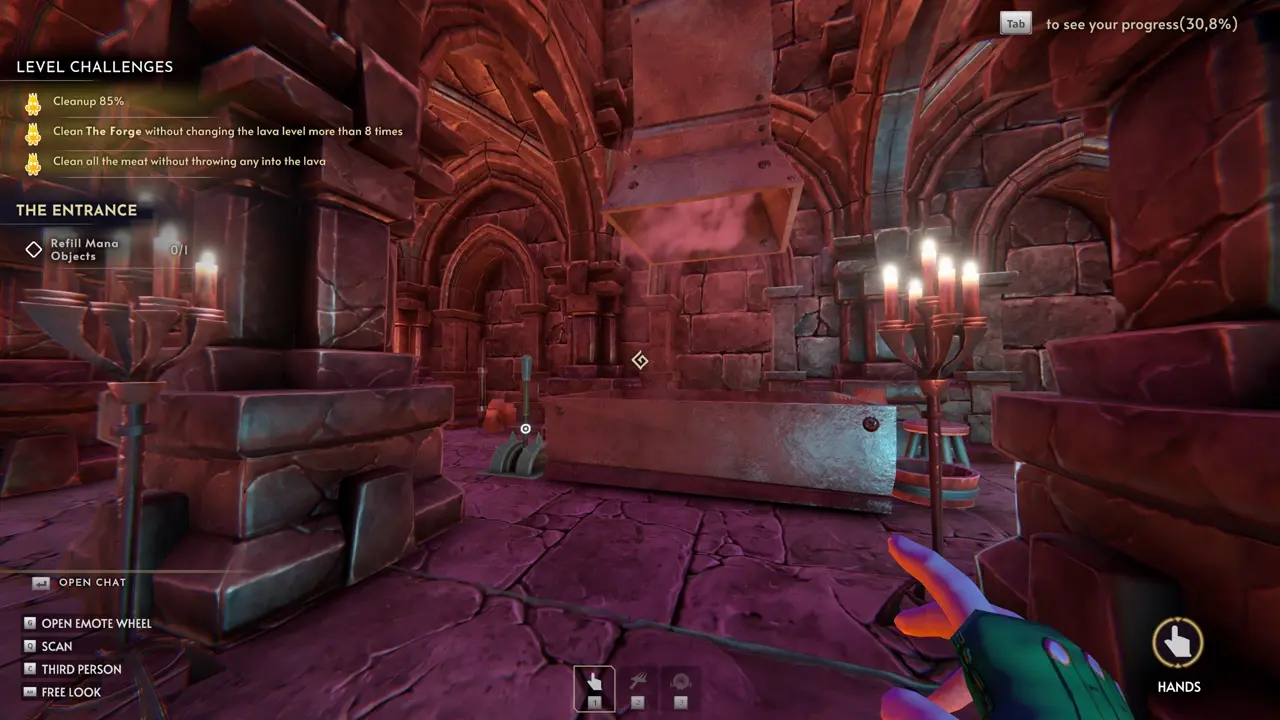
While heading downstairs, I find a fake wall directly under the Roof Trap on the right-hand side. I walk through it.
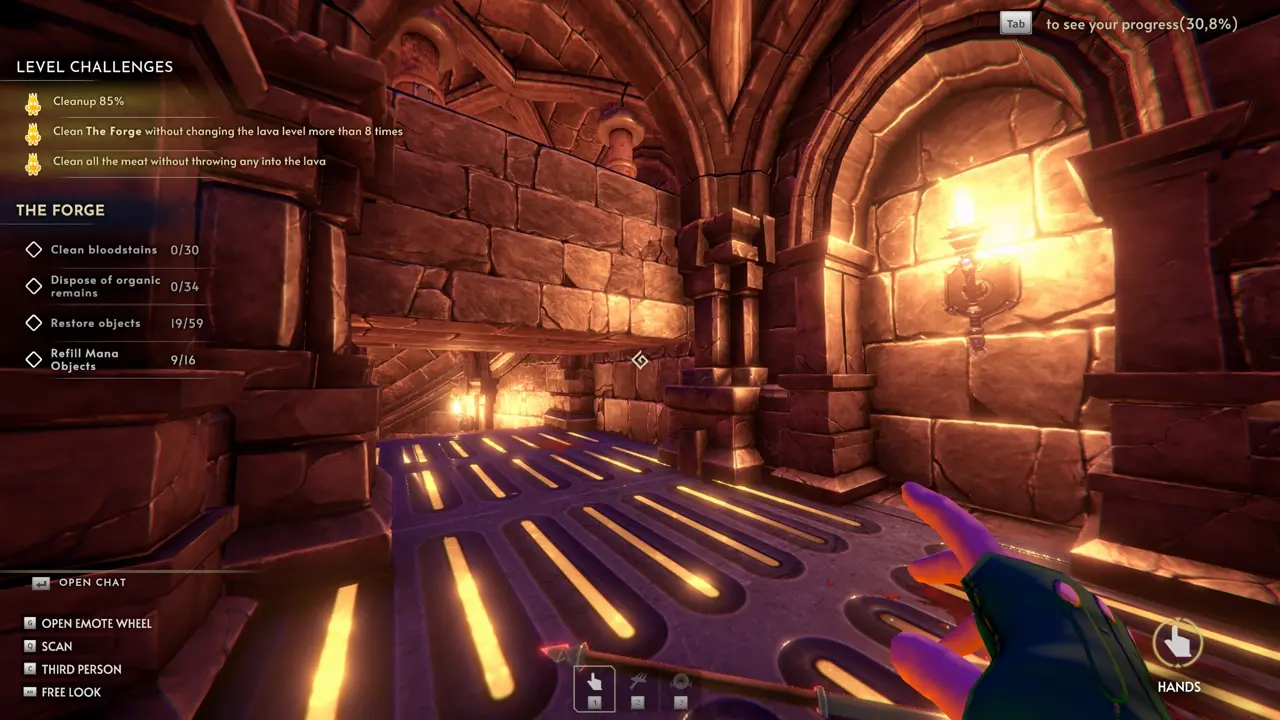
This takes me to the upper pathway in the outside area near the beginning of the map.
At the end of this pathway, I find a lever.
I take the lever and bring it over to the portal where the map starts.
The Entrance – Fake Wall #2
To the left-hand side, I notice a wall that looks slightly different from the others. The baseboard is missing, and it looks like a plain wall. I can walk through this fake wall.
At the end of the hidden hallway, I find an ice machine. I place the lever and activate it to access ice water, then turn my slime into an ice slime.
Now I use the ice slime to reach two hidden notes.
The Entrance – Hidden Note #1
Attention: In Public v0.55.25, the Dungeon Daddy Update, this is currently bugged. Ice slimes no longer create a path on lava in this level, so I cannot reach this note in that version.
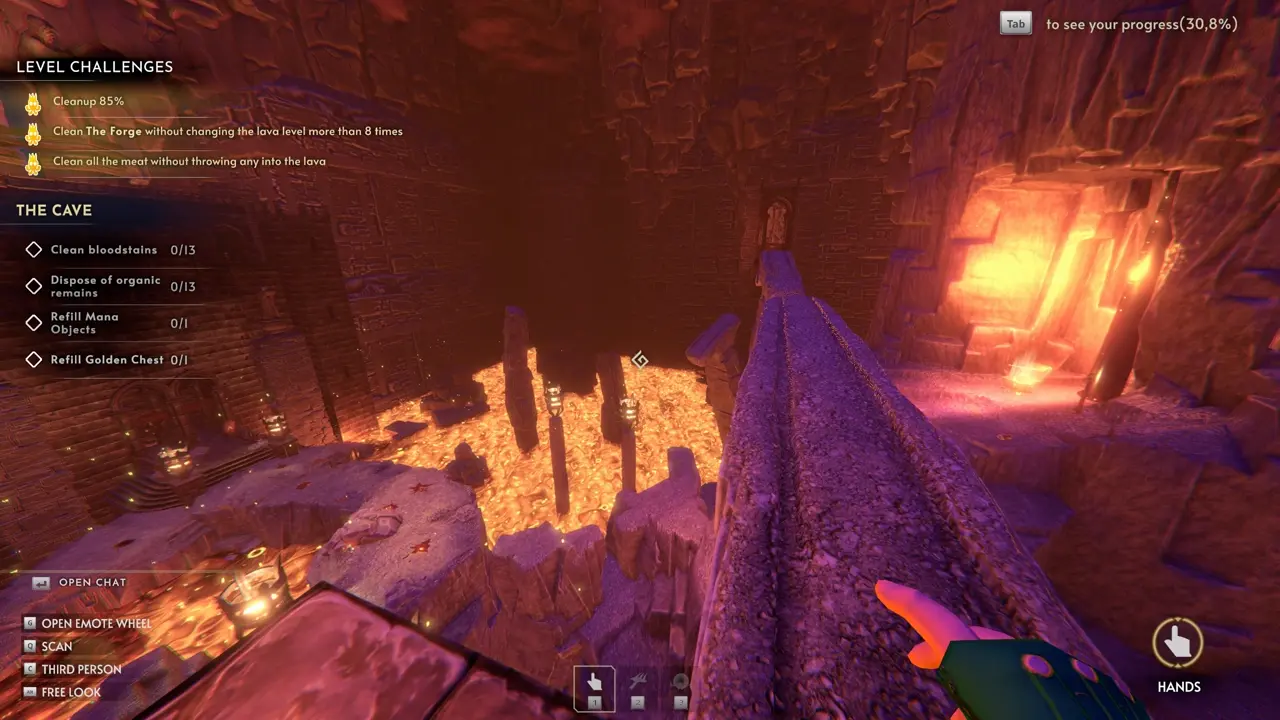
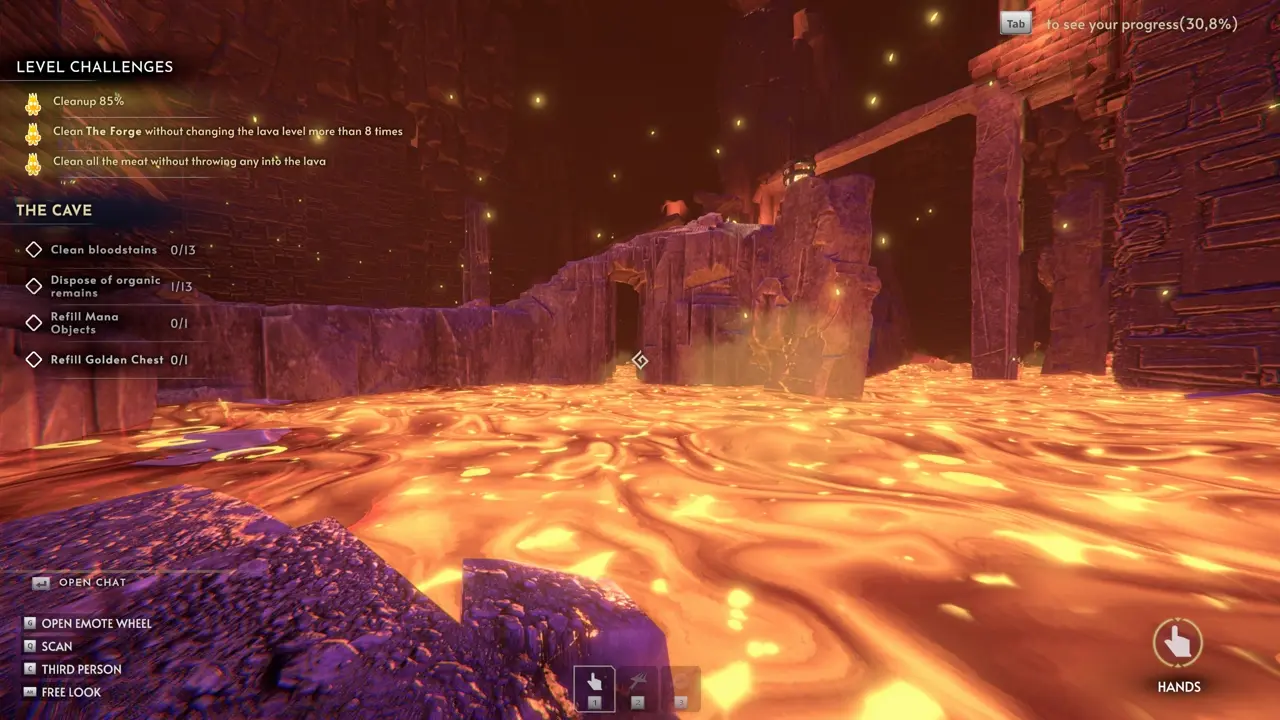
I go back outside. When I look at the hill where the golden chest is located, I can see an opening in the path leading up to the chest. I use the ice mop to cross over and grab the note hanging on the wall.
The Entrance – Hidden Note #2
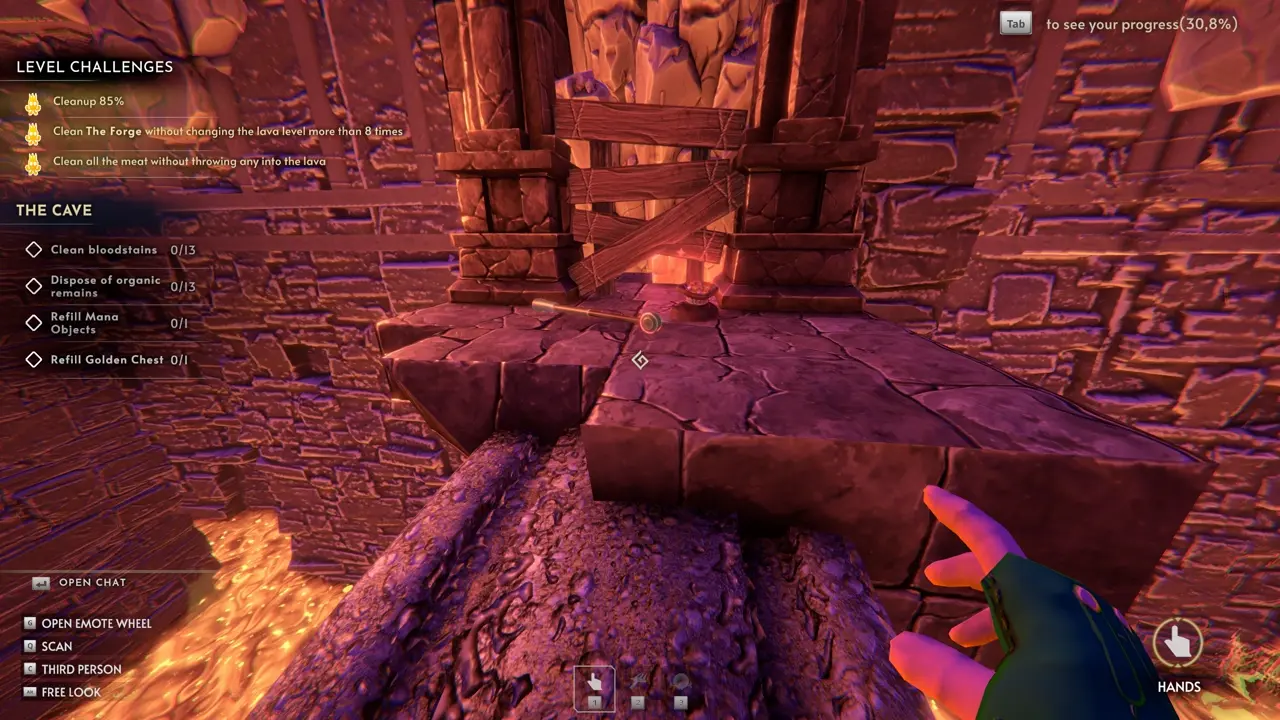
The second note is basically behind the golden chest. I go up to the chest and climb the small path on the right side of it.
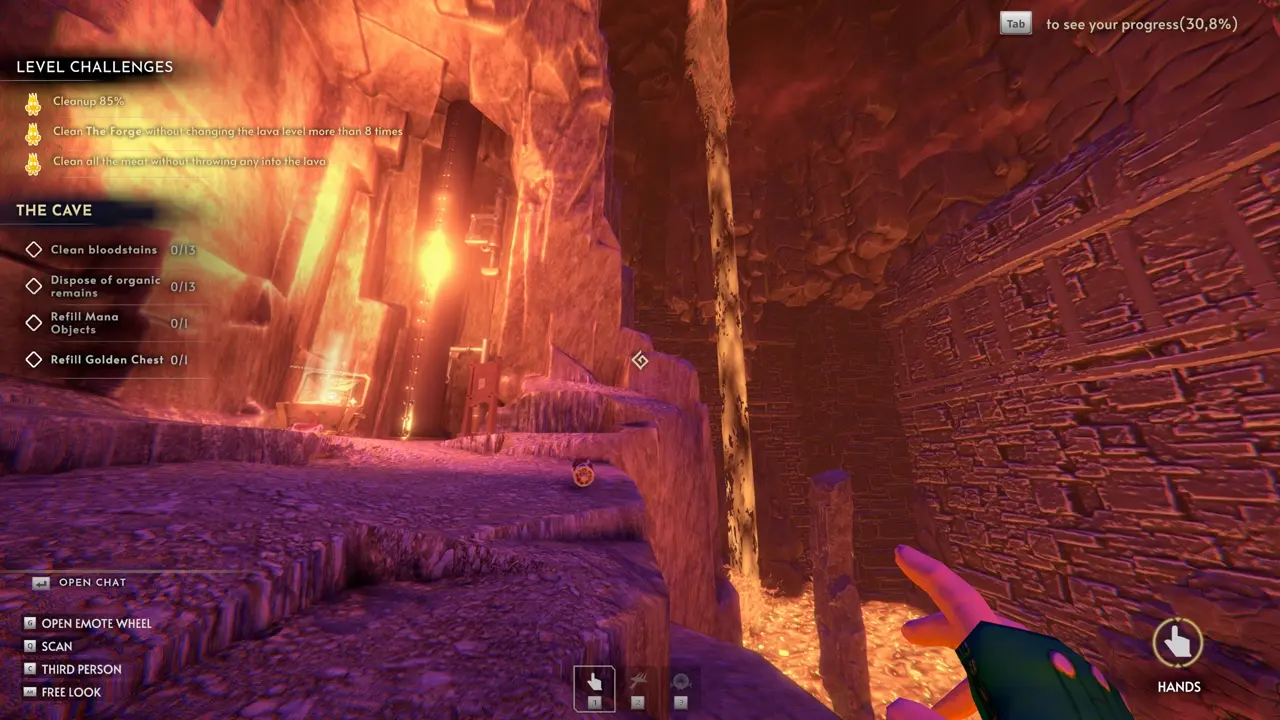
Once I make it all the way up, I look down and see a platform at the bottom. I jump down there and find the second hidden note.
I need the ice slime to escape from that platform without dying. Another option is to bring the Coordinator rune and teleport back to the hub.
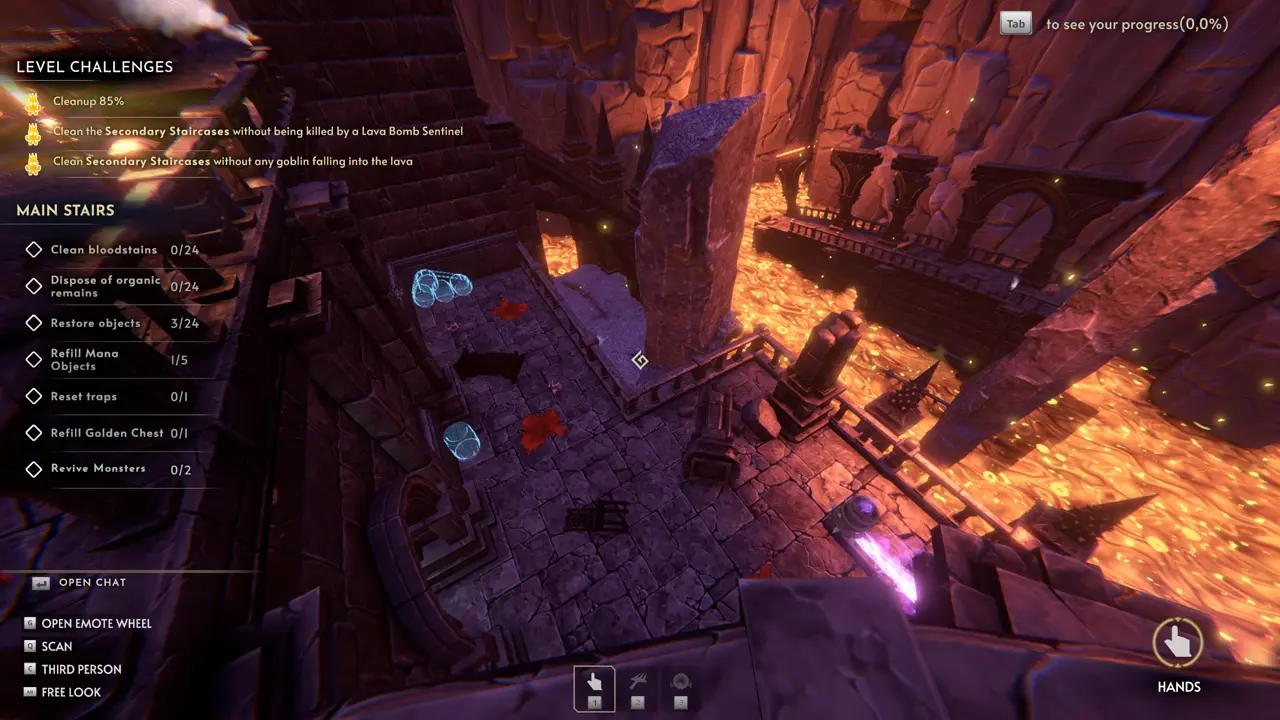
Dark Tower – The Volcano
This level has a few things to cover. I start after the air vents have been activated, because I need them for these secrets.
Secondary Staircases – Hidden Area #1
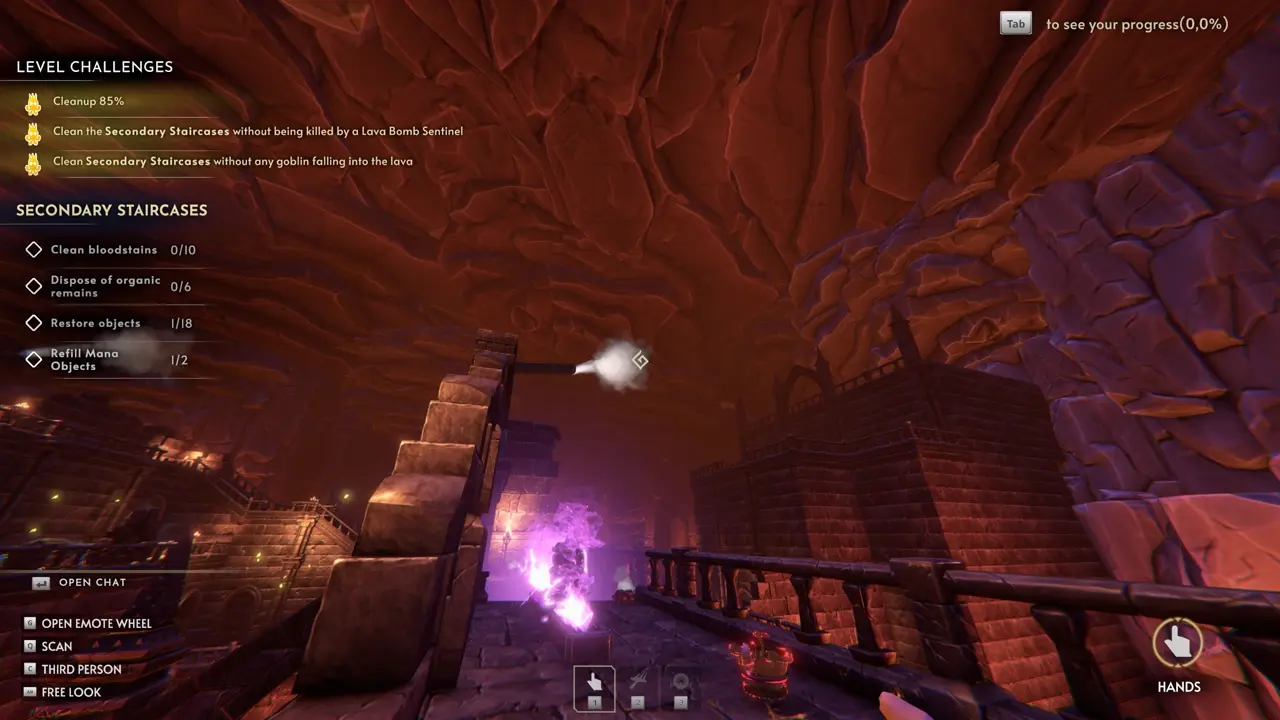
Once all air vents are active, I use the vent near where the second lever was to reach a hidden area. This vent launches me above the entrance of the map. I climb the wall shaped like stairs and use the vent.
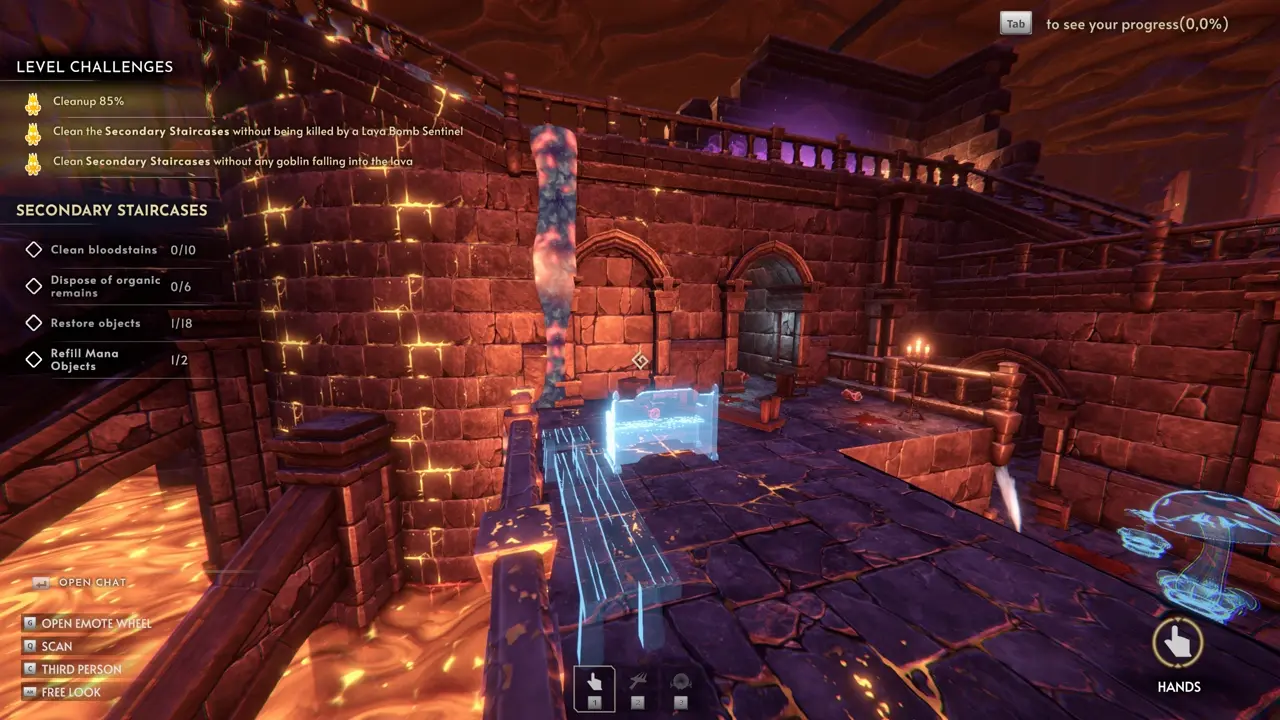
Secondary Staircases – Fake Wall #1
The wall in this archway is a fake wall. I do not find anything inside it yet.
The Entrance – Fake Wall #2
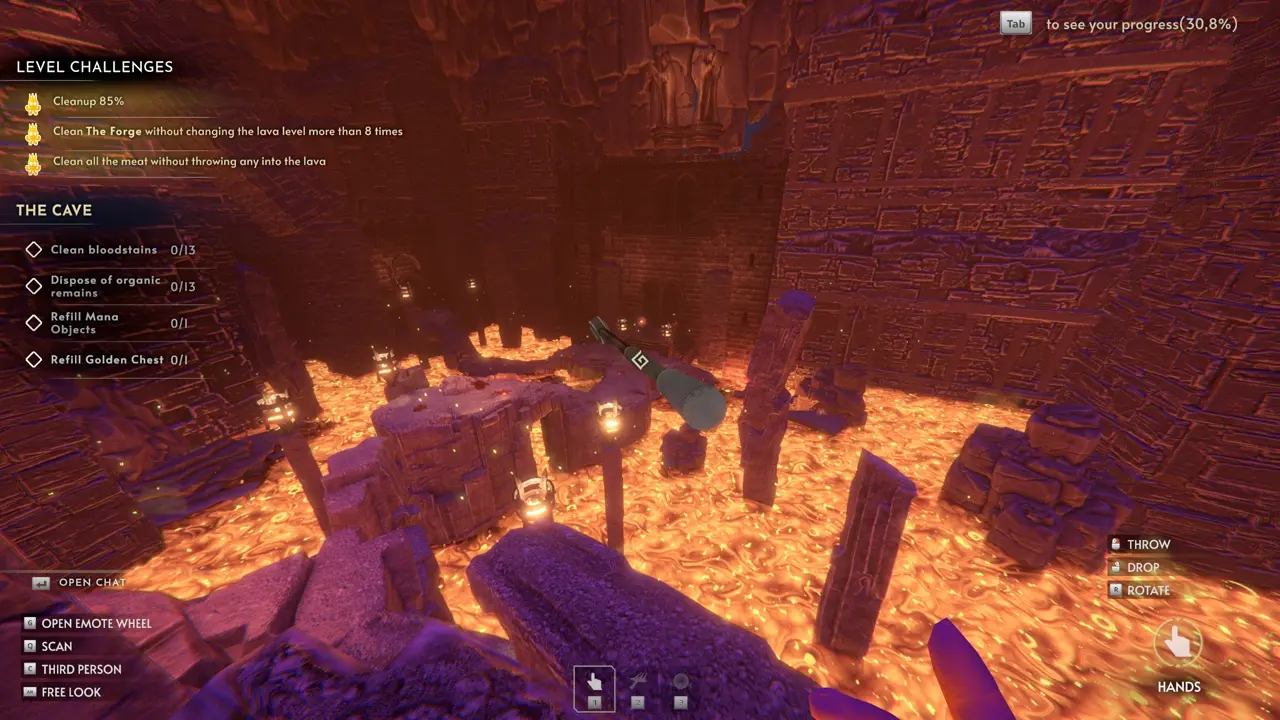
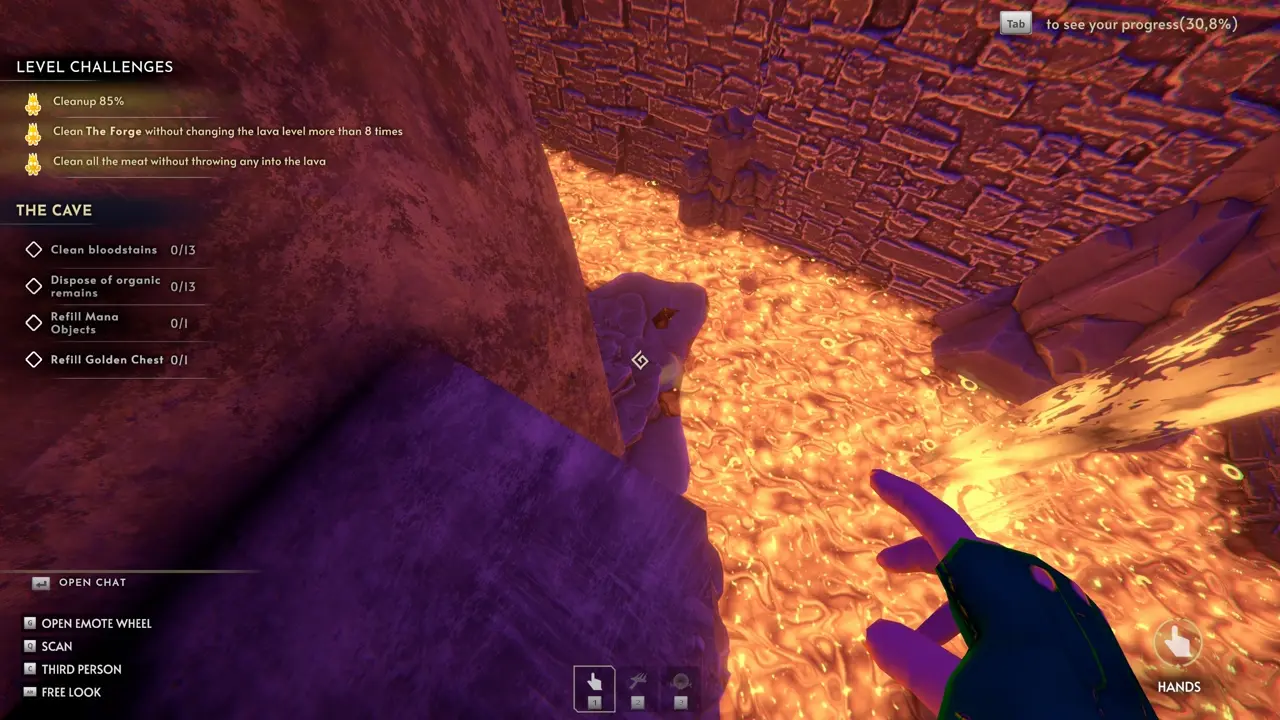
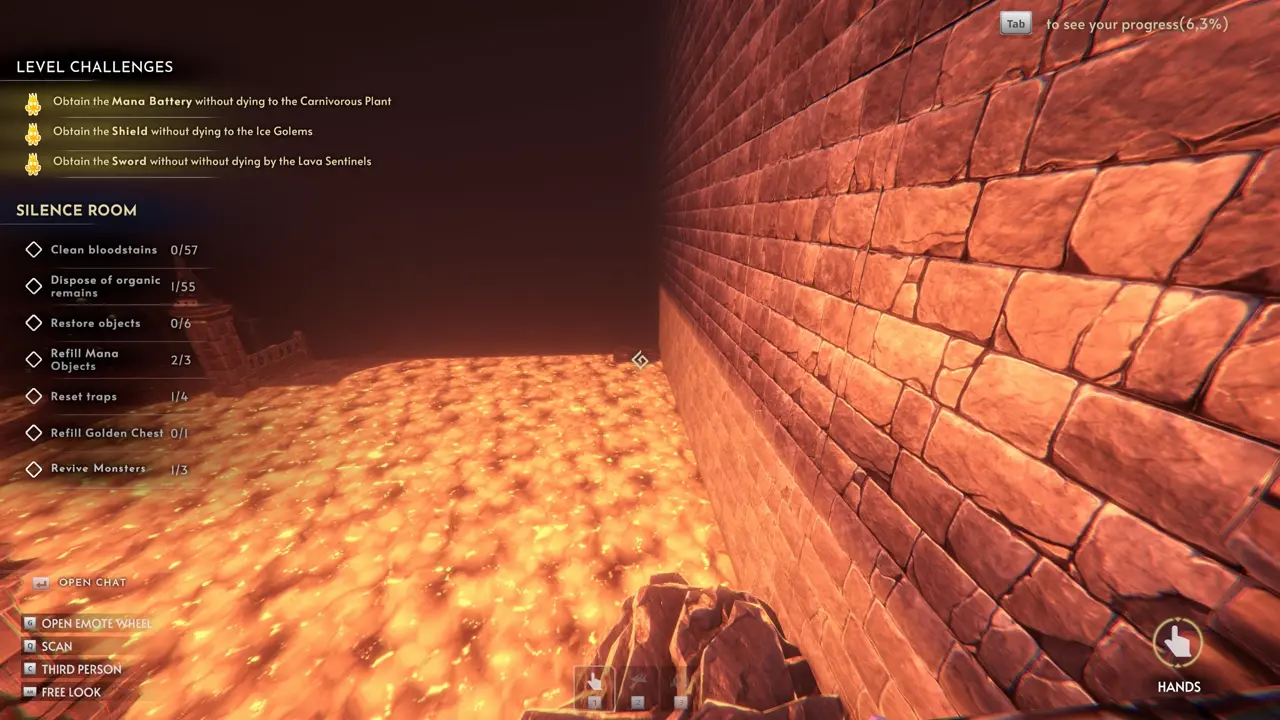
When I look into the lava pool in the middle of the map, I find a fake wall at the end of the left rock path in the lava pool. I need to jump into it because the platform behind the fake wall is slightly higher than the rocks.
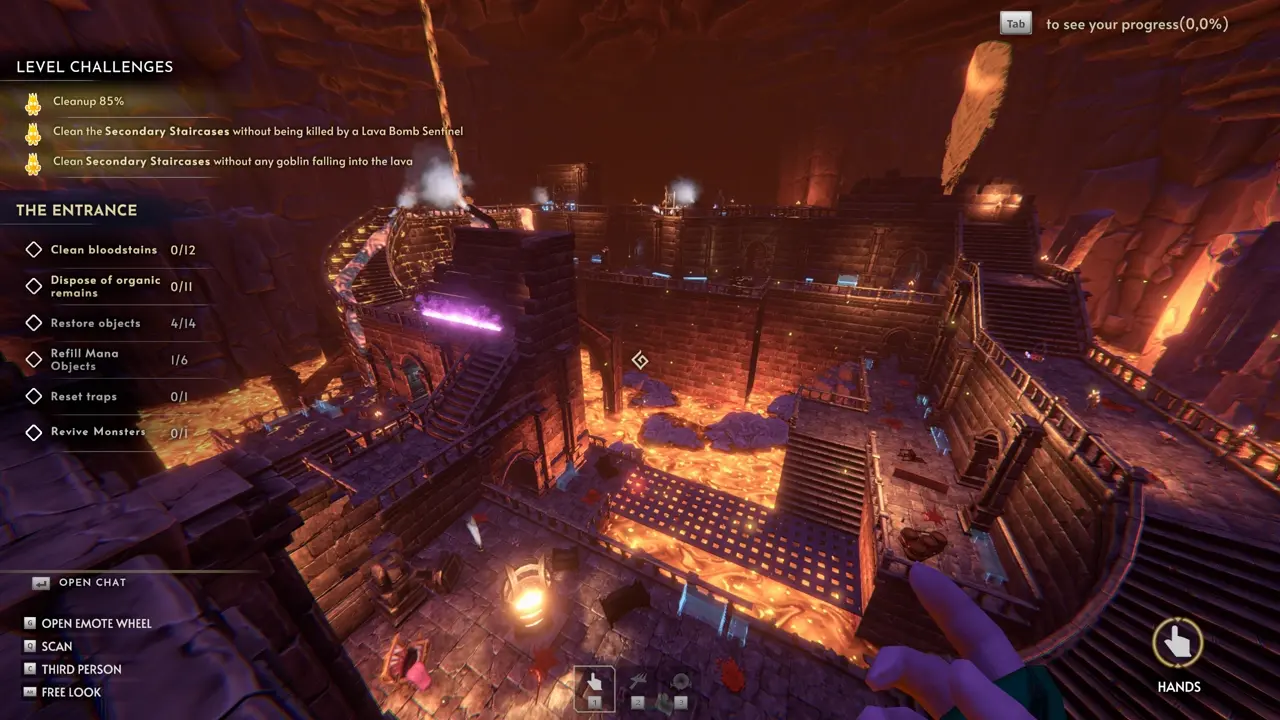
Main Stairs – Hidden Area #2
At the back side of the map, I find a Fire Blades trap. When I look down at the platform and notice another air vent, I jump down to it.
Dark Tower – The Throne
Silence Room – Hidden Lever
I use the air vent and move toward the opening shown in the screenshot. The air vent tries to push me over the fence, but I hold toward the opening to avoid being forced over it at the last second.
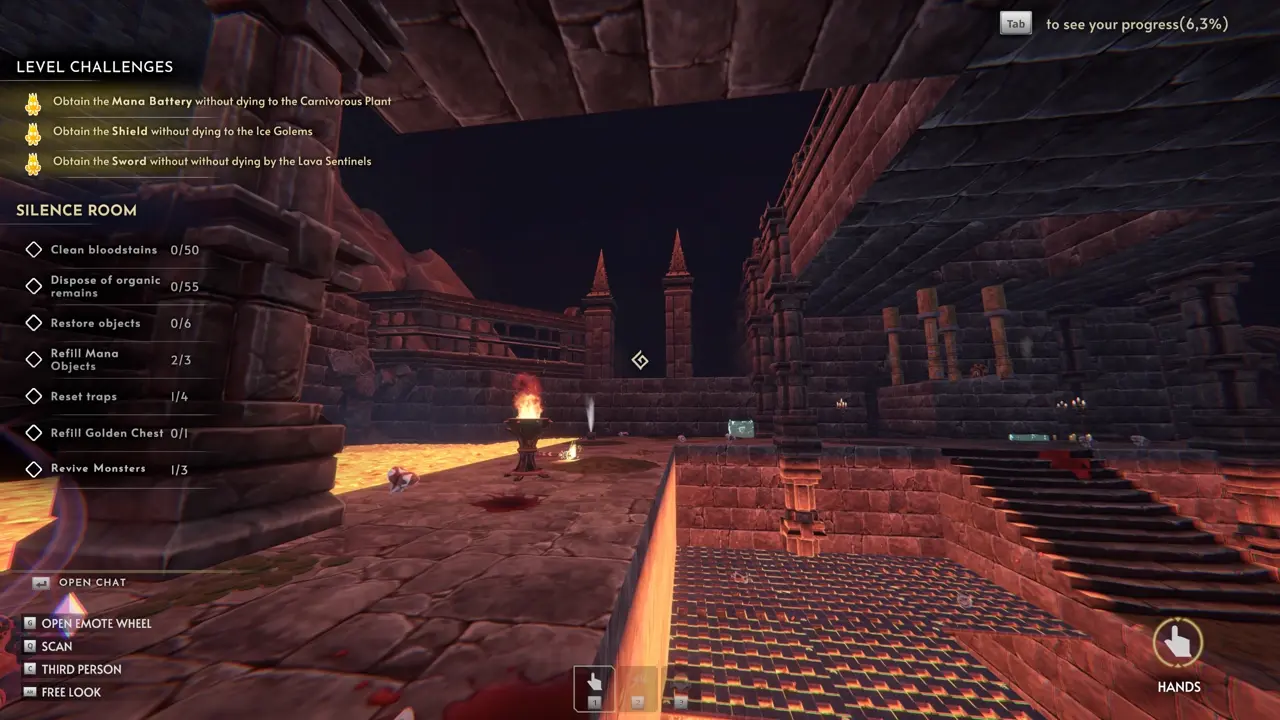
Once I make it through, I can take the lever.

I bring the lever over to the slime machine in the Silence Room.
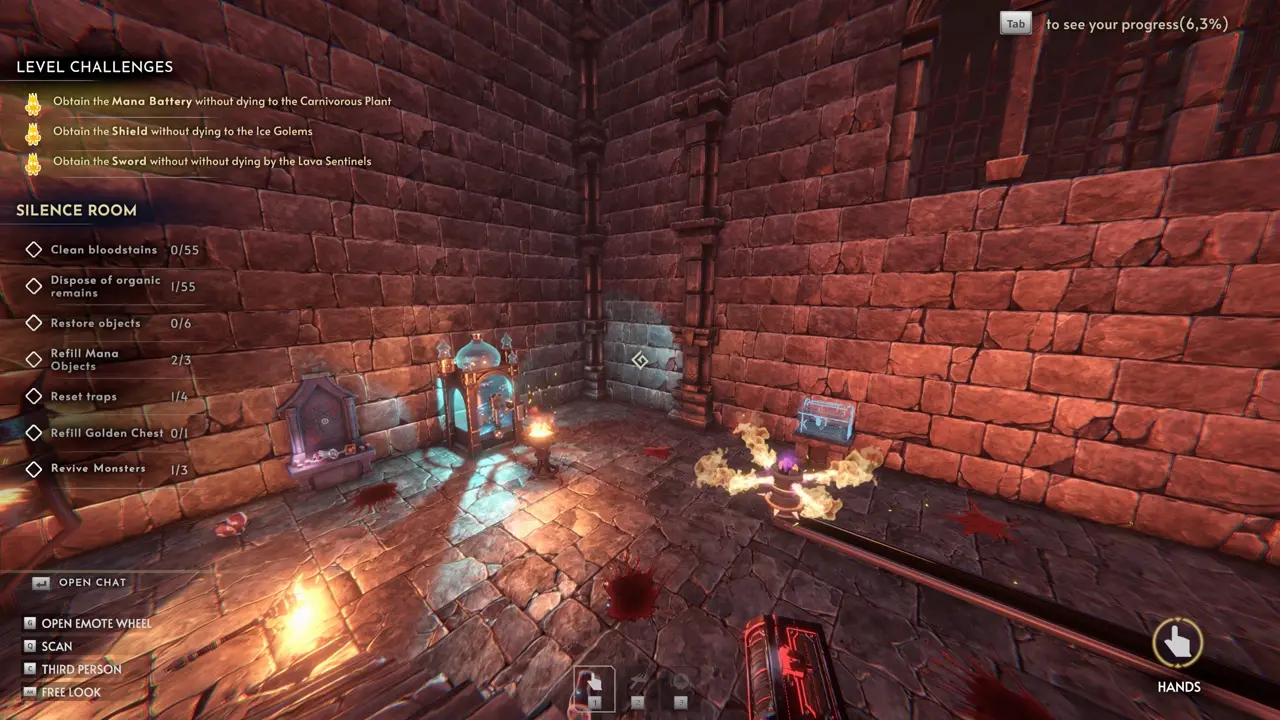
Silence Room – Fake Wall
The wall on the right-hand side of the slime machine is a fake wall. Behind it, I find the machine that gives access to ice water so I can create ice slimes.
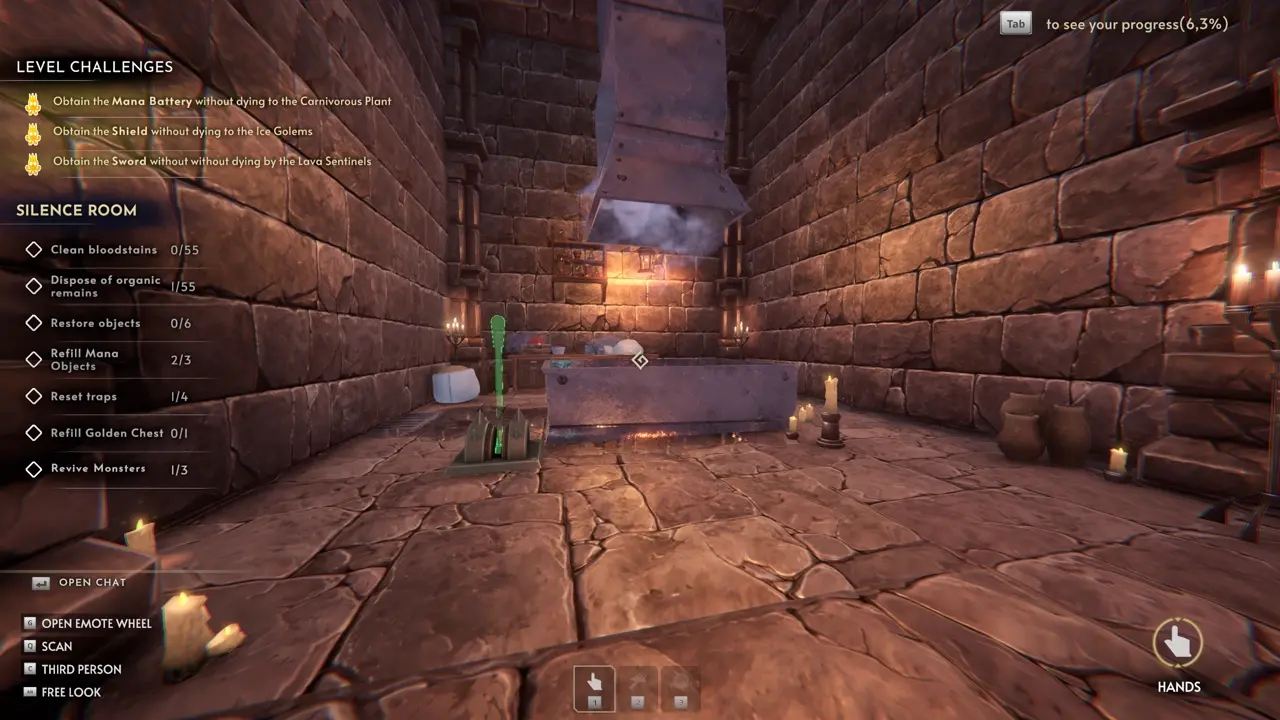
Silence Room – Hidden Area
With the ice slime, I can reach the path straight across from the fake wall exit. I can see it far in the back.
So far, I only find a skull there.
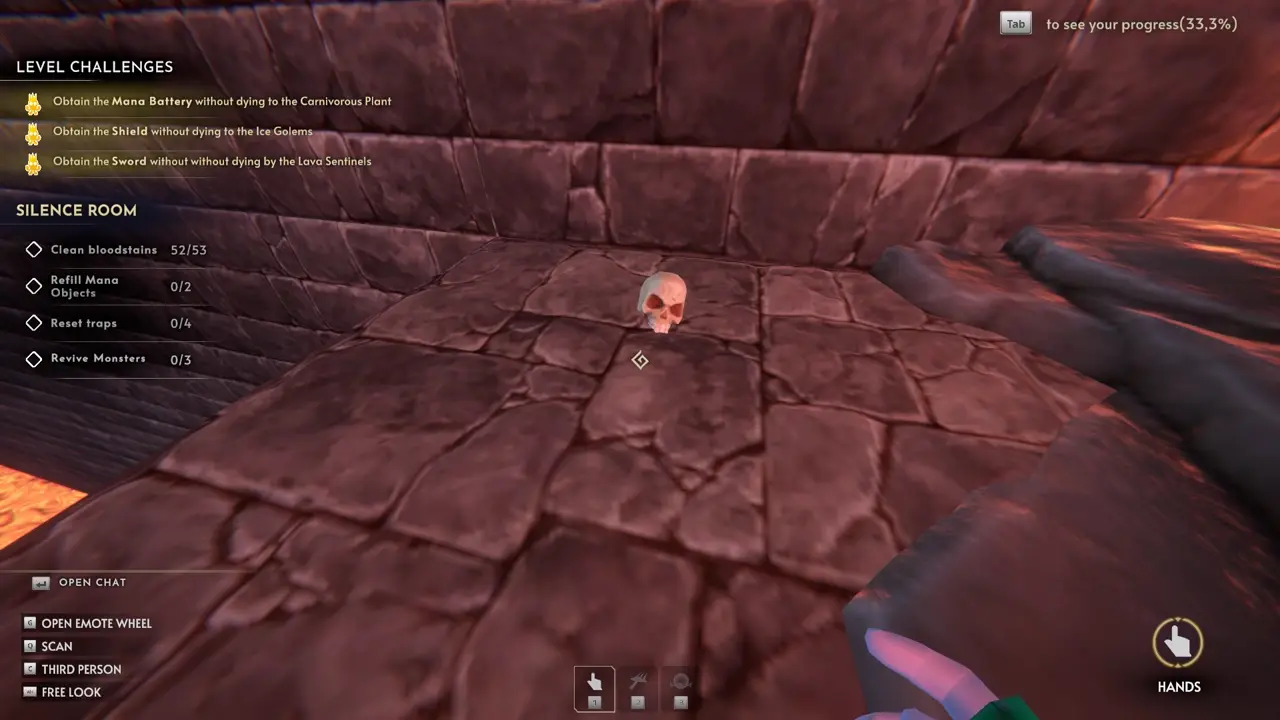
I have not found another purpose for the ice slimes here yet. This seems to be the only area where it makes sense to go and that cannot be reached otherwise.
The ice slime can also help me reach some bags of tickets around the map more easily, but those can still be reached without an ice slime.