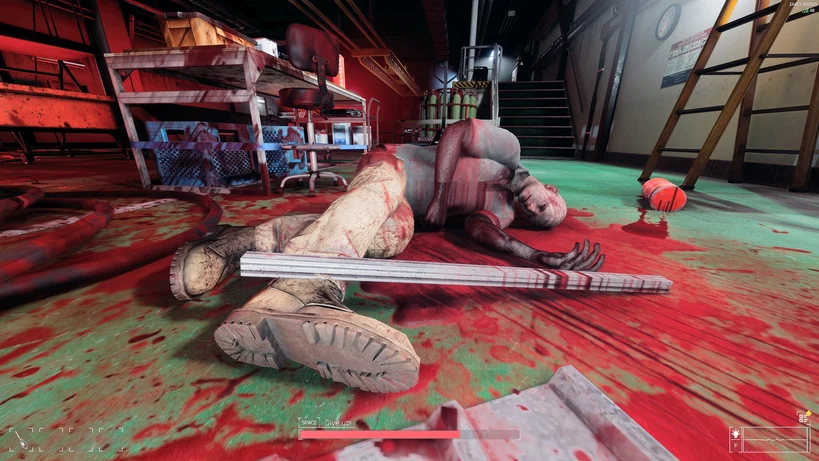
In CRYO, the Erebus map requires me to complete the ship’s main objectives while collecting the items needed for my escape. Because parts of Erebus are procedurally generated, I also keep track of important keys, room locations, and useful item spawns as I move through the ship.
Erebus Research Vessel Guide
In this guide, I cover the main Erebus objectives, the monsters exclusive to the map, useful navigation tips, and the three escape options I can use to get off the ship.
General Navigation & Tips
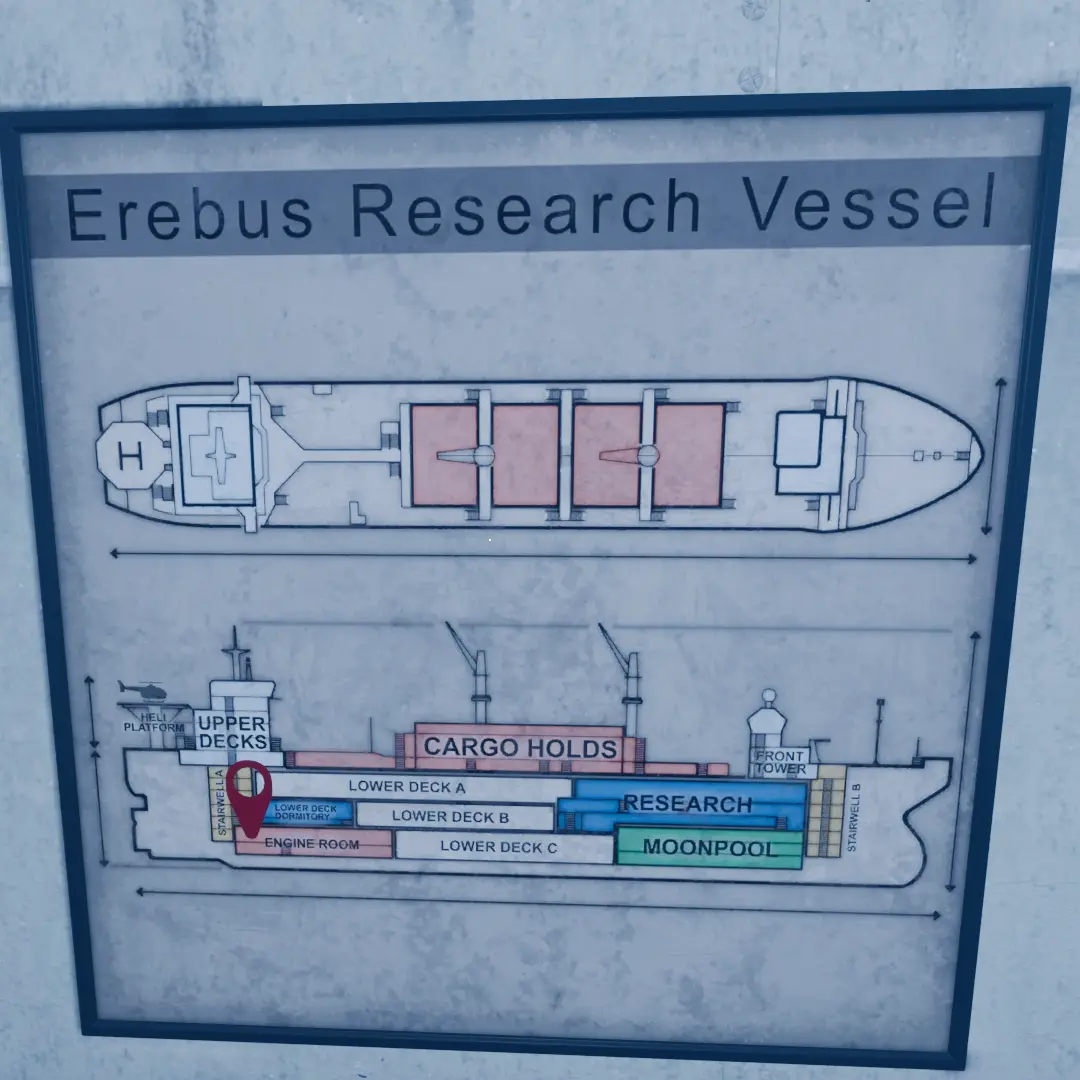
- The Autopilot Key: While working on my main objectives, I always watch for the Autopilot key because I need it to trigger the final escape. To save inventory space, I take it to the Bridge, which is the highest room in the Upper Decks, and leave it in front of the consoles until I finish the other objectives.
- Medkit Spawn: I check the Cold Storage room in the Front Tower, where I initially spawn, because a medkit usually appears there.
- Research Room Code: I also search the same area for the Research Room code. The Research Room is located just below the Front Tower. I check desks, shelves, and chairs, especially the chairs near the lockers beside the stairwell entrance.
Procedural Map Example
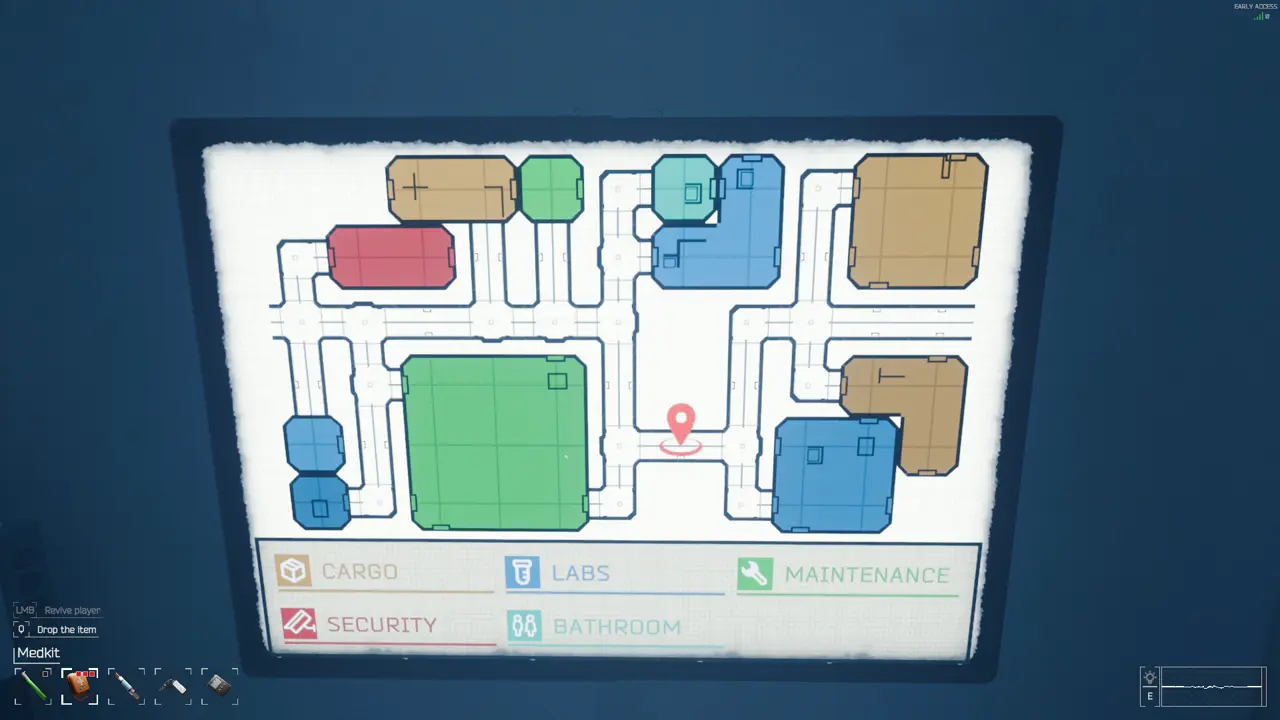
Since the layout is procedurally generated, I use the map to keep track of the rooms and routes available during my run.
Erebus-Exclusive Monsters
The Lantern
The Lantern is a slim creature with glowing eyes that looks similar to a walking anglerfish. It can also crawl through the ship’s vents.
- Mechanic: If the Lantern spots me and gets close enough, it forces me to look directly at it. This blinds me and severely blurs my vision.
The Neuralis
The Neuralis is a massive monster covered in tentacles.
- Mechanic: When the Neuralis spots me, it triggers a hallucination that causes tentacles to appear across the floors and walls. I can hide inside a locker as long as the monster does not see me enter it. If the hallucinated tentacles hit me enough times, I get knocked down and have to complete an arrow-key Quick Time Event (QTE) to survive. Higher difficulties require me to press more arrows.
Main Objectives
Fix the Radar Array
To fix the Radar Array, I head to the upper level of the Front Tower, where the helicopter rappels me down. I interact with the console and move the two knobs until I hear a beep.
Alternatively, I can exit the menu and look through the windows at the three radar arrays. A red array is still unaligned, while a green one is ready.
Fix the Gyroscope
- Find the Gyroscope Room Key: I search around the Research area, the Lower Decks, and the Front Tower spawn area for the key.
- Locate the Gyroscope Room: I look on the same level as the Research area, usually around Lower Deck B.
- Power the Server: Once inside, I find the server and pull its lever to turn it on.
- Balance the Gyroscope: I interact with the computer keyboard and use WASD to balance the ball on the platform while guiding it toward the center.
Bilge Pumps
- Find the Valve: I search the Engine Room, Lower Deck C, the scattered Maintenance Rooms, or the Moonpool, also known as the Submarine Room.
- Locate the Pump Room: I usually find the Pump Room on the same level as the Moonpool and Lower Deck C.
- Attach the Valve: I place the valve onto the pipe mechanism.
- Pull the Levers in Order: There are four levers in the room. I use trial and error to figure out the correct order for pulling them.
- Turn the Valve: After pulling the levers in the correct sequence, I turn the valve to finish the objective.
Power Distribution
- Engine Room Puzzle: I go to the Engine Room and find the small server room. I interact with the puzzle and connect the blue wire to the yellow and red wires.
- Maintenance Levers: I continue into the next room. Since this part of the area is procedurally generated, I check the map on the wall. I then go to the Maintenance Rooms, find three levers, and turn them off.
- Main Engine Levers: I return to the main Engine Room, locate the three levers there, and turn them on.
Communications
For the Communications objective, I first look for the Transmitter. It usually spawns around the navigation area in the Upper Decks or inside the Lower Deck Dormitory rooms.
After finding it, I take the Transmitter to the highest room in the Front Tower and insert it into the console. The upload fails a couple of times, so I stay nearby and interact with the console again whenever necessary until the process finishes.
Escape Options
1. The Submarine – Easiest Route
I find this to be the easiest escape route because almost every required item spawns on the same level as the Submarine, around Lower Deck C and the Maintenance Rooms.
- Gather Submarine Parts: I find the Headlight, Submarine Battery, Fuse, and Blowtorch.
- Weld the Panel: I equip the Blowtorch and hold Mouse 1 to weld the damaged panel on the side of the Submarine.
- Install the Fuse: I go to the upper walkway that the Submarine is pointing toward and place the Fuse into the fuse box.
- Lower the Submarine: Once I have completed all of the requirements, I pull the lever next to the fuse box to lower the Submarine into the water. I then enter it and interact with the controller to escape.
2. The Liferaft
The Liferaft is located just outside the Front Tower.
- Tape the Raft: I look for Duct Tape in the lower Upper Decks storage areas or the green Maintenance Rooms. I use it on the raft as soon as possible so I can free up inventory space.
- Find the Air Compressor: I search the cargo containers in the Cargo Hold. I will likely need either a Blowtorch or Bolt Cutter to open the locked containers and find the Air Compressor.
- Inflate the Raft: I bring the Air Compressor to the Liferaft, attach it to the valve, and start it. The inflation process can randomly fail, so I restart the compressor whenever it stops. While doing this, I keep track of the monster’s location and think about possible escape routes because I am vulnerable while inflating the raft.
- Deploy the Raft: Once the raft is inflated, I use the nearby crane controls to lower it into the water.
3. The Helicopter
- Find the Heli Key and Beartrap Tag RFID: I search desks and computer consoles in Research and the Lower Deck Dormitory. The Bear Tag also frequently spawns in the UV-lit plant rooms in the Cargo areas of the Lower Decks.
- Find the Fuel Hose: I open locked cargo containers in the Cargo Hold with a Bolt Cutter or Blowtorch to retrieve the hose.
- Connect the Fuel System: I attach the hose to the valve on the helipad gas pump.
- Unlock and Fuel: I use the Beartrap tag on the RFID scanner at the helipad entrance, unlock the helicopter with the key, and wait for it to finish fueling before I escape.
That covers the basics I use for surviving Erebus. I have only played this map a handful of times, so I still consider this guide a work in progress. If you know any useful tips, tricks, missing locations, or more exact spawn locations, leave a comment below and I can add them to the guide.