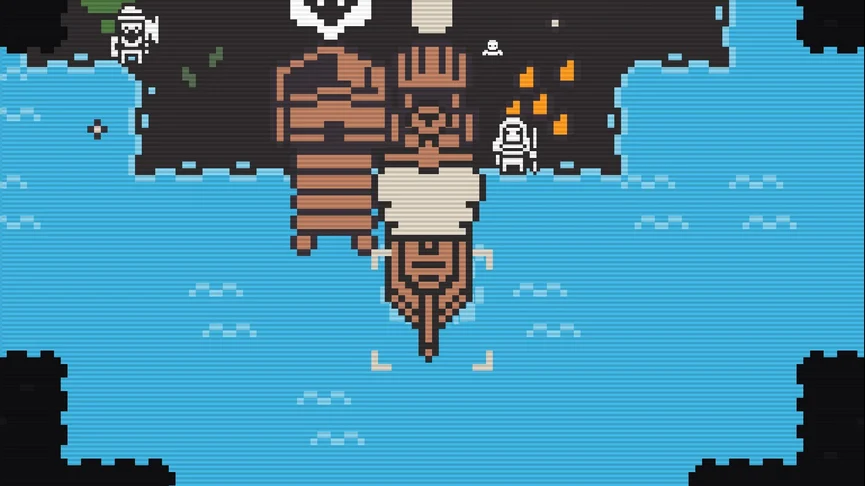
In Clicky Islands, artifacts can change how clicking, units, resource production, and special island events work. In this guide, I go through the 45 artifacts in their original order and explain the interactions and limitations I found.
Artifacts Guide: All 45 Artifacts and Effects
I have organized the artifacts into four groups: click-based, unit-based, production-based, and miscellaneous. The images show each artifact, while my notes focus on the effects that are easy to overlook.
Table of Contents:
Click-based Artifacts
I use these artifacts to change what happens when I click resources or buildings, including how autoclicking interacts with certain effects.
Click bonuses and extra resources

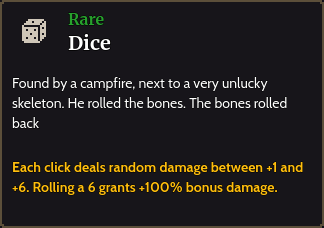
From what I found, this bonus works on anything I can click, including buildings. Ruins don’t play the sound or display the icon, but they still seem to receive the bonus when I roll a 6.
The additional damage appears to count as click strength.
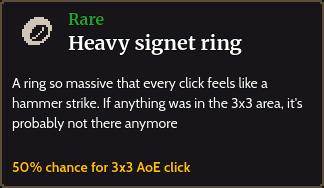
I can use this effect on any clickable resource, building, or even the campfire.
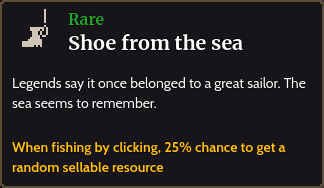
Clicking the Fisherman’s Hut also counts toward this effect. The possible resources I found are Wood, Stone, Clay, Cider, Gold Apple, Iron Ring, and Pearl.
Changing my island’s stage doesn’t seem to change which resources I can receive.
Autoclicking and golden resources
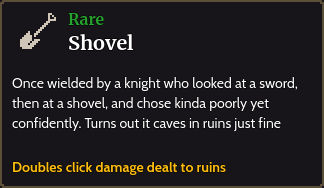
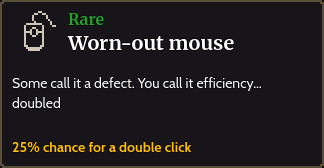
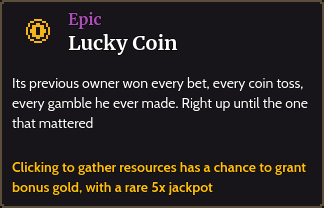
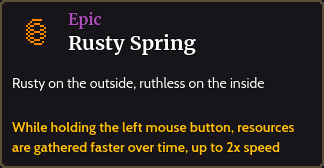
Autoclicking counts for this artifact as well. Its effect covers clickable resources, buildings, and Ruins.
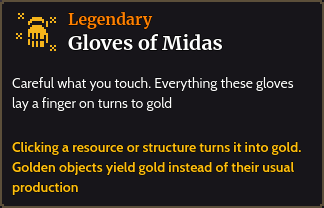
An autoclick won’t turn a resource gold; I have to click it manually to trigger the transformation. A gold resource also needs a road connection before I can assign a unit to it.
Only gold resources can be autoclicked, apart from Ruins and Treasure Chests, which cannot be turned gold. I can turn the Fisherman’s Hut gold and demolish it, but Fishing Spots can neither be turned gold nor autoclicked.
Apiaries can become gold, too. After that, I can demolish them and leave the tile empty, which seems unintended.
Cats, Pals, and Golems
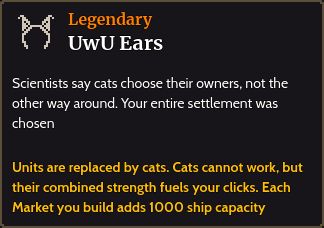
Pals become tameable cats with this effect, while Golems remain Golems and can still be assigned to work.
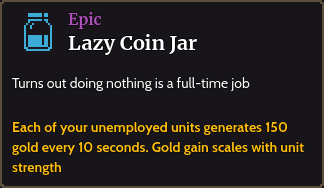
The Lazy Coin Jar seems to produce gold from some of my starting cats, but not all of them. Because the cats can’t be assigned, the All-Seeing Crown doesn’t help them. The Brain Eating Parasite appears to stack with the effect, although the cats still won’t work.
Unit-based Artifacts
These artifacts affect how my units move, work, and interact with houses and other units.
Unit movement and work speed
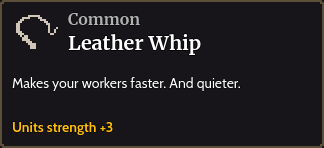
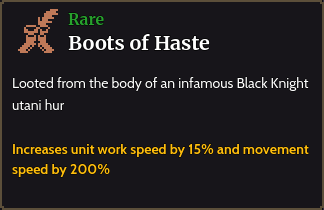
With these boots, I can get units across an entire island in about 10 seconds, considerably faster than they normally travel.
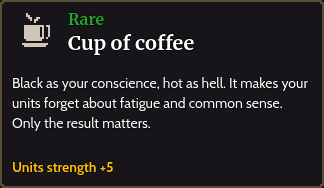
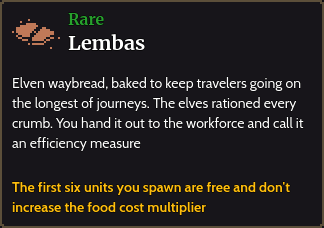
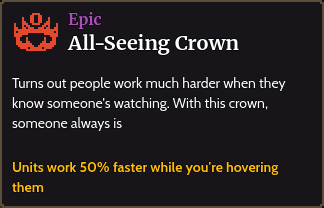
I noticed a work-speed bonus while holding my cursor over units. The boost continues for roughly 8 seconds after I move the cursor away.
The Heavy Signet Ring doesn’t activate this effect. Only the tile under my cursor gets the boost.
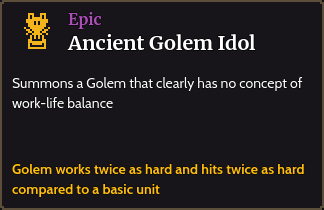
This gives me one extra Golem when I start an island. It doesn’t strengthen any of my Golems; I initially misread that distinction.
Housing and comfort bonuses
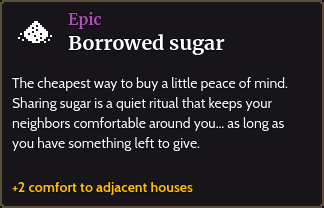
Comfort reduces the time and food needed to spawn units and increases their strength. For houses to contribute, I need to connect them to the road.
Only houses directly above, below, or beside one another count. Diagonal corners don’t count, and I only seem to get the +2 bonus once per house, even if it touches multiple houses.
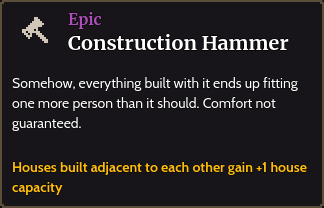
Here, diagonal corners also don’t count. Only houses directly above, below, or to the sides qualify, and the +1 bonus applies just once per house, regardless of how many other houses are adjacent.
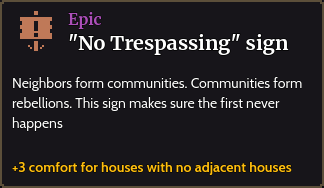
I can’t reduce Comfort below its minimum. The bonus appears to diminish with each pair of adjacent houses, depending on the total number of houses.
As with the other housing effects, only direct neighbors count; diagonal corners don’t.
Pals and automatic assignment
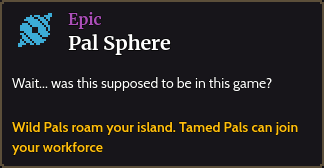
Pals have the same work strength as ordinary units. They don’t receive the doubled strength that Golems have.
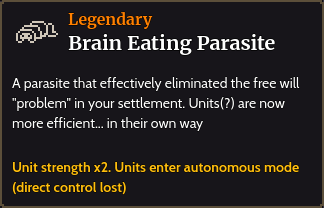
Units assign themselves under this effect, although I still need roads. In my observations, they don’t change assignments very often.
Pals are affected and doubled, but I can’t assign them. Golems aren’t doubled by this effect, although I can still assign them. The All-Seeing Crown continues to boost units as usual.
Production-based Artifacts
For production-based artifacts, I pay particular attention to resource yields, building costs, and how nearby tiles interact.
Berry production and building costs
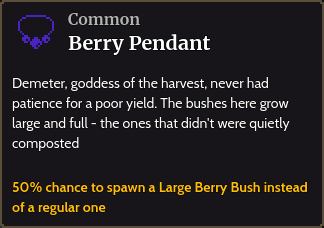
A Large Berry Bush gives me 2 Berries, while a regular Berry Bush gives me 1.
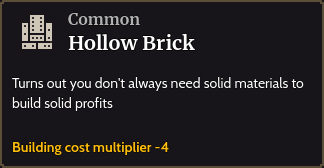
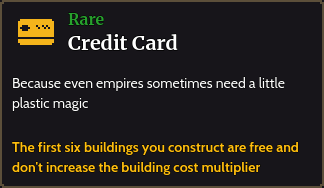
I can build up to six buildings for free, even when I demolish and rebuild them repeatedly. Costs only begin to apply when I place the seventh building on the island.
Trees, apples, and nearby buildings
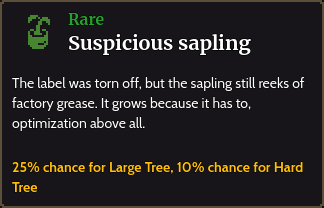
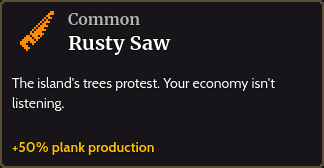
The wood yields I observed are 1 Wood from a Normal Tree, 1.5 Wood from a Large Tree, and 2 Wood from a Hard Tree.
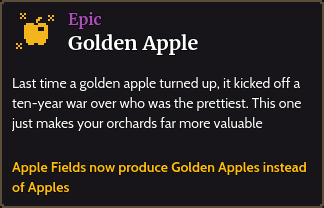
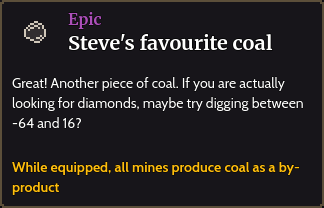
I can’t substitute Golden Apples for regular Apples. That means they don’t work for a Cattle Farm, Cider, Jam, or other uses that require Apples. I can only sell them.
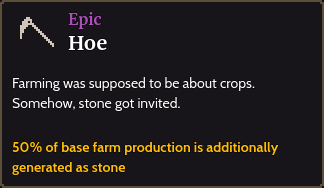
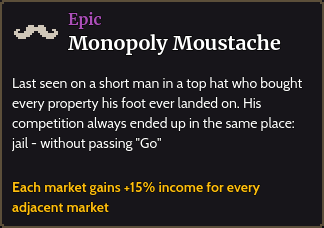
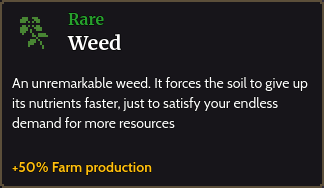
For this effect, diagonal corners do count, and I can stack the bonus.
Treasure chest spawning
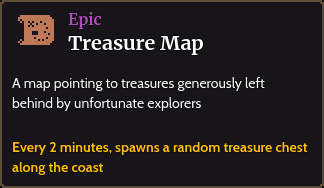
The spawned X markers can appear a tile or two inland rather than directly beside the water. I don’t need to collect the previous Treasure Chest before another appears, and the spawning doesn’t stop at ten chests.
Miscellaneous Artifacts
These artifacts include starting bonuses, map effects, monsters, and the volcano challenge.
Other artifact effects and starting bonuses
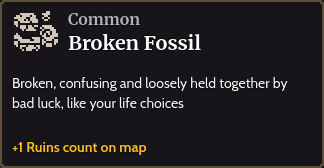
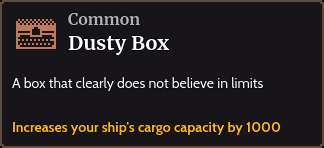
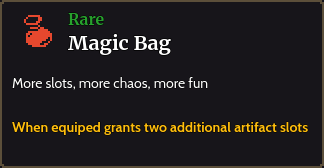
Even with this effect, I can’t go beyond the maximum of 10 Artifacts.
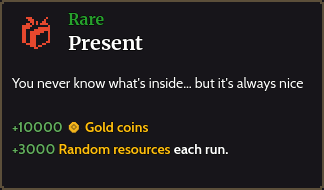
The starting resources add up to 3,000 in total. From what I can tell, possible resources include Wood, Planks, Rope, and Straw.
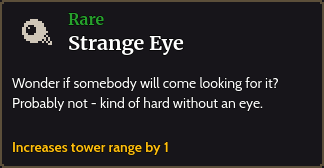
More precisely, this increases the radius by 1 tile.
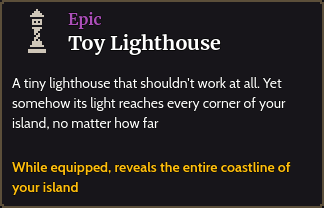
This reveals the coastline, but it doesn’t reveal the boundary along the mountains.
Monster nests and volcano challenges
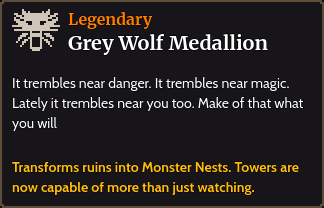
Monsters keep spawning from Nests, and their attacks temporarily stun my units, preventing them from working or being assigned.
Tower buildings fire at nearby monsters, which drop gold when killed. I can’t kill those monsters by clicking; only Towers can do it.
I can assign units to destroy a Nest. Destroying one produces a Fossil and grants click strength and unit strength.
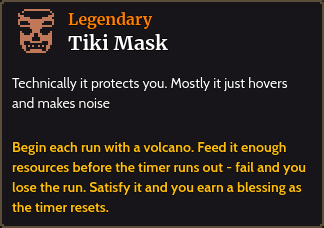
I see the countdown as a bar along the bottom of the screen. I have at most 10 minutes to fill the volcano, and each successful fill restores up to 3 minutes.
The first fill appears to require 2,000 resources, with the required amount doubling after each fill. Every fill gives me a blessing.
If I fail, the game takes me to the island-leaving summary, but I keep the Fossils and Reputation I’ve earned.