Defeating the final boss in CelSector on Hard Mode can become overwhelming once enemies start filling the arena. In my experience, the easiest way to handle this fight is to prepare the right weapons, weaken the boss’s eyes without destroying them, and finish the final phase before the enemies become too difficult to manage.
How to Defeat the Final boss in Hard Mode in CelSector
In this CelSector guide, I’ll explain the weapons I use against the final boss, how I deal with enemy spawns during the initial phase, and the strategy I follow to finish the fight on Hard Mode.
Best Weapons for the Final Boss
There are two weapons I recommend bringing into this fight: the Single-shot Sniper and the Laser Pistol. The sniper is the most important part of my strategy, while the pistol makes dealing with groups of enemies much easier.
If I don’t have these weapons, I go back through the earlier levels and explore areas away from the main path. Both weapons can be found without too much trouble, although the Single-shot Sniper is particularly easy to miss if I rush through the early sections.
Single-shot Sniper
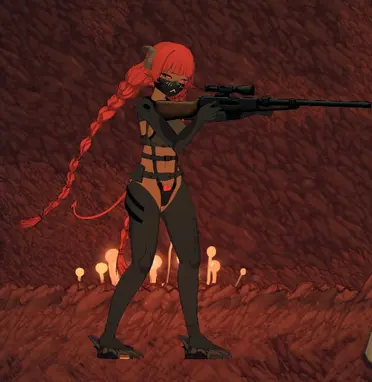
The Single-shot Sniper is the weapon I consider essential for this fight. I can find it relatively early in the game, around Sector A, but I need to explore rather than simply follow the main route.
Although another sniper option carries six rounds, I find it much less effective on Hard Mode because it struggles to kill enemies with a single shot. The Single-shot Sniper, on the other hand, can eliminate almost everything in one hit.
Its biggest advantage is that a single shot can penetrate up to three targets and ricochet off surfaces. This makes it particularly useful for dealing with multiple enemies and damaging the boss’s eyes.
Laser Pistol
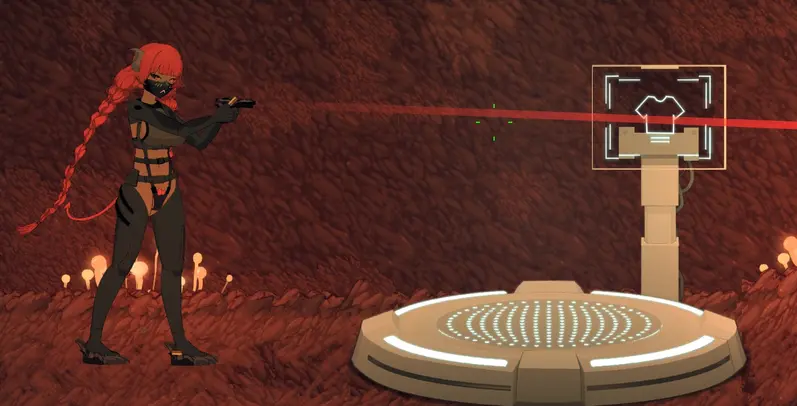
The Laser Pistol isn’t strictly required, but I find that it makes the entire boss fight much more manageable. Like the Single-shot Sniper, it can penetrate multiple enemies with a single shot.
From what I’ve seen, its shots can pass through more than three targets, although I haven’t confirmed the exact limit. It only carries four shots, but that’s enough for the strategy I use during the initial phase.
Initial Phase: How to Handle the Final Boss
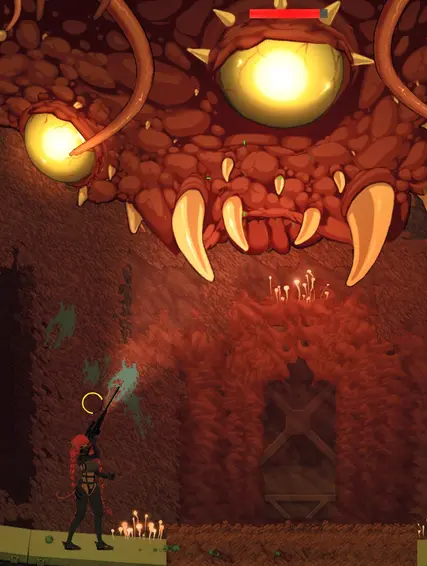
When the CelSector final boss is still at full health, I avoid destroying any of its eyes immediately. Breaking the first eye causes additional enemies to appear, and they can quickly turn the fight into a difficult situation.
These enemies aren’t particularly difficult to kill individually, but they spawn quickly enough that reloading and keeping them under control becomes a problem. That’s why I prefer to prepare all the eyes before moving into the next part of the fight.
Use the Laser Pistol Against the Left-Side Spawns
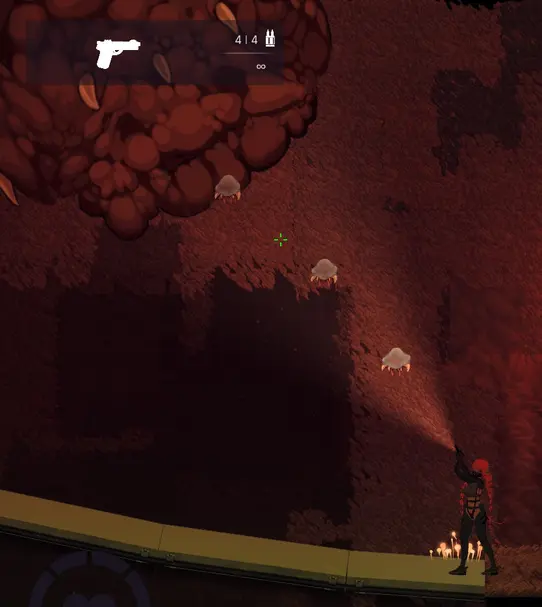
During the initial phase, seven enemies spawn on the left side of the arena. They appear in a straight line, which makes them ideal targets for the Laser Pistol.
I line up the enemies and fire through the group, taking advantage of the pistol’s ability to penetrate multiple targets. This is my preferred way to clear these spawns without getting overwhelmed.
Weaken Every Eye With the Single-shot Sniper
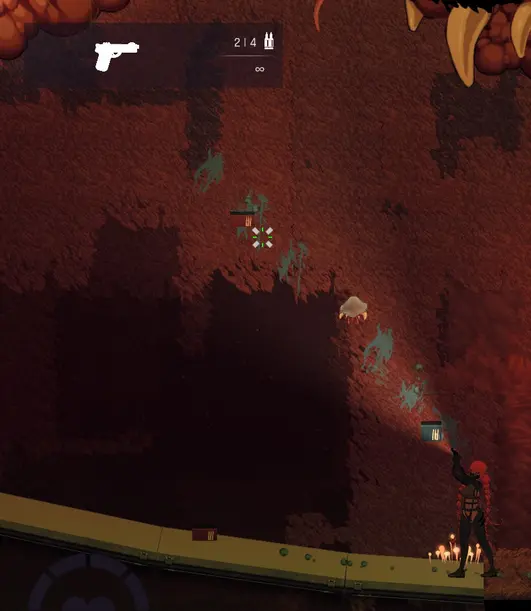
My next priority is reducing the health of each boss eye without destroying any of them. I use the Single-shot Sniper for this because of its high damage.
Before firing, I make sure I’m standing completely still. Even the slightest movement can cause the sniper to miss, so I never try to take these shots while moving.
The goal is to bring every eye as close to zero health as possible while keeping them all alive. Once they’re weakened, I can destroy them much faster during the final phase instead of dealing with their full health while enemies are attacking me.
Deal With the Enemy Spawning in the Middle
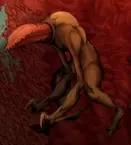
While the boss is vulnerable, another enemy can spawn in the middle of the arena. I don’t need a particular weapon to defeat it, so I generally use whatever I have available.
When possible, I prefer a weapon that doesn’t consume purple ammunition. If I have plenty of spare ammo, the Single-shot Sniper can kill this enemy in one hit.
I can also line up a sniper shot so it hits the middle enemy and one of the boss’s eyes at the same time. This lets me damage both targets with a single bullet.
Important Tips for the Initial Phase
- Be careful with sniper shots: I always stop moving before aiming the Single-shot Sniper. Its ricochet effect can also cause a shot to hit an unintended eye, so I pay attention to where I’m firing.
- Don’t spam the struggle controls: As far as I can tell, struggling has a hard limit. Pressing A and D excessively doesn’t make it more effective, so there’s no reason to mash the keys unnecessarily.
- Avoid getting grabbed by the smaller enemies: These enemies can apply a debuff that makes struggling much more difficult. If my struggle meter turns purple, I stop struggling. This usually only becomes a problem if I fail to deal with the smaller spawns.
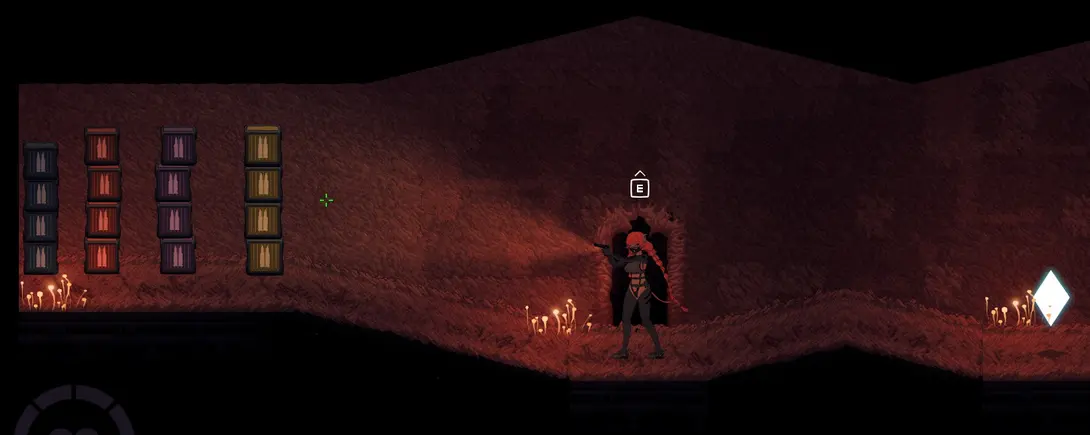
- Remember the ammunition crates: If I run out of ammo, I can make use of the crates located just outside the save room. They’re easy to overlook if I’m rushing toward the boss.
Final Phase: How to Defeat the Boss
Once I’ve lowered the health of every eye to the point where they’re almost destroyed, I’m ready to finish the fight. The idea is to take advantage of all the damage I dealt during the initial phase and avoid spending too much time fighting newly spawned enemies.
Destroy the Eyes in Any Order
I don’t need to follow a particular order when destroying the eyes. I simply choose whichever one I want to eliminate first and continue from there.
The order doesn’t change how the fight progresses, so I focus on whichever eye I can hit most easily rather than worrying about which one should be destroyed first or last.
Ignore Most of the New Enemy Spawns
As more enemies appear, I resist the temptation to fight every single one. Most of the time, dealing with them only wastes time that I could spend finishing the boss.
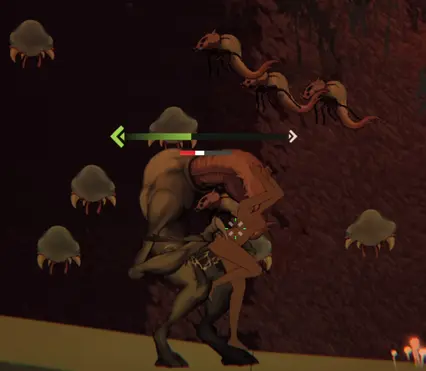
The flying enemies are relatively easy to escape by struggling when they grab me. The larger enemy is the exception, and I pay particular attention to it. If I leave it at full health, it can trigger an orgasm regardless of how much I struggle.
Because of that, I generally ignore the smaller flying enemies and only worry about the larger one when necessary.
Focus on Finishing the Eyes Quickly
Since I already weakened every eye during the initial phase, each one should be close to dying. I concentrate on destroying them as quickly as possible instead of trying to clear the arena.
If I take too long, enemies can swarm me in such large numbers that the Single-shot Sniper can no longer penetrate all the targets blocking my shots.
When that happens, I switch to the Laser Pistol and continue focusing on the eyes. I don’t waste time trying to eliminate every spawn because they can return faster than I can reload and kill them.
That’s the strategy I use to get through the CelSector final boss on Hard Mode. The most important part for me is keeping every eye alive until I’ve reduced its health as much as possible, then destroying them quickly before the enemies take over the arena.
With the final boss defeated, I can continue toward completing the game on Hard Mode. Congratulations if you’ve managed to beat it!