In Heartfall: A Tale in Three Lives, I have been tracking the different routes and their ending achievements. I found the ending names and route assignments while looking through the game code, but I have only worked out the exact choices for some of them. This guide covers my route notes and the achievement walkthroughs I can currently explain.
All Routes, Endings & Achievements Guide
I have organized the routes from Route 0 through Route 11, followed by the specific choices I use to unlock the endings I have confirmed. I recommend keeping separate saves, especially for routes that branch off Route 0.
Table of Contents:
Notes and Progress:
I use the following formatting to show how far I have progressed with each achievement:
- Bold — I have found the achievement and know exactly how to unlock it; I include its walkthrough below.
- Italic — I have found the achievement, but I cannot yet reproduce the choices that led to it.
- Underlined — I have not unlocked the achievement, although I have an idea of how it might work.
- Plain text — An ending I have identified without a confirmed walkthrough in this guide.
Routes
Route 0 – Have We Been Here Before?
I enter this route by burning the Mystic Tree with Scar, causing his death with a creeper, pledging loyalty to him, and spending the night with him.
- So That’s How It Went
- That’s Not How It Went
Route 1 – The Dark Forest
I begin by building my own base, burning the Mystic Tree with Scar, killing him with a creeper, and promising him my loyalty. Then I return to my base and insist on staying there even though I made that promise.
- Alone, Beloved — I have played through this outcome, but I still do not know which decisions cause Grian to die.
- Die, Together
Route 2 – Dog-Eat-Dog World
I follow Route 0 through the first day, find Martyn in the village, and complain when he asks how I am doing.
Route note: I cannot say for certain whether the achievements below belong to Route 2 or Route 5. That part of the code uses the names “Ren WhoDunnit” and “Dogwarts Deception” instead, so I have kept my original uncertainty.
- All For Naught
- Almost Home
- Back Where It Started
- I’ll Be Waiting
Route 3 – Live, Laugh, Divorce
I choose to build my own base. When Jimmy and Scott find me and suggest forming an alliance, I agree to go with them.
- Happily Egger After
- Hate Loses
- Hate Wins
- Love Loses
- Love Wins
Route 4 – Ashes and Alliances
I help Joel tame his wolves and accept his offer to build a cabin together.
- A Lonely Death
- A New Family
- A Violent End — I suspect A New Family involves staying with Cleo and BDubs, but I have not worked out how to prevent Joel’s death.
Route 5 – Should’ve Aimed for the Hand
I follow Route 0 through day one, then find Martyn in the village and initially complain about Scar. I take the complaint back and tell him I was joking. When Martyn approaches me again after the magic trick, I agree to commit a crime with him.
Route note: As with Route 2, I am not fully sure about this assignment because the code refers to “Ren WhoDunnit” and “Dogwarts Deception” instead of the route names.
- Can we go to the desert? — I have not obtained this one, but there appears to be only one option, so I expect it to be straightforward.
Route 6 – The Cow Heist
I begin along Route 0, but before gathering materials for my base, I talk to Scott and Jimmy and agree to help them with the cow heist.
- Perennial Garden
- Scorched Earth
Route 7 – Welcome Home, Ally
I talk to Jimmy after leaving the village, agree to help him, and then continue with Route 0 instead. When I go to sleep, I choose “Remember.” I am still not completely sure that these are the exact requirements.
- It’s Us Until The End
- To Have Your Alliances, and Keep Them Too
- Together in the Desert
- What Else Did You Expect
Route 8 – Music is Magic
After leaving the library, I speak to Impulse, gather the materials he requests, and help him make the music box.
- Dal Segno al Coda
- Dal Segno al Fin
- Fallen Companions
- Self-Inflicted Solitude
- Solitude
Route 9 – The Court of Last Chances
I stay on Route 0 until day three, then head into the flower forest and interact with the goose.
- A Home Where You Are — I was trying for the bad endings, but Scar survived instead.
- Dusk Til Dawn
- Minutes Past Midnight
Route 10 – Any-fin is Possible
On day one, I interact with the sign beside the dock and continue fishing until I catch a book.
- Bass Friends Forever: True Pacifish
- Fish or Be Fished: Fishmaster
- Goodbye Krill World: Fishing Anonymous
Route 11 – Wolf in Sheep’s Wool
I inspect the statue on the beach near Grian’s starting location and keep staring at it until it blinks.
- A Promise Fulfilled
- Never Alone Again
Unobtainable Entries
I also found the following names in the code. They do not seem connected to a particular route and do not have proper achievement names, so I assume they are intended for testing rather than normal unlocks.
catch_allimpy_endingscar_ending
Achievement and Endings
The sections below describe the choices I use for the achievements whose requirements I have worked out. Some of the endings contain major story spoilers.
Route 0 – So That’s How It Went

To start Have We Been Here Before?, I talk to Scar after exploring the library and agree to help burn down the Mystic Tree. I collect the Flint and Steel from the mountain cave near Tango. Later that night in the village, I lead the creeper toward Scar, which kills him. To apologize, I promise to stay with him until I lose my first life, follow him into the desert, and remain there overnight.
I save every session in a separate slot because several routes can branch away from this one. Route 0 follows the original 3rd Life story closely, so anyone familiar with that series will recognize many of the decisions. There are a few choices I avoid to keep this ending available.
- After the first night, I decline Jimmy and Scott’s invitation to go on a cow heist in the forest and continue collecting base materials.
- When I meet Martyn in the village while gathering supplies, I avoid complaining too much about Scar and refuse to accompany Martyn.
- After the tree magic trick, if Martyn appears along the forest trail and asks me to commit a crime, I turn down his offer.
- During the fight at Dogwarts, Martyn attacks me and Scar with his axe. I do not take the blow, because that choice kills me and prevents this achievement. Scar survives when I pick the other response.
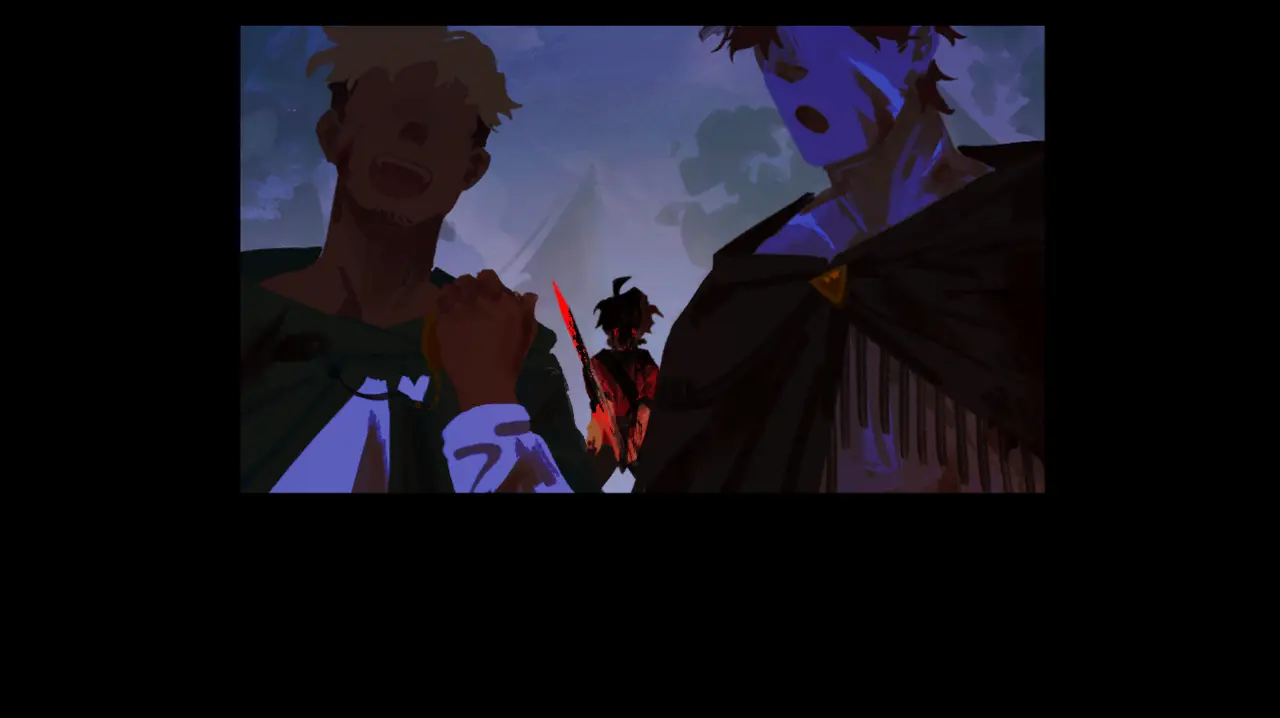
Ending spoilers: After Dogwarts loses, BigB, BDubs, Impulse, Scar, and I are still standing. Scar wins BDubs over with a clock, orders him to kill BigB after BigB uses his friendship pass, and BDubs then kills Impulse. Scar makes BDubs and me compete for a No Kill Pass, which BDubs gets regardless of my choice. Scar kills me and leaves me on red. When I catch up with Scar and BDubs, BDubs dies no matter whom I attack. I stop trying to kill Scar, but the dead call for us to fight. Scar gives me time to look around before meeting him in the desert. I win the final fight, jump off the cliff, and unlock So That’s How It Went after dying.
Route 0 – That’s Not How It Went

I begin this ending on the same Have We Been Here Before? route. After exploring the library, I help Scar burn the Mystic Tree using the Flint and Steel found in the mountain cave near Tango. I lead the creeper to Scar during the village night, promise to stay loyal until my first death, and spend the night with him in the desert.
I keep separate session saves here, too. The route is similar to the original 3rd Life storyline, and I avoid the same early detours: I decline Jimmy and Scott’s cow heist, do not complain too much to Martyn while gathering base supplies, and refuse Martyn’s invitation to commit a crime after the tree magic trick.
The important difference comes during the Dogwarts battle. When Martyn attacks, I choose to take the blow. It puts me on red early and locks me into the alternate ending, because the story can no longer follow the original 3rd Life outcome.
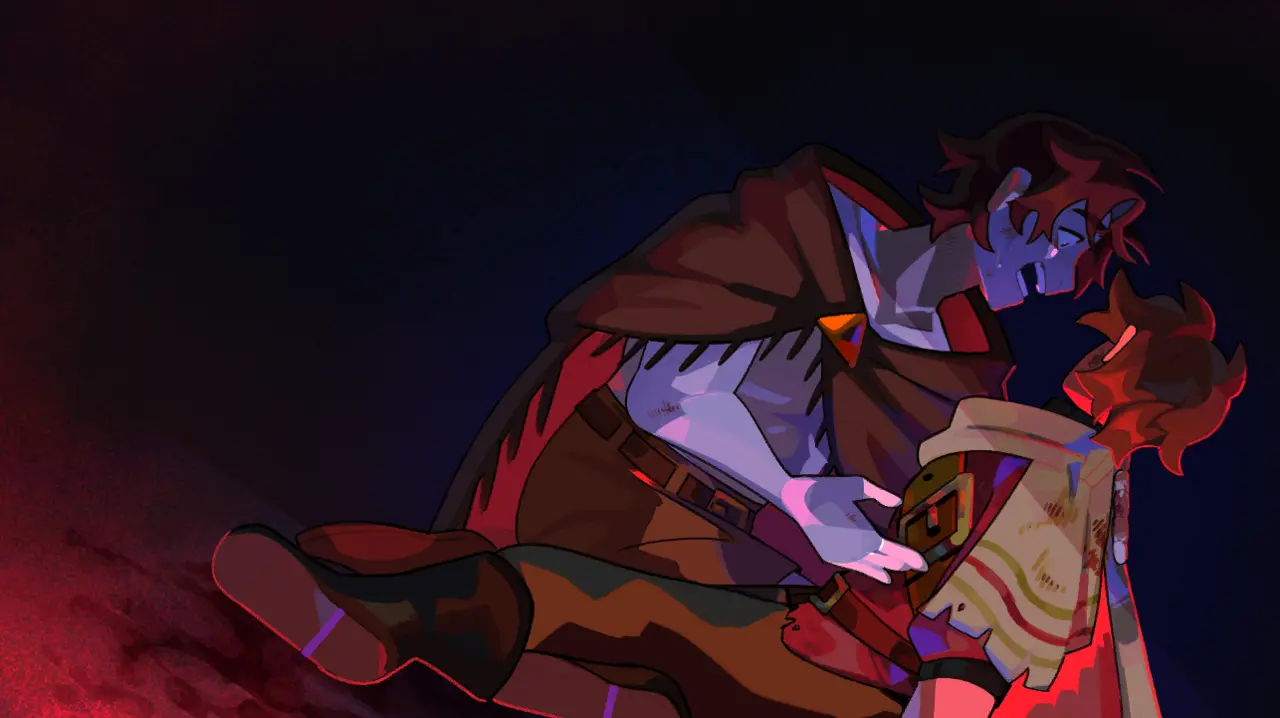
Ending spoilers: Scar survives that encounter and reunites with me after I respawn. Later in this version of the Dogwarts fight, we both die. I receive That’s Not How It Went once the ending finishes.
Route 4 – A Lonely Death
For Ashes and Alliances, I find Joel in the forest to the west of Jimmy and the cows after exploring the library. He is struggling to tame wolves, so I follow the conversation until I have helped tame several of them. He thanks me at first; when I speak to him again, he suggests building a cabin together. I accept to enter his route.
Content warning: Extreme blood.
Most of this storyline does not seem to branch much before session six, so I follow the story until I reach the major decision. Joel and I start on our own. He loses his first life in Tango’s Dare to Flare, and I lose mine to a wolf when I try to tame it. I have not found a way to stop either death: Tango pressures Joel into playing even if I object, and the game does not let me heed Joel’s warning about the wolf.
Story spoilers: The cabin catches fire while we sleep, leaving Joel on red. Although we both escape at first, he goes back for the wolves. One wolf escapes, but Joel and the remaining wolves die in the fire. I eventually learn that Cleo started the fire in retaliation for Joel keeping Mystic Wood earlier, although the situation got out of control and Cleo regrets it.
Cleo and BDubs offer us a place at the Crastle. Our relationship is tense initially, but the danger from Dogwarts eventually turns us into allies. I end up on red after sacrificing myself for Joel in a fight. I can repeatedly tell Joel I would die for him, which upsets him because he does not want to lose me. Eventually, he says he would die for me as well.
As the last battle with Dogwarts approaches, Cleo and BDubs send Joel and me to ask others for help. We approach Etho, Scar, Jimmy, and Scott, but only Jimmy sounds enthusiastic. That night, all four of us gather by the fire, admit we are afraid of the following day, and call ourselves a family.
I save when prompted on the night of session five, since the choice coming up leads toward A Lonely Death or the other ending, A Violent End.
In the morning of session six, Grian finds Joel outside the Crastle. After hearing his concerns about the upcoming battle, I must choose between staying with Cleo and BDubs or escaping with Joel. For A Lonely Death, I select run away with Joel. That immediately commits me to the ending and reduces my reputation with Cleo and BDubs, even though they have not noticed our departure.
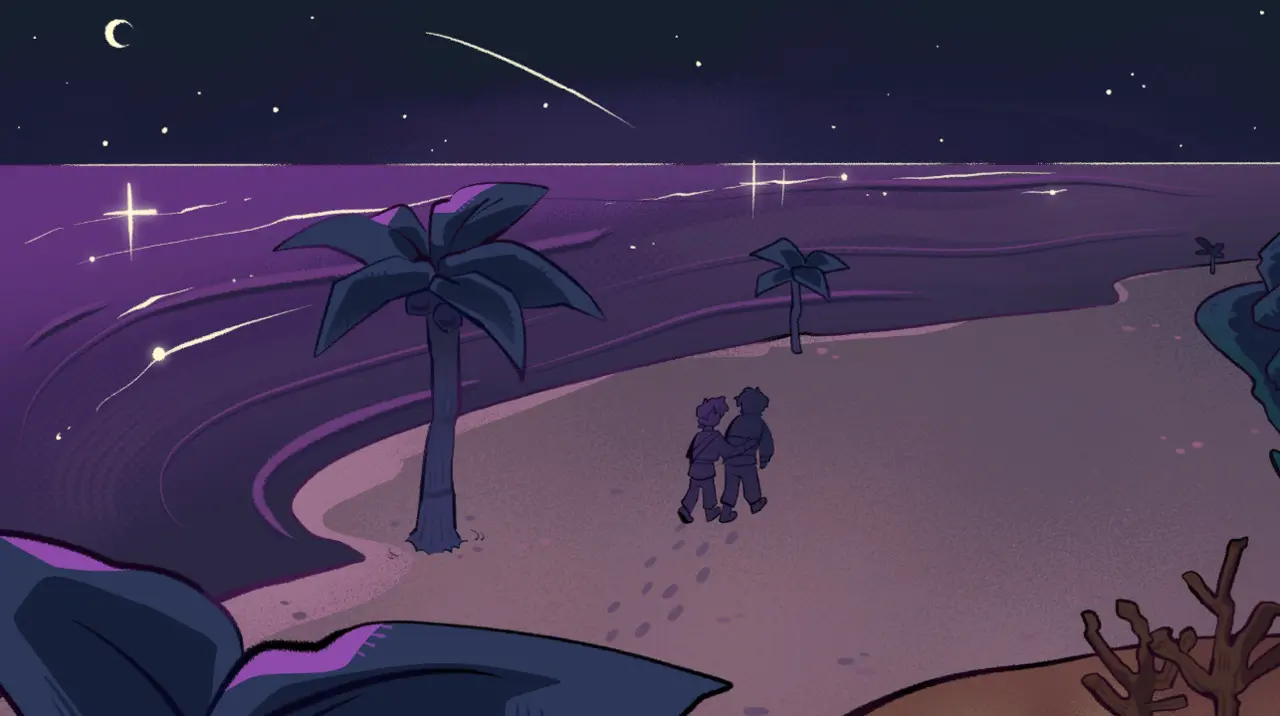
Ending spoilers: We first ask Scott and Jimmy to hide us, only to discover that Jimmy has died. Scott realizes we are fleeing, calls us cowards, and refuses. Joel and I go to the beach instead. Martyn eventually arrives and explains that Scott, Etho, Scar, Cleo, and BDubs all died in the battle. He attacks us, and Joel takes the hit intended for me and dies. Without Joel, I no longer fight back when Martyn turns on me. The ending gives me A Lonely Death.
Route 8 – Dal Segno al Coda
I start Music is Magic by speaking with Impulse after I leave the library. I agree to gather the materials he requests: wood from a tree in the forest and diamonds from a crate on the beach. Once I deliver both, he explains that he is making a music box. He hints that he knows I discovered something in the house I entered when I first arrived at the village. I agree to show him what I found, which begins the route.
Content warning: Body horror.
For the rest of that day, I cooperate with Impulse. Pearl reveals herself at the end of the day, and I agree to get her food if she asks. That keeps her friendly when we return to Impulse. Over the following days, I continue helping Impulse collect books and investigate the island and the music box.
Story spoilers: Impulse initially works with both sides, but he, Pearl, and I eventually join the Crastle. Through the books at the library, Impulse discovers how to fit the Red Jasper onto his music box so it can rewind time. It cannot seem to reverse injuries, as Cleo’s wound demonstrates, but he can undo damage to armor. When he gives me a chance to try it, I cannot make it work.
When Impulse leaves to try to trap Dogwarts, I join Cleo, BDubs, and Pearl at a fight in the desert. Cleo and BDubs hurry to Scar’s aid. I can either support the Crastle openly or pretend I am still with Dogwarts. I have found that this decision does not change the result: Cleo and BDubs never learn what I said, and Martyn attacks either way.
During Martyn’s attack, I tell Pearl to run. This matters because Pearl can otherwise die and block the achievement. She does not have three lives; once she is killed, she is gone permanently. After Impulse turns red, he gives me the music box and I keep it.
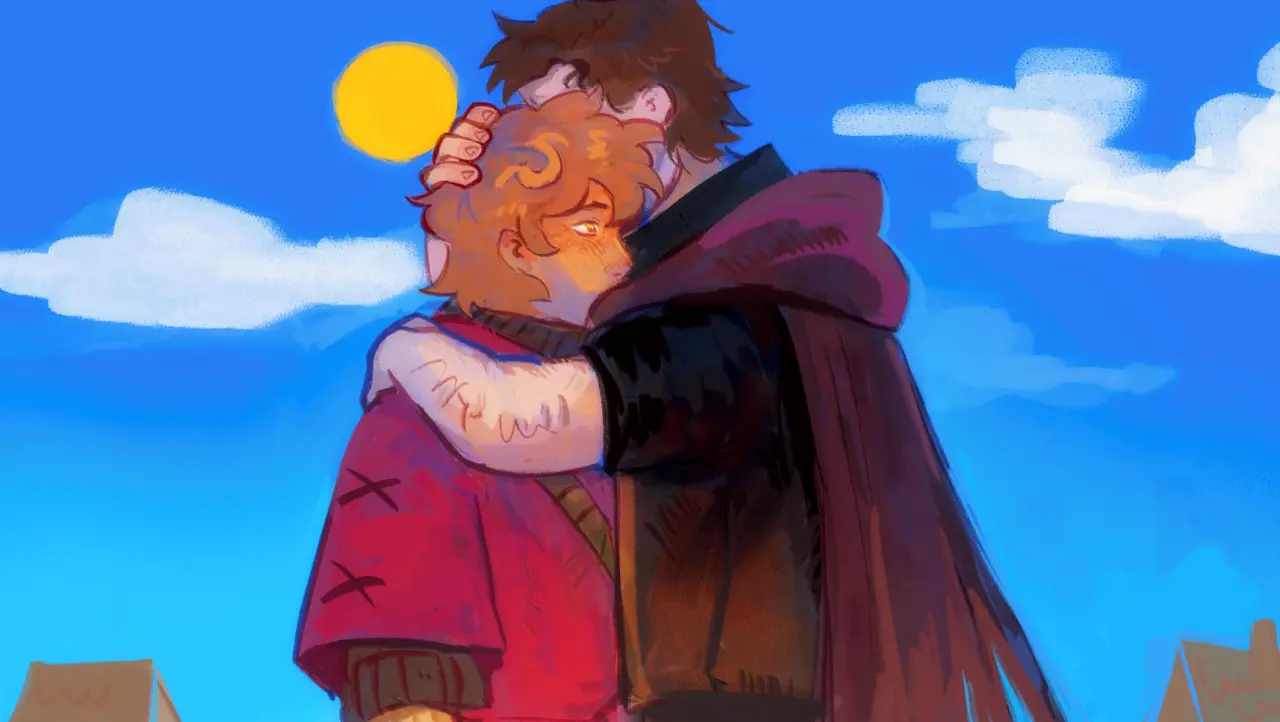
Pearl distracts Martyn long enough for us both to escape, and we reunite with Impulse in the village. Following the final Dogwarts battle, the only survivors are BDubs, Impulse, Pearl, Scar, Martyn, and me. While Impulse stays with BDubs, who is mourning Cleo, Pearl and I search for Martyn. We find him in the village, weakened and outnumbered, and kill him.
Back at the Crastle, Scar is dead, and BDubs blames Impulse. He kills Impulse before Pearl or I can intervene. I kill BDubs in retaliation. Pearl and I then grieve for Impulse, and she proposes using the music box to rewind the island and bring him back. I agree and choose to rewind the music box. The game ends immediately, awarding me Dal Segno al Coda.
Route 8 – Fallen Companions

I begin on the same Music is Magic route: talk to Impulse after leaving the library, gather forest wood and the diamonds from the beach crate, then bring them back. I agree to show him what I found in the house I entered upon arriving at the village. I help him for the rest of the day and bring Pearl food when she asks.
Content warning: Body horror.
I keep assisting Impulse with the books and the island mystery. To unlock Fallen Companions, I need Pearl to die, and I have found two ways to make that happen.
First method, during the desert battle: When Martyn attacks, I tell Pearl to kill him instead of telling her to run. When she struggles, I stay silent. Martyn then kills her.
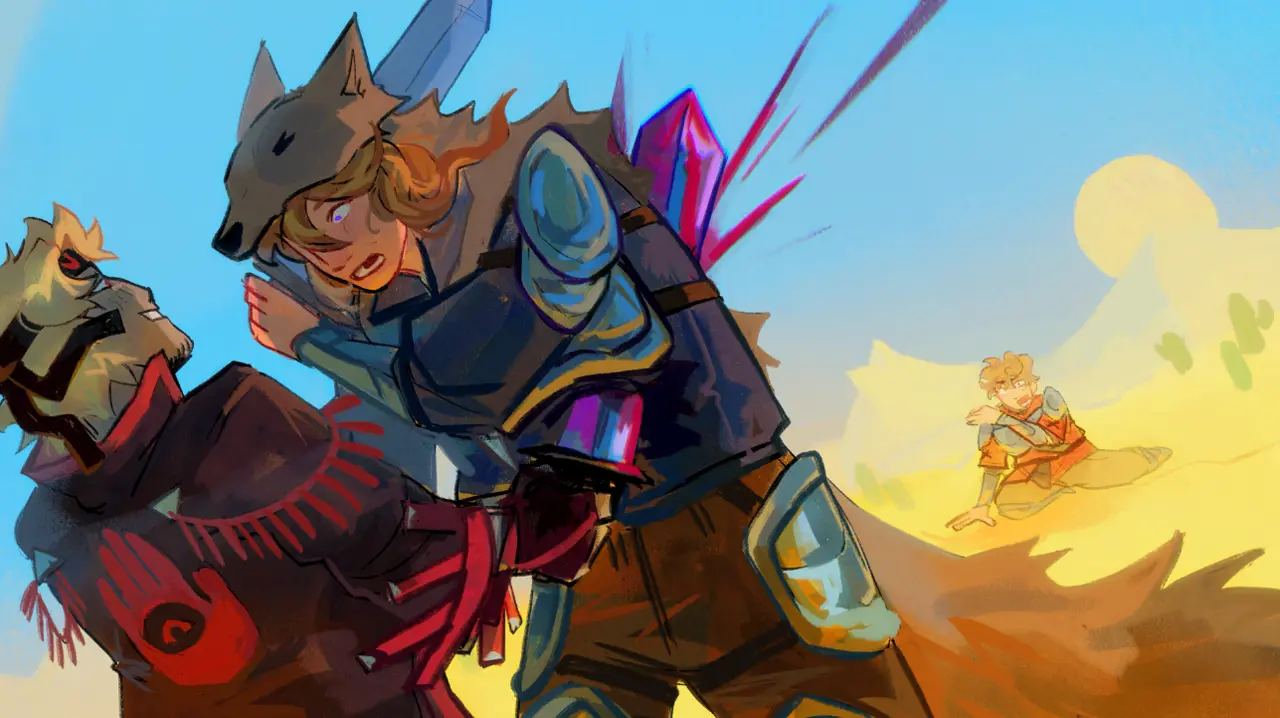
Second method, near the ending: I continue until BDubs kills Impulse. Instead of killing BDubs in retaliation, I try talking to him. Pearl attacks BDubs, and I try to stop her. My interference distracts her long enough for BDubs to kill her.
Either choice works for me. After Pearl dies and the brief follow-up scene plays, I receive Fallen Companions.
Route 8 – Self-Inflicted Solitude
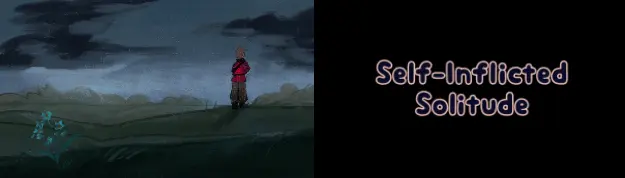
I enter Music is Magic by gathering wood and diamonds for Impulse after leaving the library, agreeing to show him what I discovered in the village house, and continuing his storyline. I follow the choices I described in Dal Segno al Coda until the aftermath of the Dogwarts battle.
Content warning: Body horror.
After Pearl and I kill Martyn, we return to the Crastle. Scar is dead, BDubs accuses Impulse, and BDubs kills him before we can act. I retaliate by killing BDubs, leaving only Pearl and me. Pearl then asks me to use the music box to rewind the island and bring Impulse back.
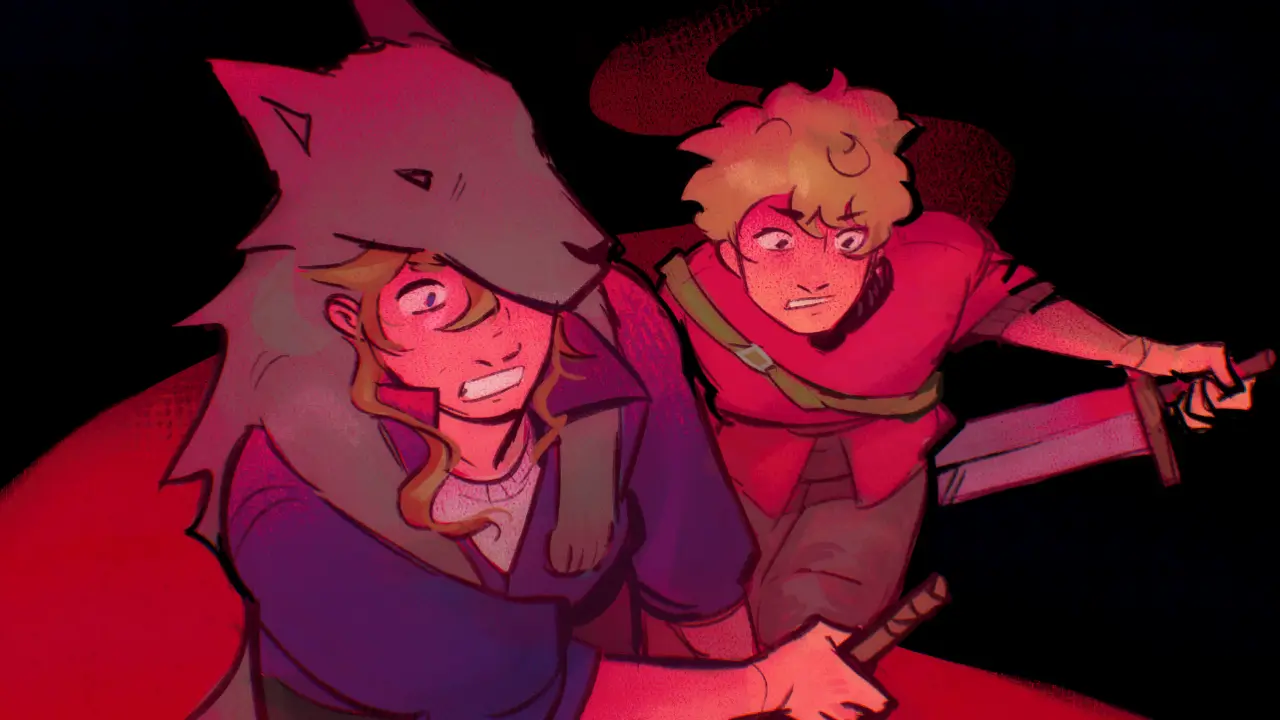
This time, I express my doubts and repeatedly refuse to play the music box, even when Pearl insists. I continue refusing every time the game offers the option. Once the prompts stop, I am locked into the achievement.
Ending spoilers: Pearl becomes frustrated and we argue. I break the music box so she cannot use it herself. She tells me she never wants to see me again and walks away, leaving me alone. After she leaves, I unlock Self-Inflicted Solitude.
Route 8 – Solitude
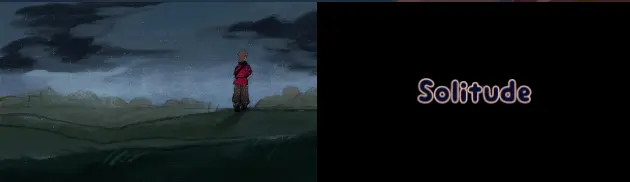
I start by offering to help Impulse after the library. As usual, I cut wood in the forest and pick up diamonds from the beach crate. I give him both materials for his music box and agree to show him what I discovered in the house from my first visit to the village. This puts me on Music is Magic.
Content warning: Body horror.
I follow Impulse’s requests for the rest of the day. Pearl reveals herself that evening. When I talk to her again, she says she is hungry and asks me to bring her food. For this achievement, I refuse to help her repeatedly. She becomes angry and leaves.
When I return to the village, Impulse reveals that he already knows Pearl. He says I am not a good fit and turns me away. A short conversation later, I unlock Solitude.
Route 10 – Bass Friends Forever: True Pacifish
Of all the endings I have seen, this one feels like a fever dream.
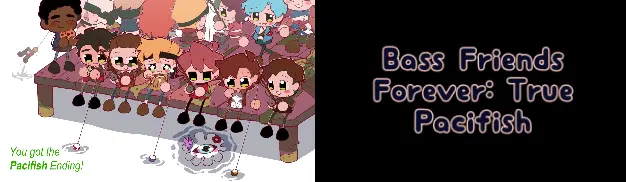
I begin Any-fin is Possible by interacting with the sign beside the dock, then fishing until I catch a book.
Content warnings: Unreality, depersonalisation, scopophobia, and trypophobia. Despite those warnings, this is easily the most unserious ending I have encountered in the game.
I spend each day fishing. When I catch a treasure, I deliver it to the character it belongs to. Familiarity with the Life Series helps me guess: BigB gets the cookie, Ren gets the guitar, and Skizz gets the strange giraffe sculpture, for example. If I am not certain, I talk to people and look for clues in their dialogue, or I show the catch to Scar and ask him for advice. Scar is usually nearby.
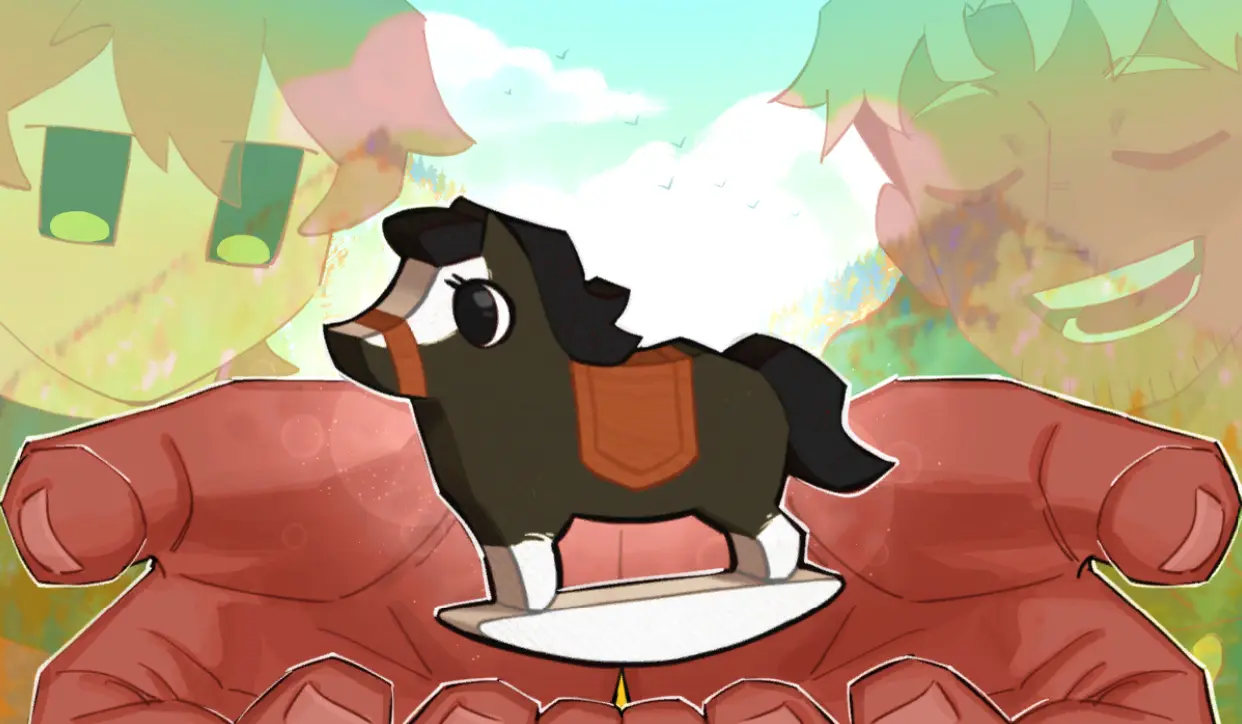
Story spoilers: Grian spends most of this route fishing, giving gifts, and sleepwalking. Each person I successfully give a gift to joins me at the dock to fish the following day. Many characters tell stories in return. BigB quizzes me about cookie history and scolds me for incorrect answers without getting too upset, while Scott and Jimmy have a wedding officiated by Scar.
A Watcher shaped like a slug repeatedly emerges from the water to tell me to stop fishing, but I keep throwing it back. Meanwhile, Dogwarts consists of Ren and Martyn, who remain suspicious and hostile. Once everyone else has joined me, Martyn arrives to protest that this is supposed to be a death game. I fish up a manga book, and he instantly loses interest in killing anyone.
Martyn asks me to reach Ren as well. I keep fishing until I catch a guitar and offer it to Ren. He is suspicious at first, but the gift makes him abandon his hostility and come to the dock. He announces that Red Winter is coming, which turns out to mean a guitar riff. Everyone enjoys it, and Ren somehow produces a stage.
Once Scar joins, the Watcher returns in a more threatening form and again demands that I stop. I place flowers from Scar on its head and give it my fishing rod. Instead of fighting, the Watcher asks me to teach it how to fish.
That completes the ending and unlocks Bass Friends Forever: True Pacifish. The detail I always remember is to deliver each gift before sleeping; from there, the route largely progresses on its own.
Route 11 – A Promise Fulfilled

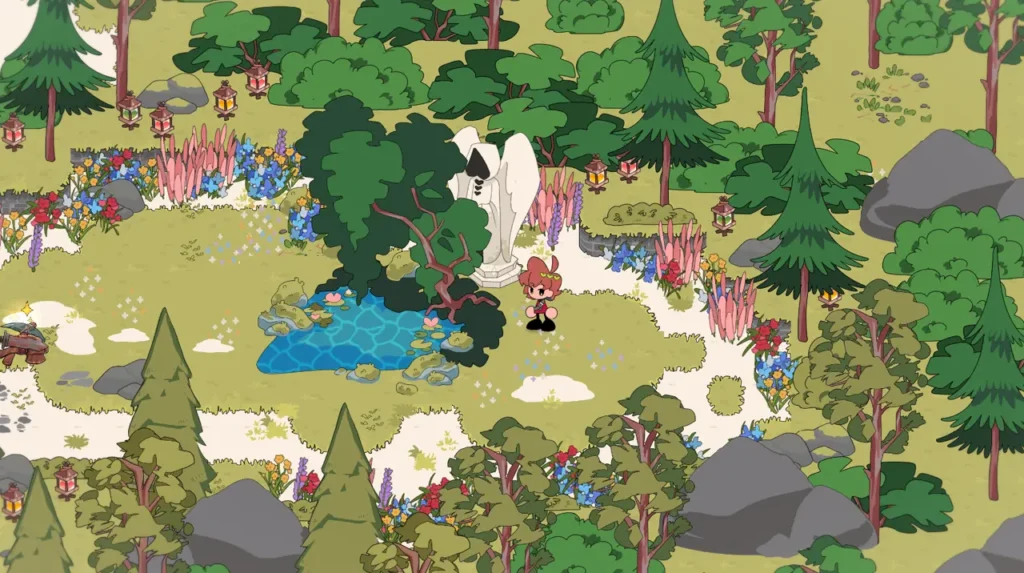
I start Wolf in Sheep’s Wool by examining the statue behind the pool where Grian wakes up. It is the one shown below.
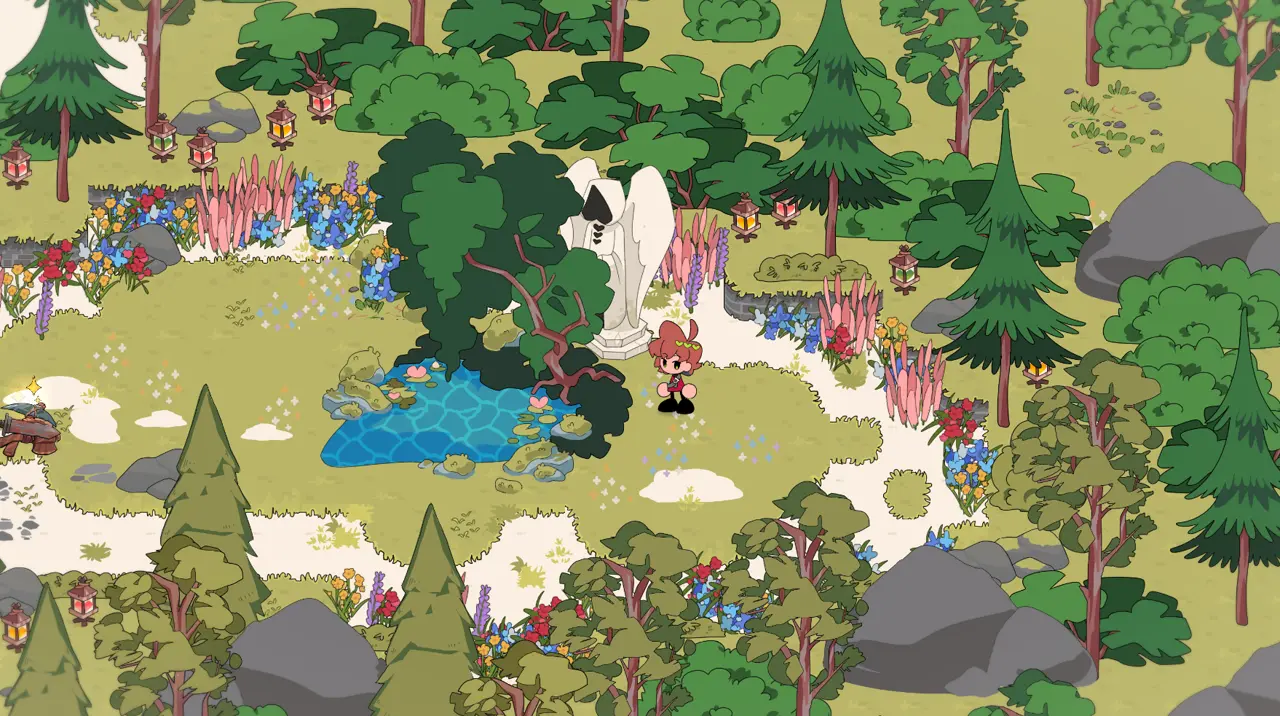
The statue does not sparkle, so I walk right up to it and press Space, or my chosen interaction key. The first interaction only tells me that it is a statue. I keep interacting until I can choose to stare at it. Despite the game discouraging me, I continue staring until it blinks. Once I can leave the starting area, I travel west along the shore and interact with an altar. I accept the quest to retrieve its missing pieces.
Location spoilers: I find the pieces in the forest, the house with the who’s who board, and the mountain cave. After collecting them all, I return them to the statue.
Content warnings: Horror, body horror, starvation, depersonalisation, derealisation, trypophobia, and scopophobia.
After that, the route leaves me with relatively few opportunities to change events until the end. I like talking to the former Evolutionists—Jimmy, Martyn, and BigB—because they also sense that something is wrong.
Story spoilers: Grian slowly regains his Watcher powers and begins noticing strange things in the world. Others doubt what he says, although the Evolutionists react more strongly. He eventually remembers the Watchers and the games, and wants to free his friends. Everyone keeps fighting, but they join forces against him when he steals the Enchanter, carries it to the volcano, and throws it into the lava.
I try to explain what is happening and how everyone might escape. Martyn realizes Grian is a Watcher, warns the group not to trust him, and they scatter. The next morning, Scar and Joel visit my beach tent, hoping I will become a chaotic ally. I convince them to help by destroying the altars. The former Evolutionists are wary but also agree to help, and others on the island assist as well.
Everyone assembles at the volcano to escape. As I head there, the Watchers try several times to stop me. I stand my ground and make it to the others, but the Watchers follow. The game lets me either act strong or take advantage of their weaknesses. I have found that neither option changes the result.
At the decisive moment, I have to choose between staying with my friends and doing something drastic. To get A Promise Fulfilled, I choose do something drastic.
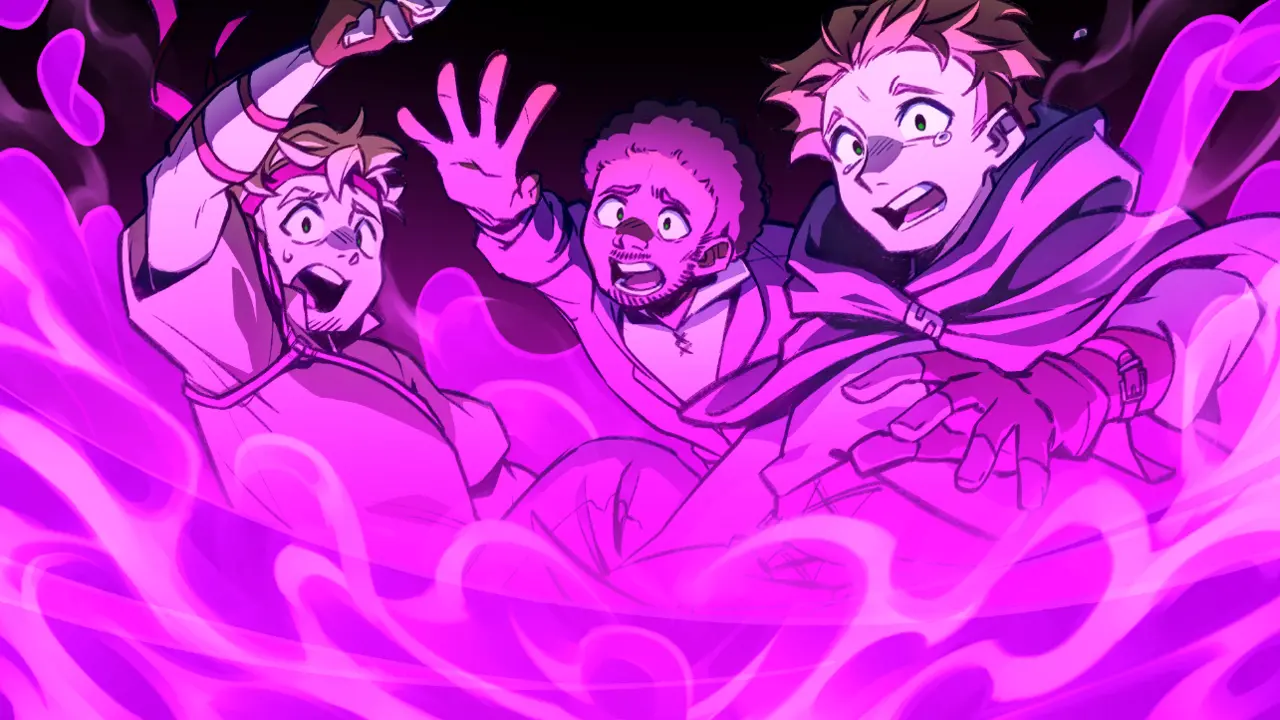
Ending spoilers: I open a portal underneath the others so they can escape, but I do not go through it myself. They protest, yet cannot stop what is happening. I remain behind with the Watchers, who kill me. Grian dies without regrets, and I receive A Promise Fulfilled.
Route 11 – Never Alone Again

I begin on Wolf in Sheep’s Wool, just as I do for A Promise Fulfilled. I interact with the statue behind the pool where Grian wakes up.
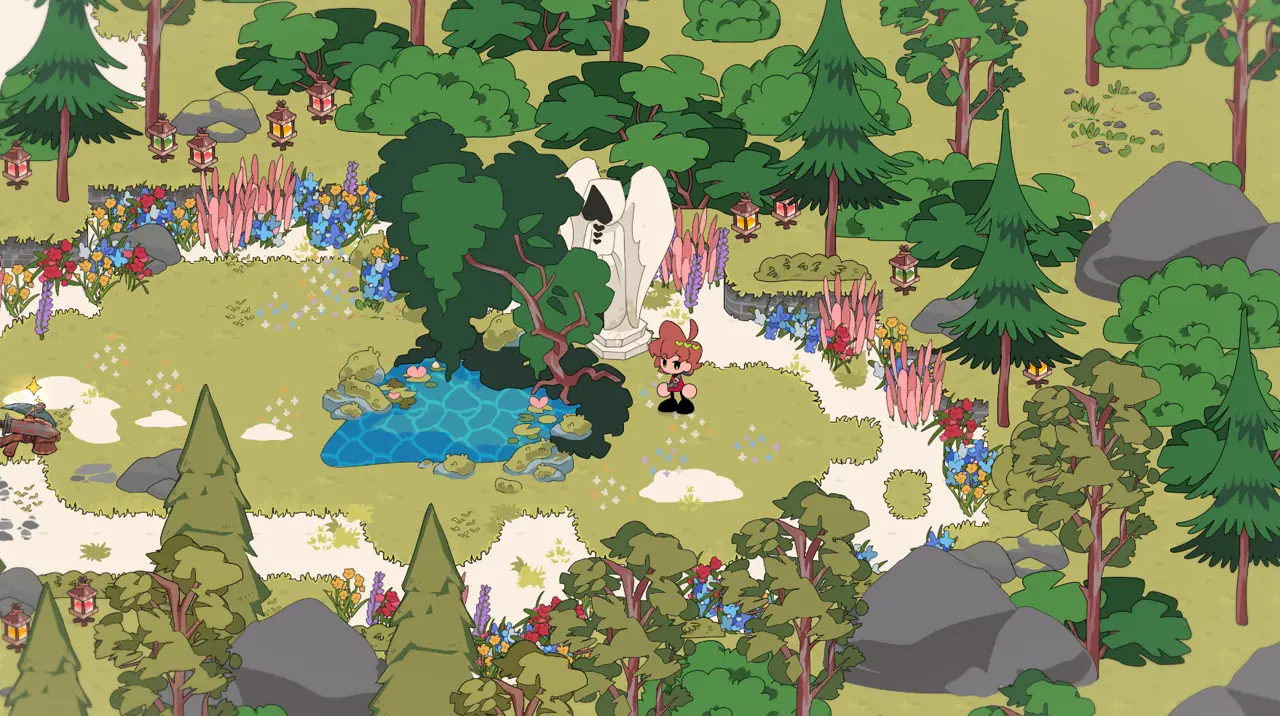
Although the statue has no sparkle, I press my interaction key several times until the option to stare appears. I keep staring until it blinks, then leave the starting area. West of the pool, I find the altar on the shore and accept the quest for its missing pieces. I collect them from the forest, the house with the who’s who board, and the cave in the mountain, then take them back to the statue.
Content warnings: Horror, body horror, starvation, depersonalisation, derealisation, trypophobia, and scopophobia.
I continue through the same events described in A Promise Fulfilled, including the revelations about the Watchers and the plan to escape. Eventually everyone gathers at the volcano. On my way to meet them, I am stopped repeatedly by the Watchers, but I push forward. I can choose to act tough or exploit their weaknesses during the confrontation; neither decision affects the ending.
When the game asks me to stay with my friends or take drastic action, I select stay with my friends for this achievement.
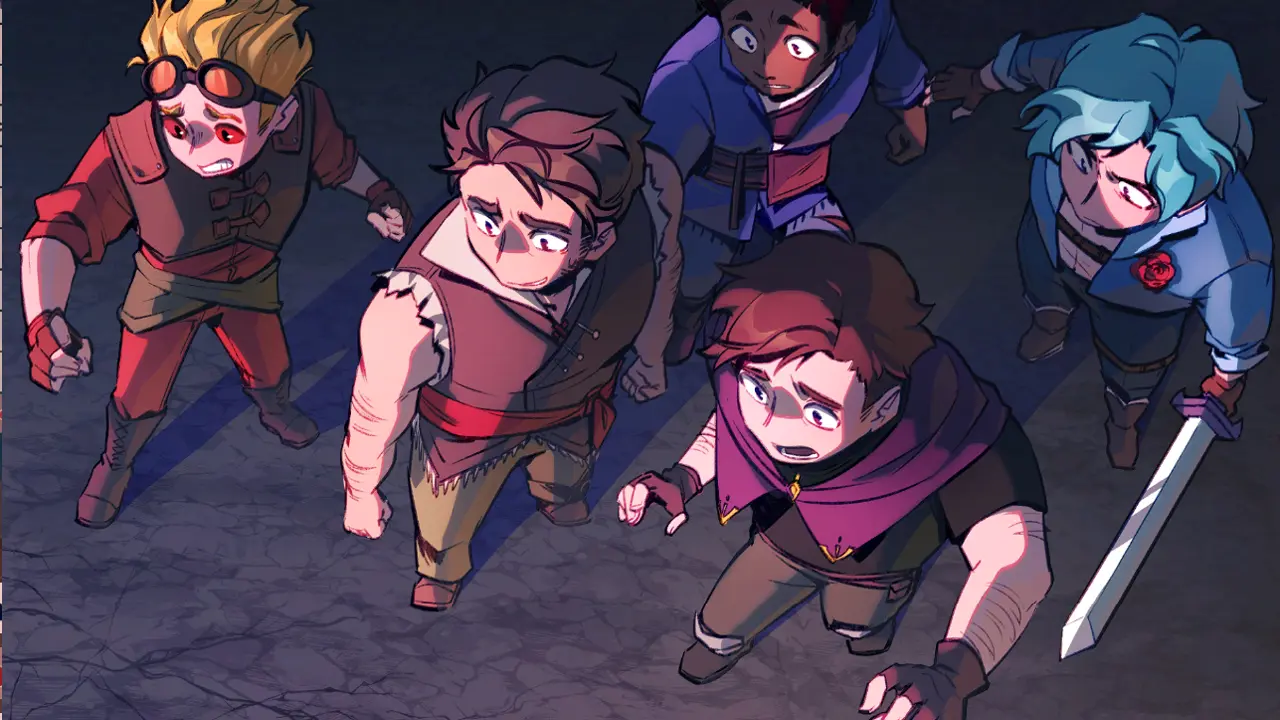
Ending spoilers: Staying with my friends apparently means eating them. It is a disturbing turn, and Never Alone Again unlocks shortly afterward.