In this guide, I walk through the essential early systems in Task Bar Hero, including class selection, formation management, and how I switch and optimize my team. This is based on my own progression and everything I wish I knew when I first started playing.
TBH Task Bar Hero Guide
This guide will help you understand how to build a stronger formation early, avoid common mistakes, and make better use of your heroes and class system.
Table of Contents
Class Selection & Formation
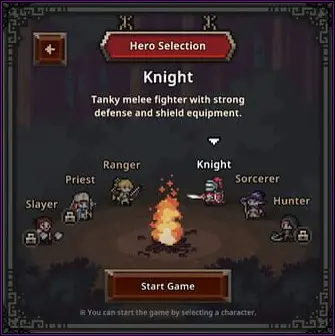
At the start, I am given a choice between 1 to 6 different classes. This is the first screen I see when starting the game. Some classes may appear locked, but I can unlock them later using in-game currency, which is relatively easy to obtain.
I also keep in mind that the Priest class is a free DLC and is one of the most useful units early on. From my experience, it quickly becomes an essential part of almost any formation due to its strong support capabilities.
When I build my first team, I usually choose between Knight or Ranger. The Knight works better as a tank, while the Ranger offers a faster and more aggressive DPS playstyle. Both remain useful later in the game, depending on how I want to shape my formation.
Formation & Class Switching
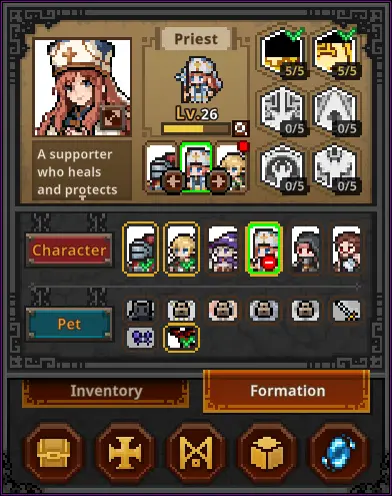
If I ever make a mistake with my starting setup, I don’t need to worry. I can freely change my formation and swap classes using the Formation tab at any time.
Locked DLC classes can also be unlocked here for a small amount of in-game currency (around 500 coins), making it easy for me to expand my team options as I progress.
I simply select the hero I want to change, choose a new position, and deploy them. I can also reorder characters using arrow controls without redeploying, although there is a short cooldown before repeating the action.
This flexibility allows me to experiment with different formations and even carry weaker characters for power-leveling in higher stages, although I always need to be careful not to weaken my overall team too much.
One important thing I learned is that characters gain optimal experience within a certain level range, so I try to balance strong clearers with lower-level units that need catching up.
The Hero-dric Cube
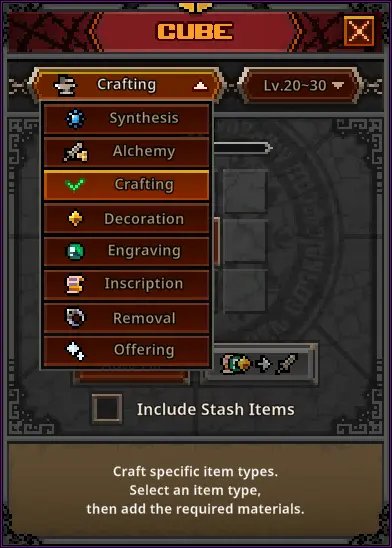
The Hero-dric Cube is where I handle most of my item progression and management. It is the core system for improving gear, converting items, and enhancing my overall power. Once I start using it, I quickly realize how important it is for long-term progression.
Synthesis

In Synthesis, I place 9 items of the same rarity into the cube to create a higher-rarity item. The result is random, and it may even skip rarity tiers if I get lucky.
I also keep in mind that item level is determined by the selected level range, not the input items themselves. This allows me to use lower-level gear while still aiming for higher-level rewards.
Early on, I avoid overusing Synthesis since gold is more important for upgrades and progression. Later in the game, when I have more resources, I start using it more frequently to improve my gear quality.
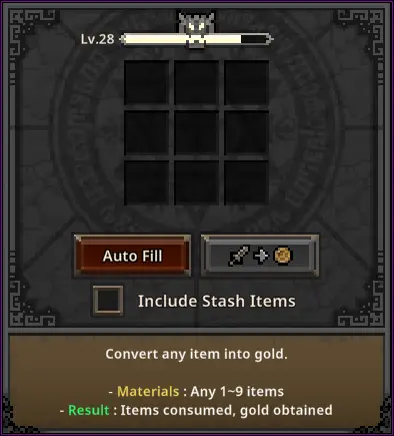
Alchemy
Alchemy is the system I use to convert unwanted items into gold. This is one of the fastest ways I clean up my inventory while gaining useful currency.
I can manually select items or use auto-fill, but I always double-check before confirming to avoid accidentally converting valuable gear. I also use item locking to protect important items.
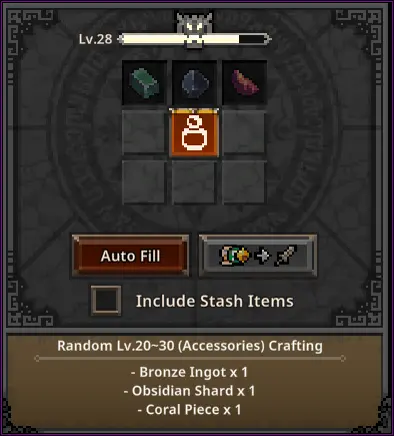
Crafting
Crafting allows me to create random equipment based on selected categories and level ranges. The result always falls within the chosen range but the rarity and class are random.
This is also my main way of obtaining accessories, which are otherwise very rare in early game drops. I usually craft whenever I have enough materials since it can quickly upgrade my gear.
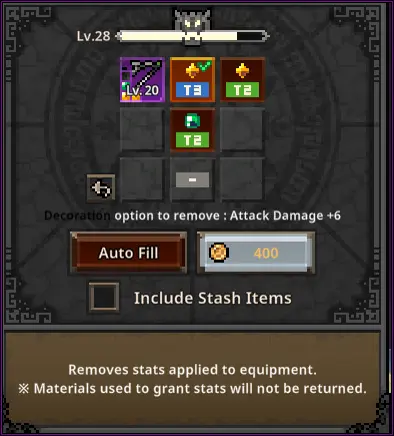
Decoration, Engraving & Inscription
As I progress, I unlock gear with slots for decoration, engraving, and inscription. These allow me to further customize and strengthen my equipment.
Each system depends on item rarity, and I always make sure to match the correct materials to the correct gear type to avoid wasting resources.
Higher rarity items unlock more advanced enhancement systems, giving me more control over my build as I progress.
Offering
The Offering system lets me exchange commemorative coins for random rewards. It works like a loot-based system where outcomes depend on chance.
While it is less predictable than other cube features, I still use it when I have spare currency for a chance at useful upgrades.
Steam Trade Ship & Market Trade
In this section, I explain how I use the Steam Trade Ship and the in-game market system to manage item trading, listings, and item recovery. This system becomes important once I start finding higher-value gear worth selling or trading.
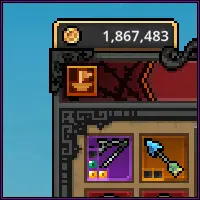
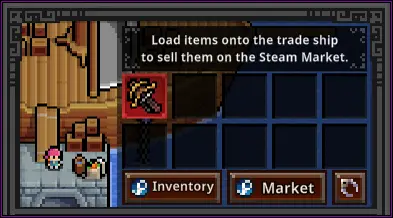
When I want to sell an item, I first drag it into the Steam Trade Ship interface. This transfers it into my Steam inventory, where I can then set a price and list it on the marketplace.
After placing an item into my Steam inventory, I manually set the selling price and confirm the listing through Steam Guard. This step is required before the item becomes available on the market.
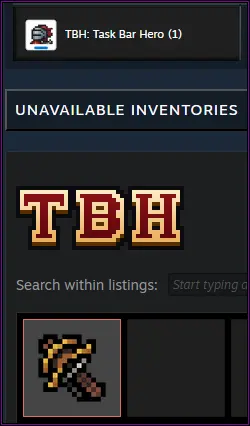
From the market screen, I can review current listings and compare prices. This helps me decide whether it is worth selling an item or keeping it for progression instead.

If I change my mind about a listing, I can cancel it and retrieve the item back into my Steam inventory. From there, I can either relist it or keep it for later use.
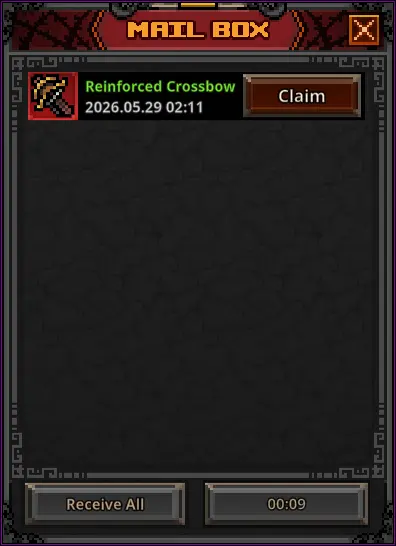
Any purchased or delisted items can be claimed through the in-game mailbox. I use this system to recover items after trades or market cancellations.
One important thing I learned is that items must be fully removed from enhancements before they can be listed. Otherwise, the system will not allow trading.
Once an item is listed, it disappears from my in-game inventory until I delist it or complete a sale, so I always double-check before confirming any trade.
Pets, Farming & the Rune Tree
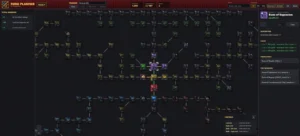
In this part of my guide, I focus on pets, farming efficiency, and the rune tree system. These systems have a huge impact on how fast I progress and how efficiently I can farm resources and upgrade my characters. I definitely recommend using the farming planner.
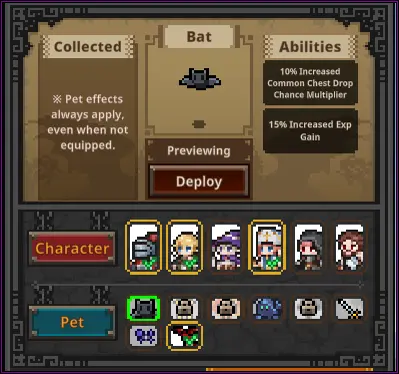
Pets are an important part of my progression since their effects remain active even when they are not deployed. Because of this, I always try to unlock them as early as possible.
- Bat – Found around Act 1-8
- Giant Fly – Found around Act 2-4 & 2-5
- Fire Spirit – Found around Act 2-8 & 2-9
- Blue Golem – Found around Act 3-6
- Ghost – Found around Act 3-4 & 3-5
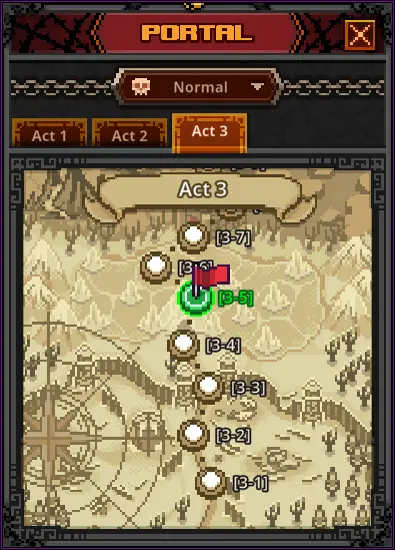
I can revisit previously completed stages at any time using the portal system. This helps me farm specific enemies or improve my overall efficiency depending on my setup.
When farming, I realized that the highest stage is not always the most efficient option. Sometimes lower stages provide faster clears and better overall rewards depending on my team setup.
I often adjust my formation depending on whether I want speed, survivability, or balanced progression to maximize farming efficiency.
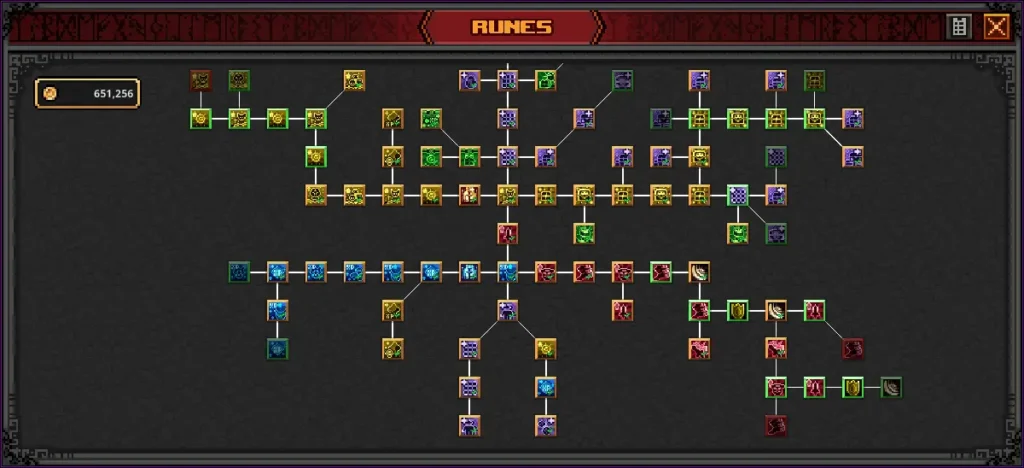
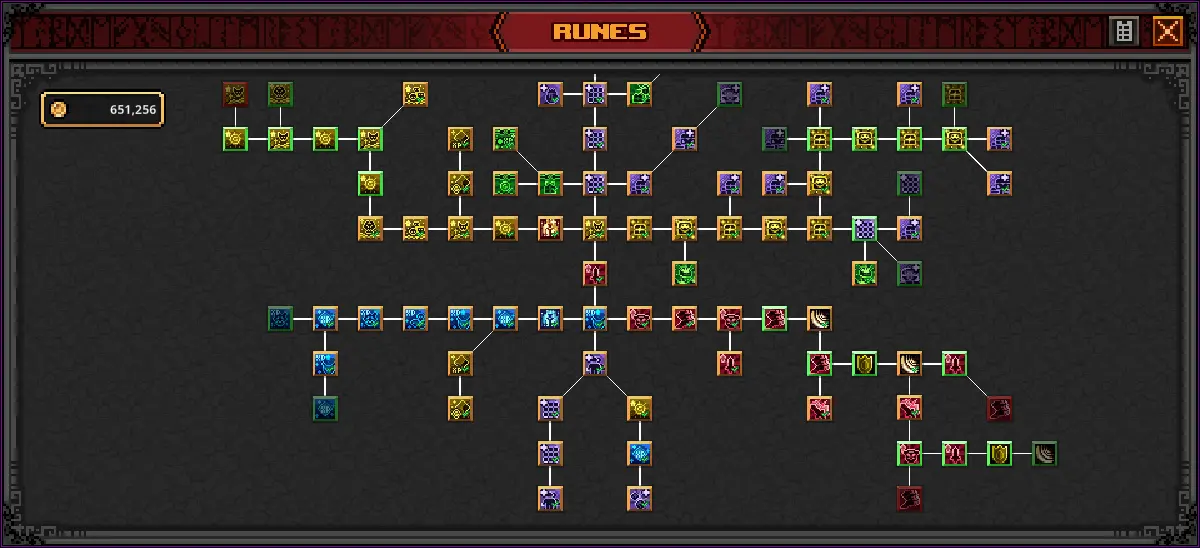
Runes and the Rune Tree
The rune tree is one of the most important long-term progression systems in the game. It allows me to unlock permanent bonuses that significantly improve my farming, combat power, and resource gain.
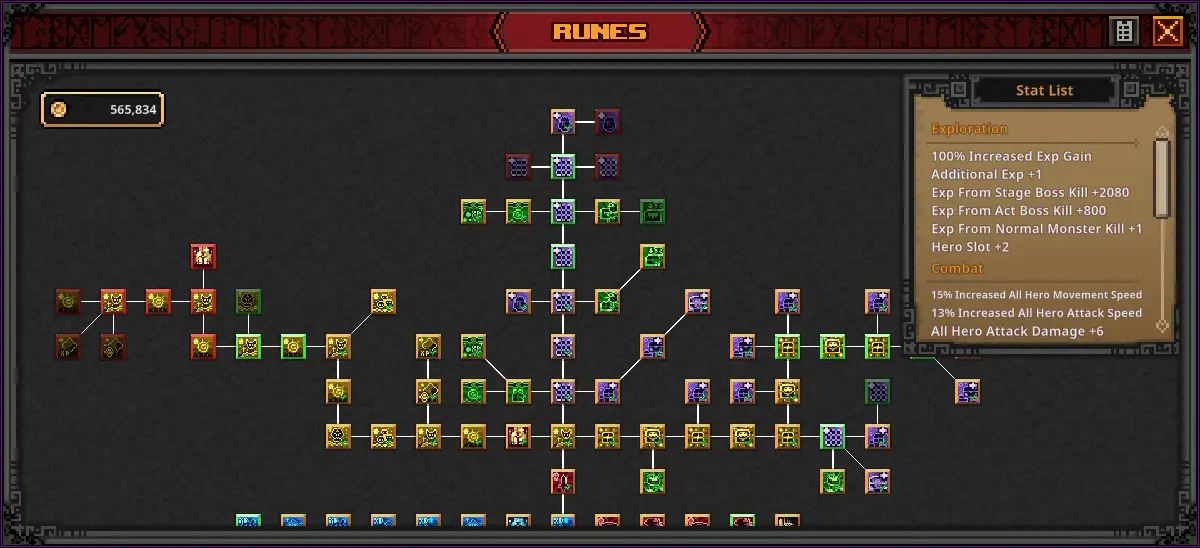
I focus first on unlocking additional formation slots, since having more active heroes makes every other part of progression easier.
Different branches of the rune tree provide different benefits such as gold gain, experience gain, chest drop improvements, and combat stats. I usually spread my upgrades depending on what I currently need most.
As I progress further, rune costs increase significantly, so I try to plan my upgrades carefully instead of investing randomly.
Additional Tips & Tricks
- I can enable the auto-retry option on the bottom right of the screen. When it is turned on, the game automatically retries a failed stage instead of dropping me back to a lower one.
- I keep in mind that different chest types drop in different ways. White chests appear commonly, blue boss chests drop from stage bosses, and red act boss chests are guaranteed rewards from final act bosses.
- I learned that not all equipped skills are active abilities. Some skills, like certain Ranger attacks or Priest buffs, remain always active or trigger automatically based on conditions.
- I can adjust or restore my log window by hovering over recent messages or using the settings menu. If it disappears, I can re-enable it from the main settings by pinning the log window again.

You can find advanced tools and more detailed information about the game on the TBH: Task Bar Hero wiki.