Chapter 2 of The Killing Antidote for version 0.6 is out! This walkthrough guide will include tips for Chapter 2, the keys you need to find, the rooms, and more.
Also check out our locations guide to find all the cameras and demon marks in Chapter 2!
Central Laboratory
I enter Chapter 2 right after the elevator ride from Chapter 1. Once the cinematic ends, I begin clearing the zombies on the floor. If I take them out before they wake up, the fight is much easier. On the left, I notice glass with items behind it. Only explosive canisters break these panes. Grenades, mines, gunfire, and grenade launcher shots do not work. I shoot the canister, the glass shatters, and I step through to collect the items. There is also a camera in the upper left corner that counts toward the 30 optional camera collectibles. A storage box is beside the door.
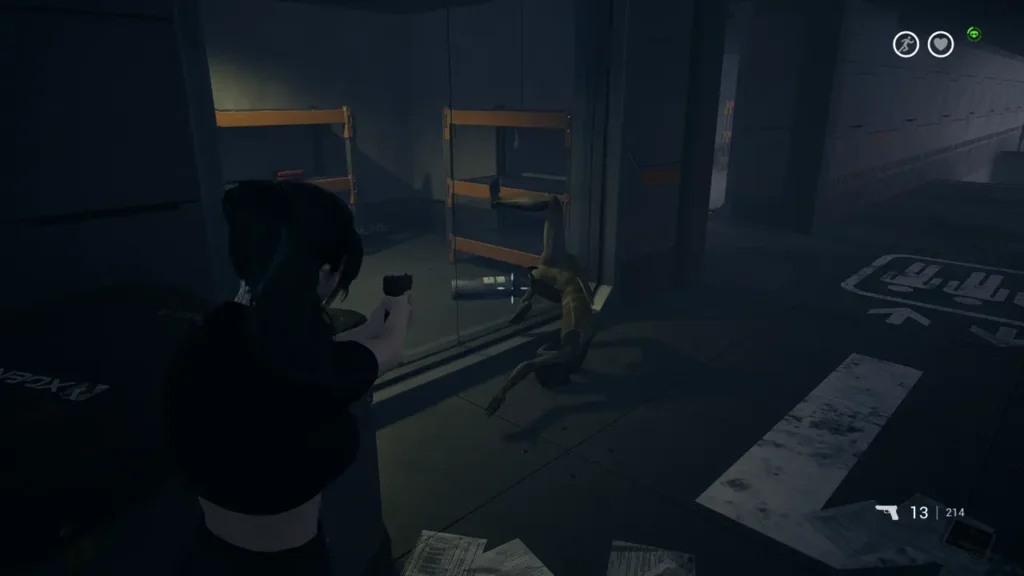
At the hall intersection I find three paths. The left path has pistol ammo behind unbreakable glass since there is no explosive nearby. The right path is the way forward. Here another explosive canister sits next to a larger glass window. I stand back at the intersection before shooting because the radius is big.
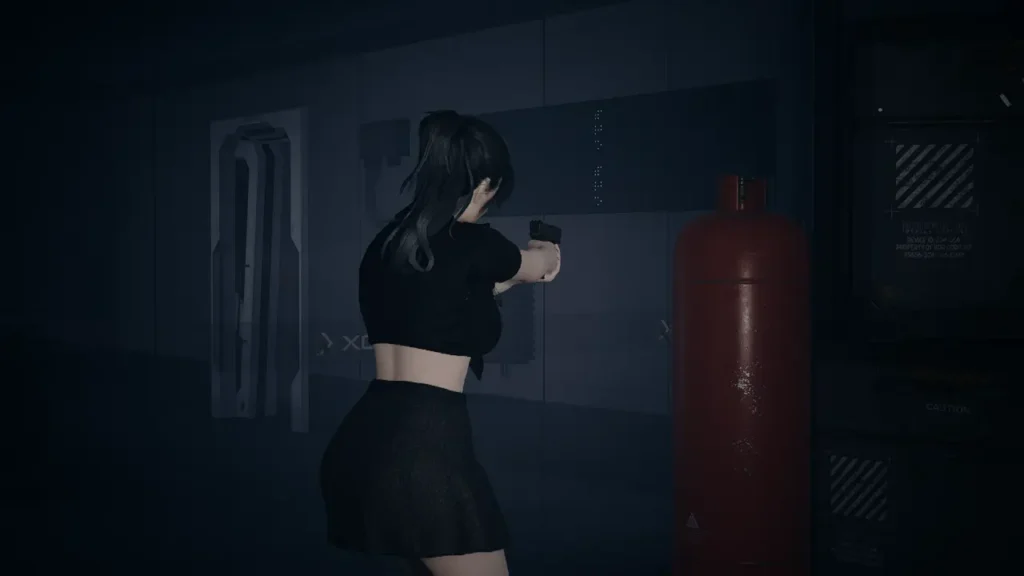
Through the next rooms I encounter a zombie with an explosive canister on its back. These enemies can break glass if I detonate them close enough. This one is already positioned for me. I clear the area, gather items, and hit a button that unlocks a hallway door. A few cameras are also placed around these rooms.
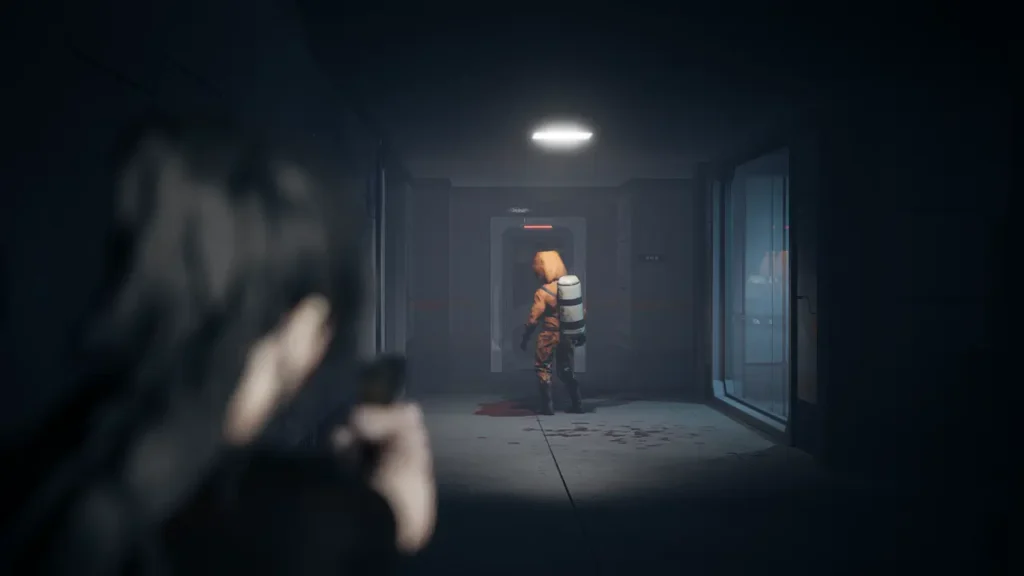
Inside the next room I get hit by an axe ambush. After clearing it, I find a locker with the passcode shown on its surface. I continue into the nearby safe room where the first Demonic Badge challenge appears. These moving badges and the cameras are the main Chapter 2 collectibles. I move through the double doors.
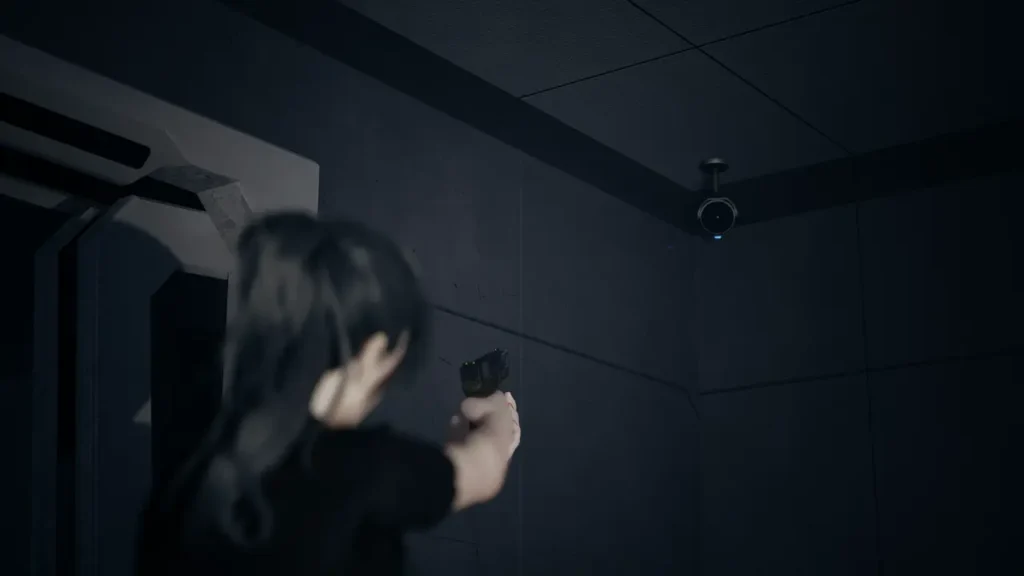
Most rooms here are locked, but the path leads me to the Central Laboratory entrance.

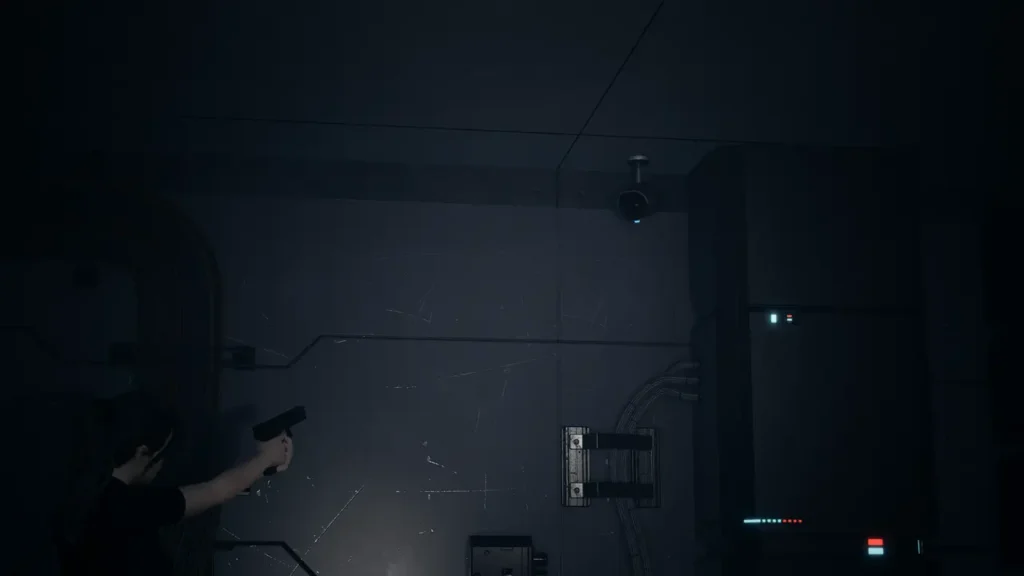
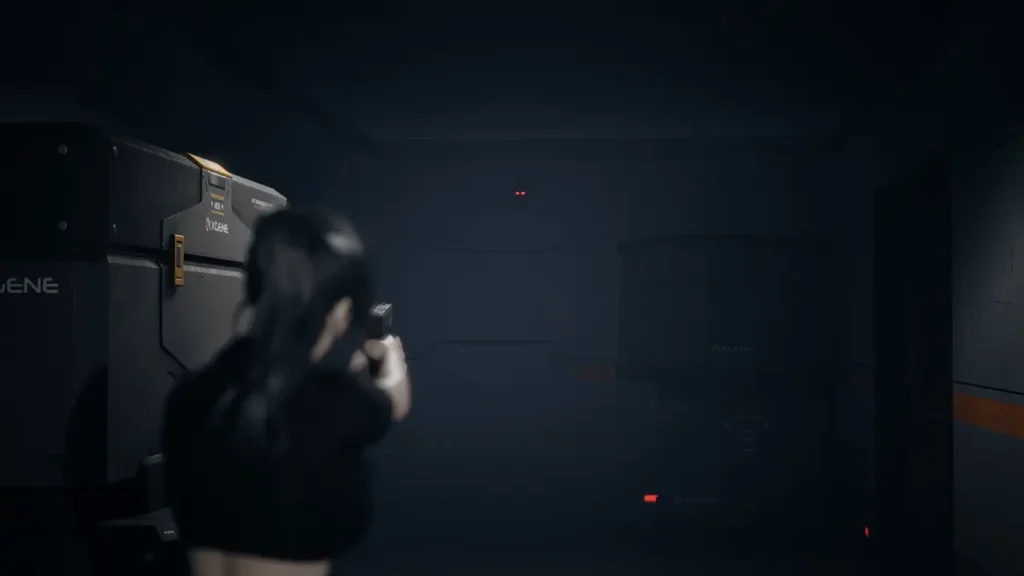
Finding the Yellow Keycard
My goal is the network room, but it needs a yellow keycard. I drop down, approach the large bunker door, turn left into the Observation Hallway, and proceed. In the safe room on the left I shoot another Demonic Badge and loot the drawers.
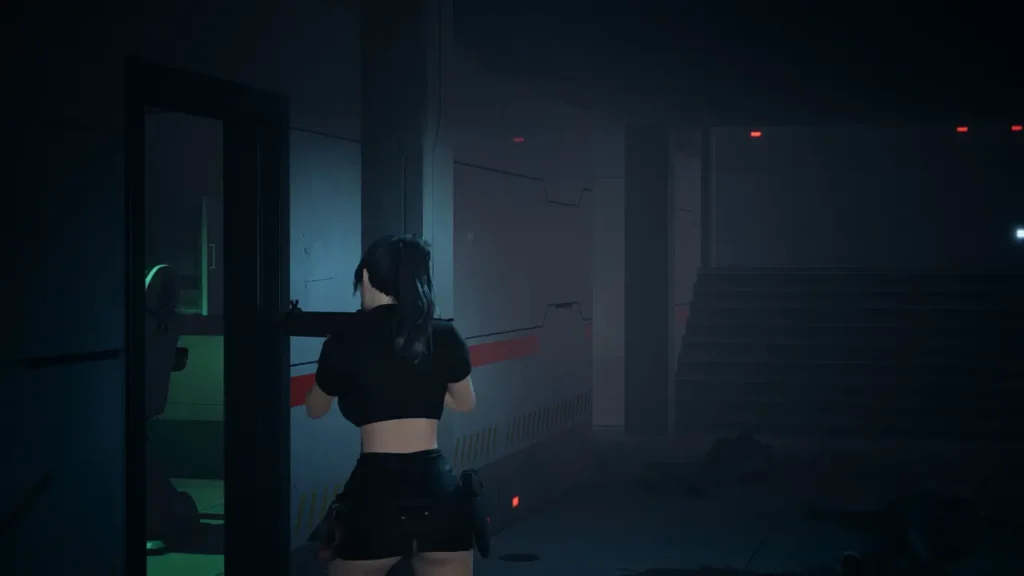
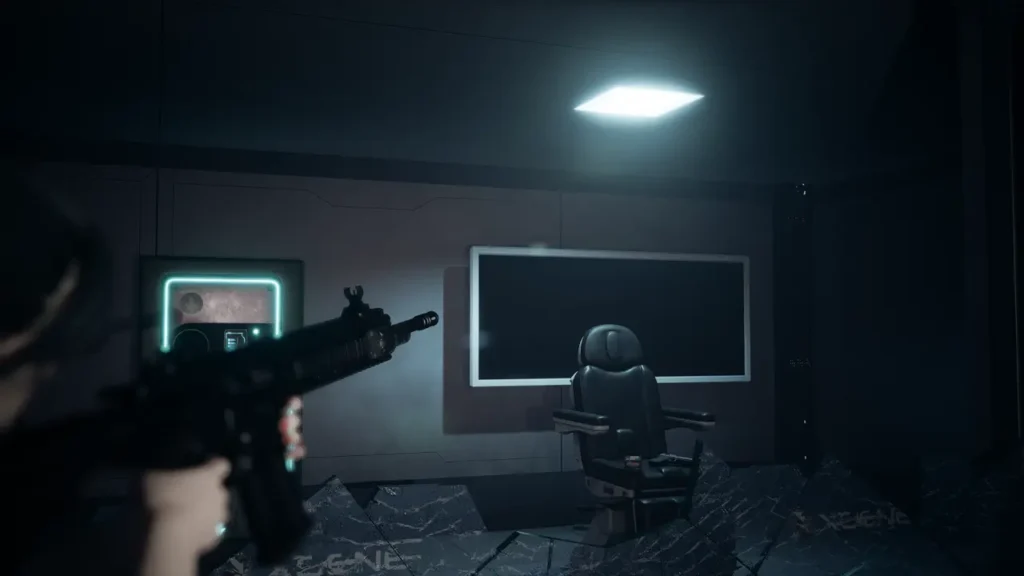
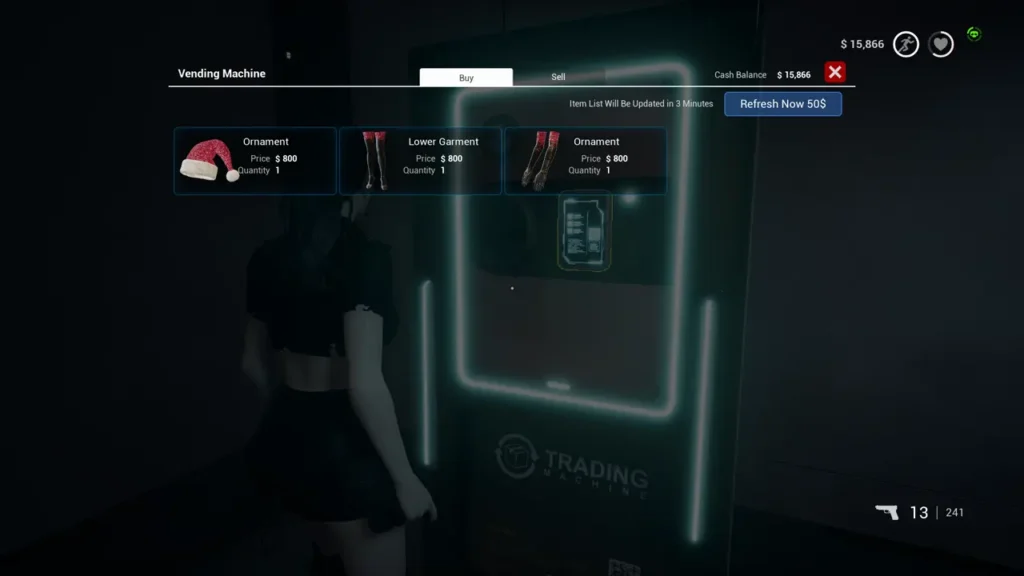
After clearing zombies in the stairwell, I open a nearby door and grab the yellow keycard from a cabinet. Leaving this room triggers a large zombie rush with several canister carriers. If I time their explosions correctly, I can break the glass to reach a shop and the Desert Eagle on a chair. The shop also sells Christmas outfit pieces. In another room I find a keypad locker with the code written on the wall: 5530.

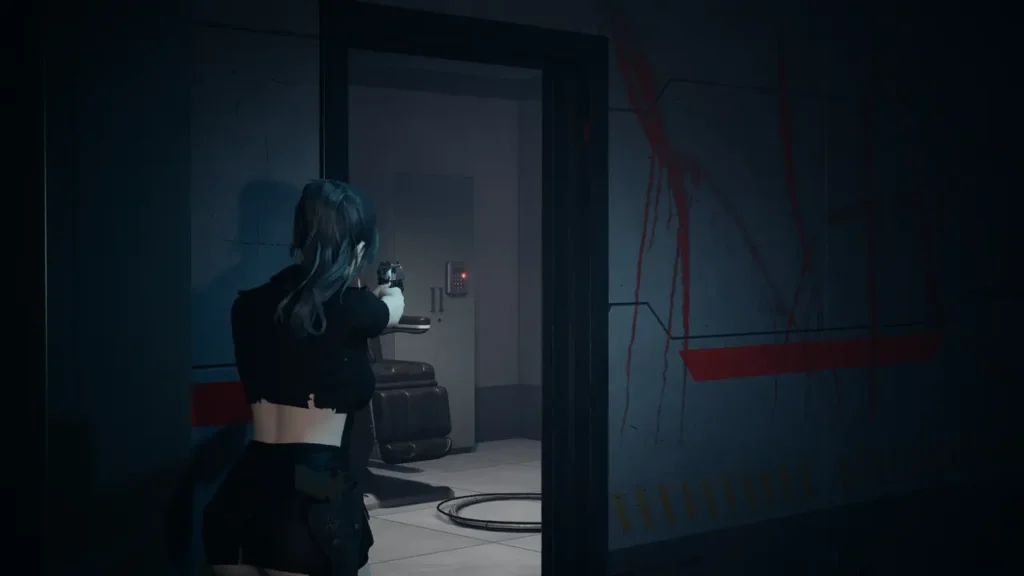
With the yellow keycard I go back to the network room. I open another keycard door containing loot and a Demonic Badge. At the next staircase, I shoot a Badge through the glass and another camera near the ceiling. The stairs connect back to the very start of the chapter, giving me a shortcut to the network room. After accessing the computer, I begin the next task.
Following Jason
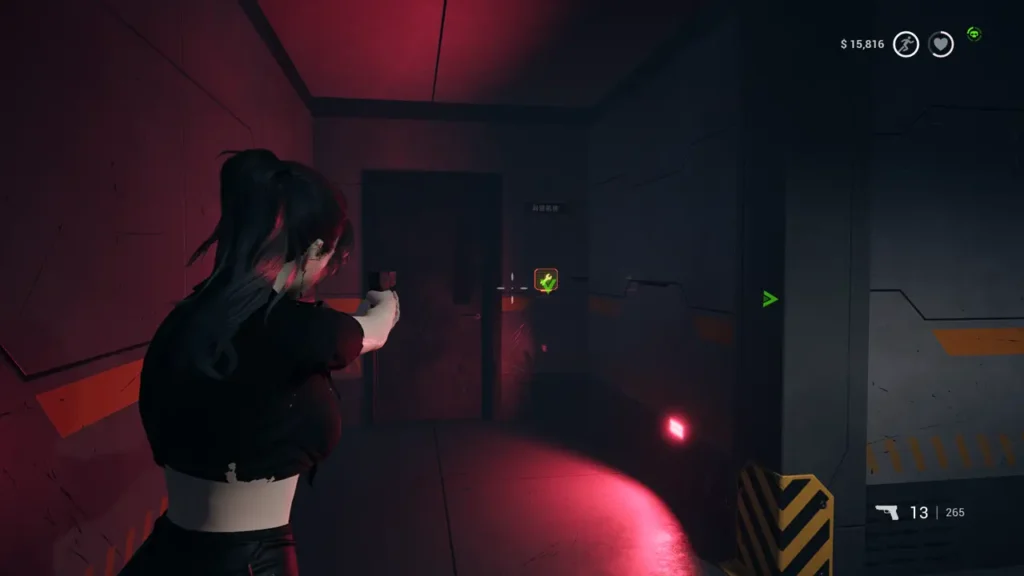
Jason is my first AI companion in this update. His survival is required, especially on higher difficulties. I try clearing threats through the glass before entering rooms to keep him safe. In the next room there is a camera immediately on the right.
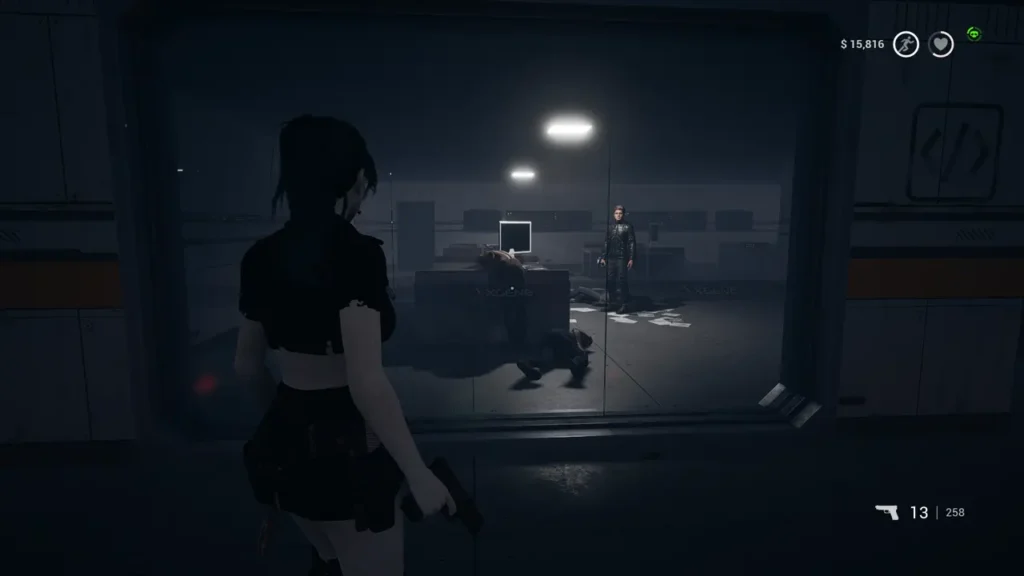
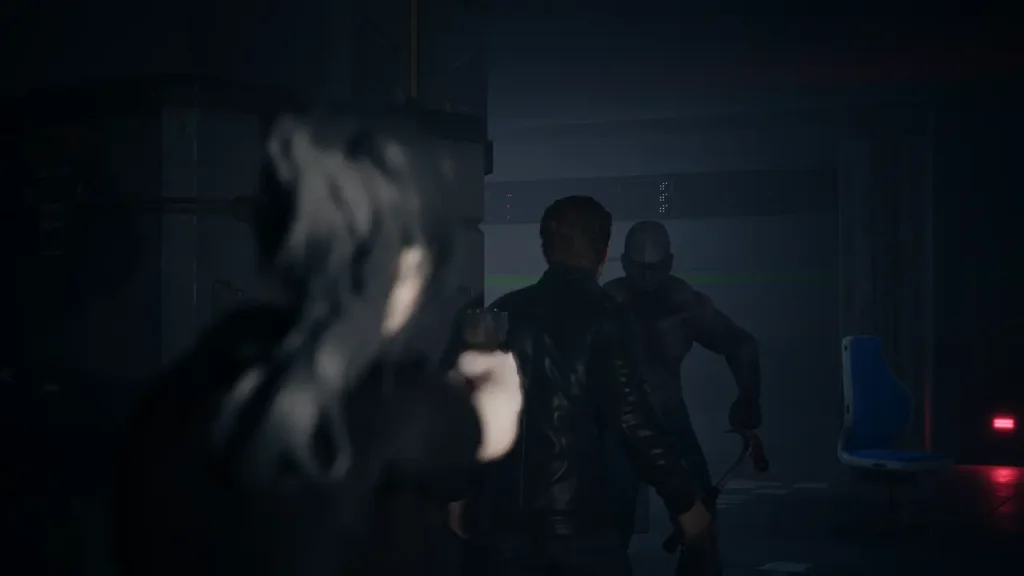
I gather sewing kits and password detectors from shelves. A locker code here becomes relevant later. I ready a stronger weapon because a new enemy type appears ahead. I kill it quickly before it can harm Jason. Another camera is nearby.

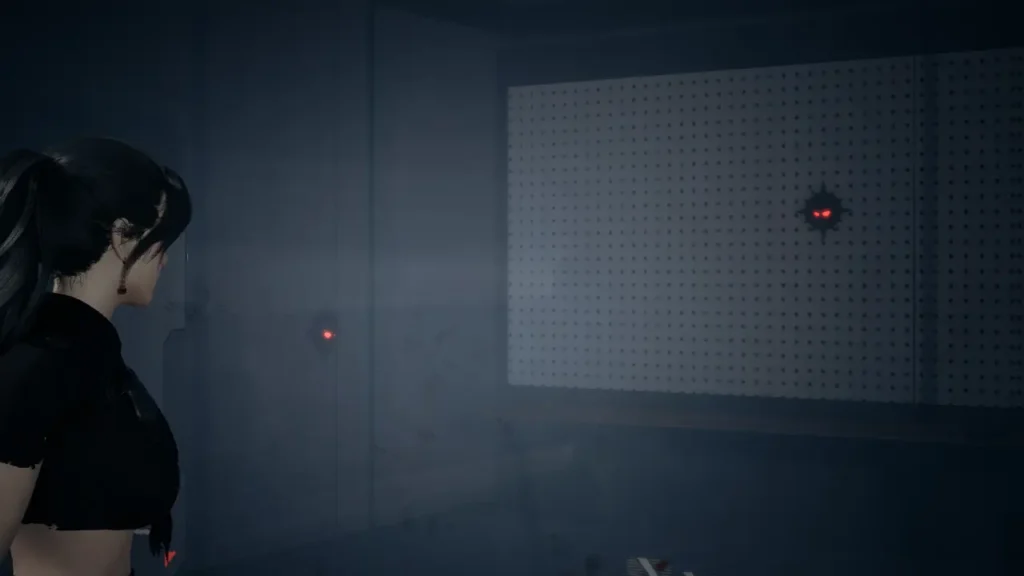
At the next junction I find another camera to the right. Moving on, I pass a room containing two Demonic Badges behind glass. Shooting both opens the door and gives me the Tiger 58 assault rifle.
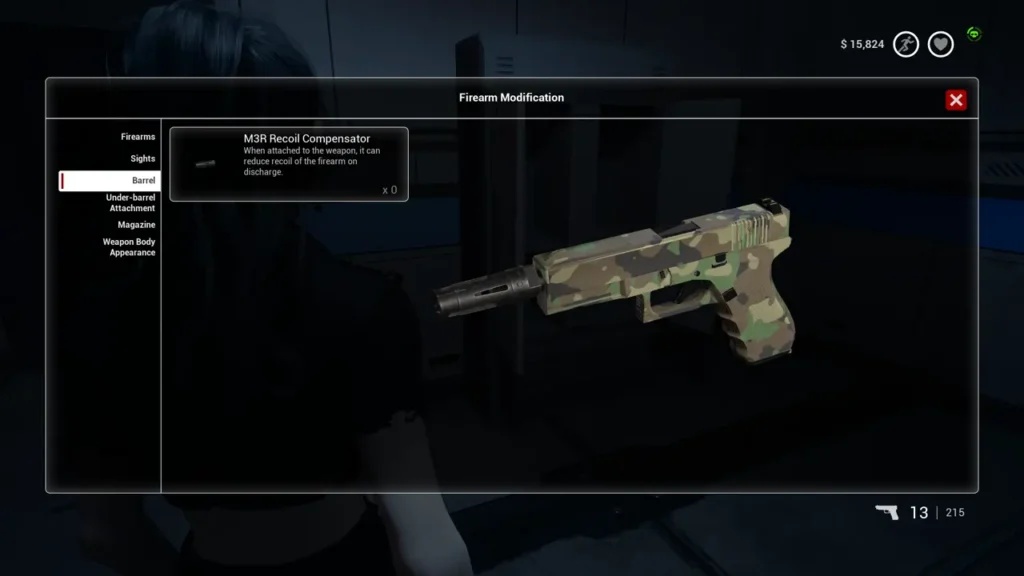
Further in, I reach a safe room that contains gun paint for cosmetic changes. Later I find a compensator in a locker in the robotics room. After the cutscene I continue, shoot another camera, and encounter a fat enemy that goes down easily with AR headshots.
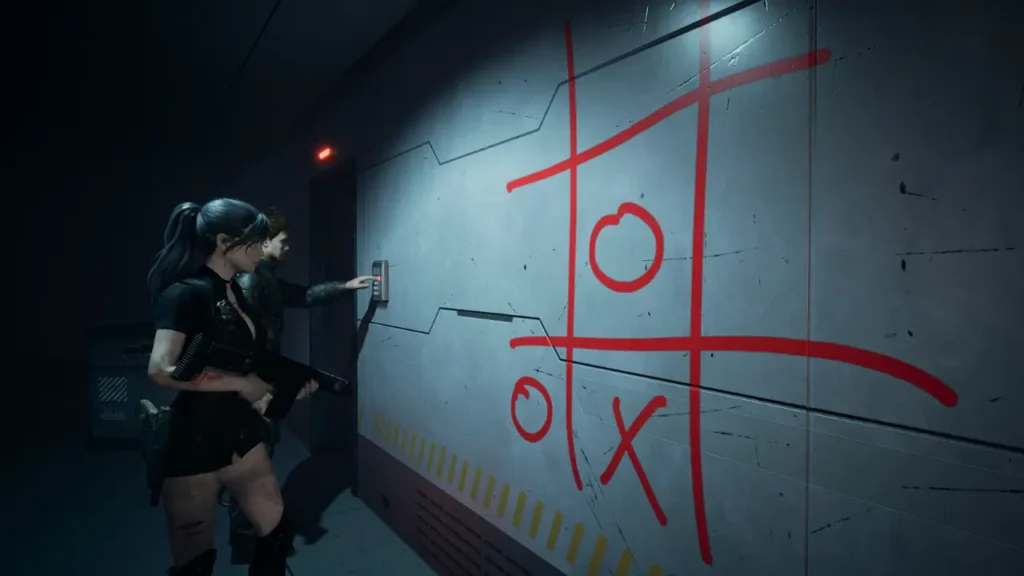
I come across a locked weapon room with a grenade launcher inside. A diagram beside the door reveals the keypad code as 5394. The launcher cannot break glass. Ahead is another safe room, a shop, and then a keypad puzzle using a tic tac toe pattern. The code is 5873.

I prepare for the upcoming boss fight.
Boss Strategy:
I keep distance, circle around shelves to break line of sight, and avoid the ground slam. On easy difficulty the boss falls quickly to steady AR headshots.
Installing the Router
Once the boss falls, I search the room for scattered ammo. I return through the new shortcut and install the replacement router in the server room. It partially restores power but does not finish the job. Now I must find Jason again.
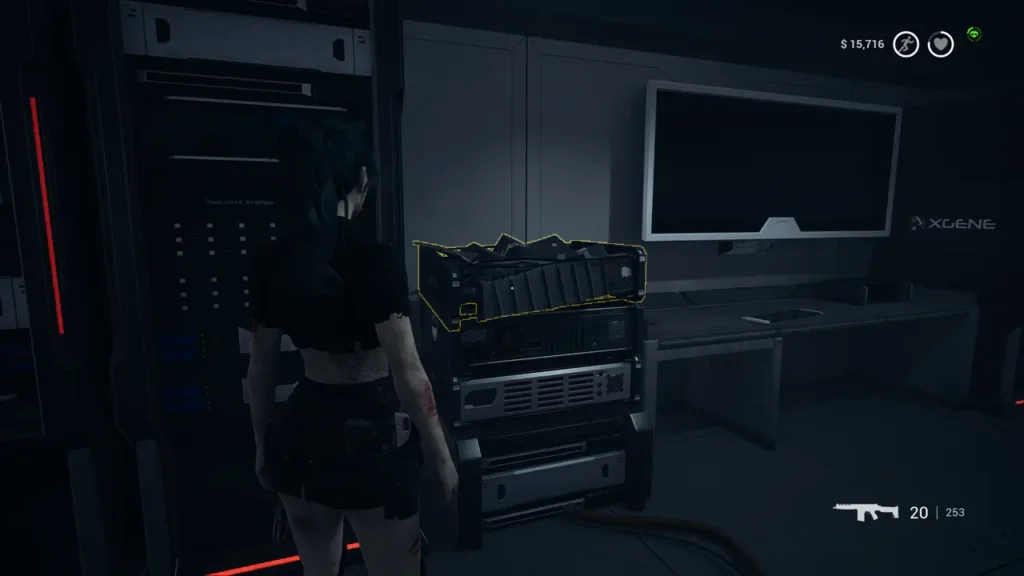
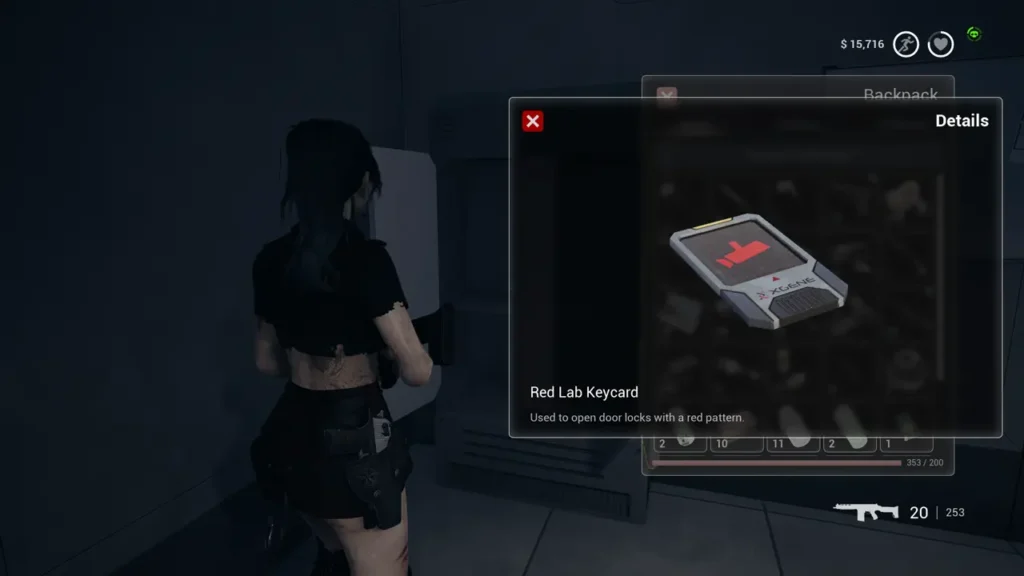
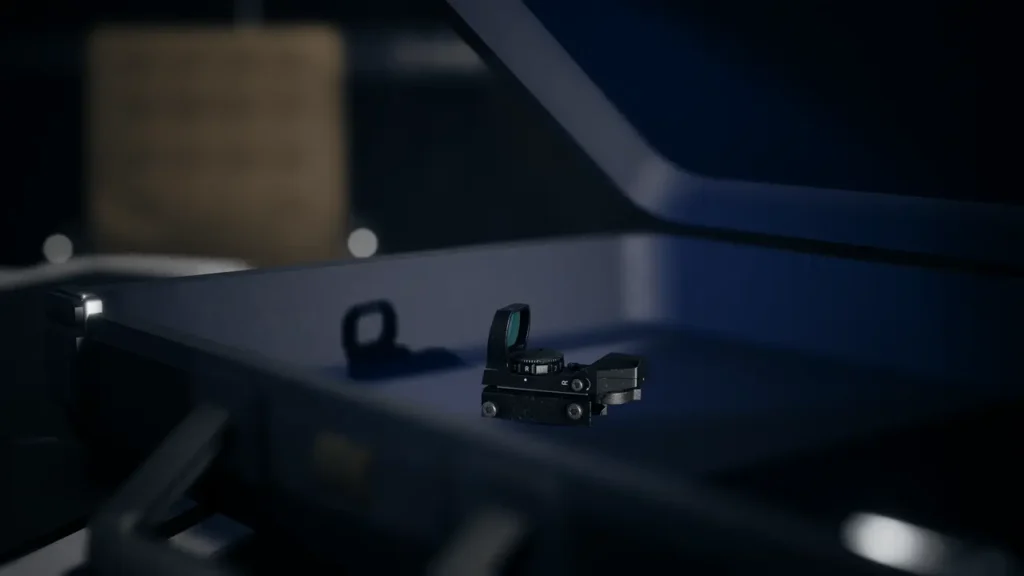
Inside the bloody room I notice he is missing. I take the red key from the locker and collect the password decoders from the case to earn a red dot sight. I then head toward the monitoring room at the entrance of the Central Laboratory.
Monitoring Room and Mutated Enemies
After saving and climbing the stairs, I prepare for a fight. A fat enemy comes from behind as I clear the room. A single mine helps delay him.
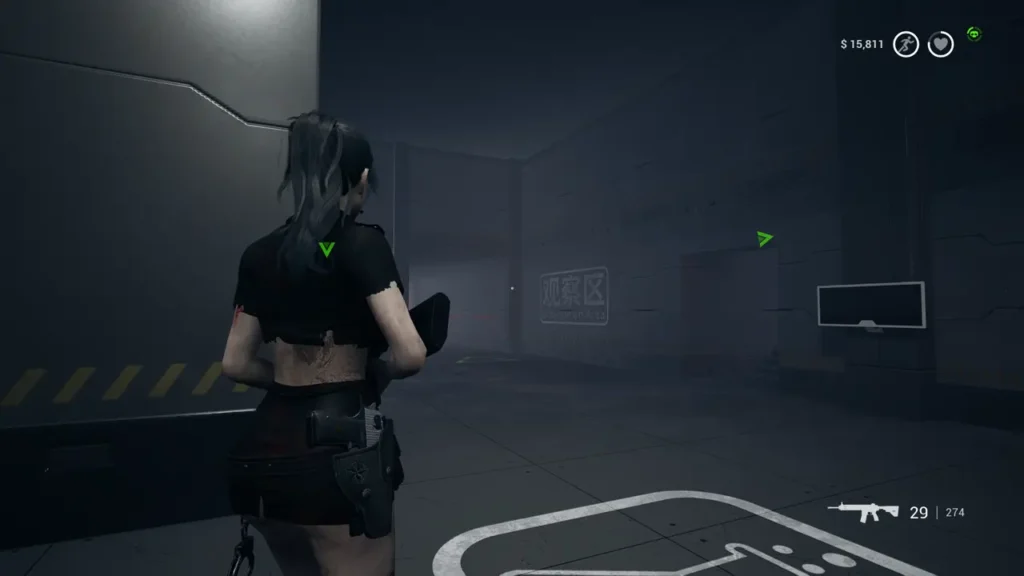
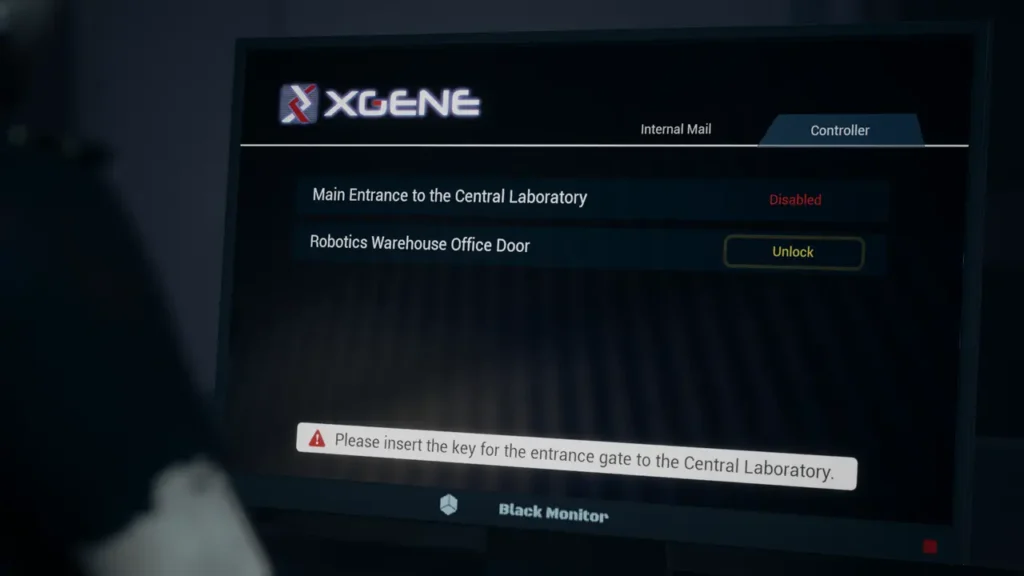
Using the monitor shows that I need a key for the entrance gate and unlocks the robotics warehouse office. There is also a camera in this room. Another door unlocked by the keycard contains a combat challenge.
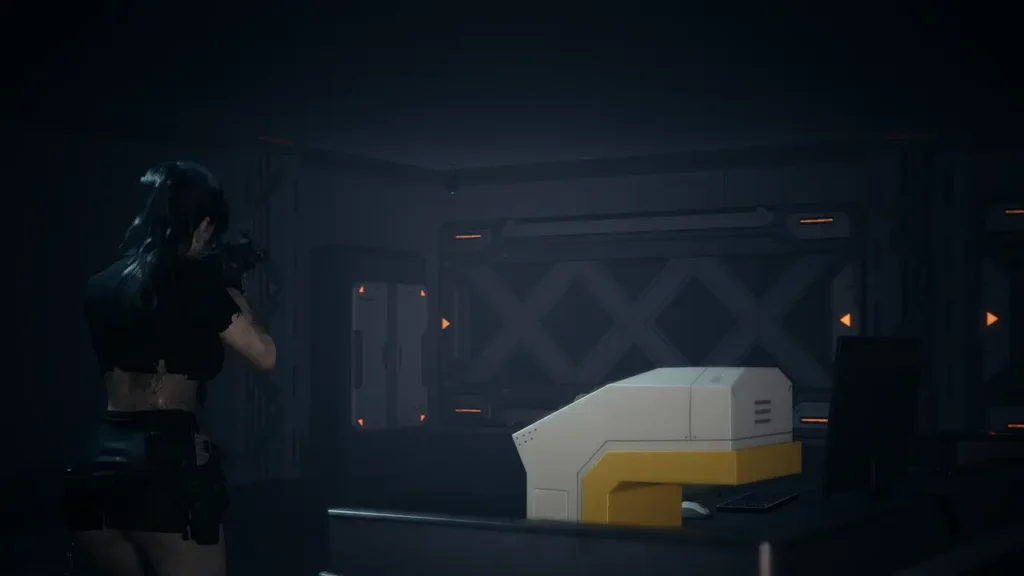
Back downstairs, mutated fat enemies fall into the turbine shaft. They release parasites that latch onto me, but left click and a knife break free. I head to the robotics lab where new doors are unlocked after the router update. Cameras are placed in several corners.
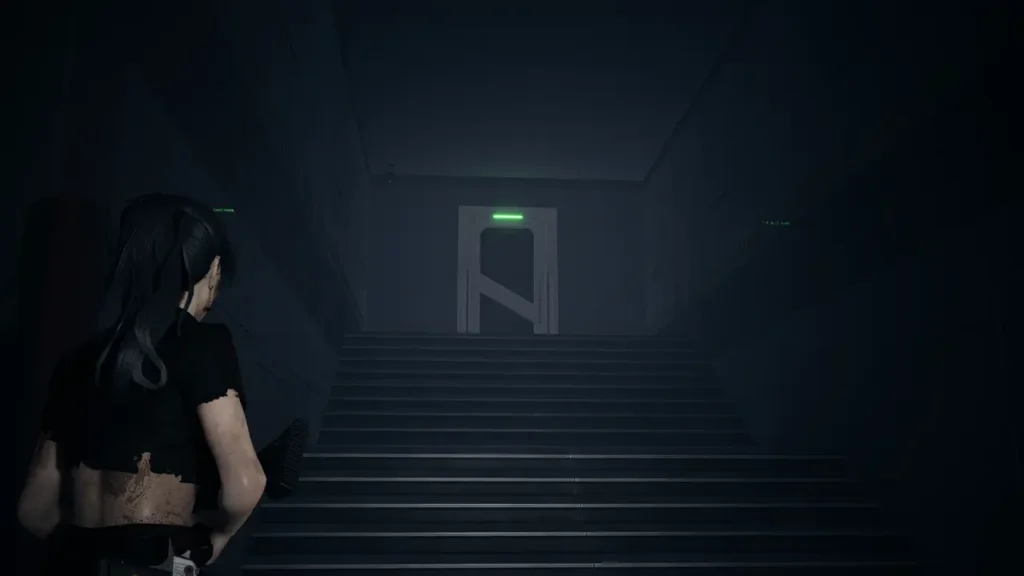
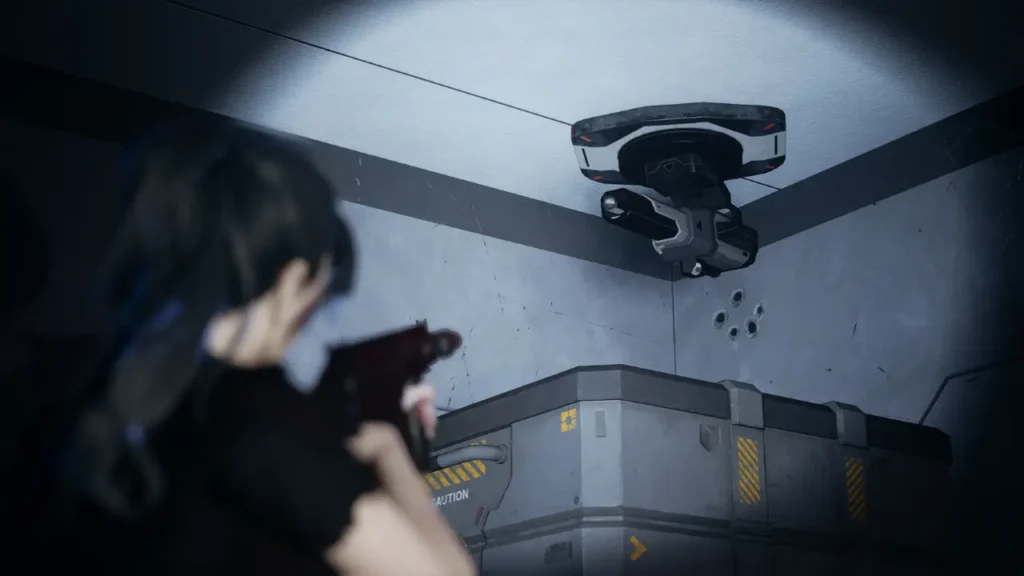
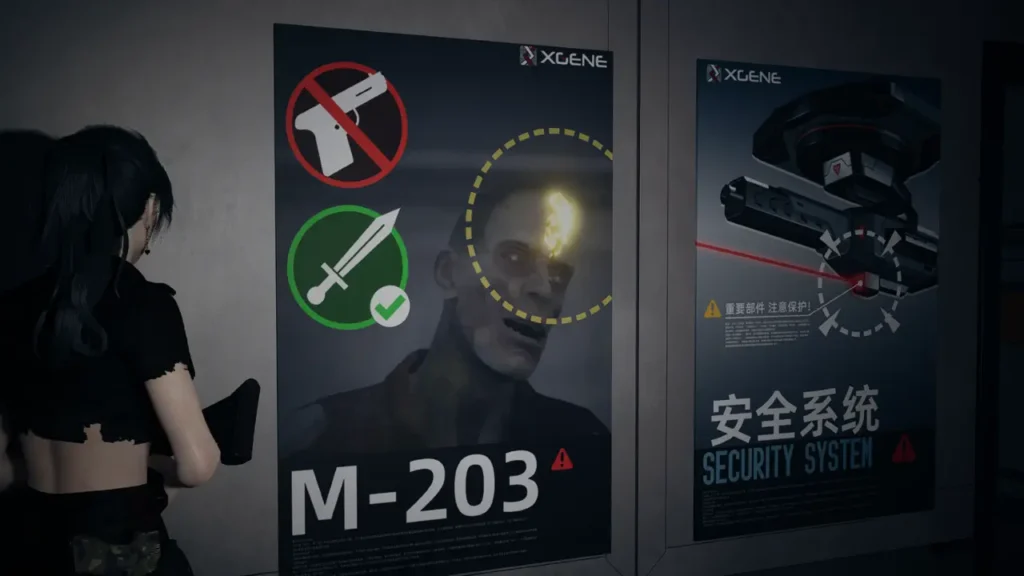
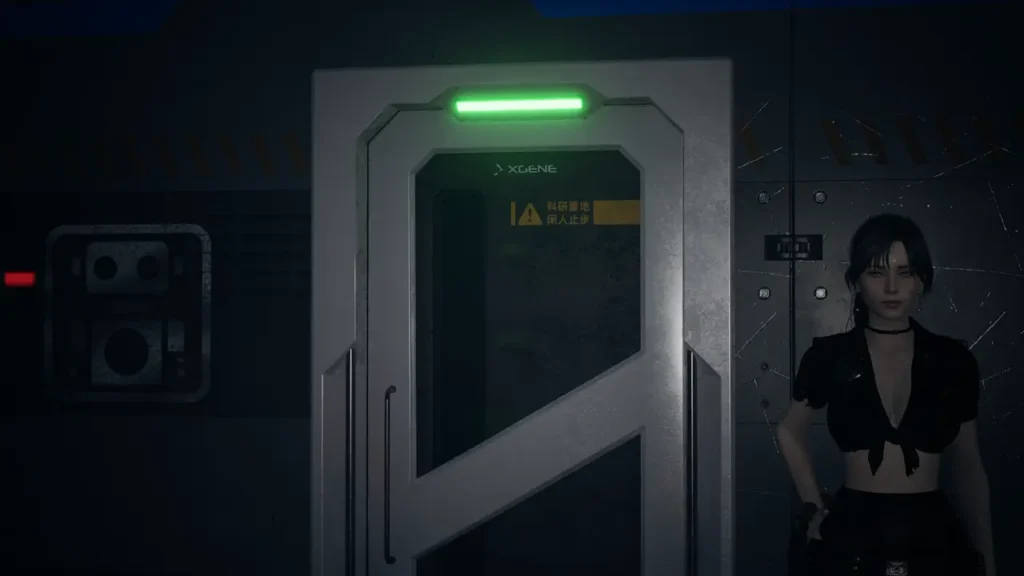
Inside an office with posters about turrets and gem zombies, I grab a voice recorder that progresses the main task.
Optional Turret Hell
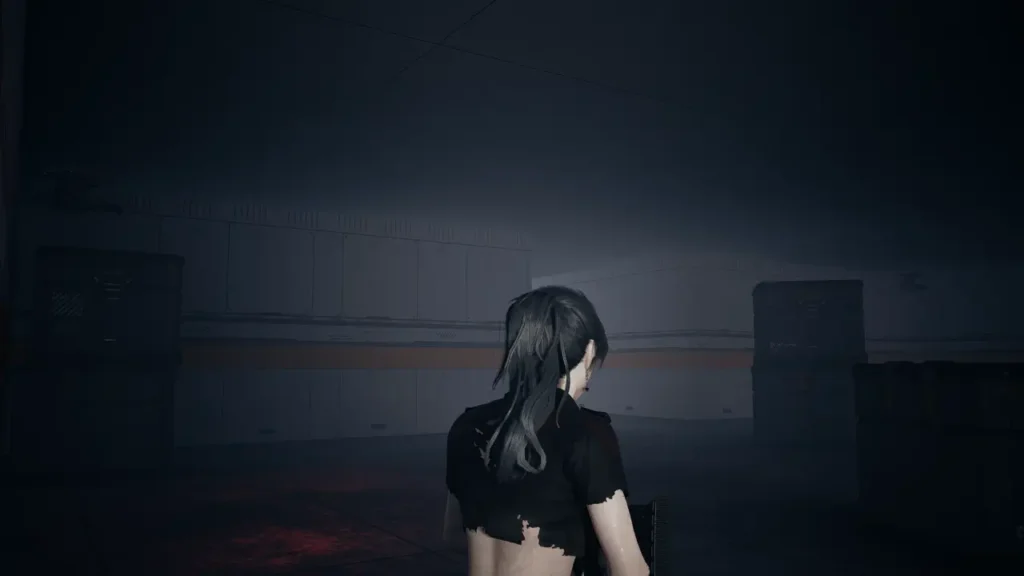
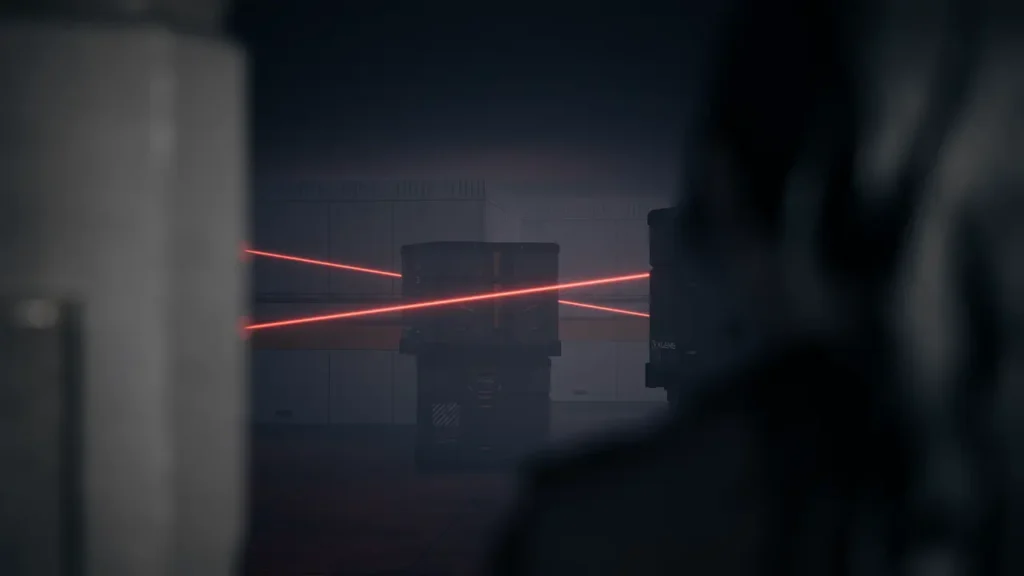
There is a door leading to a heavy turret zone. This area is completely optional. It contains multiple crossfire turret setups and heavy damage. With the Tiger 58 I destroy turrets in about three shots each, but the path is long and punishing. The reward is minimal, consisting of a sniper scope and a clothing collectible. Skipping it is recommended.
Finding the Spare Key
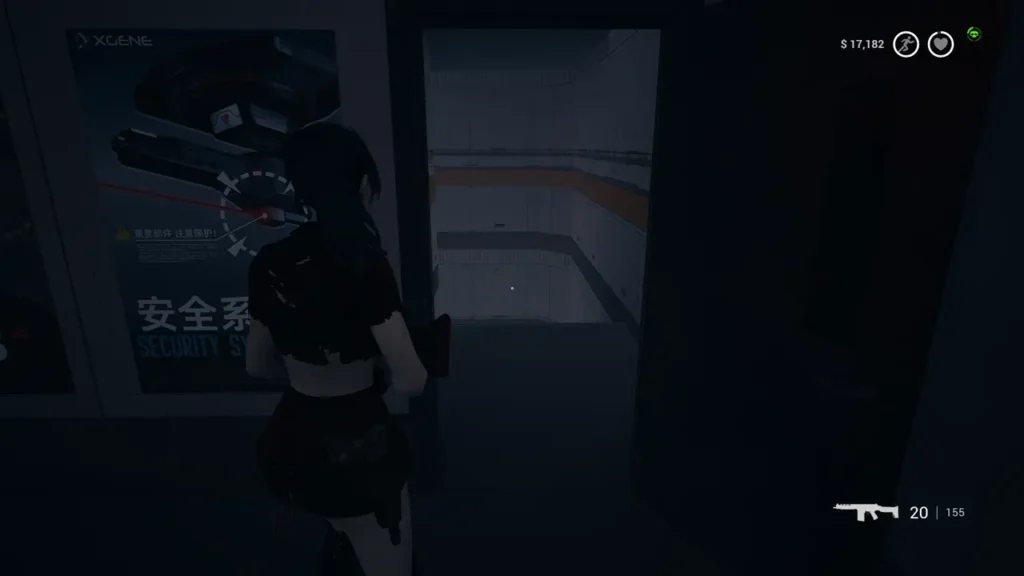
To progress, I follow the red arrow to the staircase and enter the room unlocked earlier from the monitoring system. The spare key is in the back cabinet. Opening it triggers a rush of yellow gem zombies. I use melee to conserve javelin ammo.
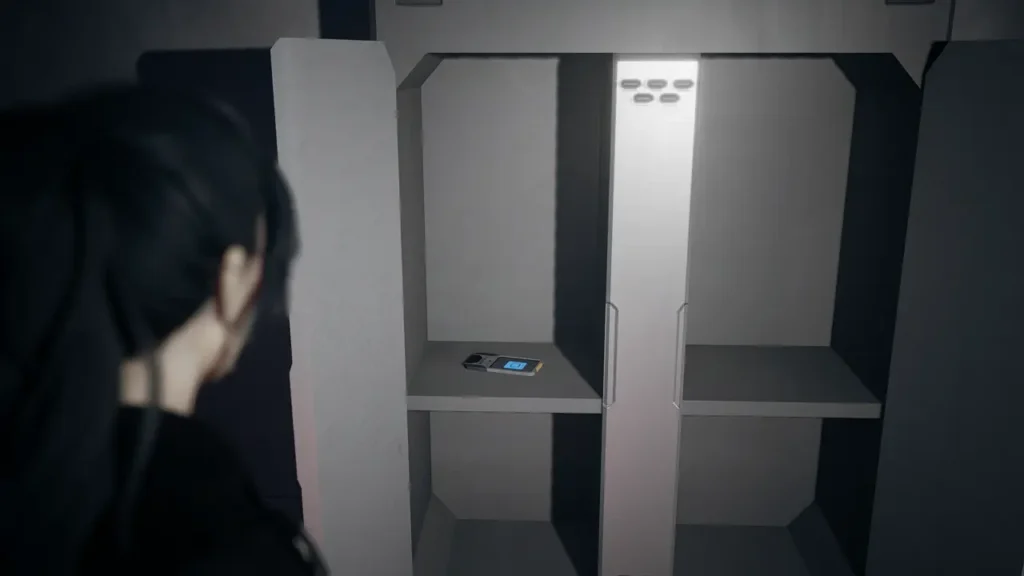
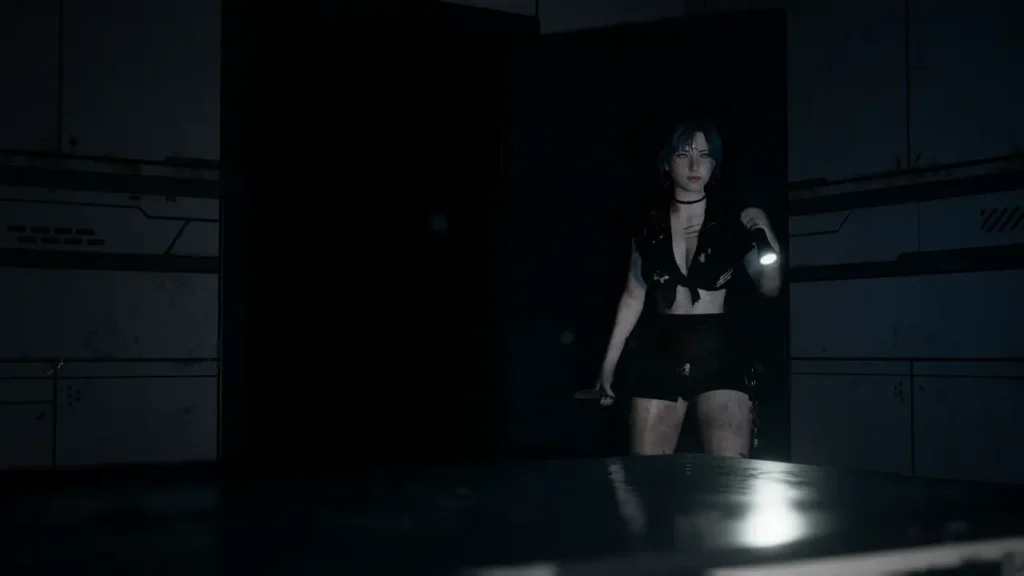
The adjacent staircase leads downward into darkness. Flashlight required. To the left is the Lightweight Electromagnetic Speargun, the only weapon that kills yellow gem zombies. Ammo sits on the back racks. A Demonic Badge is outside in the hallway.
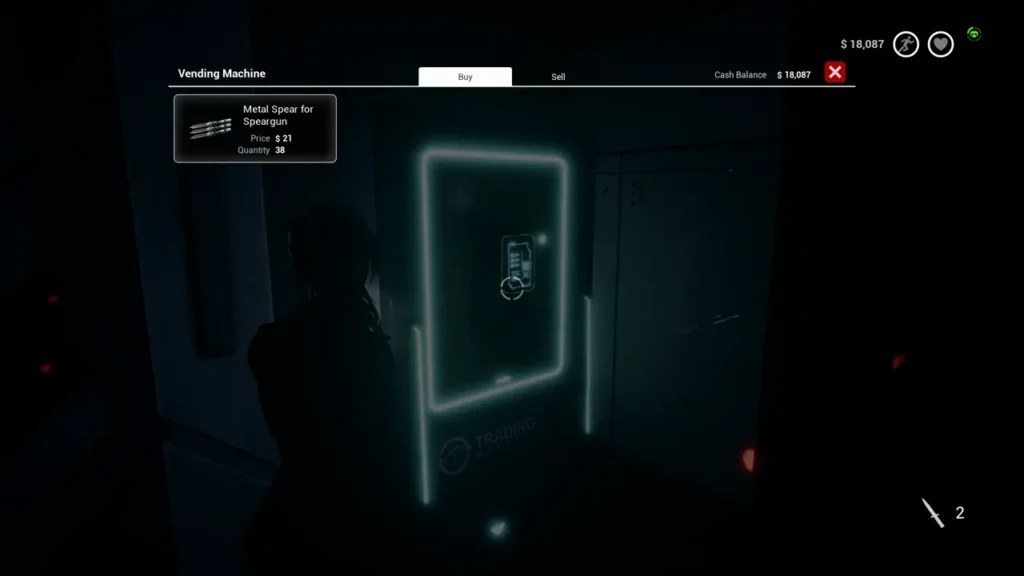
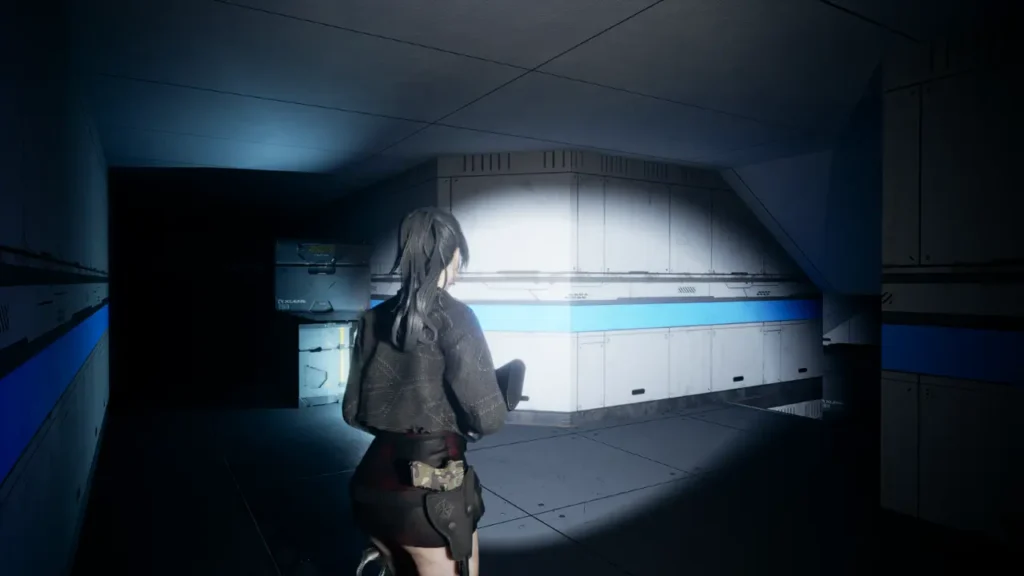
I drop down and clear the area with the speargun. Ammo is limited, so I make shots count. A shop nearby sells only javelins. I continue forward using normal weapons against canister zombies.
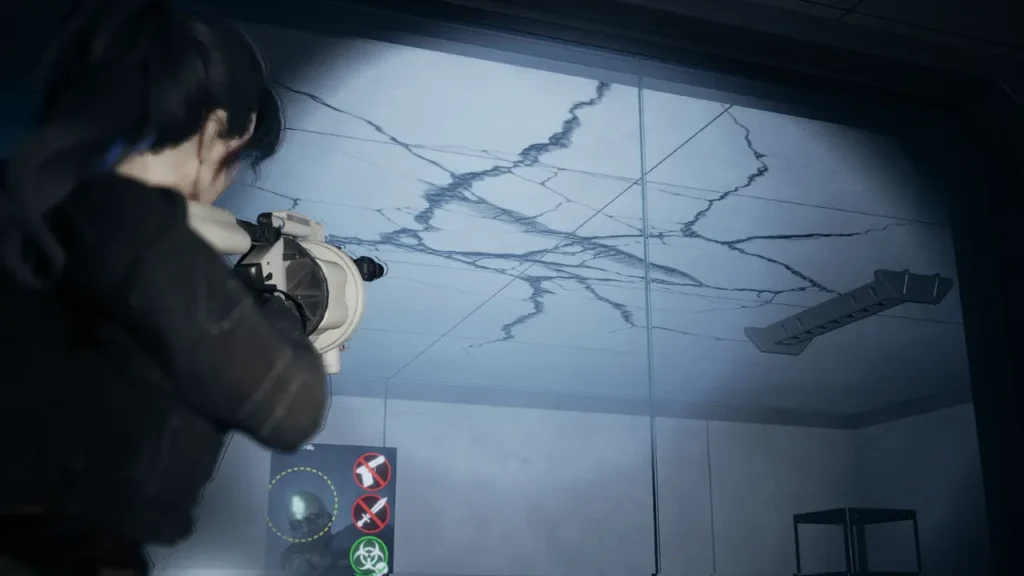
Upstairs I loot a silencer, clear a horde, shoot a camera, and find a Badge. Outside on the walkways I fight mixed enemy groups. After clearing a fat enemy and another new type, I reach two paths. The right path contains gas. The left path leads to a staircase.
Getting the Gas Mask
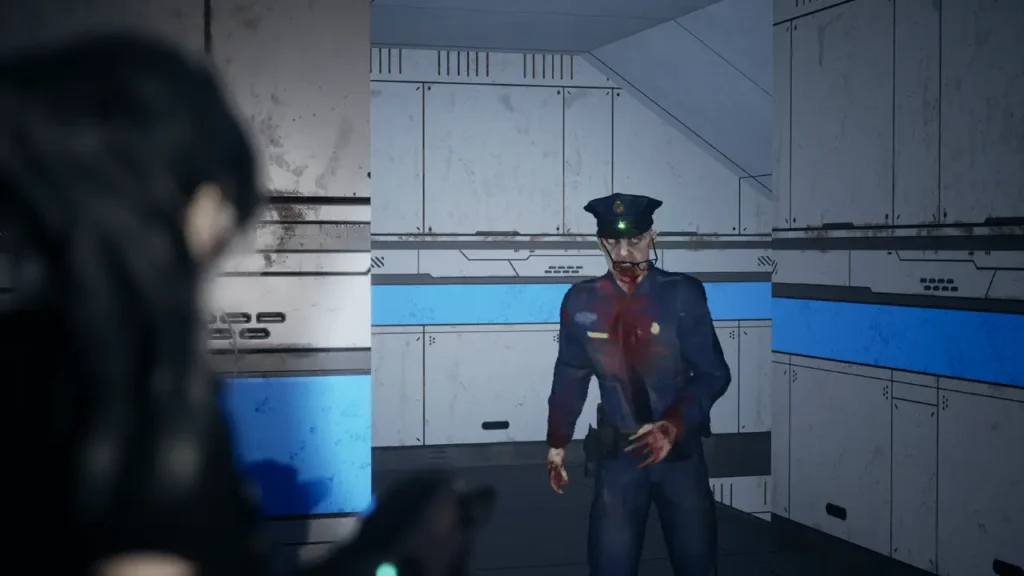
I take the staircase first. A turret guards the top. With a scope I hit the laser origin point. After clearing the turret, I find a half cracked door and a ceiling that can be destroyed with a grenade launcher shot through the crack. The falling canister breaks the glass room. Inside, the safe contains the gas mask. The code from the computer is 5302.

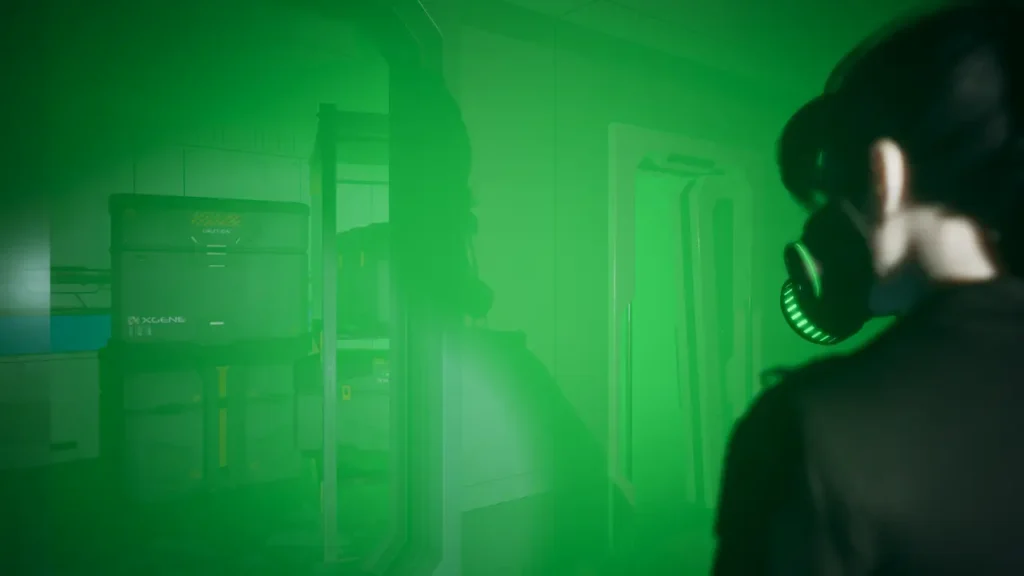
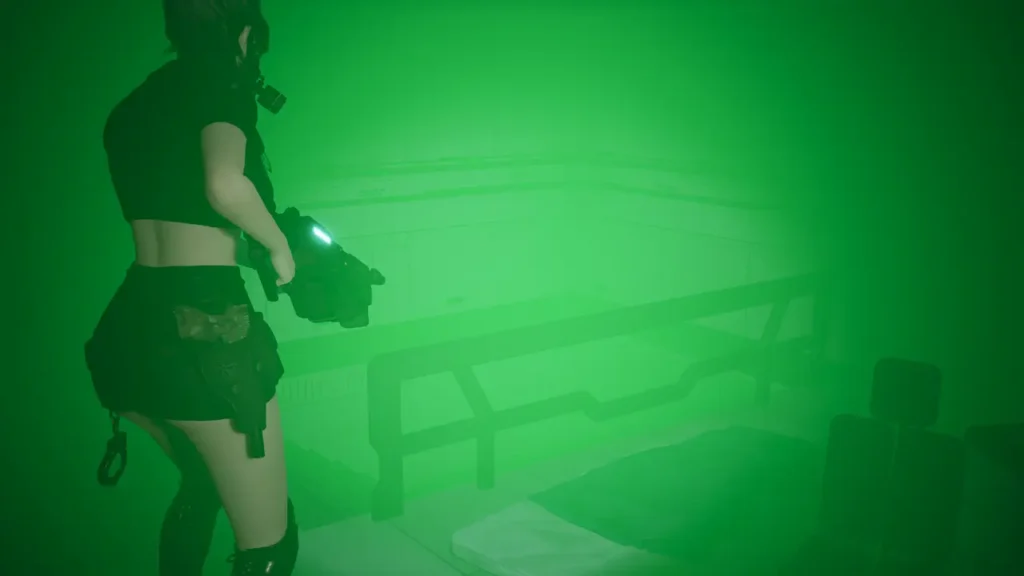
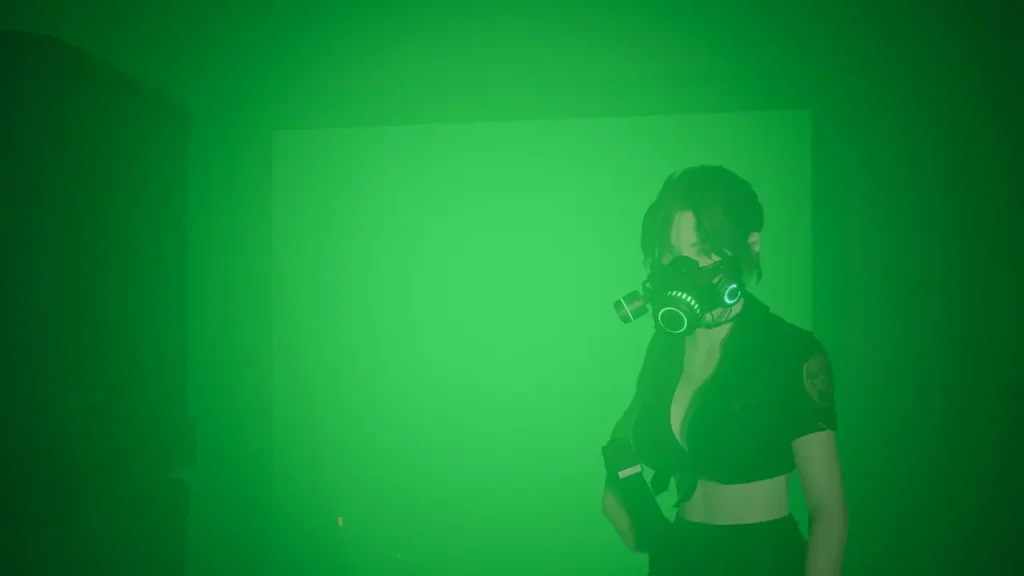
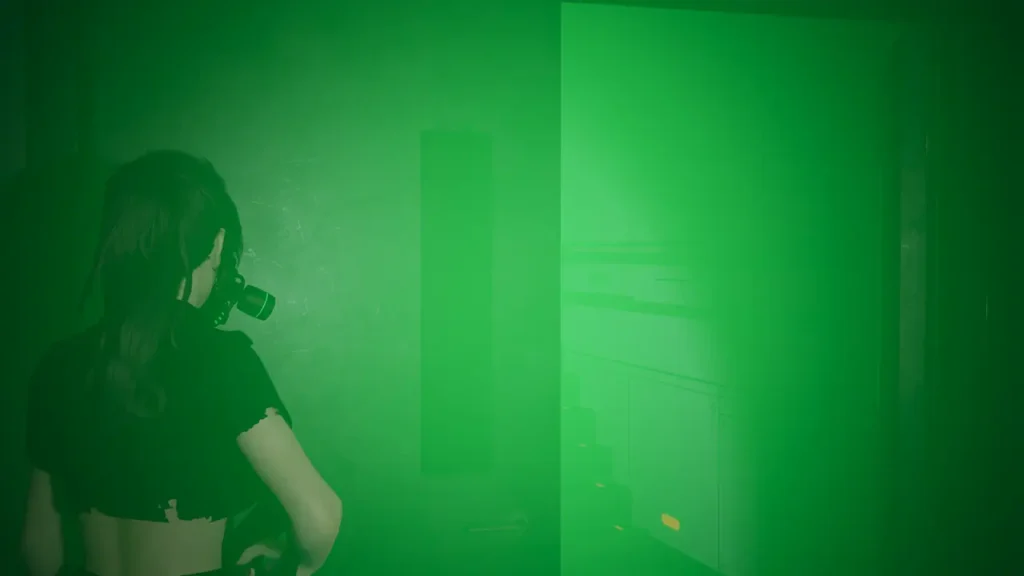
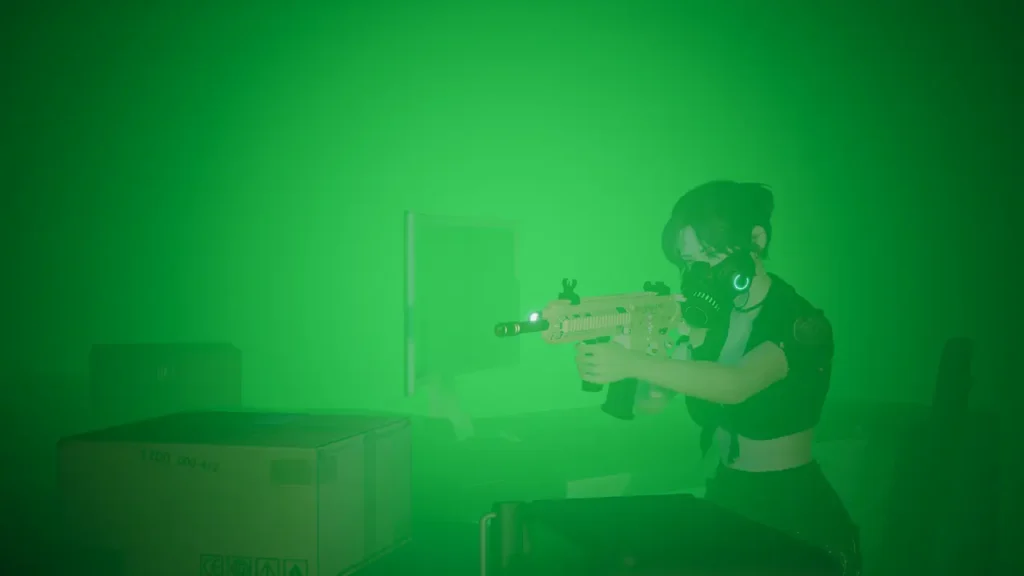
I collect green ammo in this room, needed for green gem zombies. I switch ammo types in the javelin by using the ammo item in inventory.
With the gas mask equipped, I return to the crossroads and enter the fog. The mask has durability and does not auto refresh, so I replace it manually. Inside the fog I locate a room with shattered glass, fight green gem enemies using green ammo, and reach a shop that sells gas masks and ammo. I buy several.
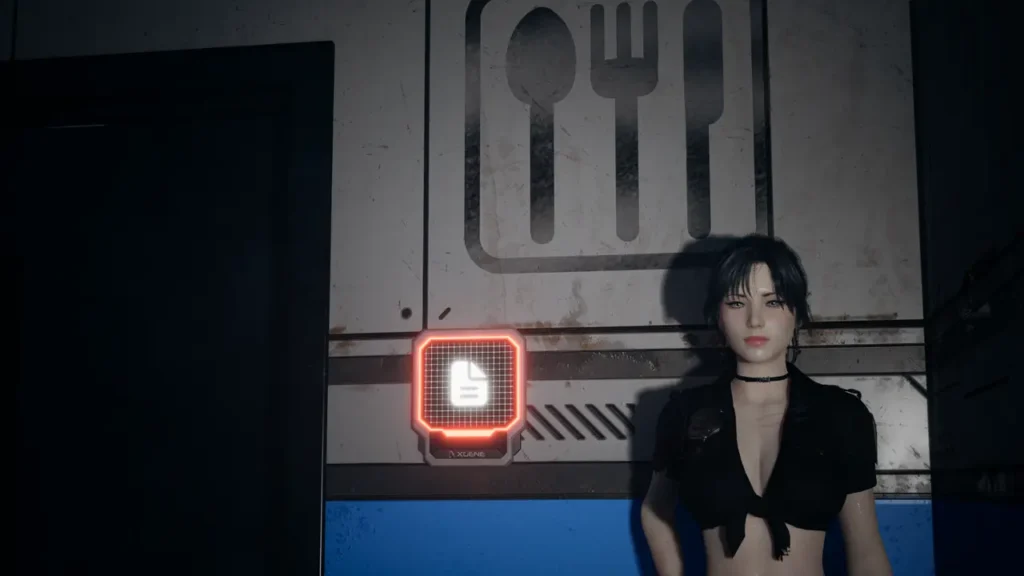
I continue through narrow rooms, desks, and doorways until I exit the gas area. Here I find a white keycard and a camera. I backtrack entirely through the fog using masks as needed. Two fat enemies appear near the large desk area.
Once out, I return to the main hall, save, and use the white keycard to open a shortcut to the restaurant.
Saving the Survivors
I pass through the restaurant to reach the Central Laboratory halls. I shoot more cameras in the Robotics Workshop and surrounding rooms.
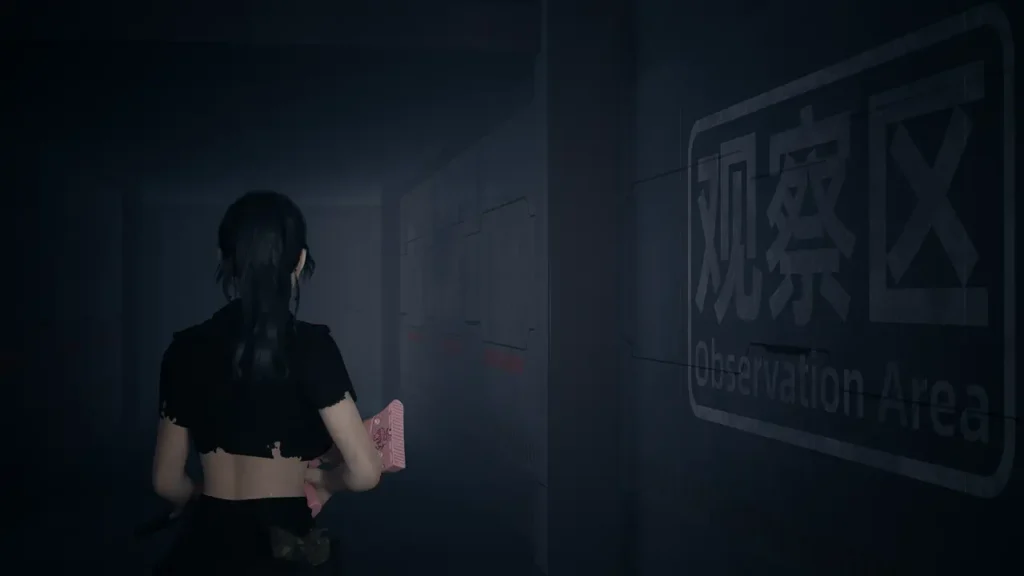
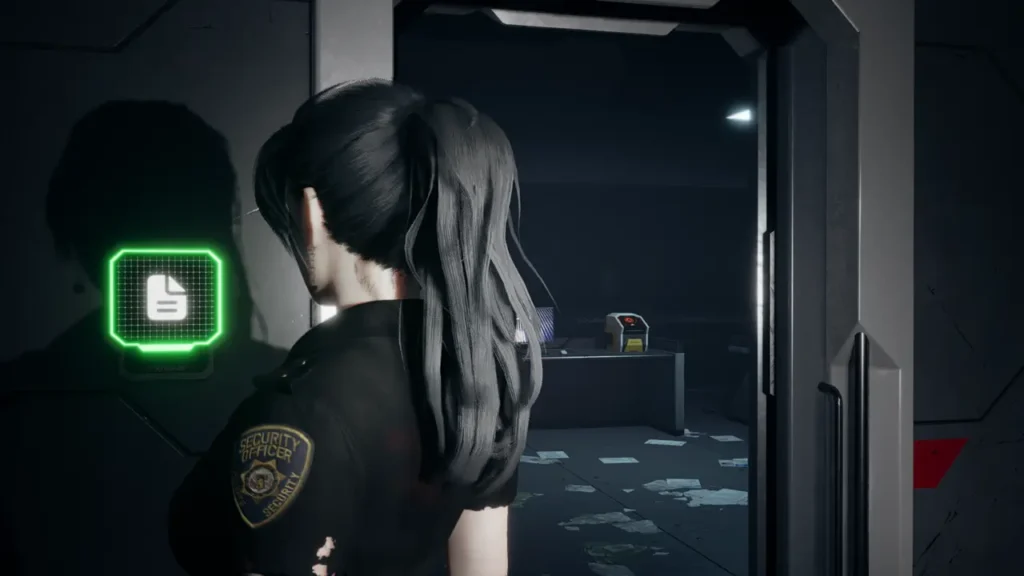
I descend to the white keycard doors near the Observation Zone. One door is a shortcut. The other triggers a cutscene and introduces the nurse enemy. I take the pink keycard from the back racks.
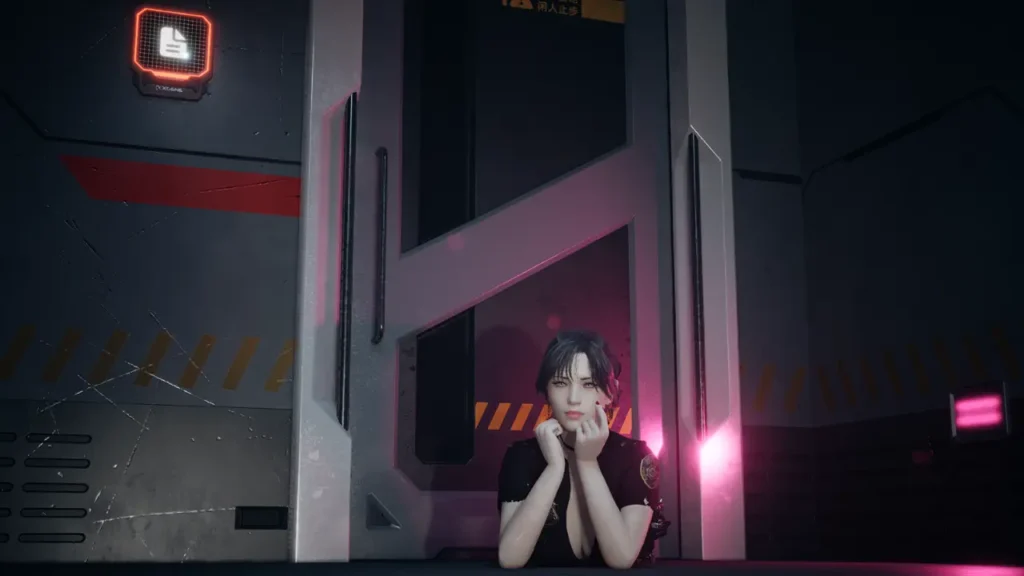
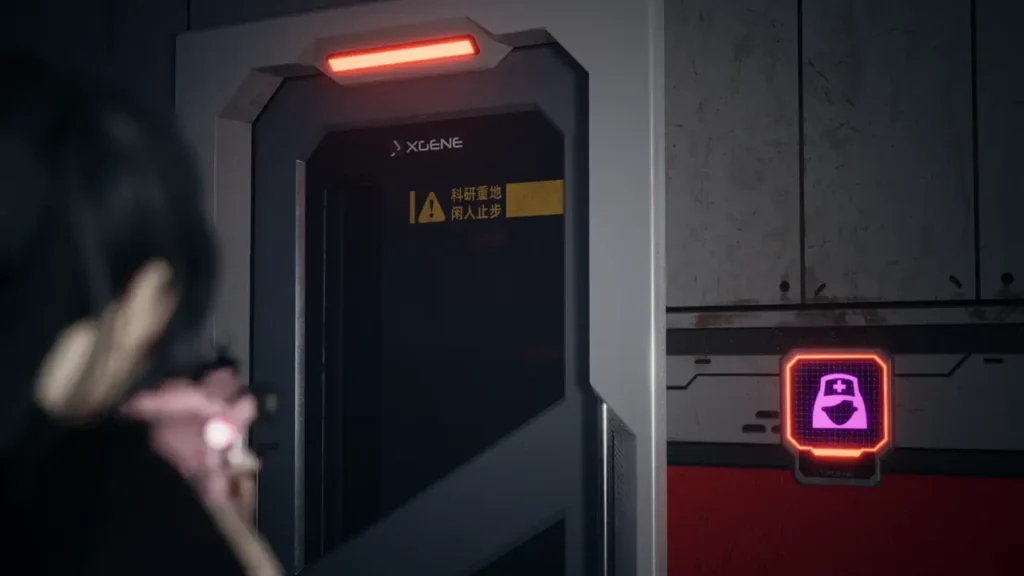
Downstairs, pink keycard doors lead into a large network of hallways where five survivors wait. They follow me like Jason, and can die. Once I gather all five, I escort them back to the room where I first fought the nurse and interact with the marked survivor to receive the Central Key.
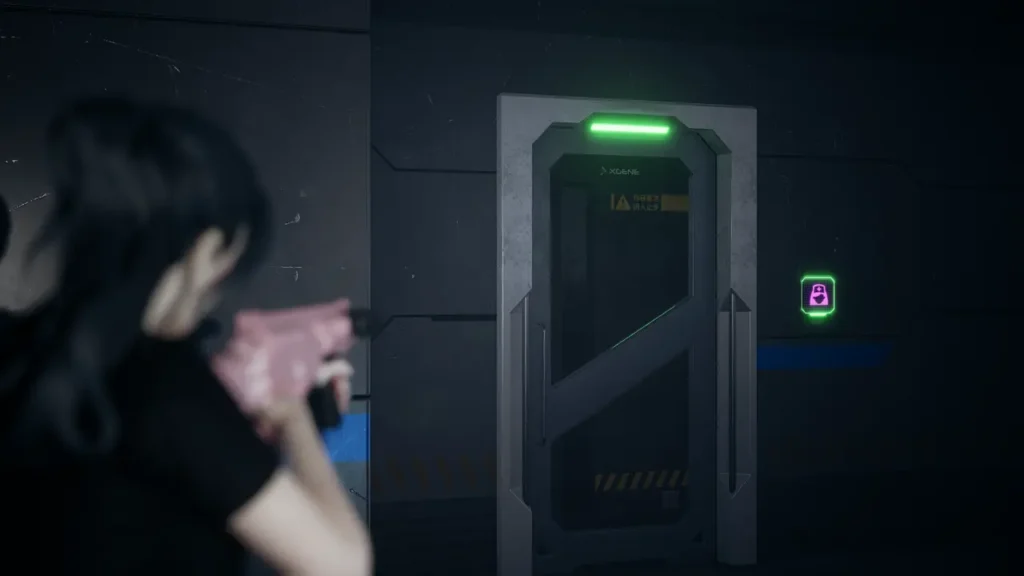
There is also a sixth survivor accessible through a red and pink keycard route. They can be brought to the safe room as well.
With the Central Key obtained, I return to the monitoring room. I prepare for the final gauntlet because opening the entrance triggers an endless swarm. I run directly to the key access point, use the key, then use the monitor to unlock the Central Laboratory door. When it succeeds I am automatically teleported to the door. Chapter 2 is complete.
