If you’re stuck in PANICORE and unsure how to complete the next mission, this guide covers every map and all available escape routes. In this guide, I’ll explain the items, puzzles, and objectives for each ending needed to successfully escape from the Volga Middle School, Hospital and Mental Hospital map, Ravenswood Sanatorium, Ridgeway Submarine, Secret Military Base, and Snowy Zone.
Walkthrough & Maps
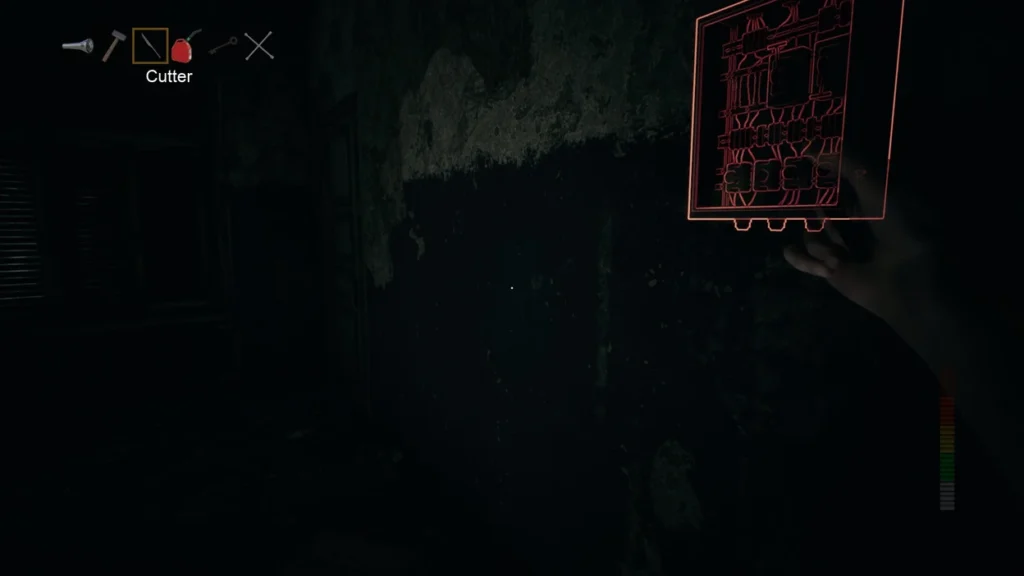
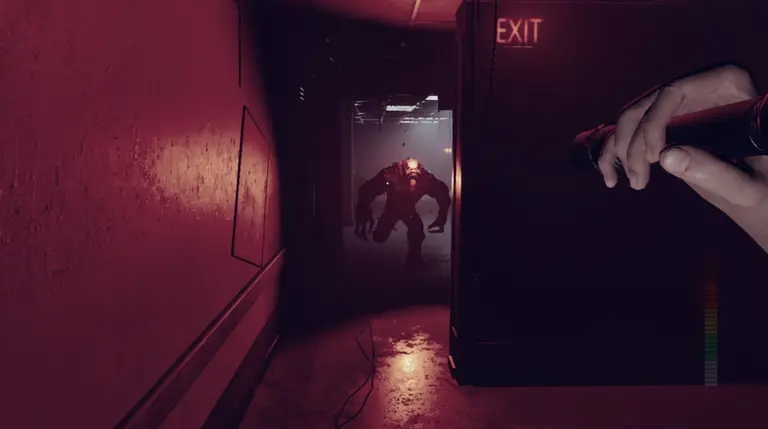
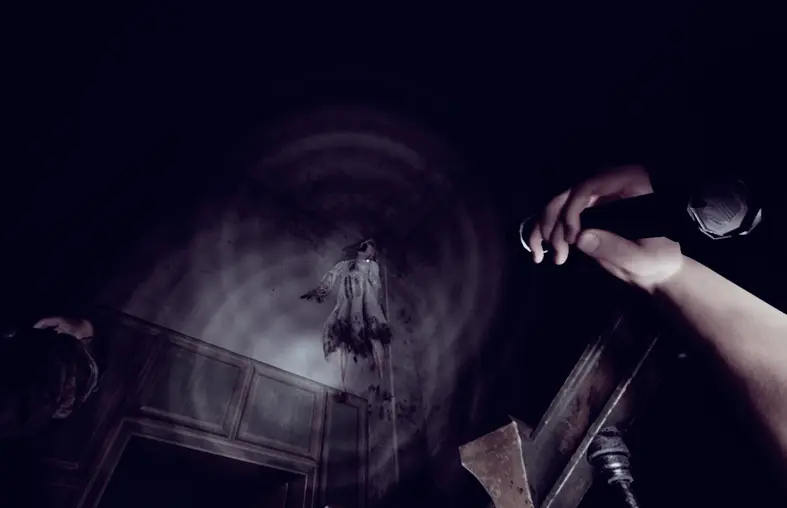
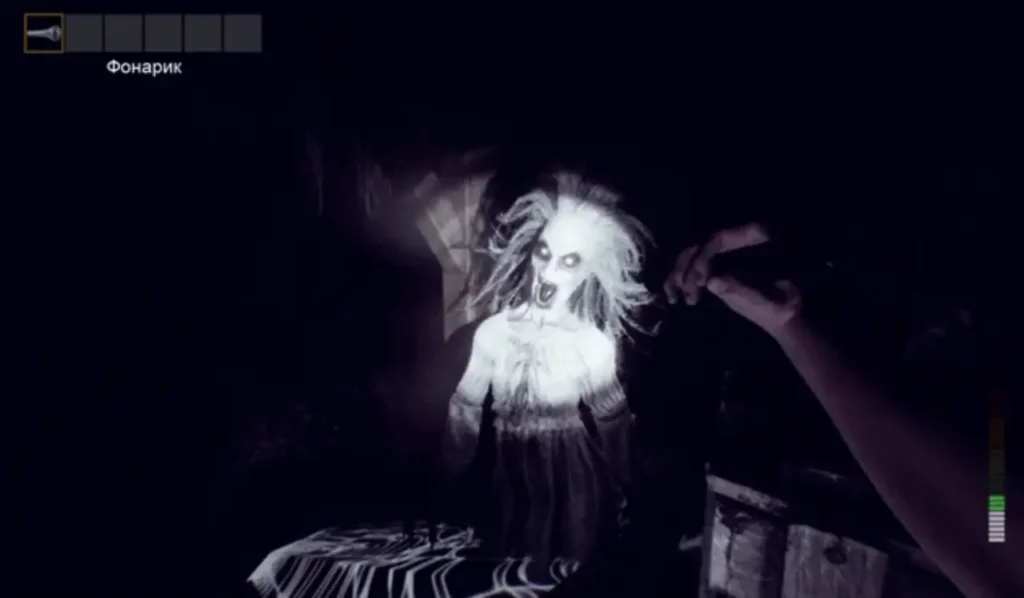
In PANICORE, your main goal is to escape from the map. Each map has two exits, each requiring specific items to use. The monsters you encounter differ depending on the exit you choose. You can view your money and level by opening the inventory. All monsters can be countered with bricks, and on the hospital map, with a fire extinguisher. Scattered across the maps are documents (which unlock achievements) and money for buying new maps and costumes.
Table of Contents
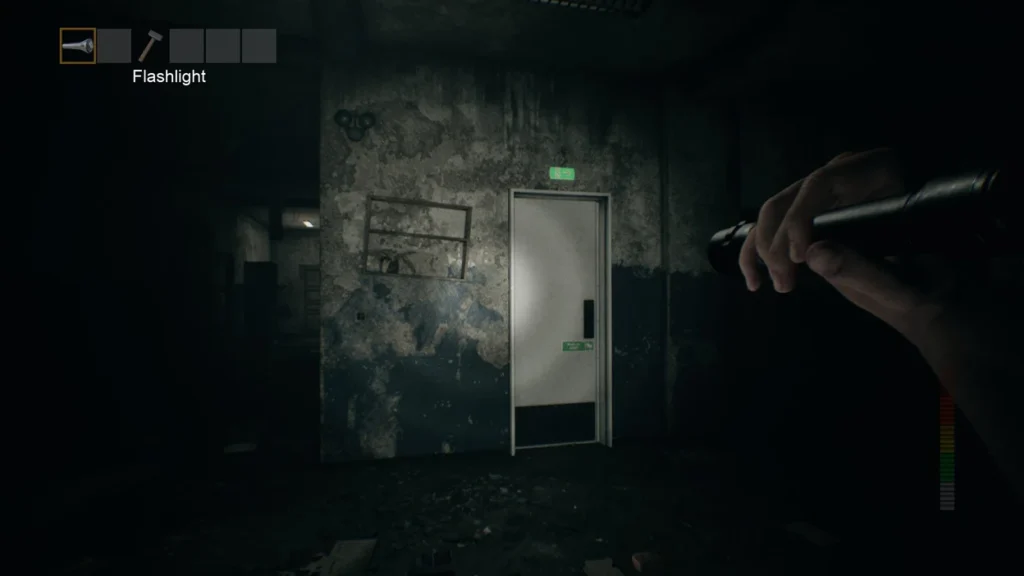
Escaping Volga Middle School Map
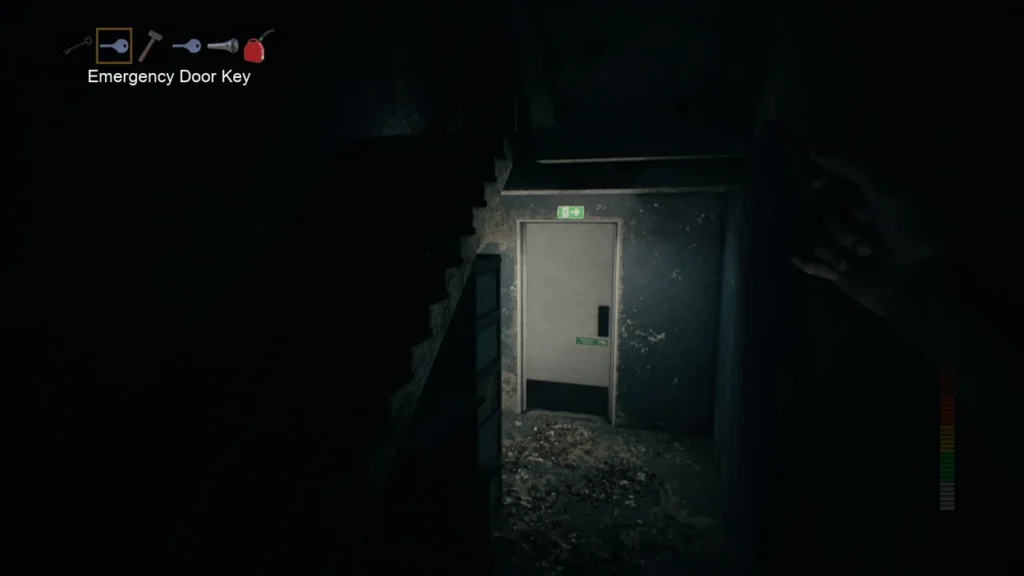
As the man on the radio said, you have two ways of escaping: either by building a ladder or by repairing the car. In both cases, you will need to find a hammer to break the glass on the red box mounted on the wall, which contains the Emergency Door Key. The box with the Emergency Door Key can spawn on any wall, so it’s a good idea to start checking as soon as the game begins.
Volga Middle School Floor Plan:
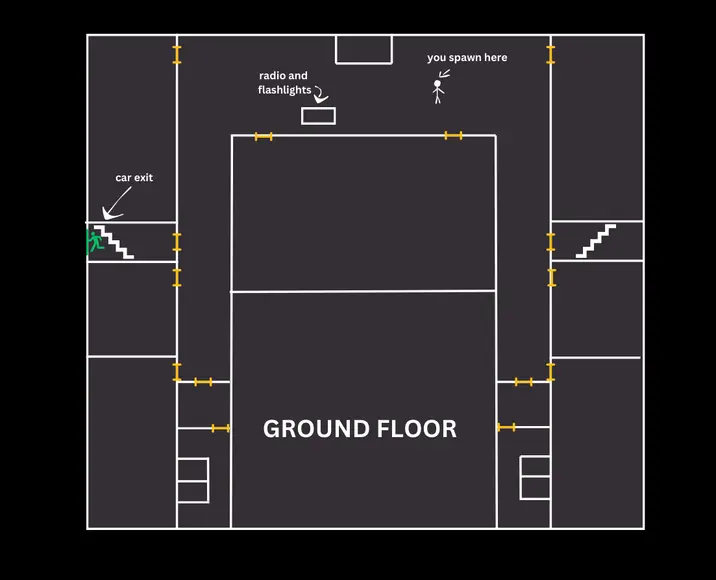
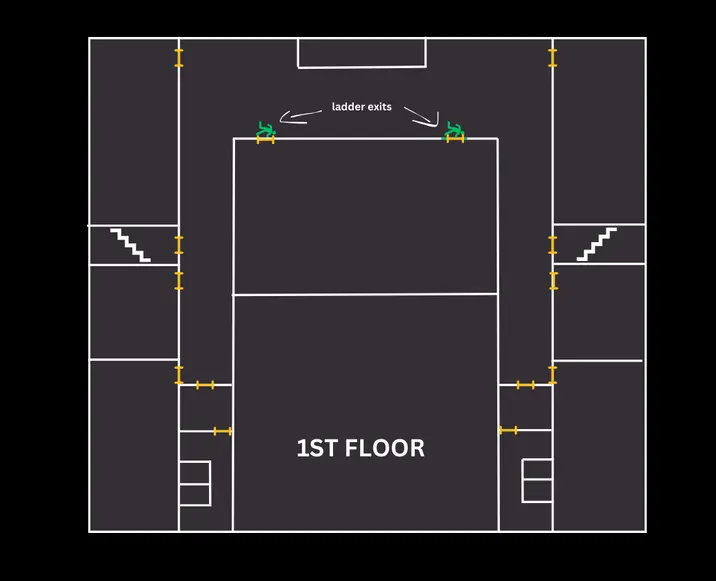
Escaping with the Ladder
- Escape doors are located on the 1st floor.
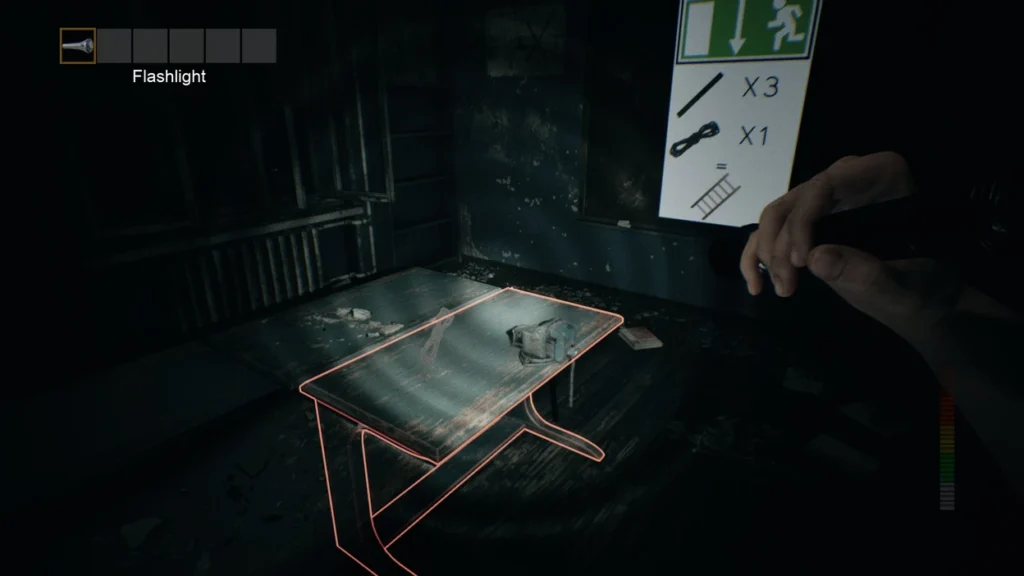
- To escape using the ladder, you will need 3 planks, a saw, and a rope.
- First, go to the workshop table and use the saw to cut the 3 planks (note that this will generate a lot of noise).
- Next, use the rope to craft the ladder.
- Afterward, head to the 1st floor, unlock one of the doors with the Emergency Door Key, and use your ladder on the wall to escape.
Escaping with the Car
- The escape door is located on the ground floor, underneath one of the staircases.
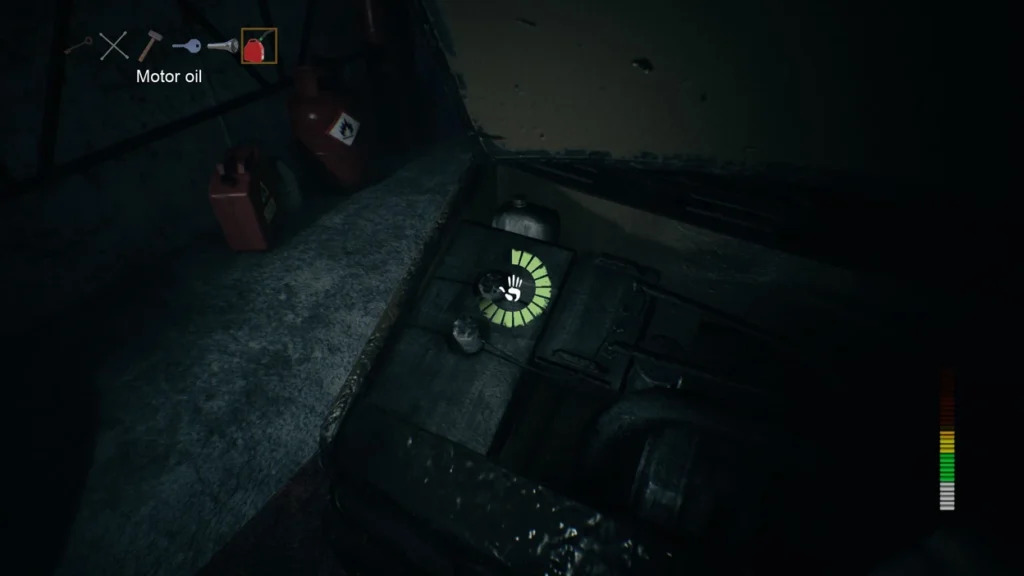
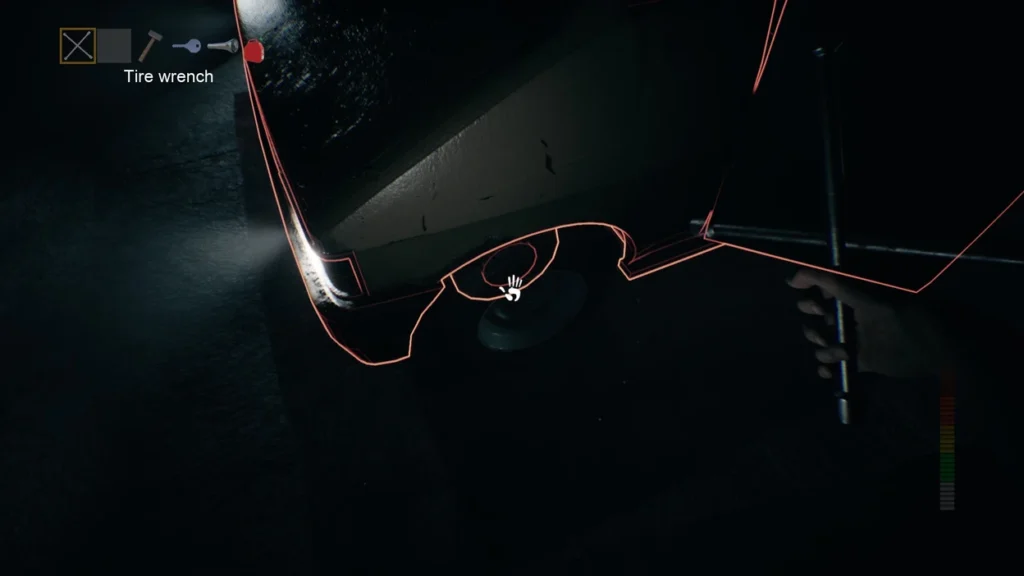
- To escape with the car, you will need a tire, a tire wrench, car keys, and motor oil.
- After unlocking the exit door, you will need to prepare the car:
- Fill the car with motor oil.
- Use the tire wrench to attach the tire.
- Finally, use the car key to start the car and run over the monster as you make your escape.
Opening the Stuck Door
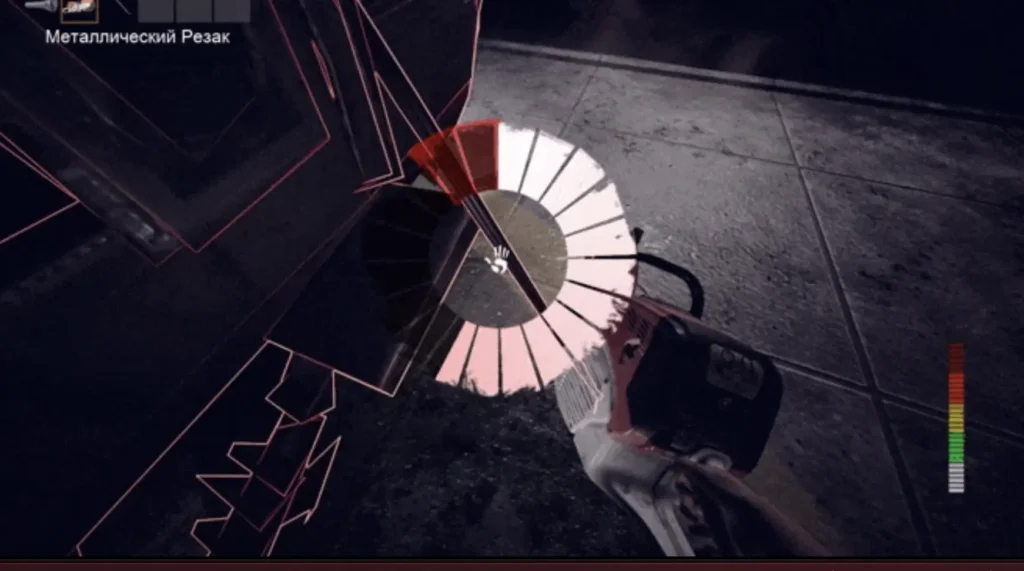
To open the stuck door, you need to cut the wires from the fuse next to the door using a cutter.
Hospital Map
First Exit
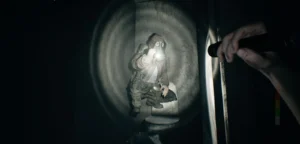
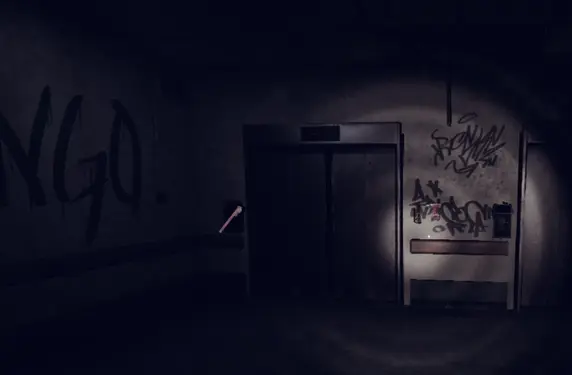
This is a large, difficult map with a very aggressive monster. There’s a room with a coded lock, and the code is found behind one of the locked doors. The first exit is via a working elevator.
Elevator Escape Steps:
- Identify the working elevator (should be easy to spot).
- Repair the elevator using a wrench (noisy and takes time).
- Find the Elevator Key and an Emergency Button (there are two; the second is for the helicopter exit).
- Return to the elevator, use the key, and escape.
Second Exit
The second exit is by helicopter.
Helicopter Escape Steps:
- Find a screwdriver, gasoline, a metal cutter, and the Helicopter Key.
- Activate the Emergency Button for the helicopter.
- Climb to the roof (there are two routes) and repair the helicopter.
- Open the helicopter, refuel it, fix the rear blades, remove the cables, and take off.
Asylum Map
First Exit
This is a large map with many floors and locked doors. There’s also a basement where you can find an item after unlocking the door with a cutter. The monster isn’t fast, but it has a long-range sight. In rooms, you can find codes to unlock rooms with coded locks.
Keycard Escape Steps:
- Collect four keycards.
- Find the first keycard (no special action required).
- Repair the “Broken Card” using a special device.
- Reprogram the “Programmable Card” using a PC.
- Retrieve the “Safe Keycard” from the safe after finding the code (different from door codes).
- Insert all four keycards at the exit to unlock it.

Second Exit
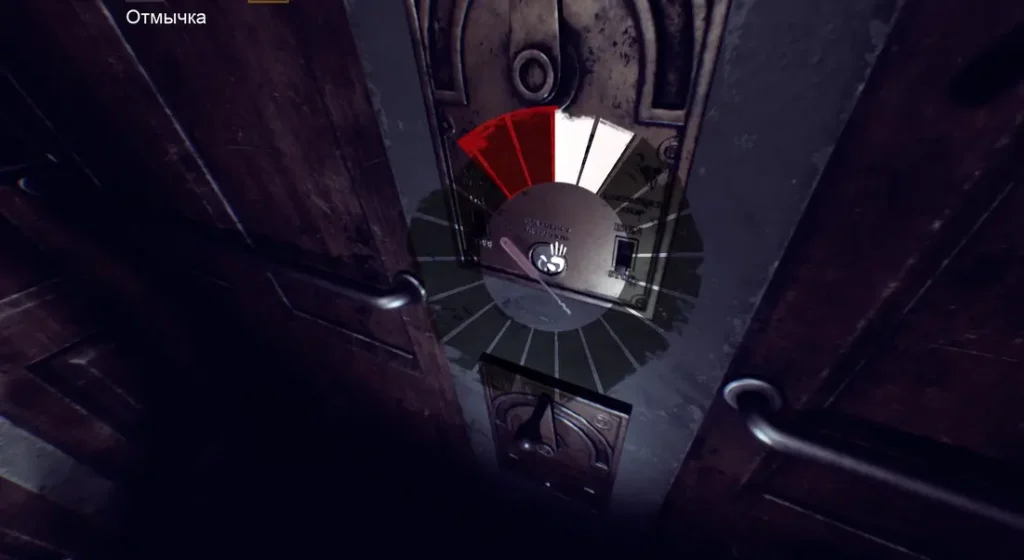
The second exit is through an elevator. You’ll need a lockpick, a valve, and the Old Gate Key.
Elevator Escape Steps:
- Use the elevator to reach the 5th floor.
- Unlock access to the 6th floor with the lockpick.
- Open the door with the Old Gate Key.
- Turn the valve to stop steam from the pipes.
- Use a crowbar to open the ventilation shaft and escape.
Tips and Tricks
These methods only work in duo mode. One player distracts the monster while the other gathers the items for escape.
Hospital Map Tip:
- Set voice recognition to max (optional but safer).
- Lure the monster to another floor (up or down). It should stay there, giving you time to collect items.
Asylum Map Tip:
- Lead the monster to the attic, then run right, making sure it follows.
- Hide in a spot below, and the monster will stay with you, letting the other player gather items.
Ravenswood Sanitarium
To complete this map, I can either collect four keycards to unlock the main door or repair the elevator and escape through the vents.
Required Items
- 4 Keycards
All keycards must be inserted into the reader located to the right of the front door.
Keycard Locations and Usage
Keycard 0
- Insert directly into the reader.
Programmable Keycard
- Insert it into a computer.
- It becomes an Admin Keycard.
- Insert it into the reader.
Safe Keycard
- Find the safe code.
- Open the safe and retrieve the card.
- Insert it into the reader.
Broken Keycard
- Use it on a Battery Box.
- It becomes a Repaired Keycard.
- Insert it into the reader.
Once all four keycards are inserted, interact with the main doors to escape.
Vent Escape
Required Items
- 1 Lockpick
- 1 Old Gate Key
- 1 Valve
- 1 Crowbar
Steps
- Use the Lockpick on the elevator to access the upper floor.
- Use the Old Gate Key to unlock the wire elevator gate.
- Reach the valve and vent area.
- Turn the valve to shut off the steam.
- Use the Crowbar to open the vent.
- Interact with the open vent to escape.
Ridgeway Submarine
To finish this map, I can either launch myself out of the submarine using a torpedo or destroy a damaged wall.
Torpedo Escape
Required Items
- 1 Torpedo Part
- 1 Metal Cutter
Steps
- Place the Torpedo Part in the highlighted slot.
- Use the Metal Cutter to open the end of the torpedo.
- Go upstairs and solve the computer puzzle.
- Note the red and green light sequence displayed on the lower monitor.
- Go downstairs to the generator opposite the torpedo.
- Set the generator buttons to match the sequence shown on the computer.
- Interact with the torpedo to escape.
Broken Wall Escape
Required Items
- 3 Tanks
- 1 Valve
- 1 Fuel
- 1 Lighter
Steps
- Place all three tanks near the damaged wall.
- Install and turn the valve.
- Pour fuel over the tanks.
- Use the lighter to ignite the fuel.
- Escape through the newly exposed opening.
How to Get the Lighter
- Find the color sequence puzzle.
- Locate the wall chart that explains the color combinations.
- Use the code found on the desk beside the computer.
- Enter the correct code into the computer.
- Open the unlocked locker and collect the lighter.
Secret Military Base
To escape this map, I can either activate the Bomber Aircraft or power up the fence.
Note: A Crowbar is required to remove wooden planks blocking doors throughout the map.
Bomber Aircraft Escape
Required Items
- 1 Hammer
- 1 Battery
- 1 Lockpick
Fuel Pump Puzzle
- Activate the fuel pump.
- Watch the displayed color sequence.
- Repeat each sequence correctly using the Blue, Yellow, Red, and Green buttons.
- Complete all sequences to activate the pump.
Battery
- Find the large metal cage inside one of the larger buildings.
- Use the Lockpick to open the cage.
- Collect the battery.
- Locate a charging station.
- Charge the battery.
- Return to the runway and install it in the aircraft.
Wooden Blocks
- Find the rows of wooden blocks in front of the aircraft.
- Use the Hammer to destroy them.
Computer Puzzle
- Find the first computer and memorize the displayed password.
- Locate the second computer.
- Enter the password using the in-game keyboard.
- The screen will display “DONE” when successful.
After fueling and powering the aircraft, interact with the Bomber Aircraft to escape.
Fence Escape
Required Items
- 3 Gears
- 4 Cables (Blue, Red, Green, Yellow)
Computers
- Locate the building containing six computers.
- Interact with each computer until all screens turn green.
Gears
- Find all three gears around the map.
- Search lockers and shipping containers thoroughly.
- Go to the fence on the opposite side of the runway.
- Insert all gears into the slots on the concrete wall.
- The gears will begin turning automatically.
Cables
- Find the Blue, Green, Yellow, and Red cables.
- Locate the cable placement diagram.
- Find the matching cable device.
- Insert the cables in the correct order.
Generators
- Find all four generators.
- Complete each timed interaction.
- Avoid making mistakes, as a failed light requires restarting the generator.
When all four fence indicators are green, interact with the fence to escape.
Snowbound
To complete Snowbound, I can either thaw the front door or escape through the chimney.
Front Door Escape
Required Items
- 1 Crowbar
- 1 Shovel
- 1 Fuel
- 1 Lever
Generator
- Go to the basement.
- Find the generator buried in snow.
- Use a Crowbar to open glass cabinets.
- Find the Shovel and missing Lever.
- Remove the snow around the generator.
- Install the Lever.
- Find Fuel and refill the generator.
- Wait until all three generator lights are active.
Fuse Box Puzzle
- Locate the fuse box in the basement.
- Flip the five breaker switches.
- Continue through trial and error until all five switches remain active.
This will thaw the front door.
Return to the entrance and interact with the Front Door to escape.
Chimney Escape
Required Items
- 1 Crowbar
- 1 Hammer
- 1 Lighter
- 5 Firewood
- 1 Water Bucket
- 1 Fuel
Fireplace Preparation
- Go upstairs to the bedroom containing the fireplace.
- Use the Hammer to remove the wooden boards.
- Collect and place all five pieces of Firewood.
- Pour Fuel onto the wood.
Obtain the Lighter
- Use the Crowbar to open glass cabinets.
- Find and collect the Lighter.
Thaw the Lever
- Find the Water Bucket.
- Take it to the kitchen.
- Place it on the stove and wait for the water to heat.
- Bring the bucket back upstairs.
- Pour the hot water on the frozen lever.
- Interact with the lever to activate it.
Light the Fireplace
Use the interaction key to light the fireplace with the lighter. Avoid using the left mouse button, as it may throw the lighter instead.
After lighting the fireplace, interact with it to escape.
Note: Some players have reported being teleported to the rooftop instead of seeing the normal escape cutscene. Similar issues have also been reported for the Front Door ending.