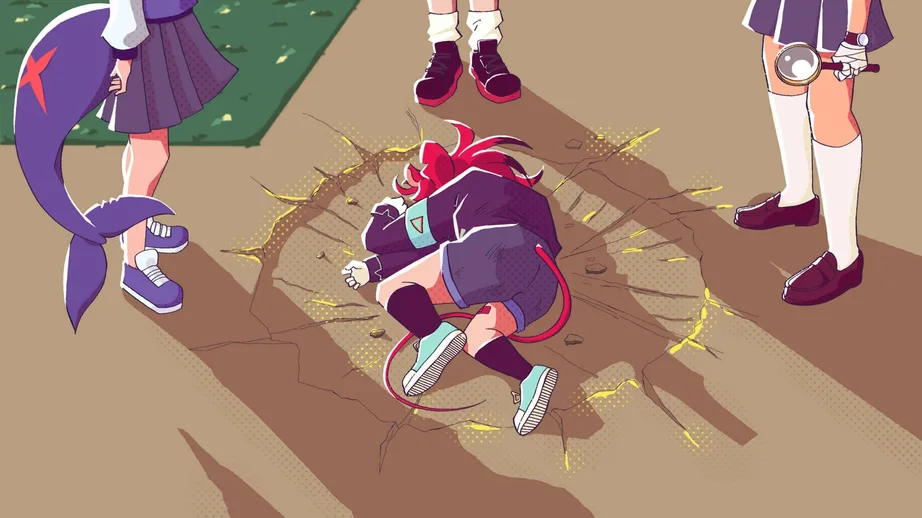
In this HoloTrials: Case Covered trials walkthrough, I go through the correct evidence, press options, and answers for Trial Day 1 and Trial Day 2 in order. I follow each trial step from start to finish so I can choose the required response when it appears.
Trial Choices & Evidence Guide
Below, I list every choice I make during both trial days, including which evidence I present, which statements I press, and which answers I select.
Trial Day 1 Choices and Evidence
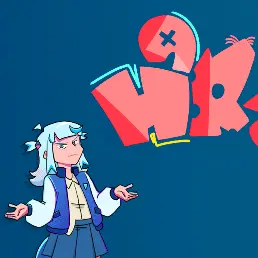
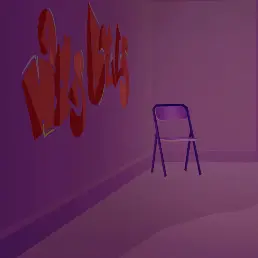
When the Judge asks me to show evidence of the crime that was committed, I present:
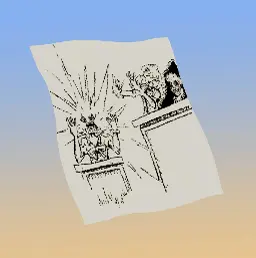
Evidence: Picture of Graffiti
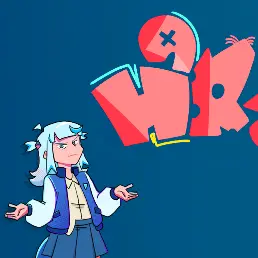
When the testimony says there was barely enough time to finish the art project during class, I present:
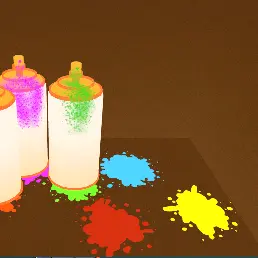
Evidence: Missing Spray Paint
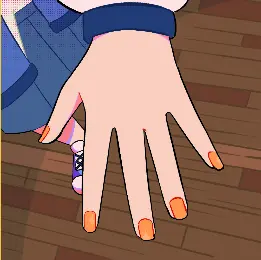
When Gura says she could not have gone there because she visited Kiara immediately after school, I use:
Evidence: Gura’s Hands
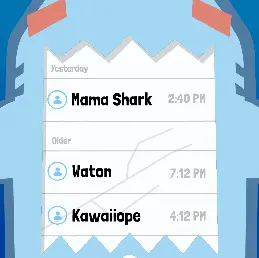
When Kiara explains that Gura called Momma Shark during Art Class to get permission to visit her, I present:
Evidence: Gura’s Phone Logs
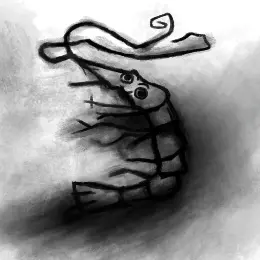
When the testimony mentions that Gura’s fingers were looking worse for wear, I present:
Evidence: Finished Charcoal Piece
When the defense questions whether the evidence actually proves the claim, I choose:
Answer: It’s circumstantial
When the testimony describes entering the pool room and hearing the culprit flee the scene, I press:
Press: A huge deal!
When the graffiti at the pool is used as the reason for suspecting Gura, I present:
Evidence: Picture of Graffiti
When the testimony explains that Bae had the pool locked so the equipment would remain untouched, I use:
Evidence: Pool Net
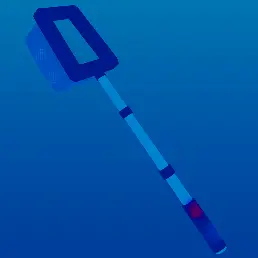
When I need to explain why Gura could not have put it away, I choose:
Answer: Her key broke
When the claim is made that nothing important was touched, I present:
Evidence: Scuffed Footprints
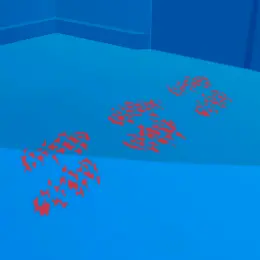
When I am asked to show exactly where the evidence is, I select the footprints in:
Evidence: Crime Scene Photo – select the footprints
Finally, when I am asked who is guilty, I choose:
Answer: Neither are guilty.
Trial Day 2 Choices and Evidence
At the beginning of Trial Day 2, when the testimony says the others stayed in the Council room to do paperwork, I press each available topic. The trial continues after I press the final one.
Press: Each topic
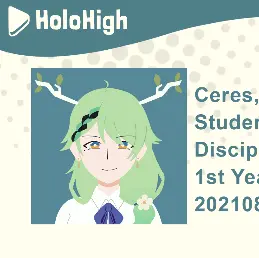
When the testimony questions whether Fauna attends every meeting, I present:
Evidence: Fauna’s Student Profile
When I am asked how this connects to Fauna’s absence on Monday, I use:
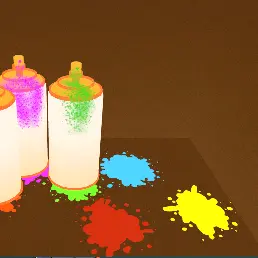
Evidence: Missing Spray Paint
When I have to decide whether to play my ace in the hole, I choose:
Answer: We have a lead.
When the testimony claims, “I’ve always been an upstanding student,” I present:
Evidence: Middle School Prank
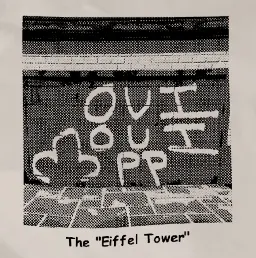
When the past is dismissed as irrelevant to the current case, I present:
Evidence: Ruined Notebook
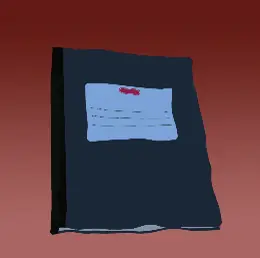
When I am asked to provide evidence connecting the notebook to the case, I use:
Evidence: Soggy Paper
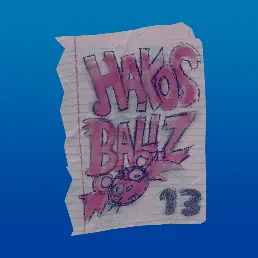
During the first Irys testimony, I press every response before moving forward.
Press: All responses
When I reach the choice about whether to say something, I select:
Answer: Tell the truth
When the testimony explains that club responsibilities are taken seriously so materials are not misplaced, I present:
Evidence: Art Room Inventory
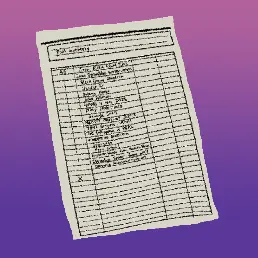
When I need to identify which art supply in the inventory is incorrect, I select:
Evidence: Charcoal Sticks in the inventory list
When the testimony claims that Gura was seen by the fountain, I present the photo where the trees block the view of the fountain:
Evidence: “Suspicious” Kronii Photo
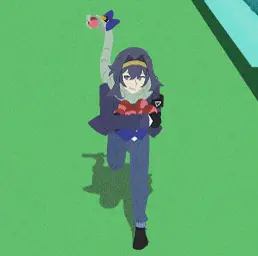
When I am asked what I am getting at, I choose:
Answer: Irys never inspected the art room.
When the claim is made that she followed Prank 13 and only pretended to find it, I present:
Evidence: Soggy Paper
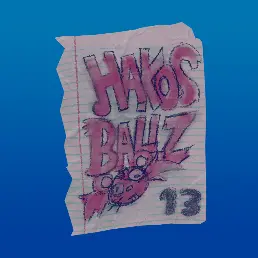
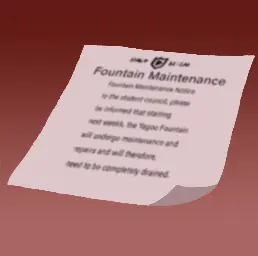
When Irys says she accidentally dropped it into the fountain and that this explains why it was wet, I present:
Evidence: Fountain maintenance note
Finally, when I am asked what proves that the Student Council would be willing to befriend them, I present:
Evidence: Mumei’s Doodle