
Iron Nest has four different endings, and I can get all of them by reloading the final mission. Three of the endings are very straightforward, while the Betrayal ending requires much more preparation. In this guide, I explain how I get every IRON NEST Heavy Turret Simulator ending, which shells I use, and how I handle the more difficult Betrayal route.

Iron Nest All Endings Guide
I can reload the final mission to unlock all four endings, but I prefer to complete Ending 3: Betrayal first. This is important because I usually have more credits available on my first attempt, making it much easier to buy the shells and supplies needed for that ending.
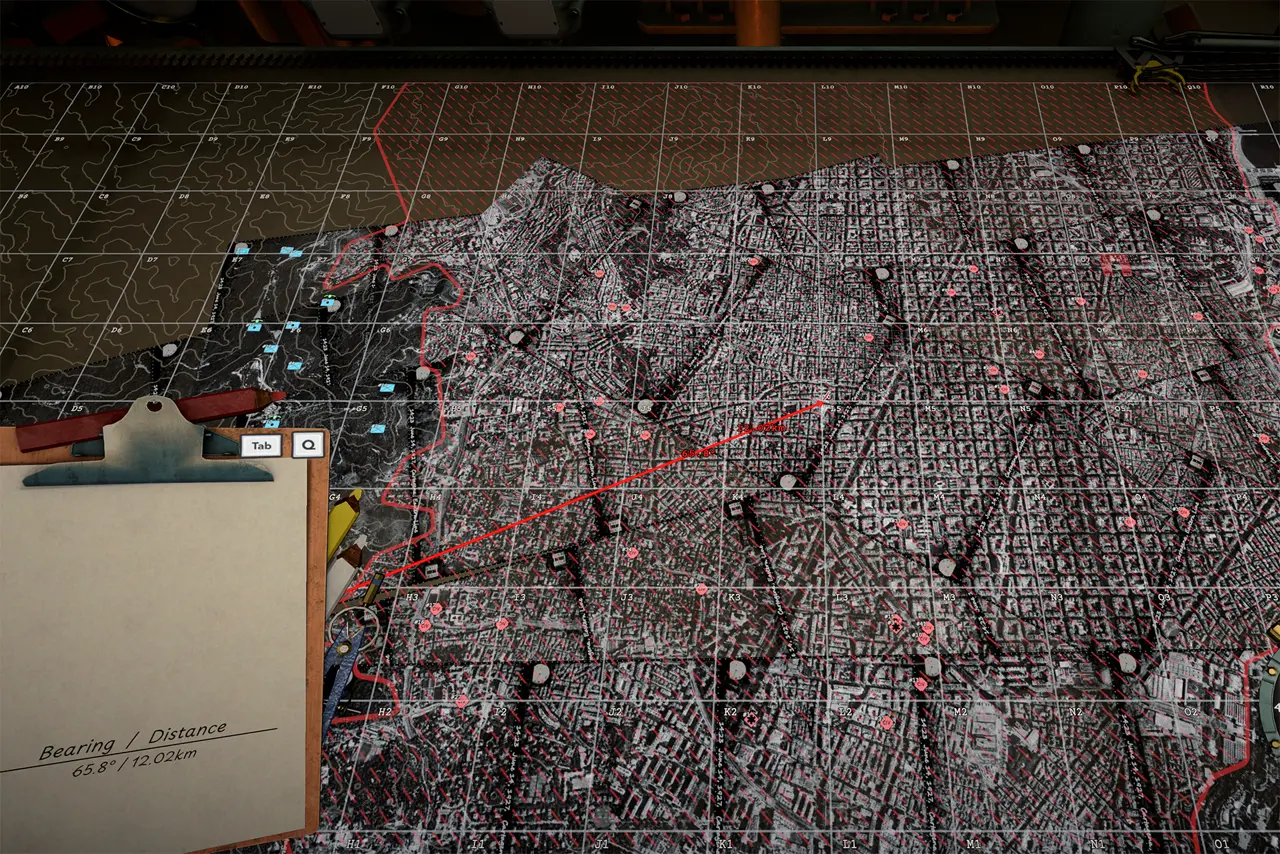
I always start in the southwest corner of the map at exactly A1 0:0. When I want to fire a shell into the city center, I aim at the northwest corner of L5 with a bearing of 65.8° and a distance of 12 km.
Gun angles for different powder charges:
- 6 charges: 24°
- 5 charges: 28°
- 4 charges: 36°
- 3 charges: 48°
- 2 charges: 60°
- 1 charge: Out of range
Ending 1: Peace
For the Peace ending, I only need one shell:
- 1 Propaganda shell (PRPG)
I simply fire the Propaganda shell into the city center. I only need a single shell, and I use the city center aiming details from the overview above.
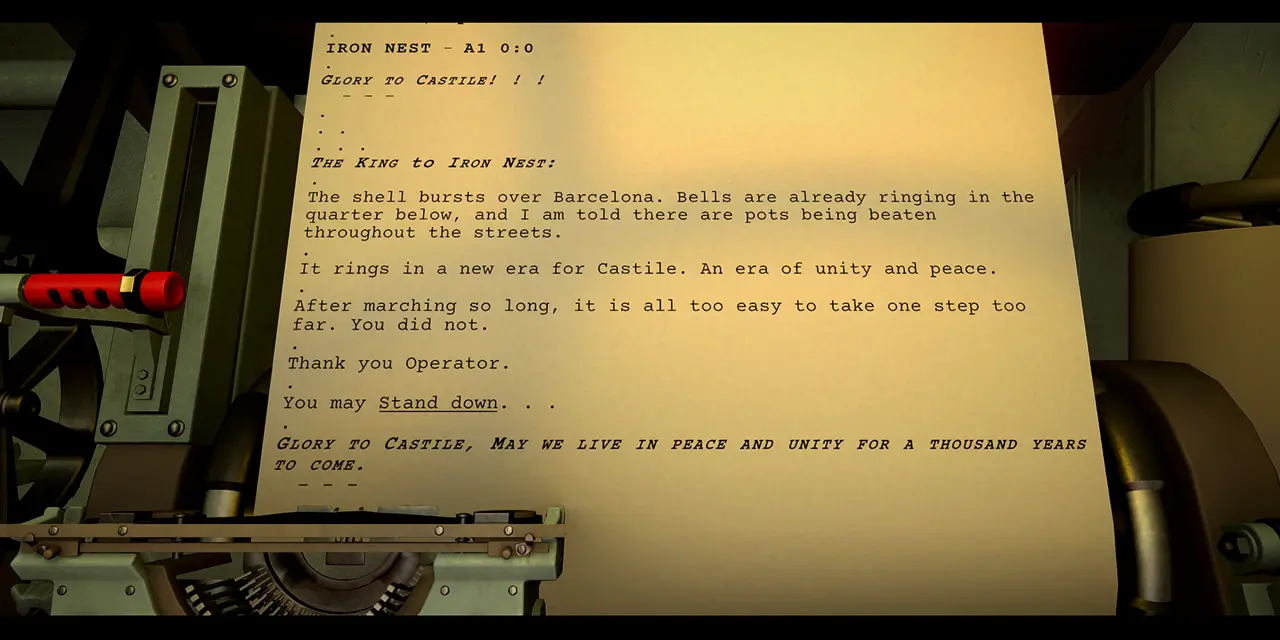

This ending unlocks the “A City in Celebration” achievement.
Ending 2: Submission
For the Submission ending, I need:
- 1 White Phosphorous shell (WP)
Just like the Peace ending, this one only requires a single shot. I fire the White Phosphorous shell into the city center using the aiming details from the overview section.
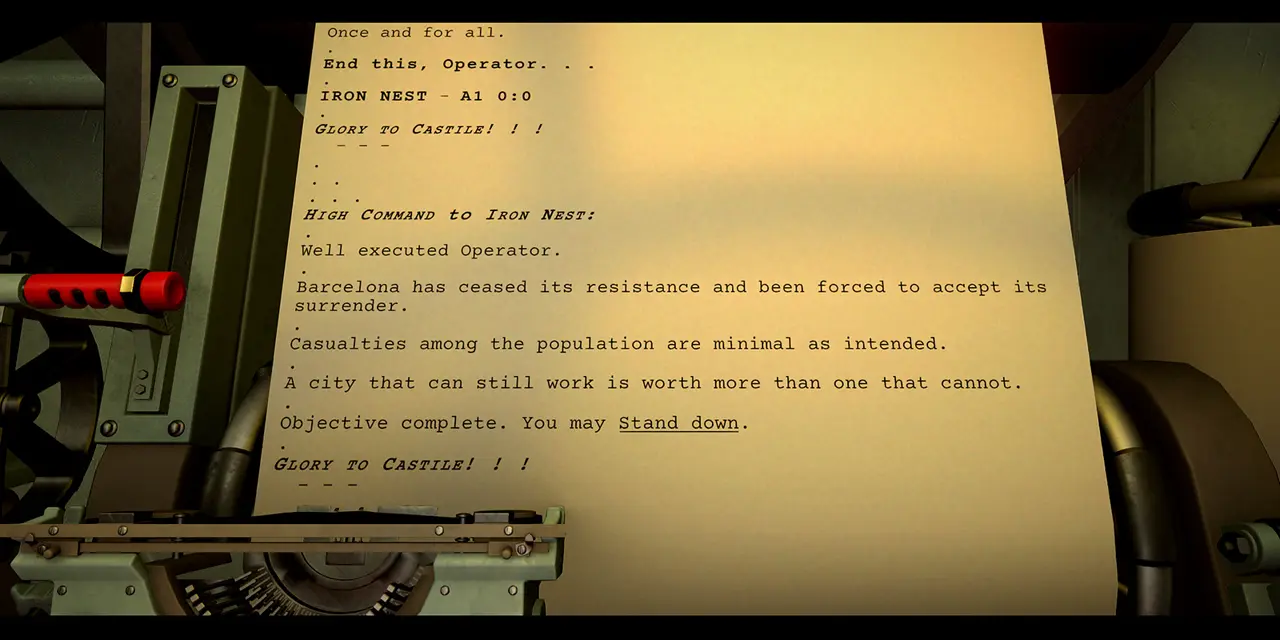
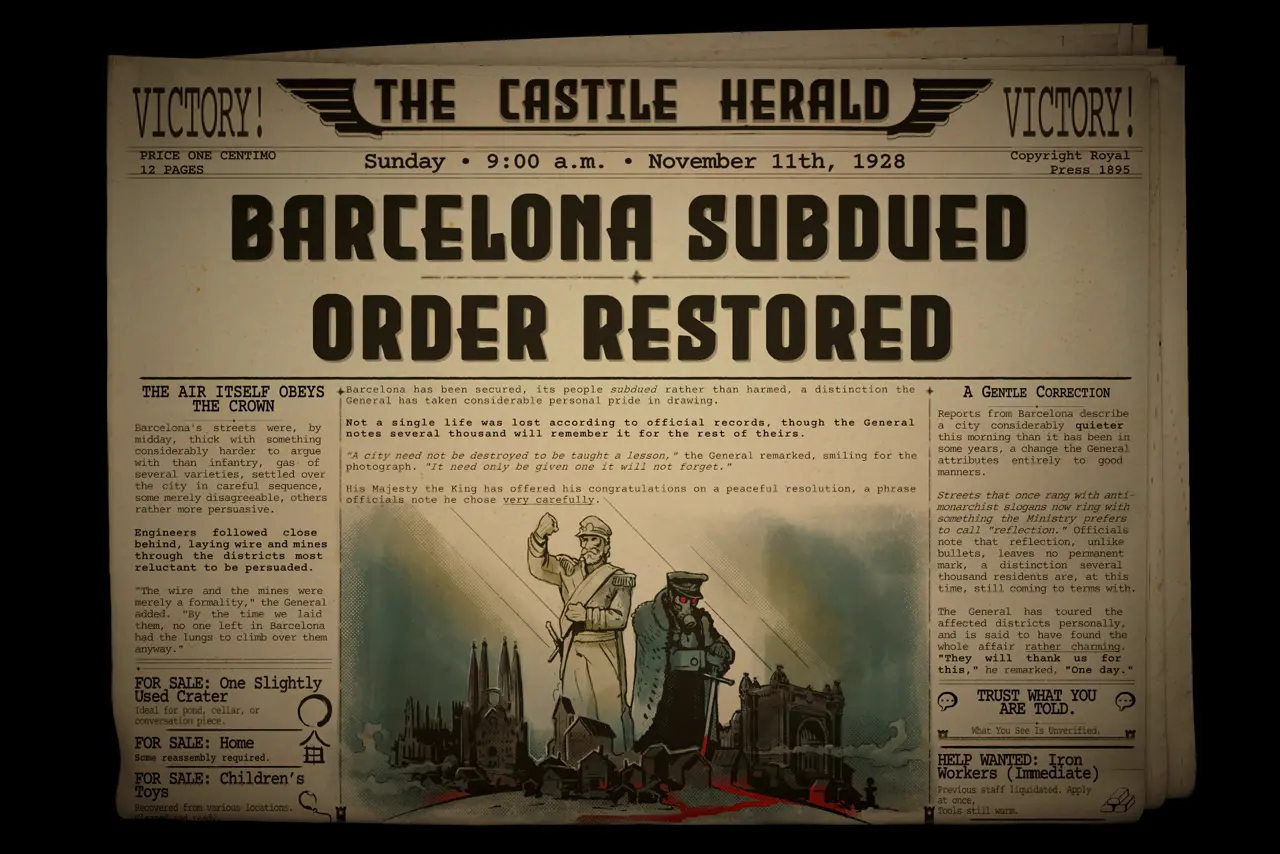
This ending unlocks the “A City Subdued” achievement.
Ending 4: Destruction
For the Destruction ending, I need:
- 1 Atomic shell (ATMC)
I fire the Atomic shell directly into the city center using the same aiming details from the overview. Nothing else is required for this ending.
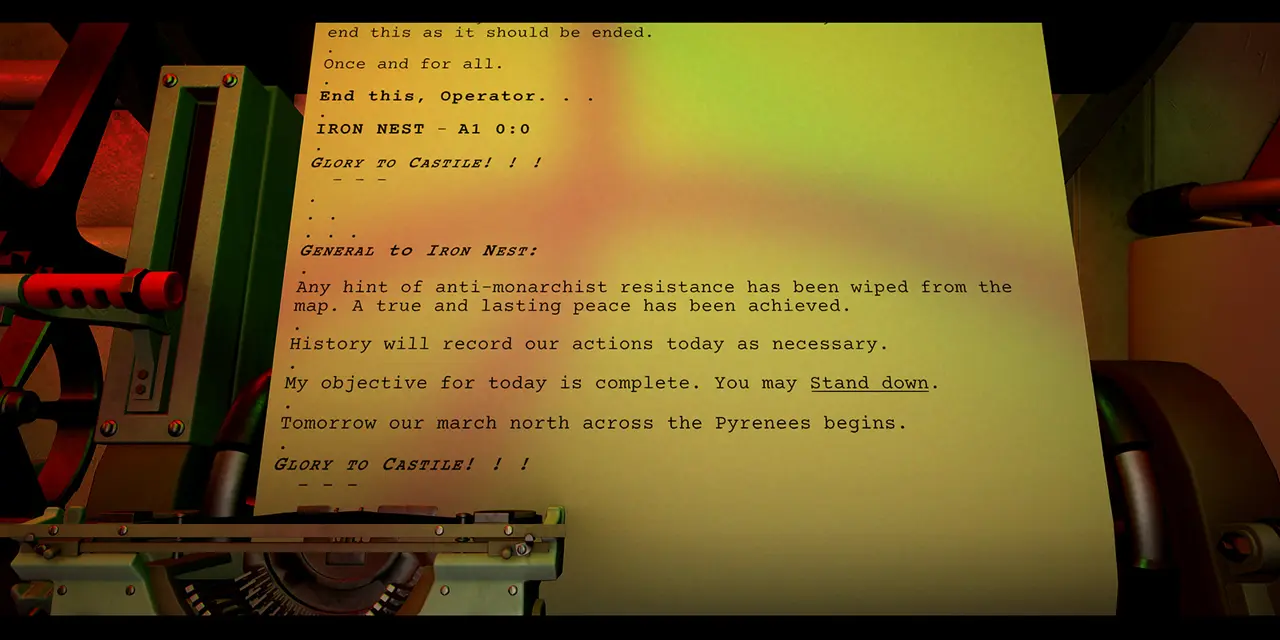
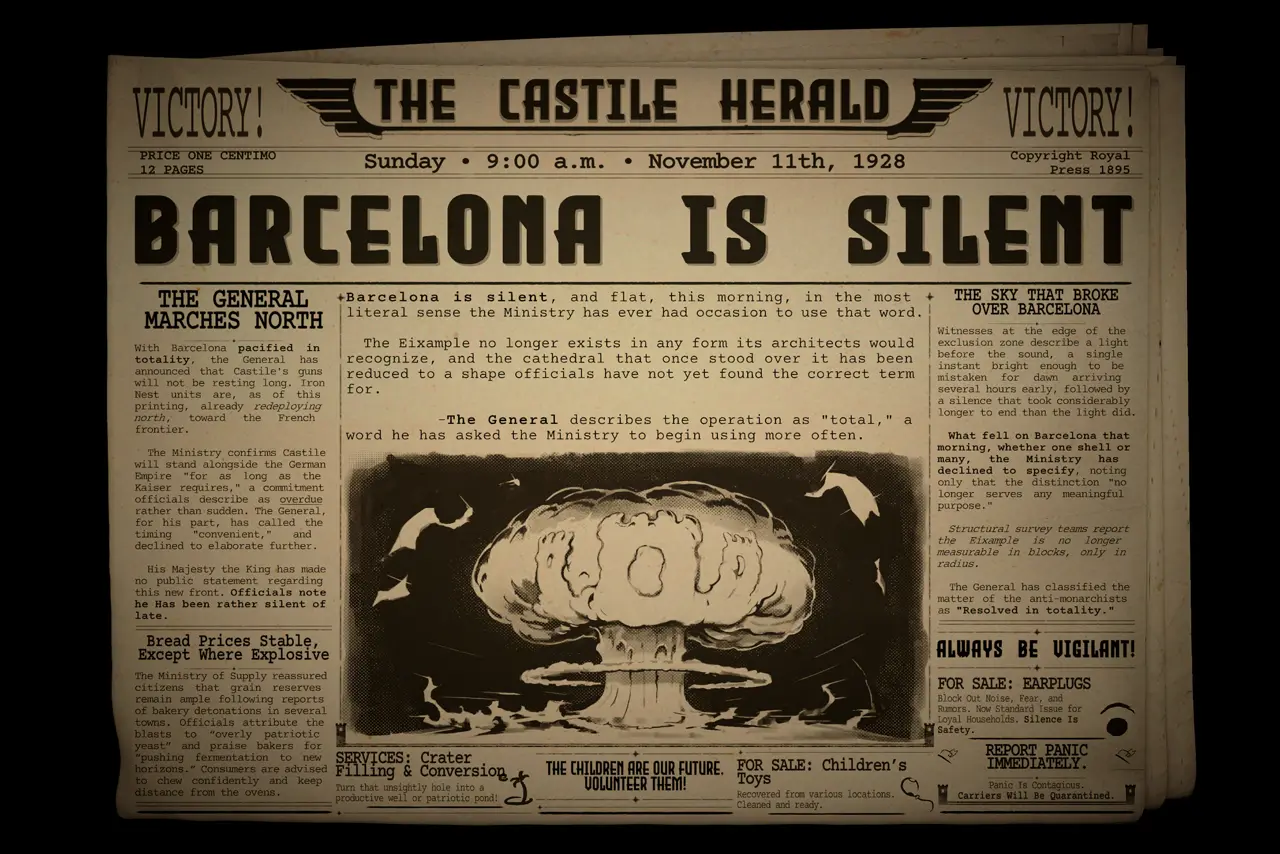
This ending unlocks the “A City Silent” achievement.
Ending 3: Betrayal
I strongly recommend completing the Betrayal ending first. When I reach this mission normally for the first time, I will most likely have saved enough credits to afford the shells and supplies that make this route much easier. If I complete another ending first and reload the mission, however, I start with only 700 credits.
This matters because the Atomic shell alone costs 666 credits. Starting with more credits allows me to use the easier strategy described below.
What I need for the Betrayal ending:
- 1 Atomic shell (ATMC)
- 5–7 Scout Planes
- 4–6 Armor Piercing High Explosive shells (APHE)
- 1–3 High Capacity High Explosive shells (HCHE)
- At least 25 Powder Charges
At the beginning of the mission, aerial reconnaissance reveals most of the map.
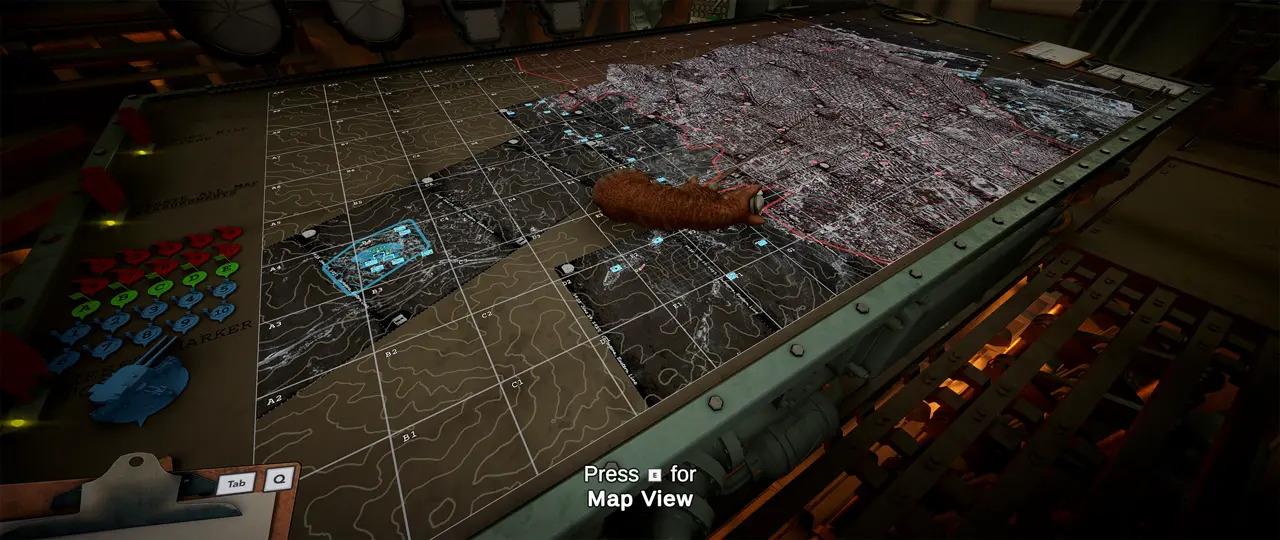
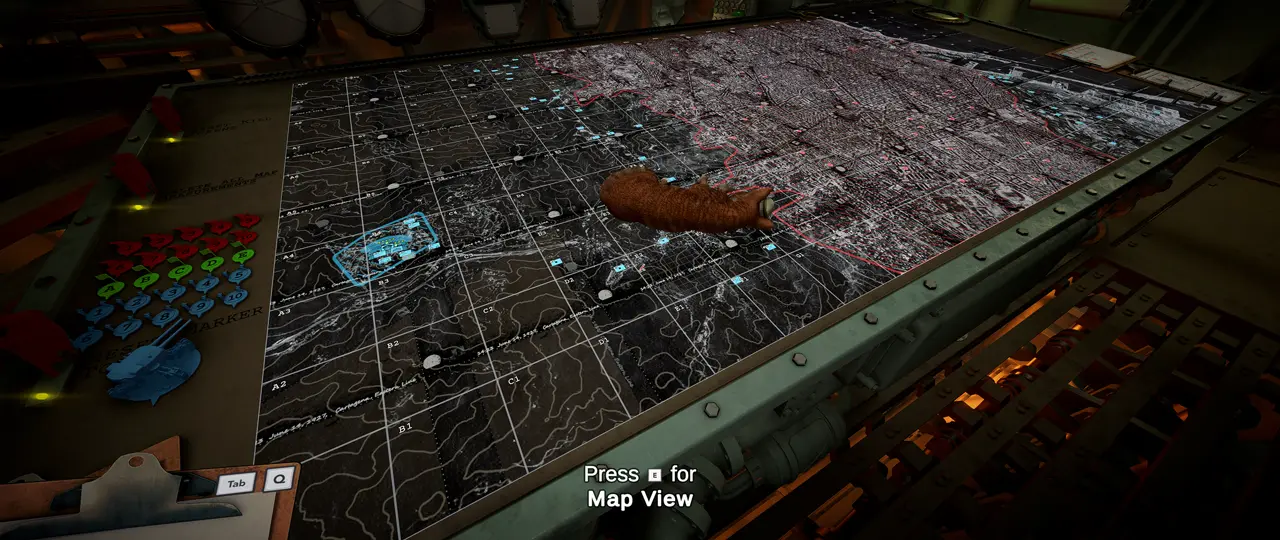
For this ending, however, I am not attacking the enemy. I need to turn my guns on the allied units instead, so I use additional Scout Planes to reveal their positions.
5 Scout Plane coverage:
I use a 0° heading from B1, D1, F1, R1, and T1. This is enough to reveal almost everything I need.
7 Scout Plane coverage:
If I have plenty of credits, I can reveal the entire map by using a 0° heading from A1, C1, E1, G1, R1, and T1, followed by a 90° heading from H9.
Prepare Before Attacking Allied Units
Once my first shell hits a friendly unit, there is no going back. I am immediately labeled a traitor, the counter-battery timer begins, and I lose access to the purchase system.
Because of this, I study the map and plan my attack before firing anything. I buy every shell I need in advance. I can load the first two shells into the guns and then place another six shells in the reserve for each gun. This gives me 14 shells in total, which is more than enough.
I prioritize artillery units and spotting units because destroying them increases the counter-battery timer. Most artillery units require AP shells, although not all of them do. I prefer APHE because its larger effective range can sometimes hit multiple units with a single shell.
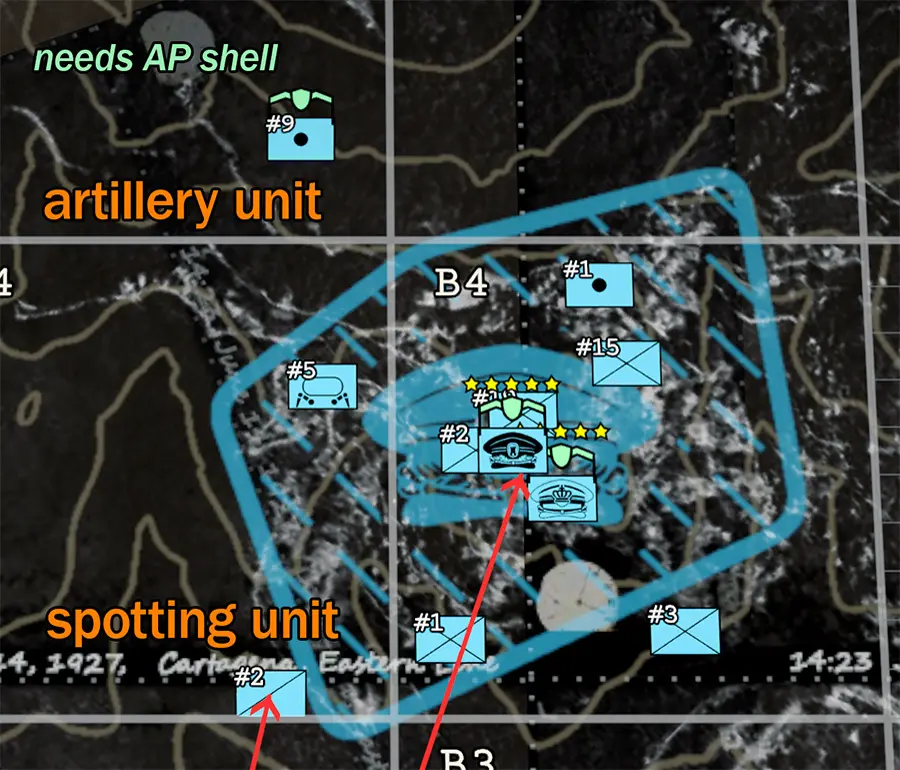
The exact position of each unit is random. The exceptions are the Iron Nest itself, which is always at A1 0:0, and the High Command in B4.
Using the Atomic Shell
The ATMC shell has an effective radius of around 3 km. I fire it at D5 3:5, which should destroy everything around the High Command along with most of the units in the E/F column.
Before:
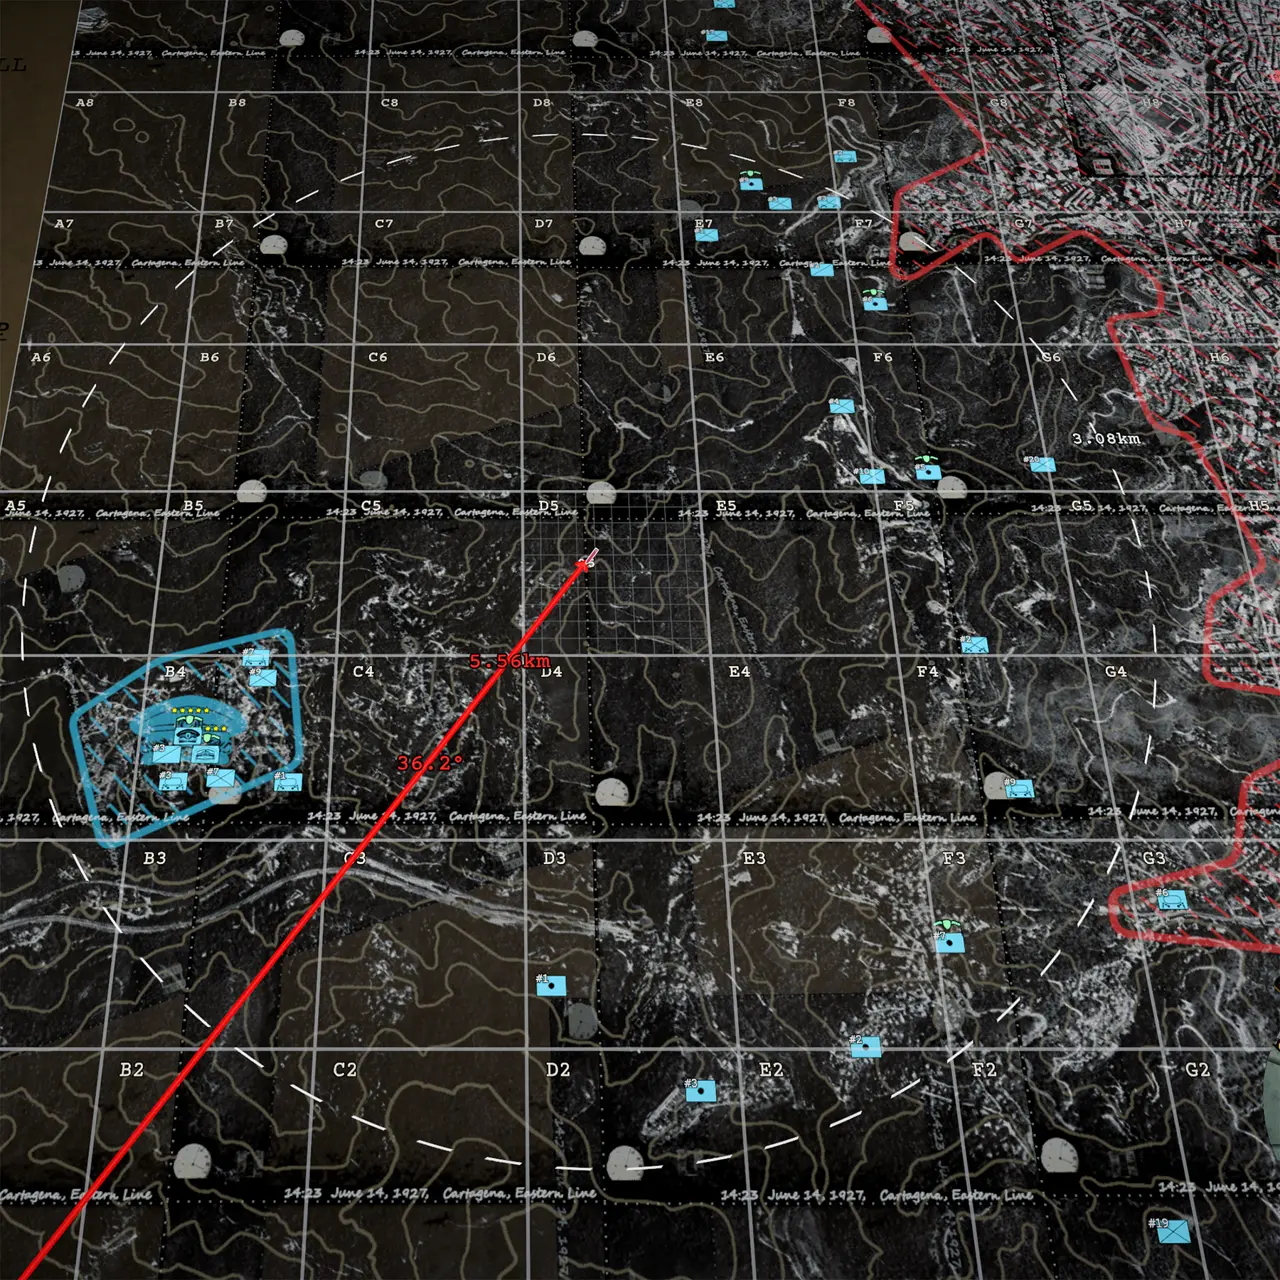
After:
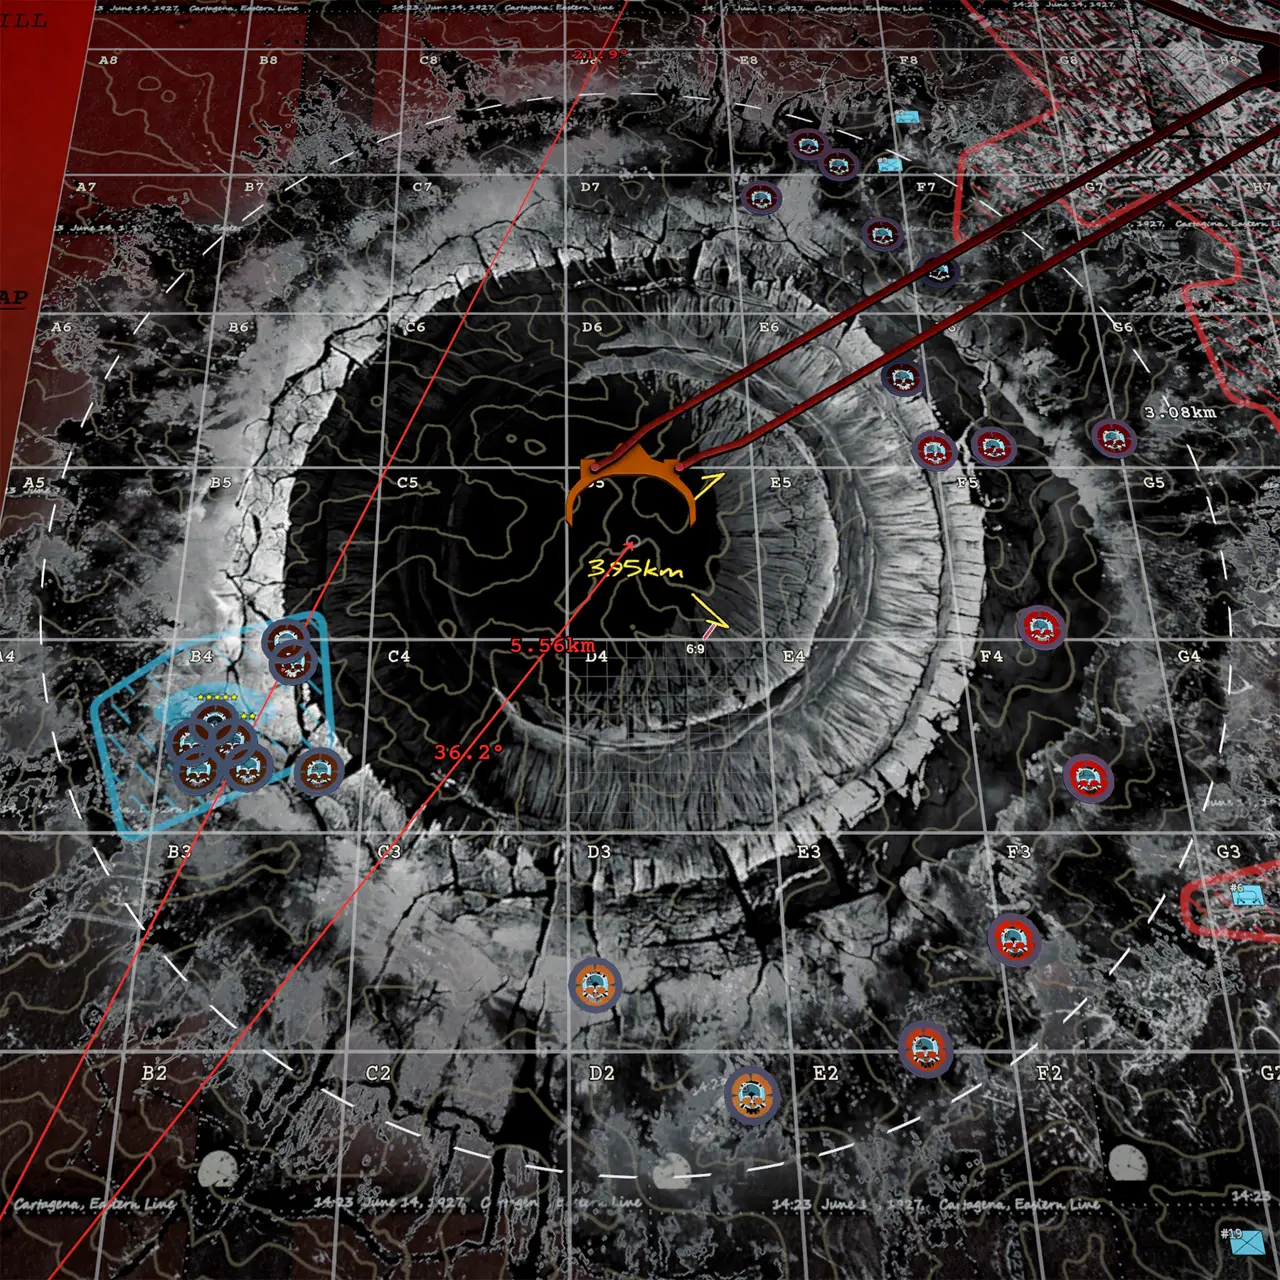
When I use the ATMC shell, I should begin the main attack with at least five minutes on the counter-battery timer. That gives me enough time to systematically destroy the remaining units. I continue prioritizing artillery and spotting units, while using HCHE against groups of unarmored units.
How I Calculate Firing Angles Quickly
I need to work quickly before the counter-battery timer expires. To save time, I can calculate the firing angles manually with a calculator. I also prefer to use six powder charges for every shot because the shell travels faster and I spend less time raising or lowering the gun barrels.
I use this formula for the barrel angle:
Angle (°) = Distance (km) × 12 / Number of Powder Charges
I can also use these simplified calculations:
- 1 powder charge: Angle (°) = Distance (km) × 12
- 2 powder charges: Angle (°) = Distance (km) × 6
- 3 powder charges: Angle (°) = Distance (km) × 4
- 4 powder charges: Angle (°) = Distance (km) × 3
- 5 powder charges: Angle (°) = Distance (km) × 2.4
- 6 powder charges: Angle (°) = Distance (km) × 2
I do not need to destroy every single unit. At some point during the attack, the ending screen appears.
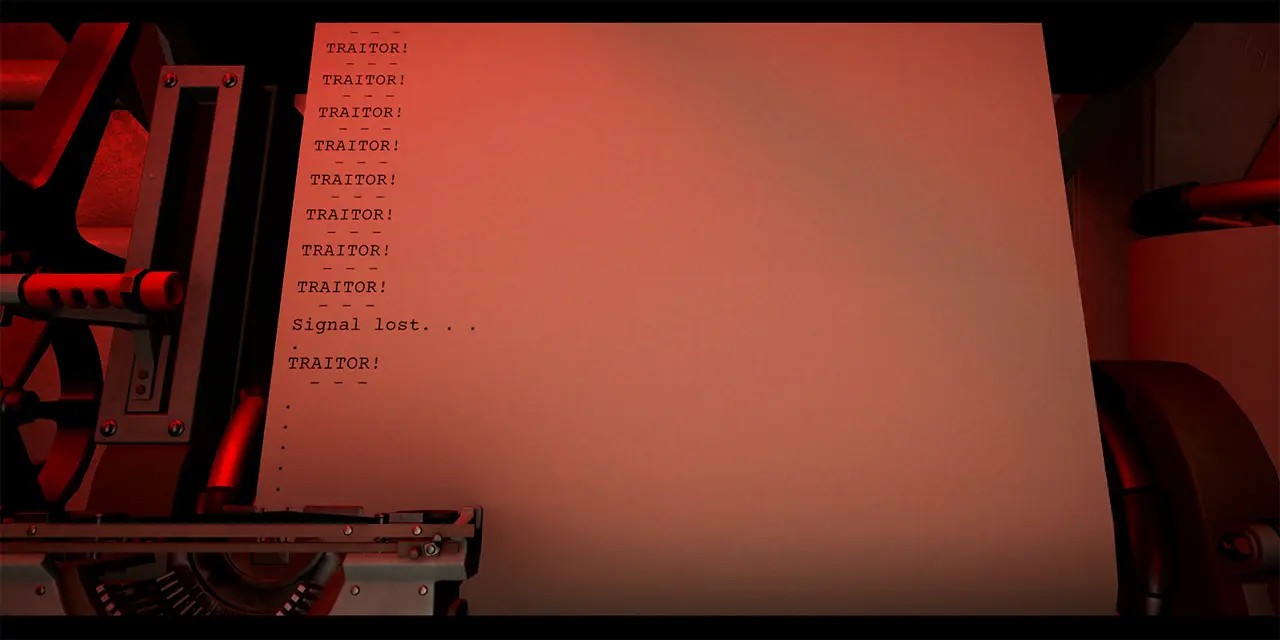
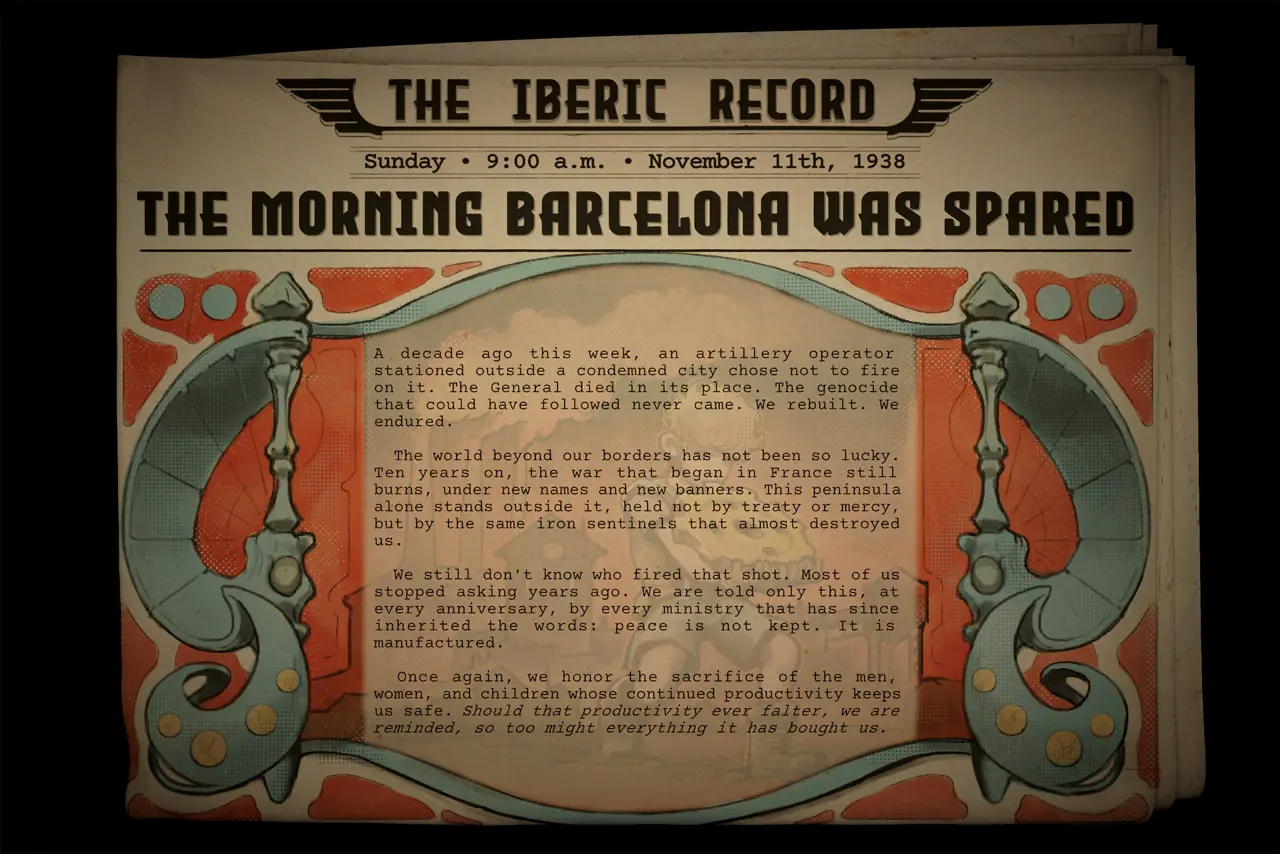
This ending unlocks the “The Road Not Taken” achievement.
Ending 3: Betrayal With 700 Credits and No ATMC Shell
I tested the Betrayal ending several times after reloading the mission with 700 credits, but I was not able to complete it successfully.
This version is much more difficult without the ATMC shell. I have much less firepower, and I also begin with a much shorter counter-battery timer because I cannot destroy as many units at the start of the attack.
I scout the map first and plan every shot before attacking. I load one gun with APHE and aim it at the High Command. One shell should destroy both command units. I use APHE or HCHE in the second gun against artillery units and spotting units.
I prioritize groups where several important units are close enough to destroy with one shell, because this gives me more time. I ignore the other units at the beginning.
Once I have all of my firing solutions, I load and aim both guns so they are ready to fire. I then go to the purchasing station and completely fill my shell and powder charge supplies. When everything is ready, I quickly fire the first two shells.
After destroying the High Command and at least one artillery or spotting unit, I should have around three minutes before I begin taking fire.
However, I could not complete the ending with this method. The counter-battery timer continued counting down even after I destroyed all of the artillery and spotting units, and I ran out of shells while trying to destroy the remaining units before incoming fire reached me. I could not determine whether this was a bug.
If you manage to complete the Betrayal ending from the reloaded 700-credit start, you can share your experience in the comments.