In this Dinoblade walkthrough, I explain the posture and parry systems, cover the demo and full-game routes, show every boss and important pickup included in the original guide, list the requirements for all achievements, and explain how I unlock and prepare for Boss Rush Mode.
Complete Walkthrough: Achievements, and Boss Rush Guide
I follow the original guide in order and use the screenshots at the exact points where they support each step. I also keep the demo, complete walkthrough, achievement, and Boss Rush sections separate so I can move through the guide without losing my place.
Table of Contents
Master the Core Mechanics Part 1
How the Posture Meter Works
I treat posture as the main objective in every Dinoblade fight. Both my posture meter and the enemy meter fill while attacks, blocks, and parries are exchanged. When either meter reaches its limit, a posture break creates a major opening. If I stop applying pressure, the enemy meter begins to recover, so every decision about attacking, parrying, dodging, or backing away affects the fight.
| Source | Player Posture Change | Enemy Posture Change |
|---|---|---|
| Perfect parry or deflect | No change | Large increase, the highest from a single action |
| Partial block | Moderate increase | Small increase |
| Taking a direct hit | Large increase | None |
| Landing an attack | None | Small increase |
| Charge attack | None | Medium increase |
| SP skill hit | None | Medium to large increase |
| Dodge roll | None | None |
The key difference is that a perfect parry builds a large amount of enemy posture without adding anything to my own meter. Because of this, I use clean deflections whenever possible and avoid relying on careless blocks that quickly fill my posture.
What Happens During a Posture Break
- Enemy posture break: The enemy staggers and gives me an opening of roughly two to three seconds for a powerful counterattack or finisher. A single break can defeat some normal enemies, while boss breaks usually deal heavy damage and may lead into a phase transition.
- Player posture break: My Spinosaurus staggers and becomes exposed to a critical follow-up. This is especially dangerous during boss fights because the next attack can finish the encounter immediately.
Why I Maintain Aggression
Enemy posture gradually drains when I disengage. This creates a constant choice between preserving my progress and retreating for safety.
- Passive play: Waiting, healing, or staying away gives the enemy time to erase posture progress.
- Aggressive play: Attacks, parries, and continued pressure keep the meter rising.
- Balanced play: Short retreats can help with positioning, but I time them carefully so the enemy does not recover too much posture.
The recovery speed appears to change between enemy types. Bosses seem to recover faster than regular enemies, and the original guide notes community observations of recovery occurring each second, with bosses possibly restoring around 15–20% of their total posture during each second of inactivity.
Parry Mechanics and Timing
Parrying is the most important mechanical skill I use in Dinoblade. The timing is consistent, but each dinosaur has a different wind-up animation, so I learn the attack animation rather than expecting every strike to arrive at the same speed.
| Parry Quality | Timing Accuracy | Effect |
|---|---|---|
| Perfect parry | Within roughly 8–12 frames of impact | Full deflection, high enemy posture damage, and no self-damage |
| Partial parry | Slightly early or late | Reduced damage, moderate player posture gain, and small enemy posture damage |
| Missed parry | Outside the window | Full damage and a large increase to player posture |
The original guide describes this window as tighter than Sekiro’s initial deflection window but consistent across enemies. A Carnotaurus charge has a longer telegraph than a quick Parasaur spear attack, so the recognition time changes even when the final parry timing remains familiar.
Visual and Audio Telegraphs
I rely on the game’s telegraphs rather than pure reaction speed. Each enemy gives several clues before an attack lands.
- Visual wind-ups: Head movement, weight shifts, and raised weapons reveal the next strike.
- Audio cues: Growls, scraping, and movement sounds signal incoming attacks.
- Flashing posture meter: A flashing enemy bar tells me that one more strong parry may cause a break.
- Red attack indicator: A red flash marks an unblockable attack that I dodge instead of parrying.
The Counterattack Window
After a perfect parry, I have a short opening of roughly half a second to one second. I normally fit one or two attacks into this window rather than attempting a full combo. These counterattacks add extra posture pressure, so my basic rhythm is parry → counterattack → continue pressure → parry the next strike → repeat.
Advanced Boss Posture Strategy
- Open aggressively: I close the distance and begin building posture immediately.
- Parry the retaliation: Every boss response becomes another posture opportunity.
- Add short counters: I land one or two attacks after each successful deflection.
- Dodge only unblockables: I move away when I see a red flash or a grab telegraph.
- Re-engage immediately: After dodging, I return before the posture meter can recover.
Managing Posture During Phase Transitions
Most bosses have at least two phases. During a transition, the posture meter may reset or recover, new patterns can appear, SP abilities may become available, and the boss may shorten the time between attacks. I treat the next phase as a new fight, learn the updated timing quickly, and resume pressure instead of forcing the first-phase rhythm.
Master the Core Mechanics Part 2
When I Commit to a Posture Break
I do not treat every posture break in exactly the same way. The boss’s health, the phase threshold, nearby enemies, and my own posture all affect the best choice.
| Situation | Recommended Action |
|---|---|
| Boss is at high health | I use the finisher because the damage is always valuable. |
| Boss is close to a phase transition | I hold the final break until the new phase begins so the meter is not wasted. |
| Several enemies are nearby | I break the posture of the most dangerous target first. |
| My posture is almost full | I land the finisher, then create distance and recover safely. |
The most important timing issue appears near a phase threshold. If a boss changes phase at 50% health and my finisher would push it just below that point, the transition may reset the posture meter. In that situation, I delay the final parry, let the phase change finish, and begin building posture again immediately.
Posture Damage or Health Damage
- Regular enemies: I prioritize posture because a break can defeat them immediately.
- Boss phase one: Posture damage is generally the more efficient focus.
- Later boss phases: Faster attacks and more unblockables can make direct health damage more practical.
- Boss Rush Mode: I use posture-focused play because shorter fights save time across the full sequence.
The original guide cites community discussion suggesting that posture-focused strategies can finish boss encounters around 30–40% faster than health-focused approaches, although the result depends on the boss and the player’s execution.
Dinoblade Posture Compared with Sekiro
| Feature | Sekiro | Dinoblade |
|---|---|---|
| Core mechanic | Posture | Posture |
| Parry input | L1 with a generous early window | Dedicated input with a tighter, consistent window |
| Posture recovery | Enemies recover while disengaged | The same principle, with bosses appearing to recover faster |
| Animation commitment | Moderate, with some cancellable actions | Heavy commitment based on the Spinosaurus body |
| Character weight | Light and agile | Heavy and massive |
| Attack origin | Arm-based sword attacks | Neck-driven attacks with a mouth-held Great Sword |
| Finishers | Deathblows | Enemy-specific finisher animations |
| Player posture | Fills from blocks and hits | The same mechanic, but stagger is more punishing because of the body mass |
The largest adjustment for me is the animation commitment. Sekiro allows more fluid movement and some action cancellation, while Dinoblade makes every attack feel heavy. Once I start a swing, I usually have to complete it, so overcommitting is much more dangerous.
SP Skills and Posture Damage
- Posture burst skills: I save these for a nearly full meter so one hit can secure the break.
- AOE skills: I use them to build posture on several enemies at once.
- Summon abilities: A summon can distract an enemy and create an attack opening.
- Buff skills: These can improve posture output or make the parry window more forgiving.
The cooldown indicators show when an SP skill is ready. I avoid spending a strong posture burst while the enemy is only around 30% because that progress may recover. I get more value by using it around 70–80% and forcing the posture break.
Once I understand this system, each fight becomes a controlled rhythm instead of a chaotic exchange. I pressure the enemy, parry precisely, counter every clean deflection, and avoid giving the meter time to drain.
Core Mechanics FAQ
Does Enemy Posture Recover in Dinoblade?
Yes. When I stop pressuring an enemy by backing away, healing, or repeatedly dodging out of range, its posture meter gradually returns toward zero. Bosses appear to recover faster than normal enemies, so I maintain aggression during Alpha predator encounters.
What Happens When My Posture Breaks?
When my posture meter fills, my Spinosaurus staggers and becomes vulnerable to a critical attack. I reduce this risk by parrying instead of blocking and only retreating to recover when the boss cannot immediately punish me.
How Does the System Compare with Sekiro?
The central idea is the same: combat exchanges fill posture and a full meter enables a powerful finisher. Dinoblade uses tighter parry timing, heavier animation commitment, and neck-driven weapon swings, so the rhythm feels familiar while the execution remains different.
Can I Break Boss Posture More Than Once?
Yes. I can break a boss’s posture several times during one fight. Each break creates a long opening and deals major damage, although transitions can reset the meter and some later phases may add posture resistance according to the community reports included in the original guide.
Do SP Skills Deal Posture Damage?
Yes. Several SP skills add significant posture damage. Burst skills can finish a nearly full meter, AOE attacks affect multiple enemies, and buffs can increase my posture output. I use the HUD cooldown indicators to time them efficiently.
Dinoblade Demo Walkthrough Part 1
Demo Walkthrough Disclaimer
The demo route in the original guide was researched early and is presented as the reliable portion of the walkthrough. The full-game information came from direct experience and video walkthroughs while the game was still recent, so the original author noted that some later details could require correction or updates.
In the first part, I move through the opening cutscenes, collect the flaming sword, complete the combat tutorial, cross Tyrant’s Canyon, learn Instinct Counter, and defeat Kira the Exile. This route also unlocks Summoning and gives me access to Soul Arts purchased with Boss SP.
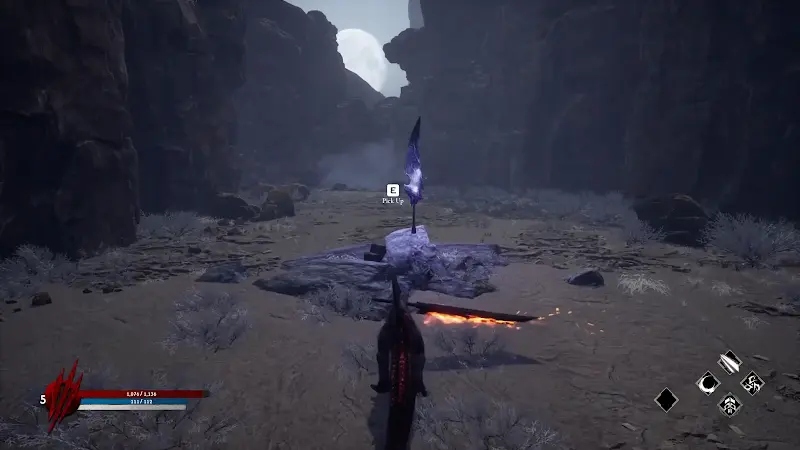
Pick Up the Flaming Sword
After the introduction, I walk toward the flaming sword and collect it.
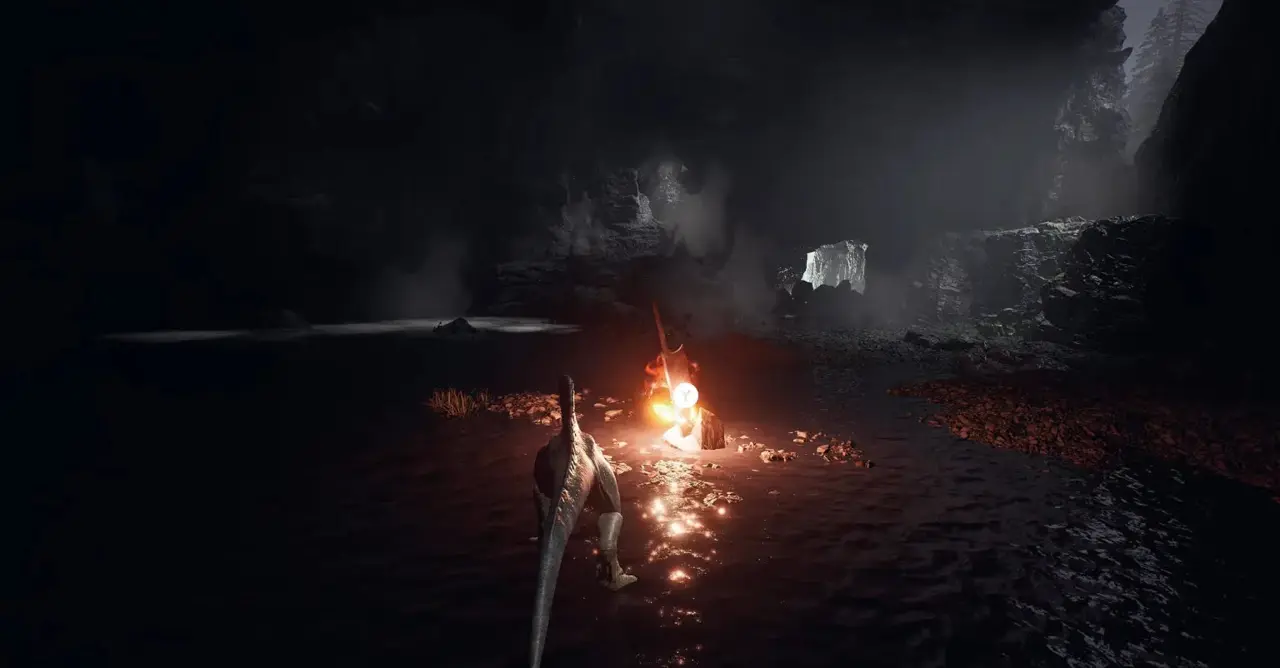
I watch the next cutscene and prepare for the first tutorial battle.
Block and Deflect Tutorial
The first lesson explains blocking and deflecting. A correctly timed deflect works as a parry and restores both stamina and resonance. If I block too late, the action consumes stamina instead.
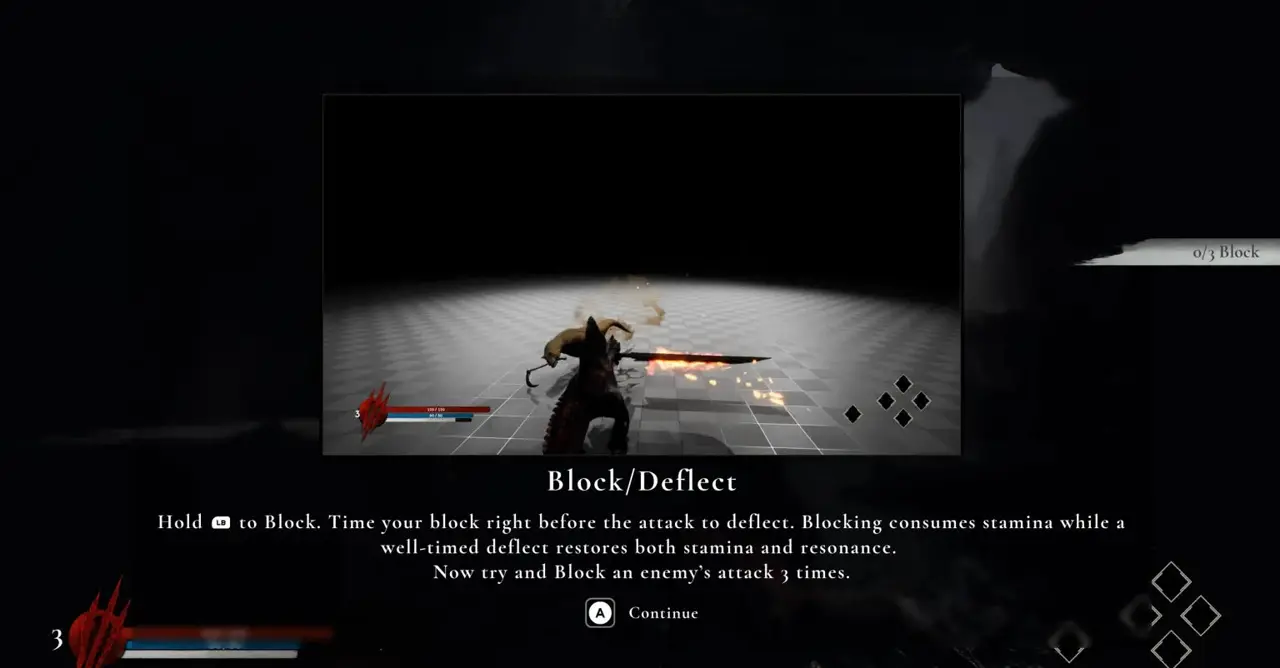
Next, I use the light attack input to chain a combo. I destroy the blockade, defeat the two enemies that appear, enter the small tunnel, and watch the following cutscene.
Tyrant’s Canyon
Once I reach the valley, I practice sprinting, dodging, and locking on. The HUD shows three Healing Charges at this point.
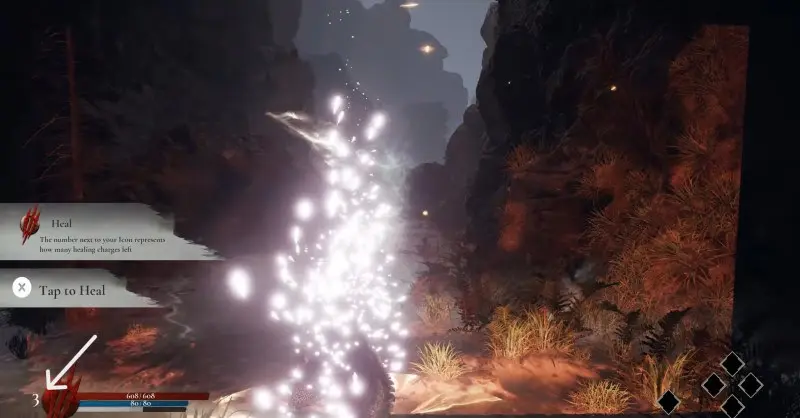
I defeat the small dinosaurs inside the cavern to earn enough XP for an early level. The route also introduces heavy attack chains. A larger dinosaur rushes in, and after defeating it I rest at the Save Stone. Resting respawns the enemies.
I continue toward the waterfall. When I cross it, the Charge Attack tutorial appears. This ranged attack costs five Resonance from the blue bar below health and also consumes stamina.
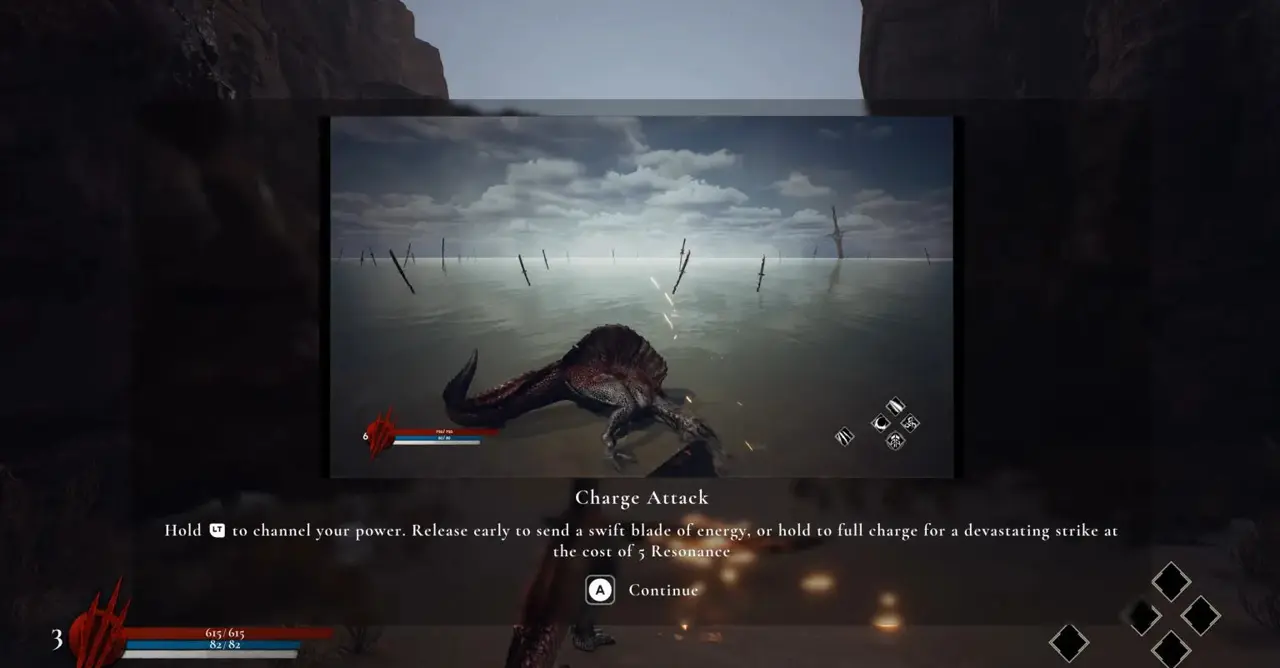
I follow the moon until I reach the next Save Stone, then take the path to the right.
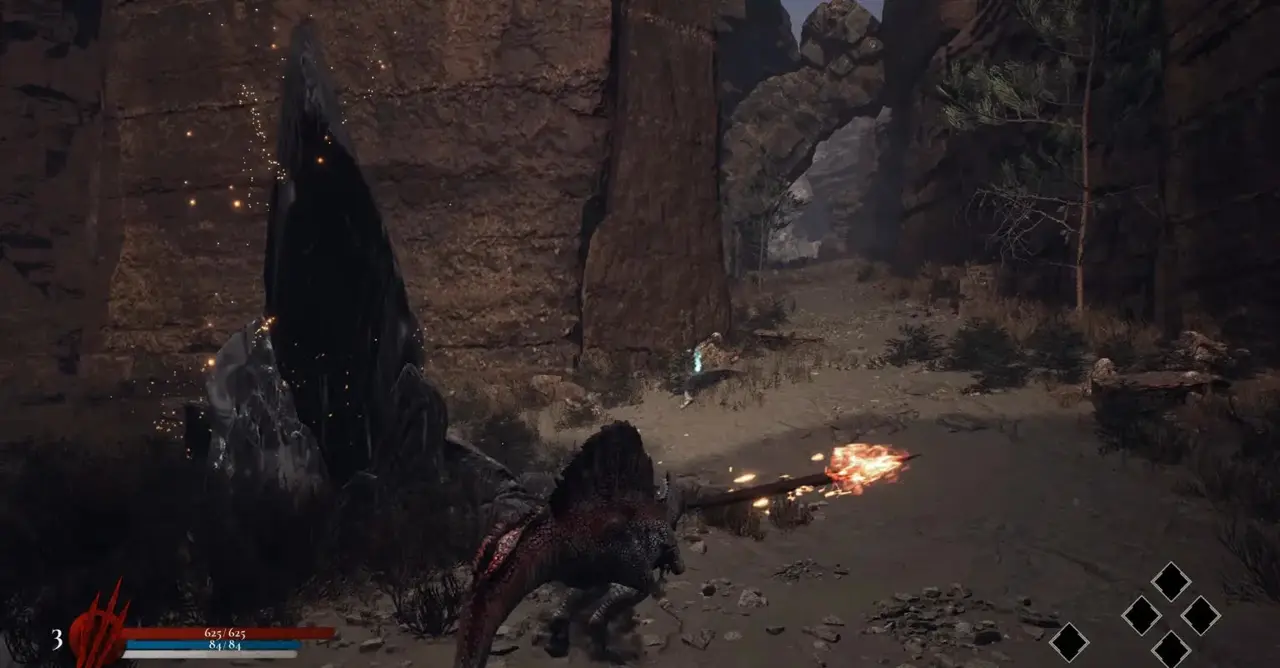
Instinct Counter
The next tutorial introduces Instinct Counter. When a boss’s Resolve Bar is full, I can trigger a powerful counterattack by perfectly parrying the incoming attack. Kira the Exile waits at the end of this path.
Boss Fight: Kira the Exile
Kira uses a three-hit combo with a visible charge animation. I move out of its path or prepare the timing before the first swing lands.
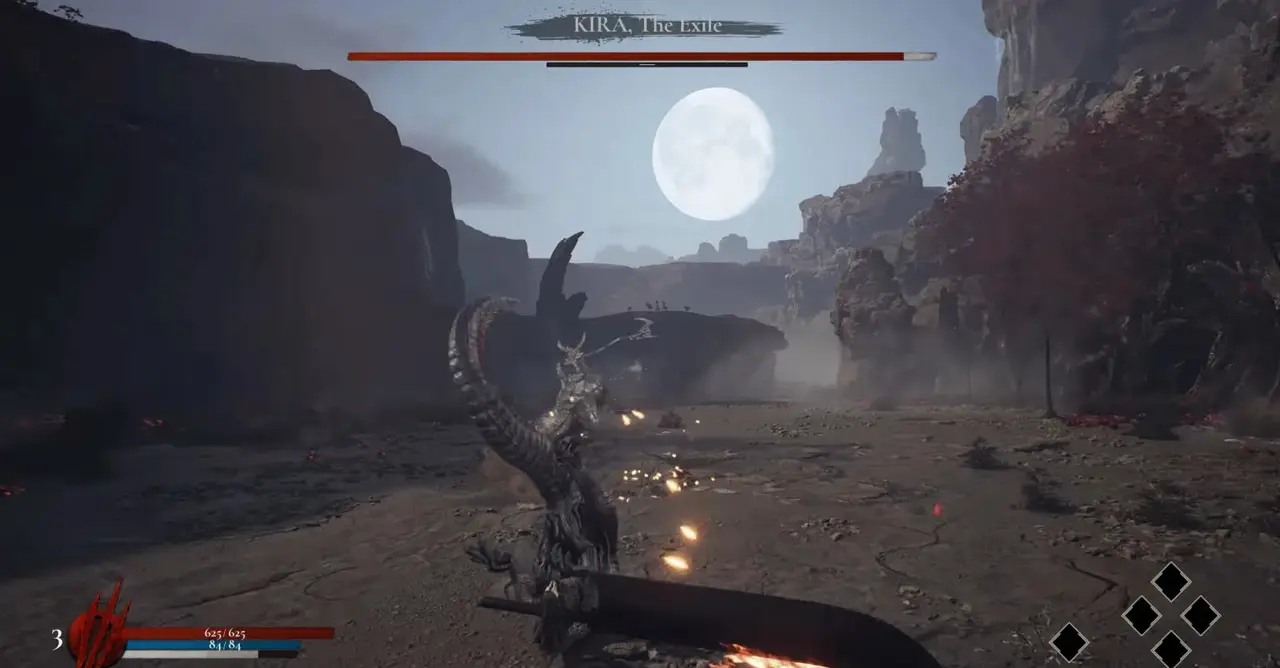
Kira can also charge toward me and follow the movement with a straight ground explosion. I avoid standing directly in the line of the follow-up.
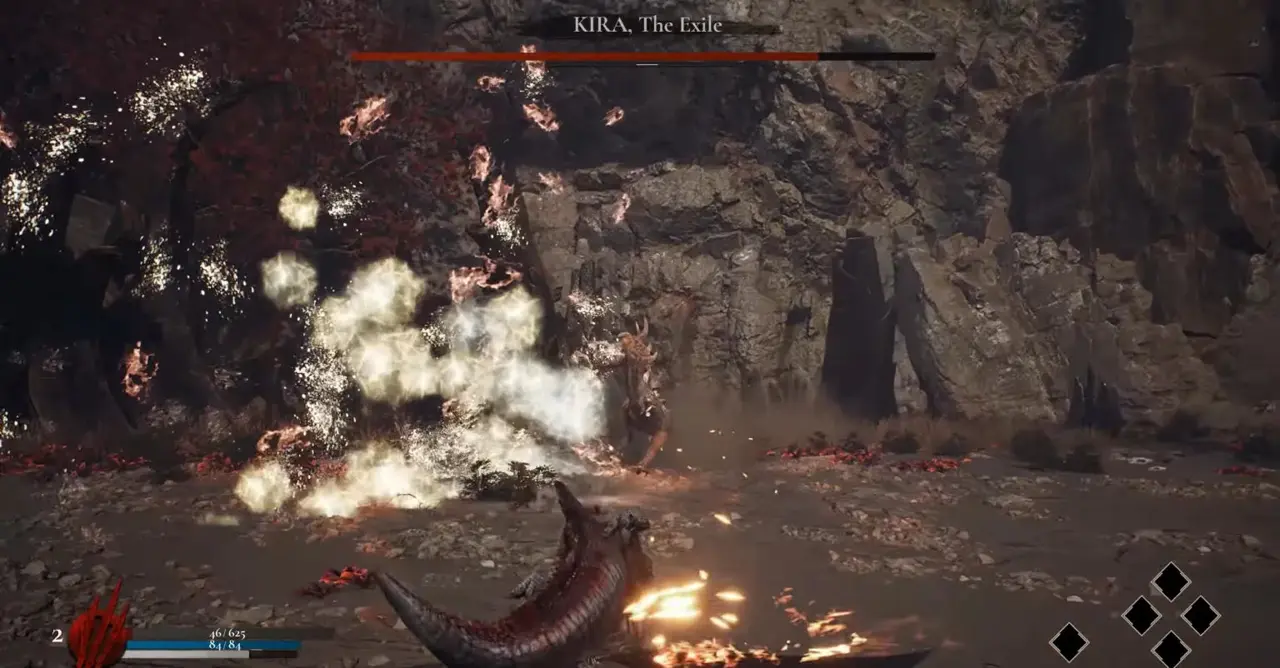
When I activate Instinct Counter, the encounter moves into a clash. Winning the clash deals a large amount of damage.
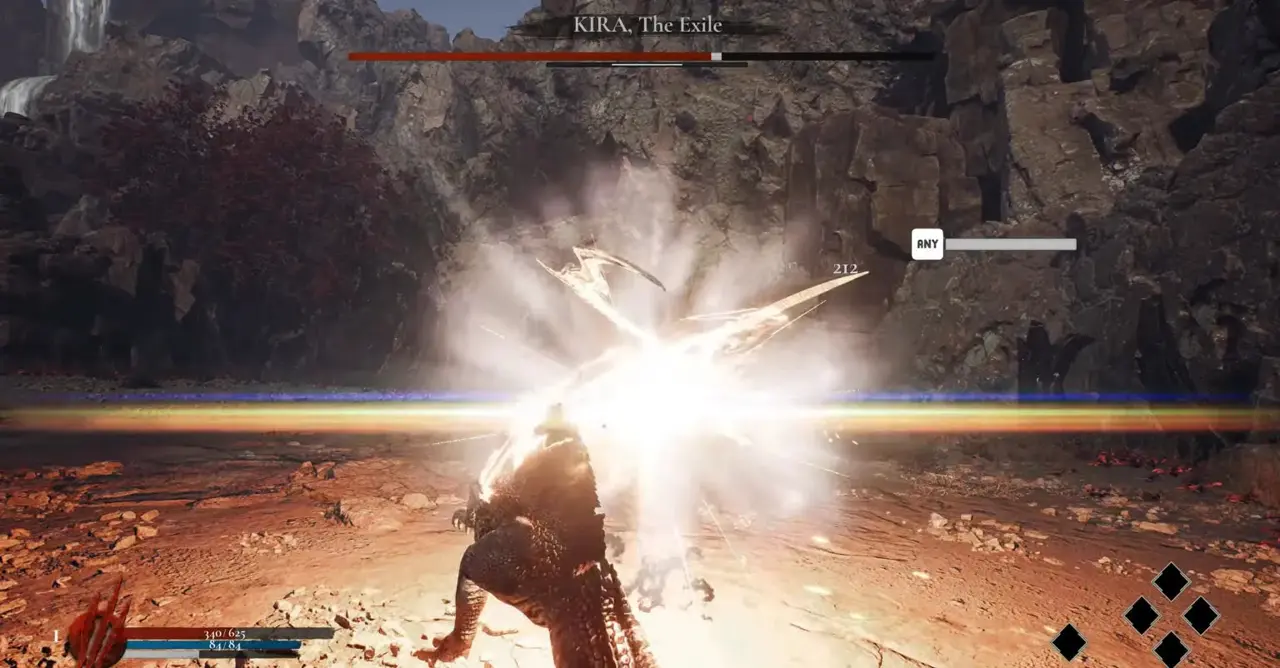
Kira is not a difficult first boss once I understand these attacks. Defeating him unlocks Summoning, and I can summon bosses that I have already beaten during later battles.
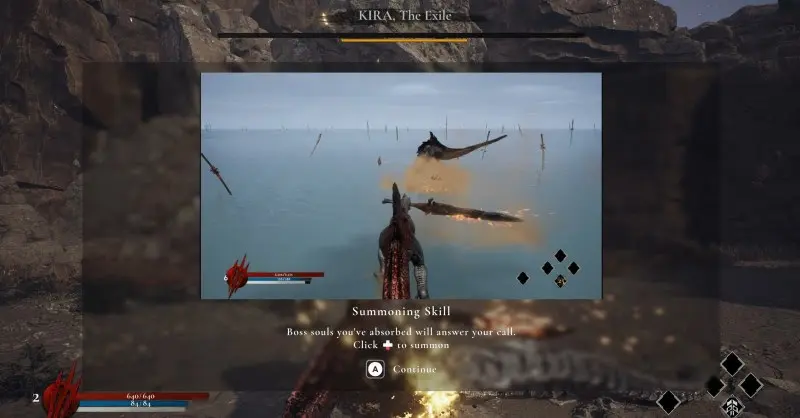
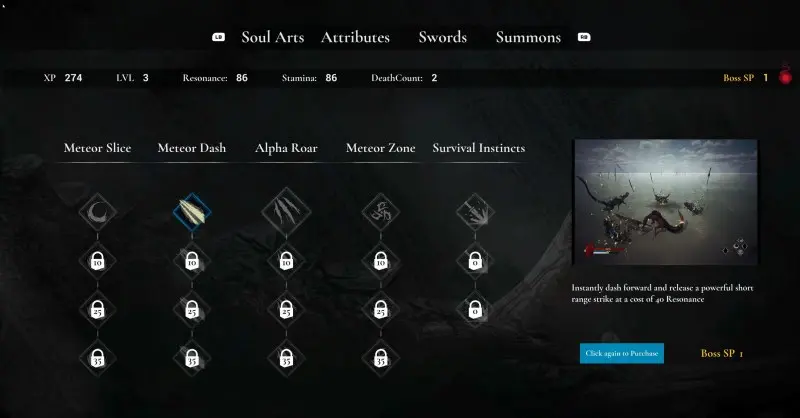
I then open the character page and spend XP on Soul Arts. Soul Arts themselves can be purchased with Boss SP.
Dinoblade Demo Walkthrough Part 2
I continue through the tunnel without worrying about a wrong turn because the route naturally leads forward. I defeat the smaller dinosaurs for additional XP, descend beside the waterfall, and use the Save Stone ahead. A larger dinosaur carrying a hammer appears later on the path, but I can punish it after its three swings.
This part contains more travel than the opening. The long route is designed to give me time to become comfortable with the combat systems before the later fights.
Unblockable Attack Tutorial
When an enemy weapon glows red, I treat the next attack as unblockable and dodge instead of trying to block it.
I keep following the route until I reach the Save Stone placed before the next boss.
Boss Fight: Axe
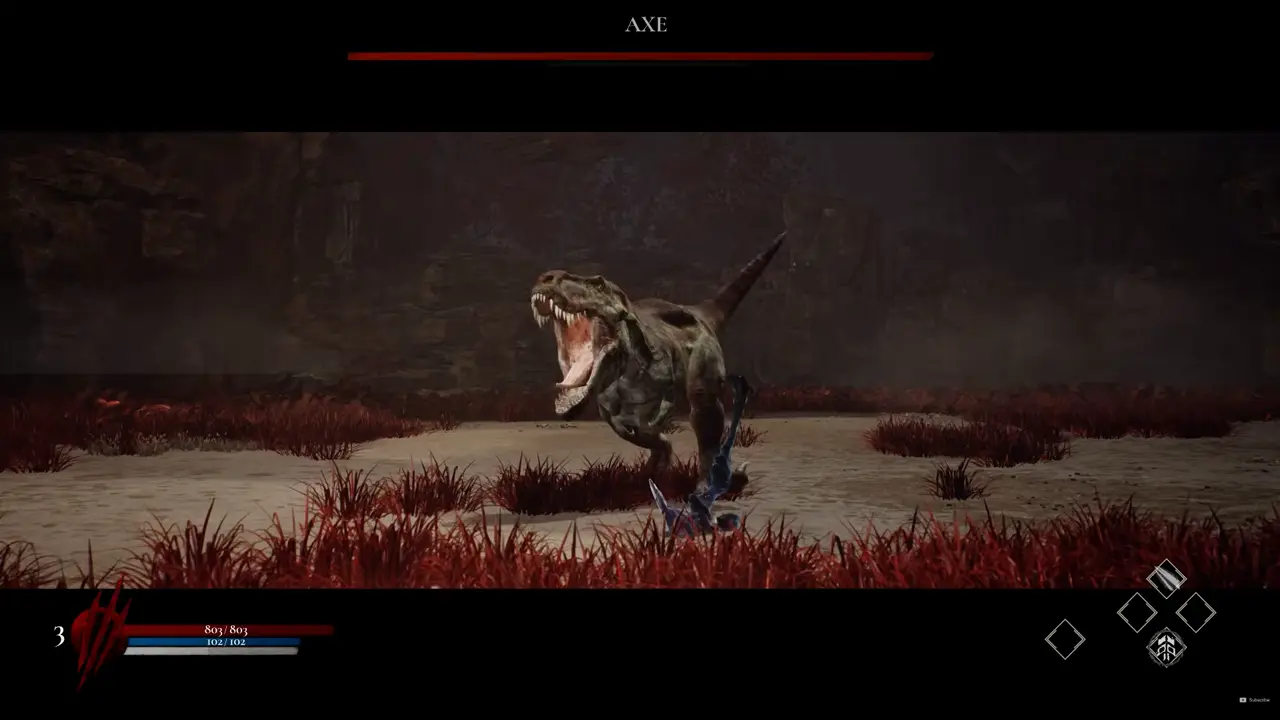
Axe is harder than Kira but still serves as practice for the stronger bosses later in the game. After defeating Axe, I turn left inside the cave and continue along the path, where several smaller optional enemies can be fought.
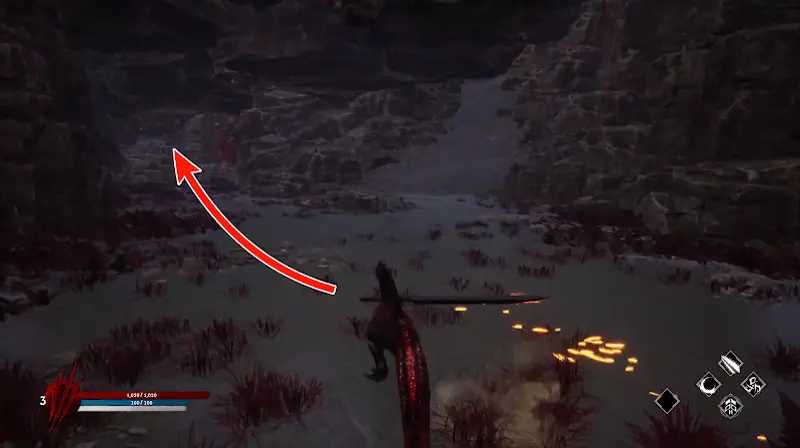
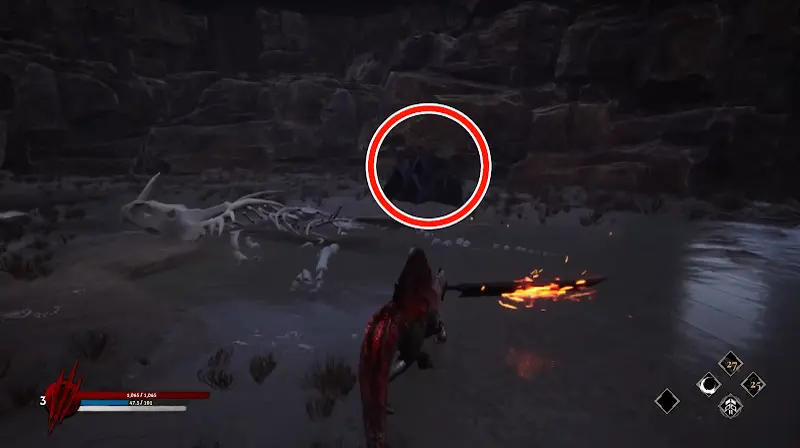
I break the stone containing a Red Crystal. Collecting it increases my Heal Ore and raises my total number of heals to four.
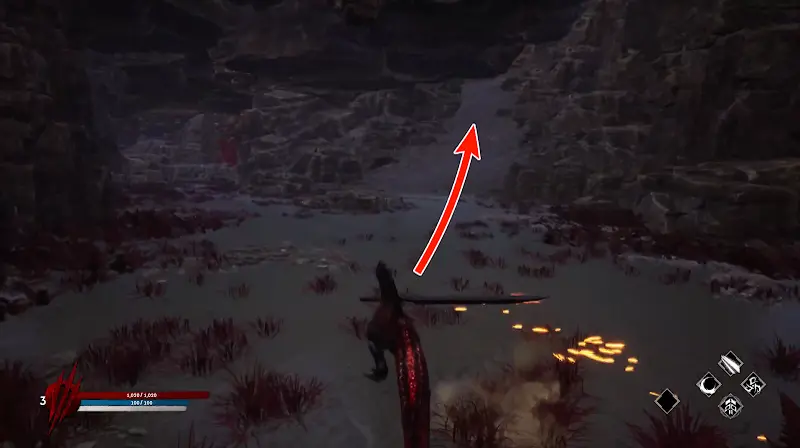
I return to the split in the route and take the right-hand path.
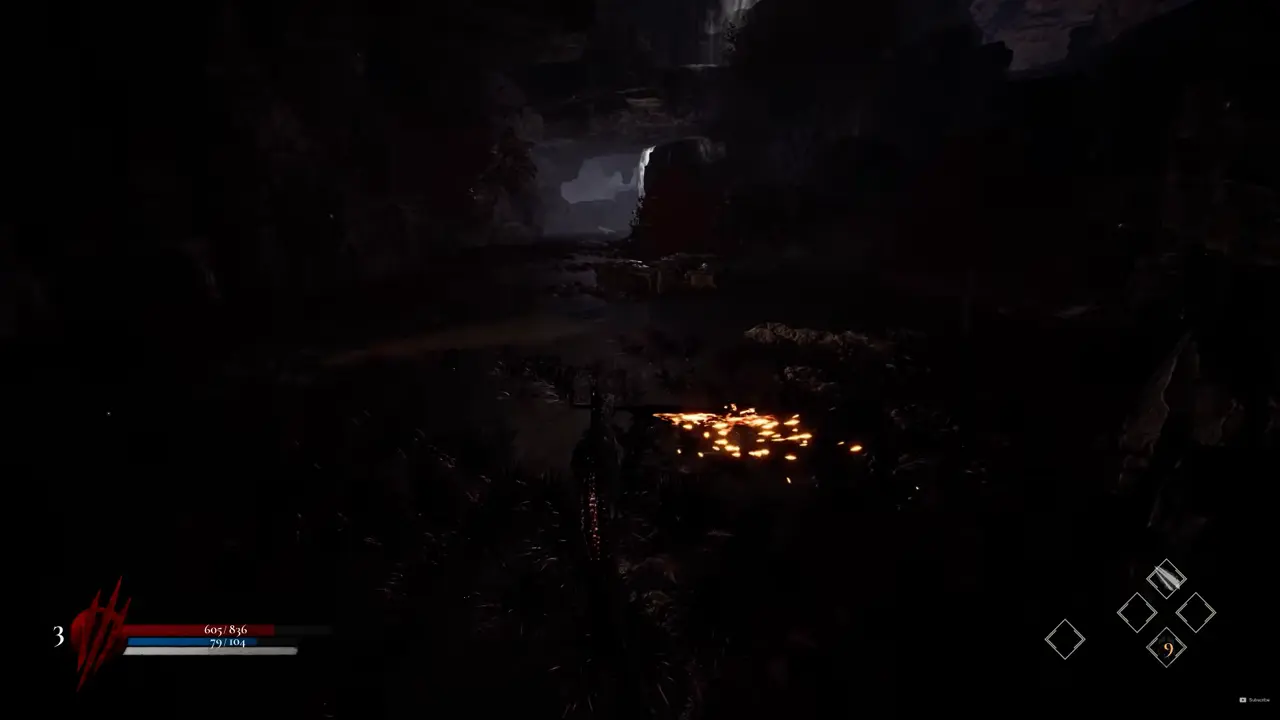
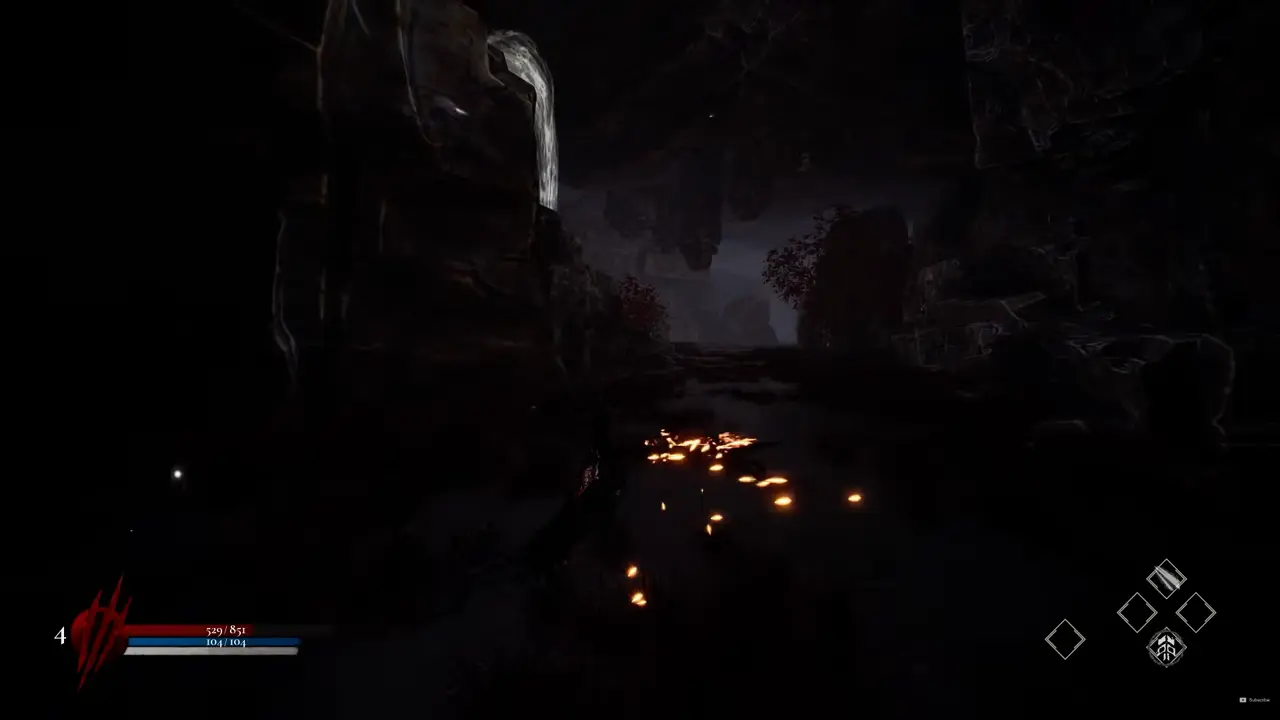
I continue deeper into the cave and follow the sound of the waterfalls. At the location shown above, I make a sharp left behind the waterfall and follow the route outside. More hammer-wielding dinosaurs appear as optional fights.
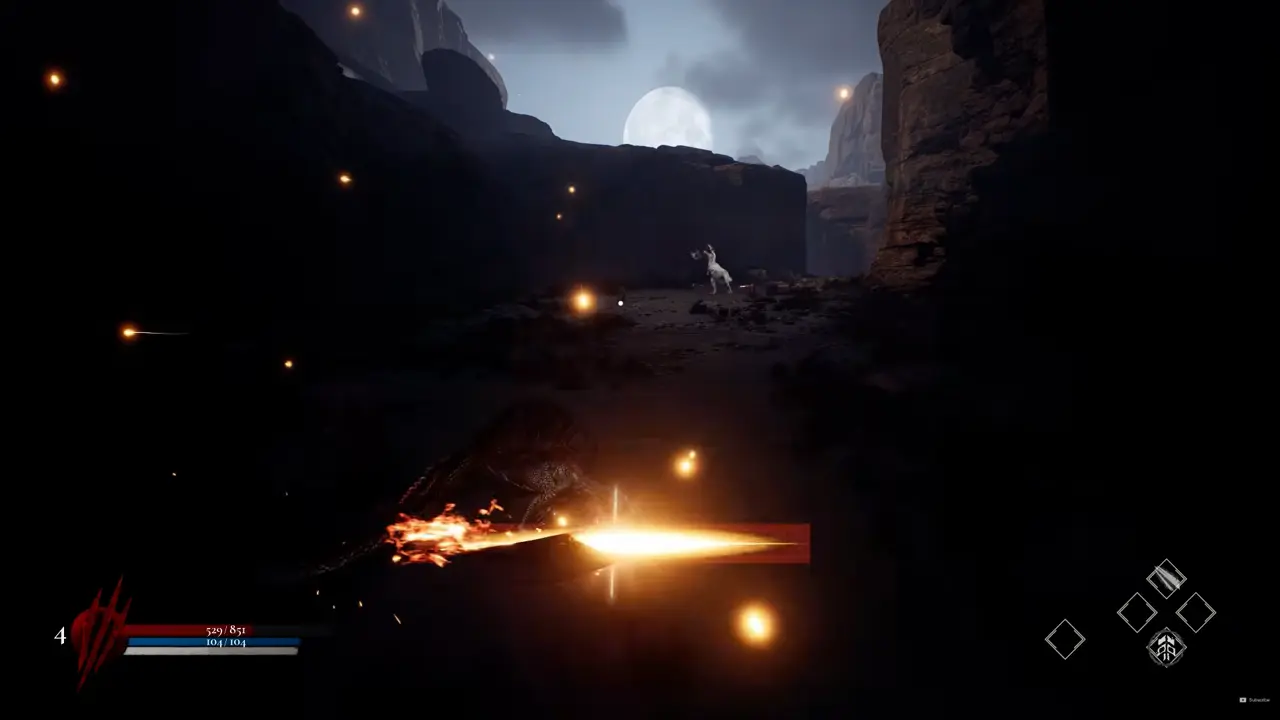
From there, I follow the moon to another Save Stone. A cutscene begins before the final demo boss. This is the last saving point before the demo ends.
Boss Fight: Kasei the Tyrant
First Phase
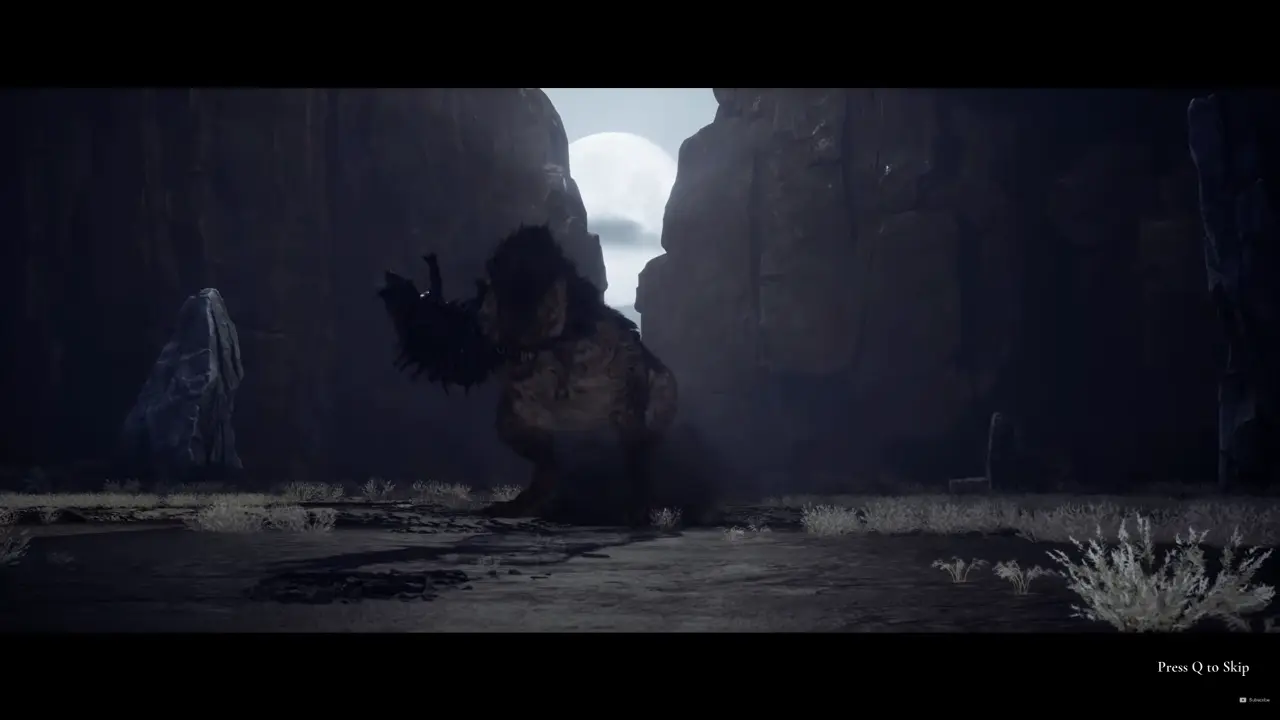
Kasei is the strongest boss in the demo and has two phases with separate movesets. During the first phase, he swings and pushes toward me, but his movements are slower than the earlier bosses. One of my best attack openings appears when he throws the large cleaver and follows it. I use my available abilities rather than saving them unnecessarily.
Second Phase
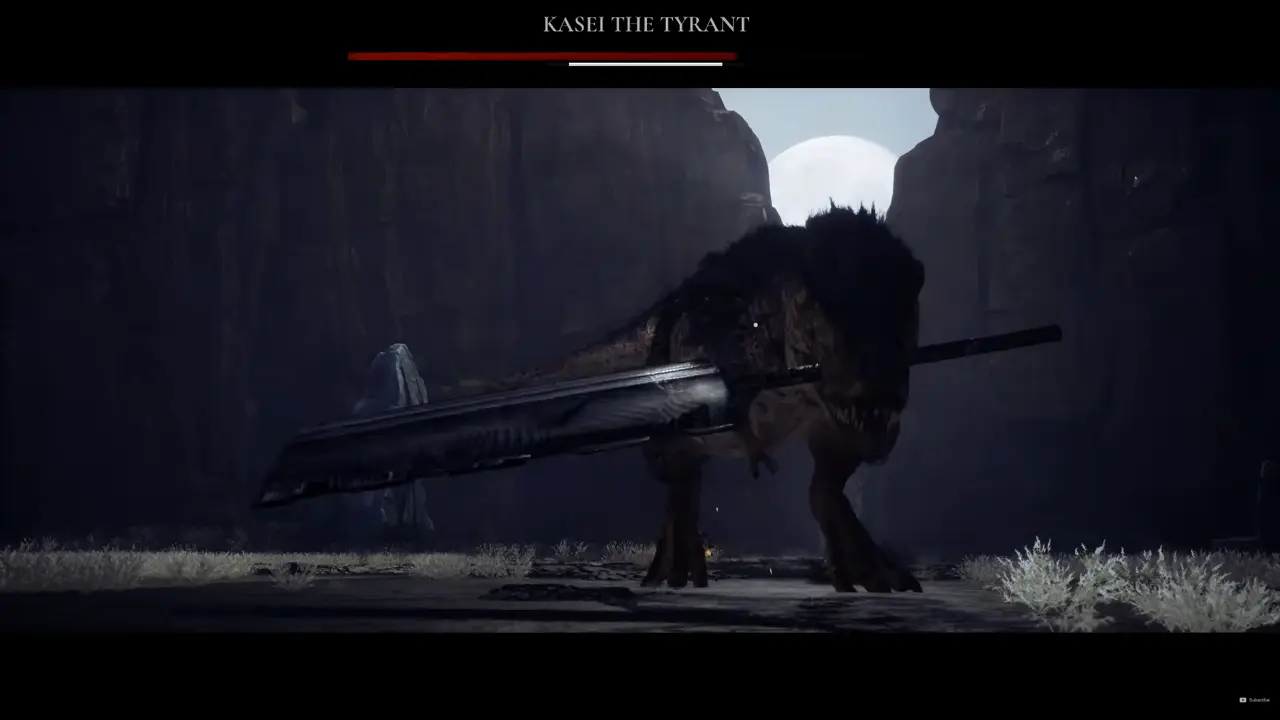
The second phase gives Kasei more durability. I continue using the openings around the cleaver attacks and manage my abilities until the fight ends.
After defeating Kasei, I move forward and break the stone. This rewards me with a new weapon and finishes the demo.
Demo Walkthrough FAQ
How Long Is the Dinoblade Demo?
The original guide estimates about one hour, depending on skill and exploration. A fast run can take under 30 minutes, while a thorough route with every side path and mini-boss may take 90 minutes or longer. It also reports a 97% positive Steam rating from more than 4,700 players.
How Many Bosses Are in the Demo?
The FAQ in the original source describes one main Alpha predator, the Styracosaurus, together with several mini-bosses in the dry canyon biome. It also names Styracosaurus, Carnotaurus, Kira, and T-Rex as Alpha predators in the full game.
Can I Find Legendary Weapons in the Demo?
Weapon choices are limited, with the starting Colossal Great Sword as the main option. Hidden canyon routes may contain variants or upgrade materials, while the wider legendary roster belongs to the full game. I still explore for skill points and items that make the final demo fight easier.
What Can I Do After Beating the Demo Boss?
I can replay with a different skill allocation, attempt a no-hit run, or clear every enemy without taking damage as preparation for Boss Rush. These challenges help me practice for the higher difficulty of the full game.
Does the Demo Represent the Full Game?
The source presents the demo as an accurate introduction to posture, parry timing, and aggressive combat. The complete game expands this foundation with additional biomes, bosses, legendary weapons, a larger skill tree, and Boss Rush Mode.
Dinoblade Complete Walkthrough Part 1
The full game begins after the demo route. I continue through Route 1 and enter The Great Lake.
The Great Lake
I move forward until a cutscene transfers me into the next section.
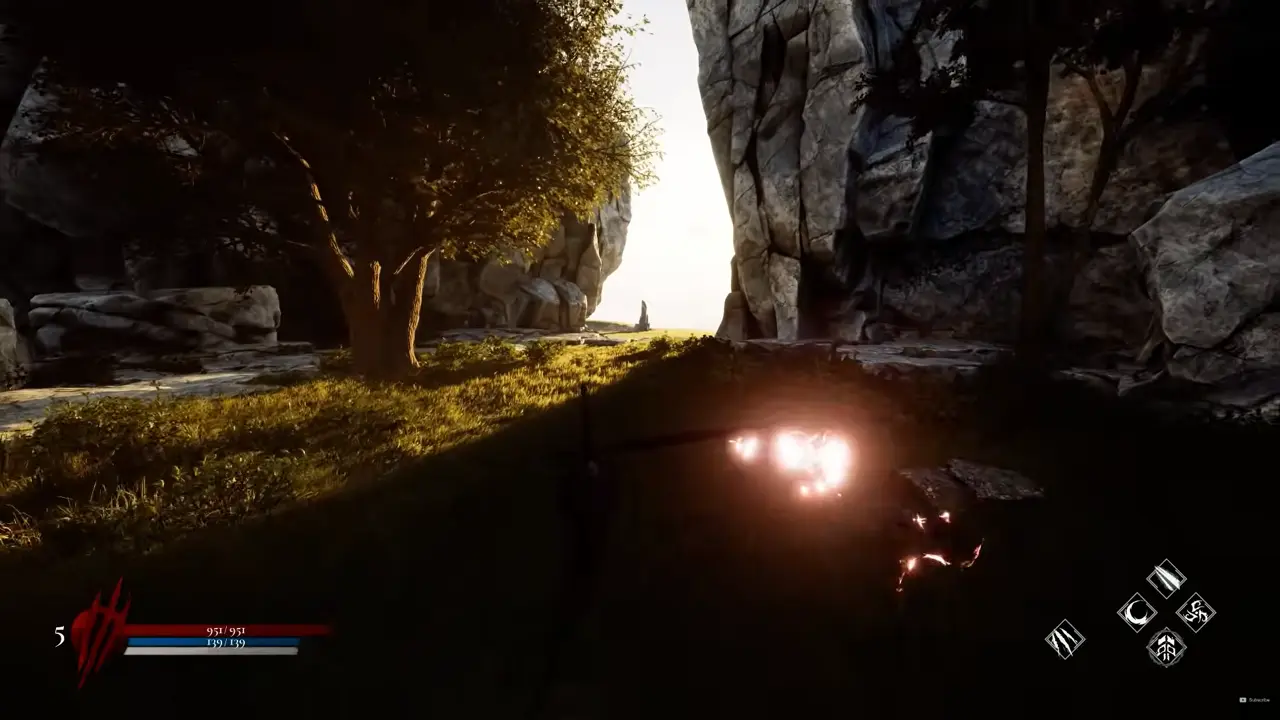
After spawning, I enter the open field and use the Save Stone. I descend the hill and find another Save Stone on the left.
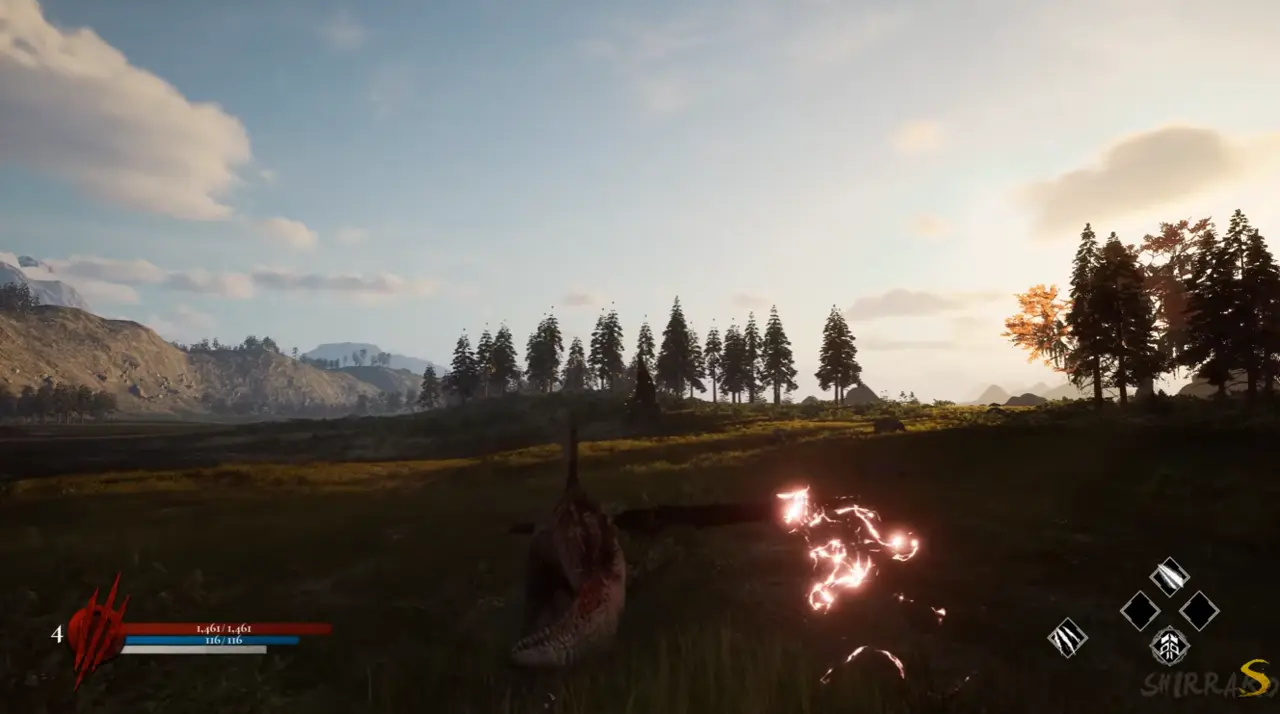
Farther up and to the right of this Save Stone, I can enter an optional boss fight.
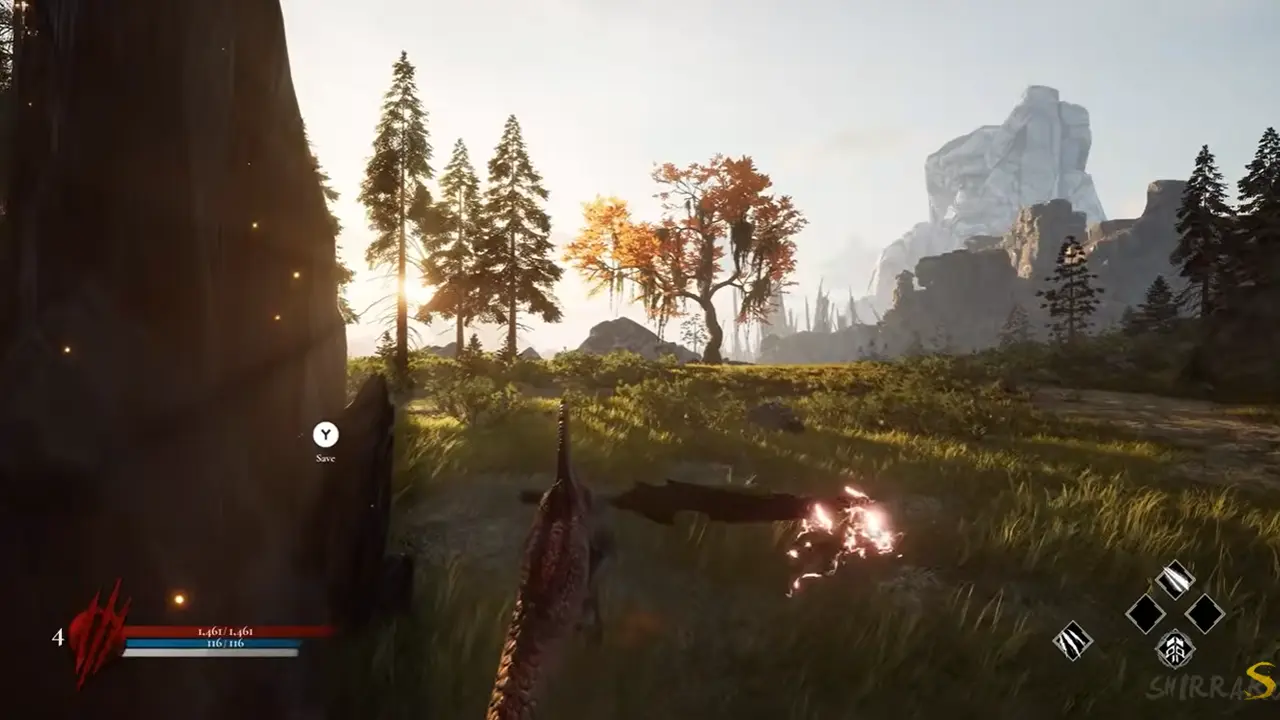
Boss Fight: Shield
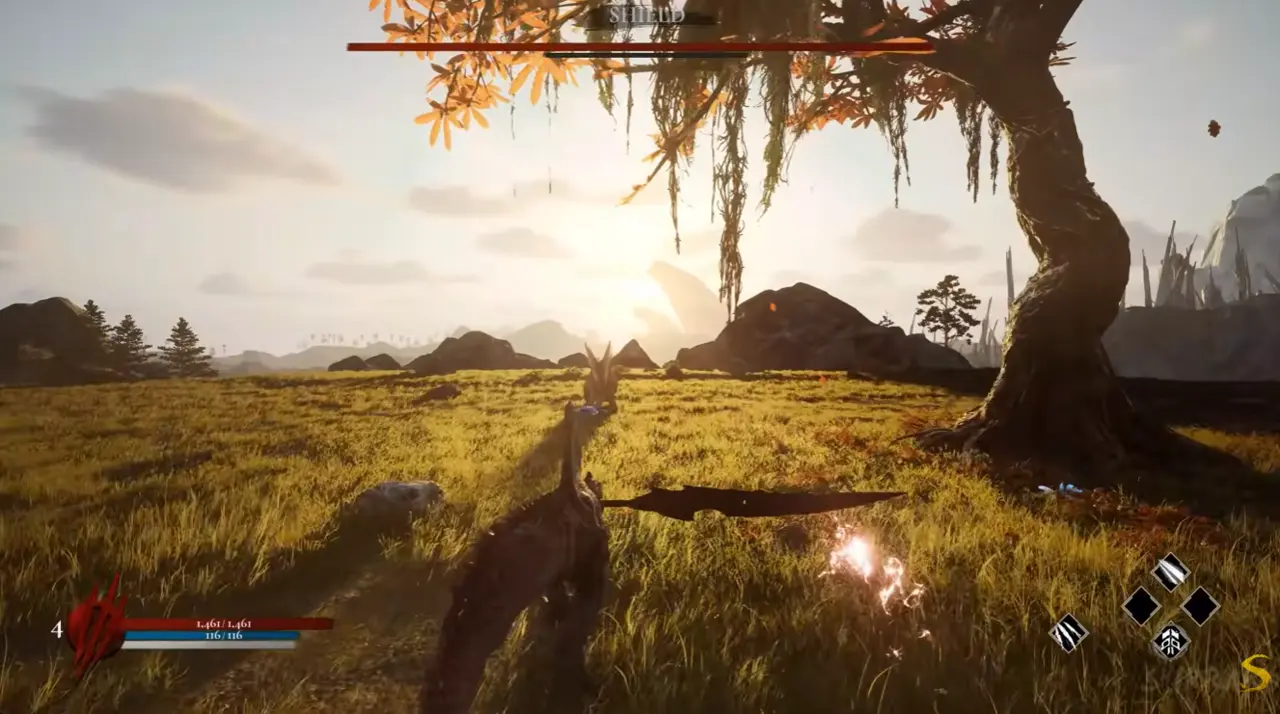
Shield is extremely durable. He shoves forward and attacks with his tail, so I dodge the close-range pressure and use Charge Attacks from safer positions. After defeating him, I unlock Shield as a summon and continue along the right-hand route.
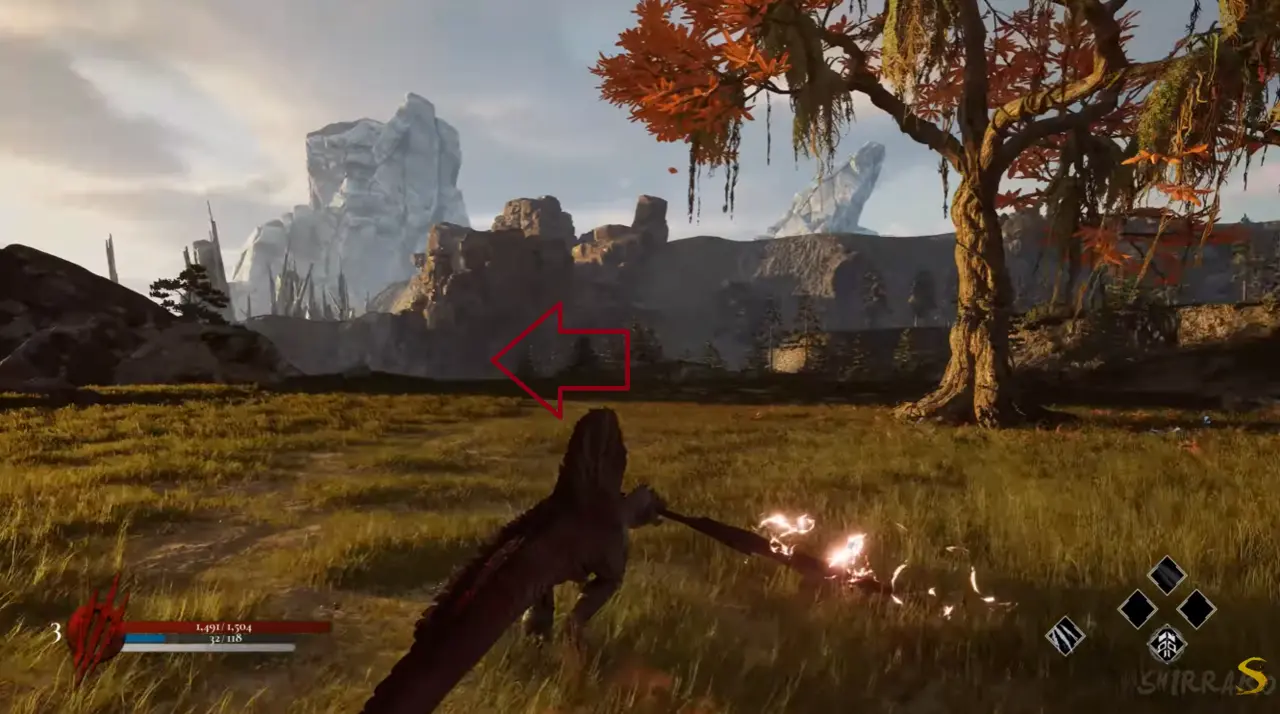
I go down the hill and meet a new dinosaur. It is easy to defeat with direct attacks. After the encounter, I move beyond the spikes and continue downhill.
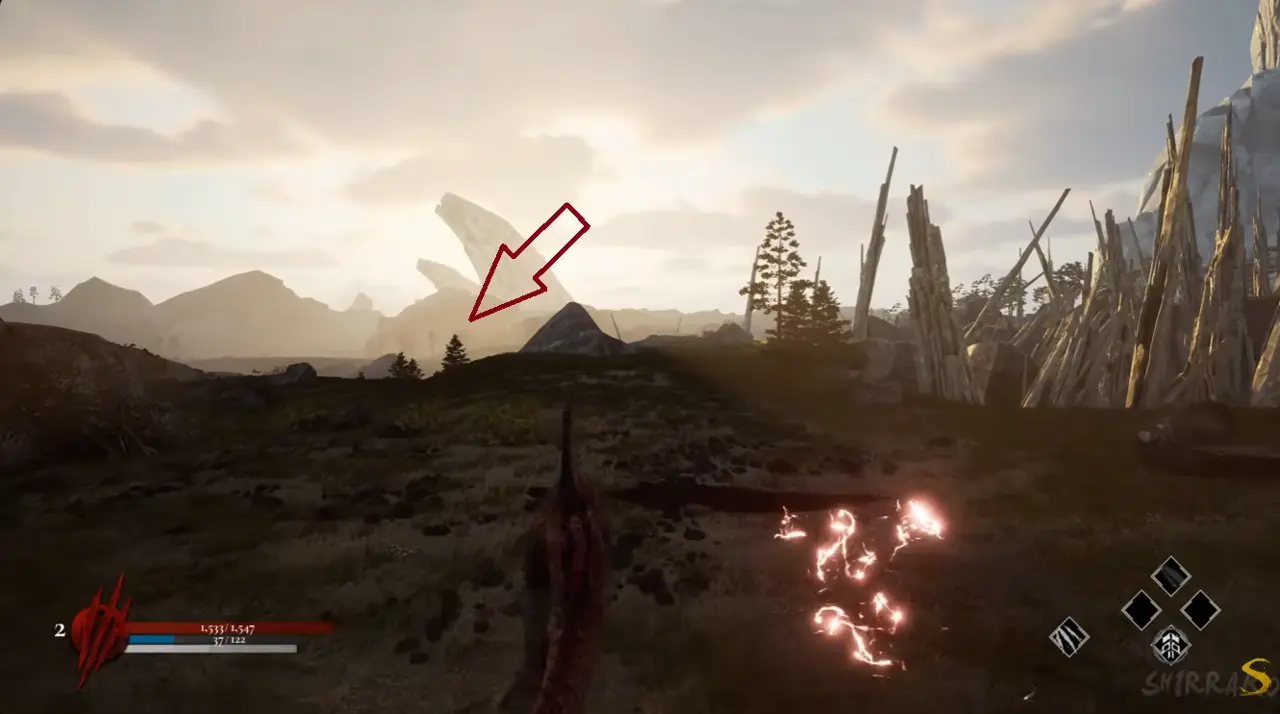
Another group appears farther down, and I defeat them in the same way.
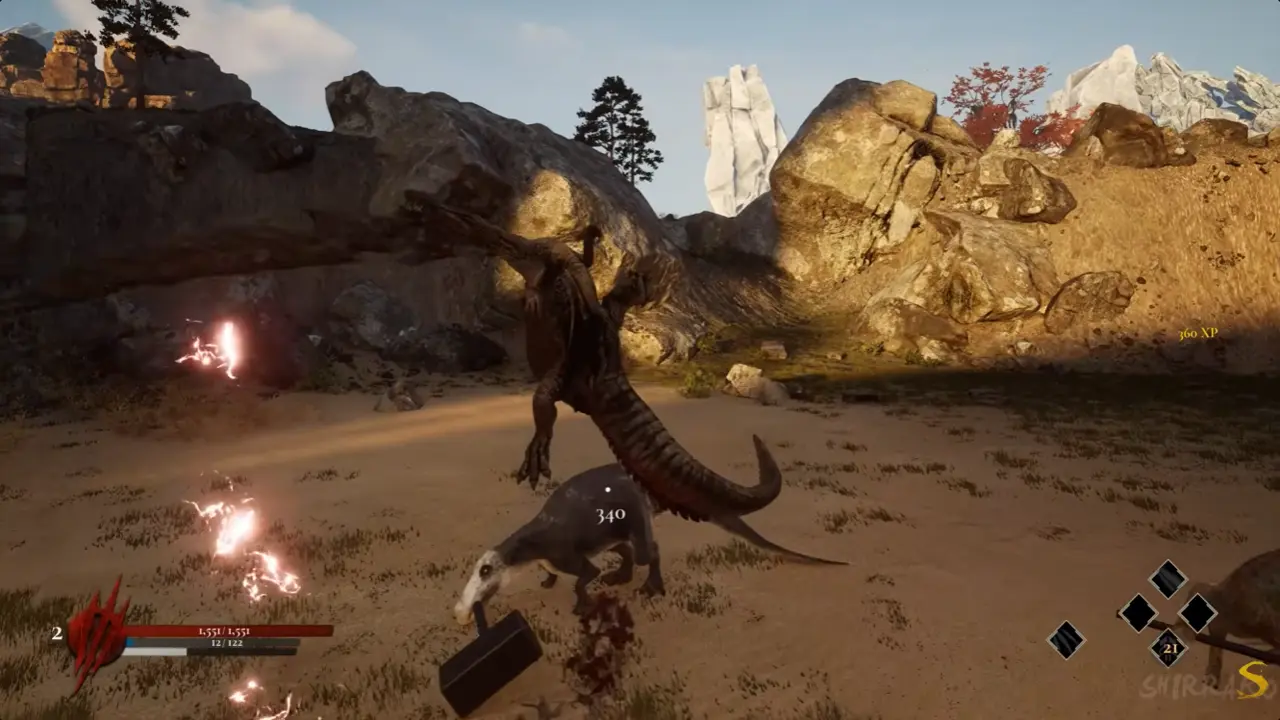
I pass the pond on the right and stay on the path.
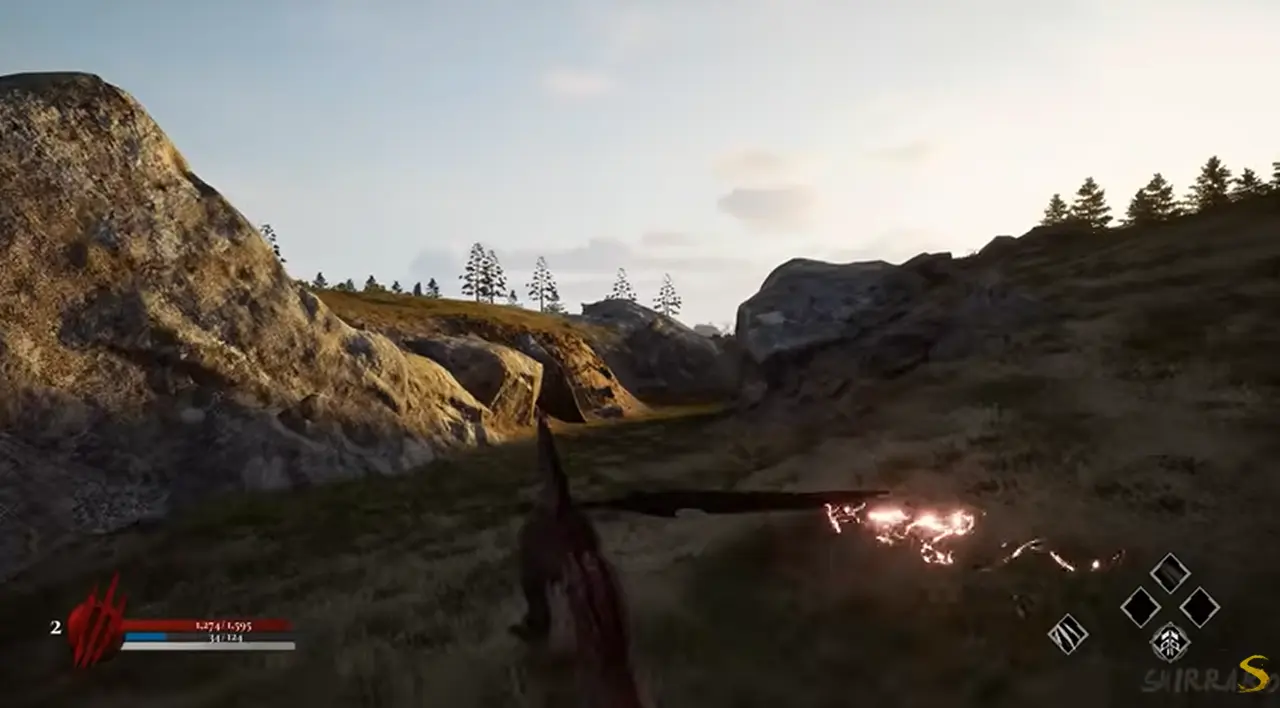
From here, I follow the gravel, fight any optional dinosaurs I want for XP, and continue to the Save Stone ahead.
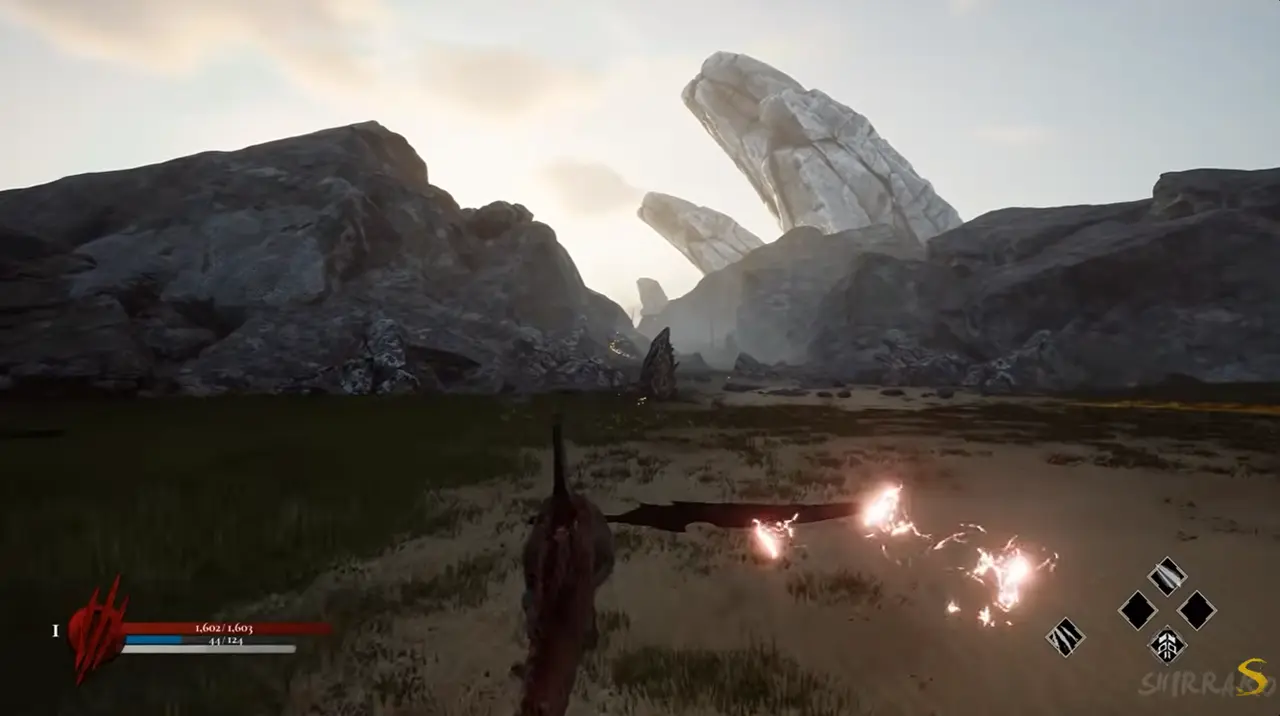
At the top of the hill, a cutscene begins and introduces the next boss.
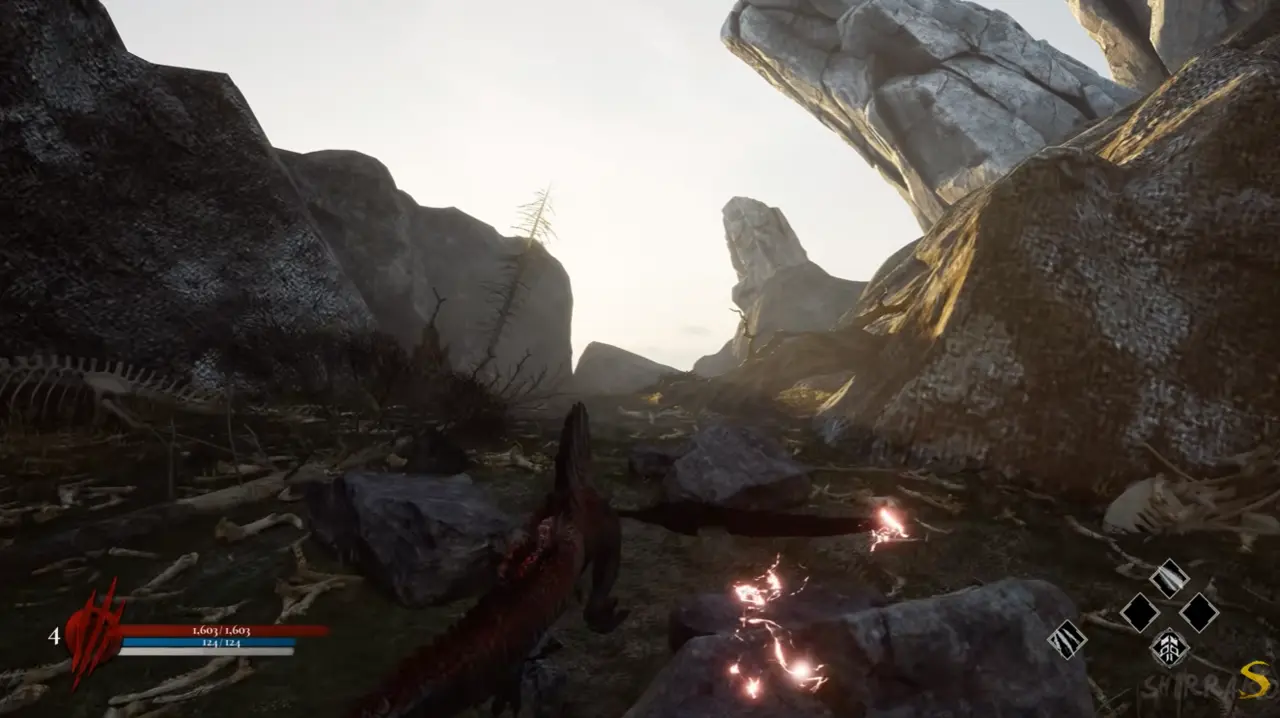
Boss Fight: Mokusei the Titan
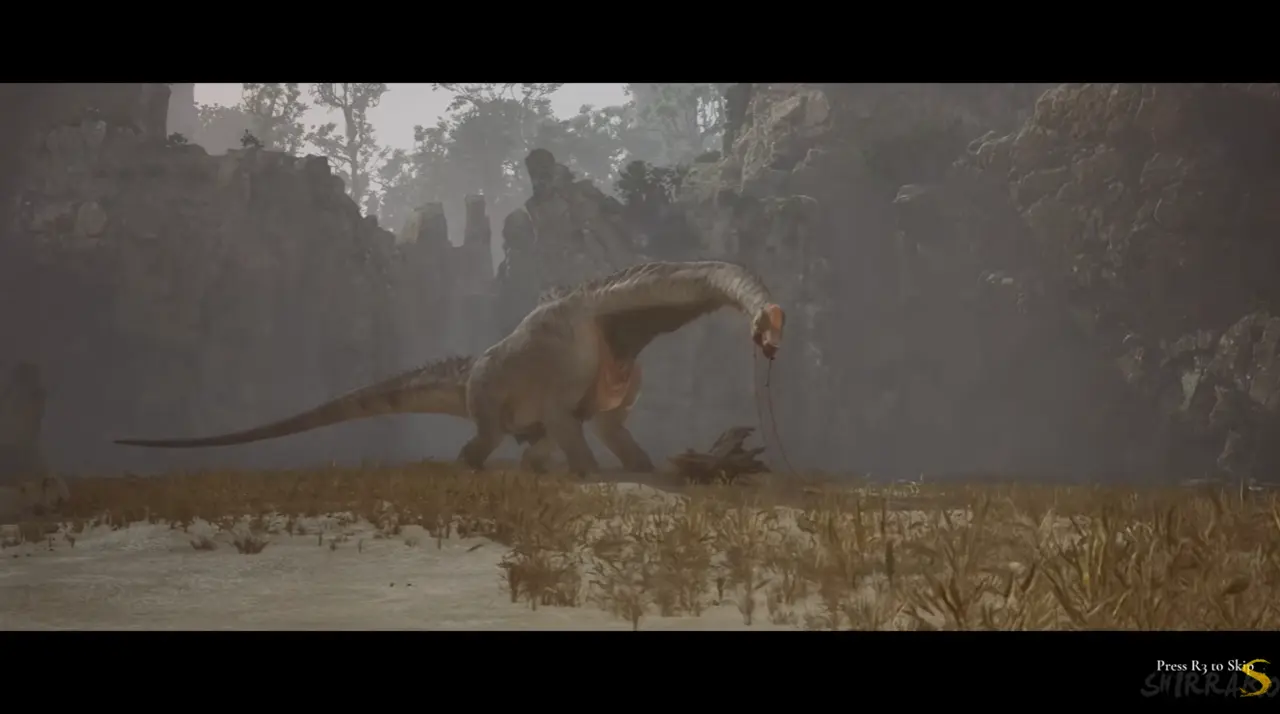
Mokusei is an Alpha dinosaur like Kasei. He looks intimidating, but the encounter is manageable when I fight from range. He damages the surrounding area with stomps and spins so that both his tail and the log can hit me for heavy damage. I throw Charge Attacks and learn the rhythm of the stomps.
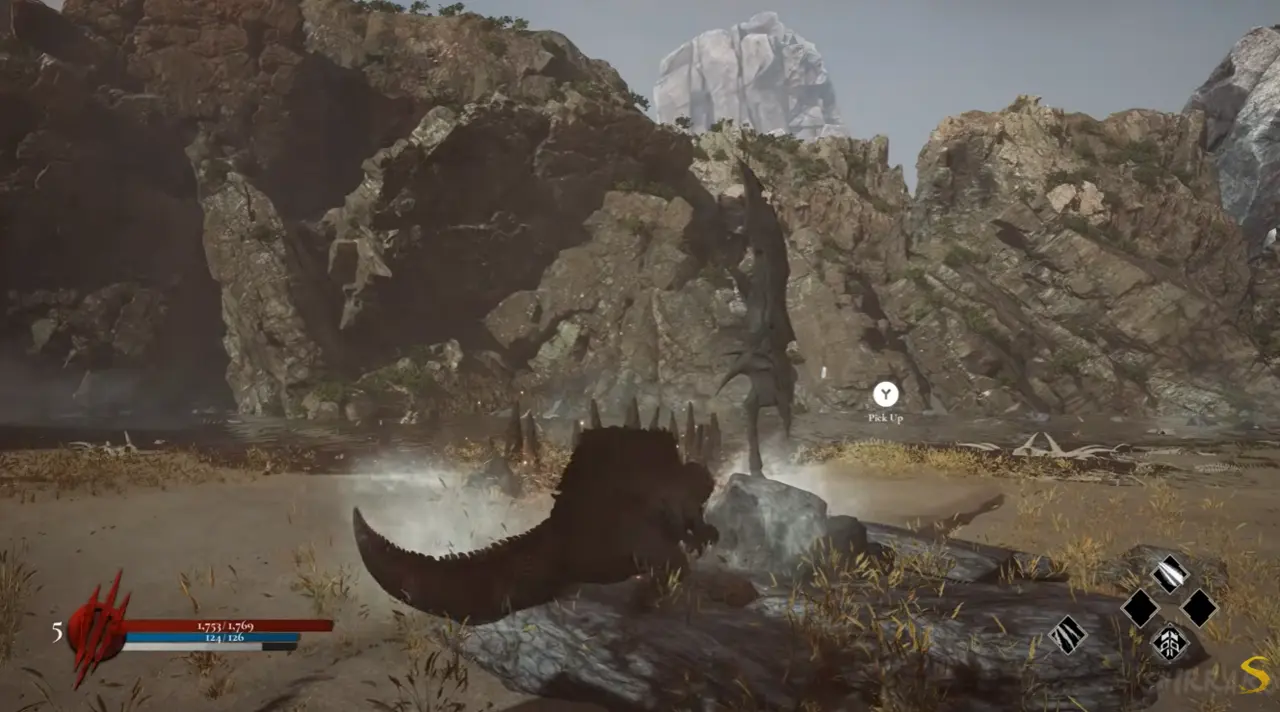
After the victory, I break the sword stone and collect the blue fire and electric sword.
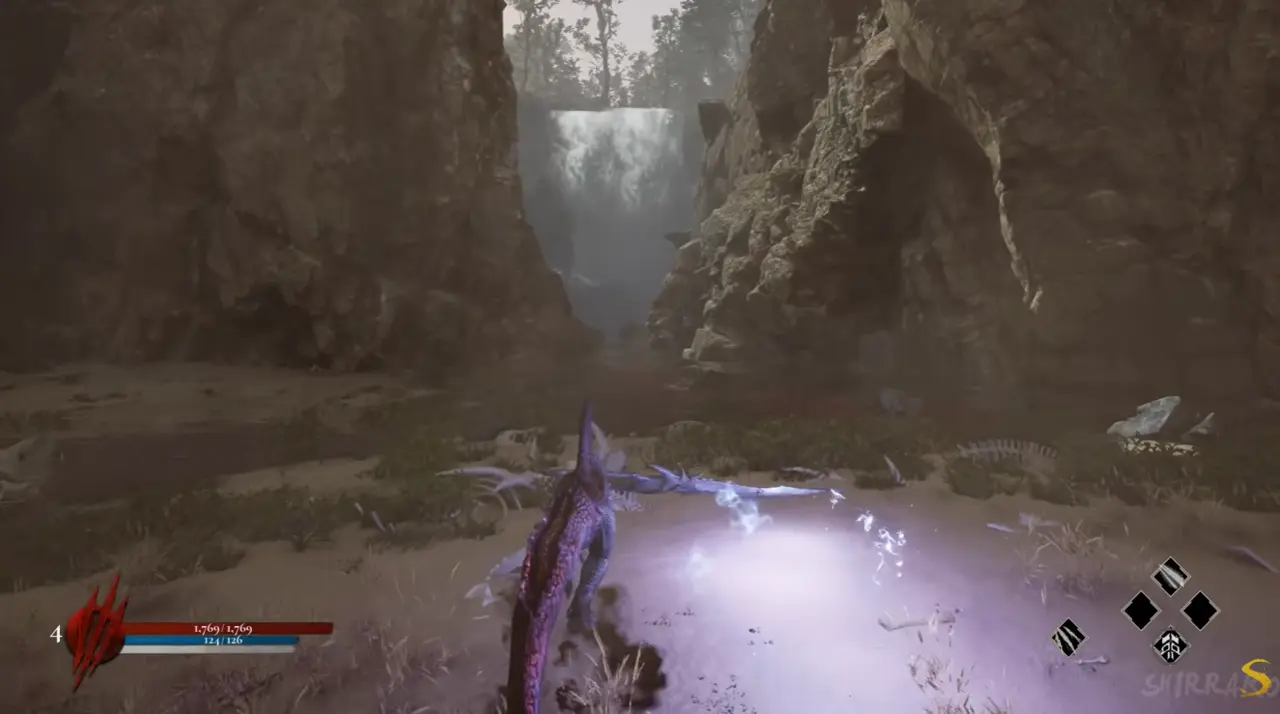
I continue toward the waterfall, which triggers another cutscene.
Darkclaw’s Forest
I enter a dark, quiet forest and adjust my abilities before continuing if needed.
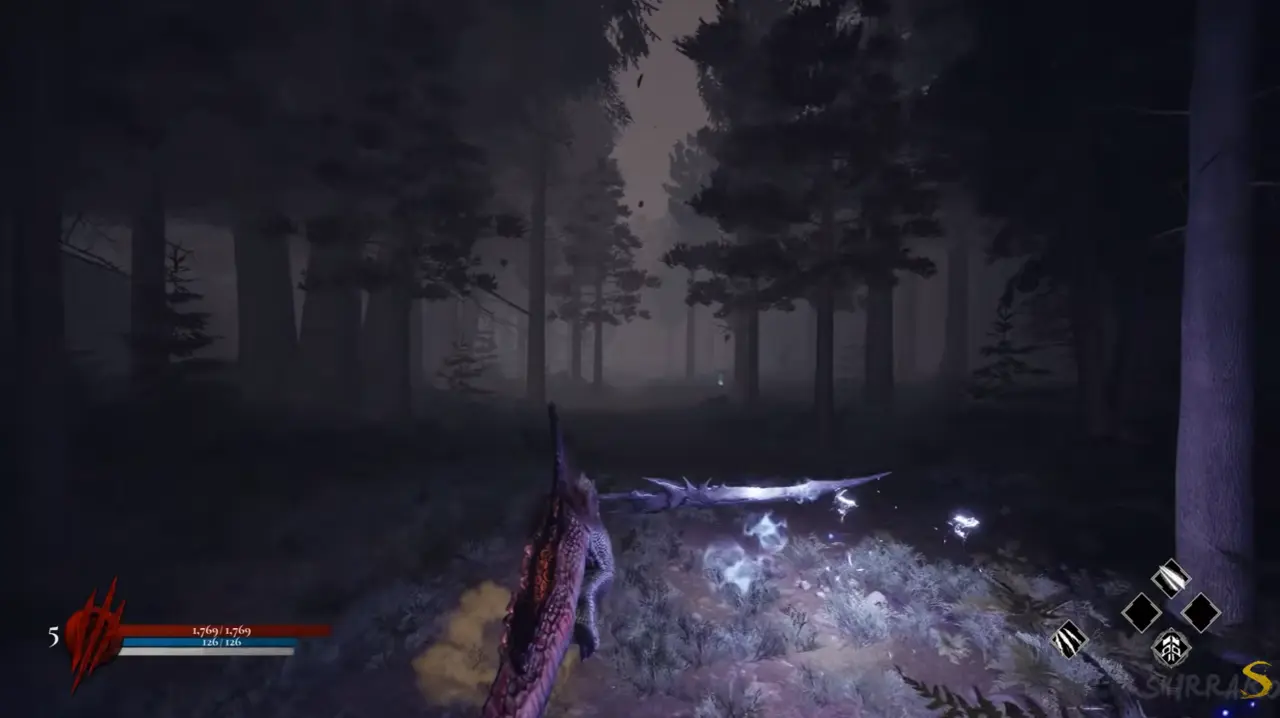
Many small dinosaurs appear, but they are easy to clear. I continue straight until I find a Save Stone on the right.
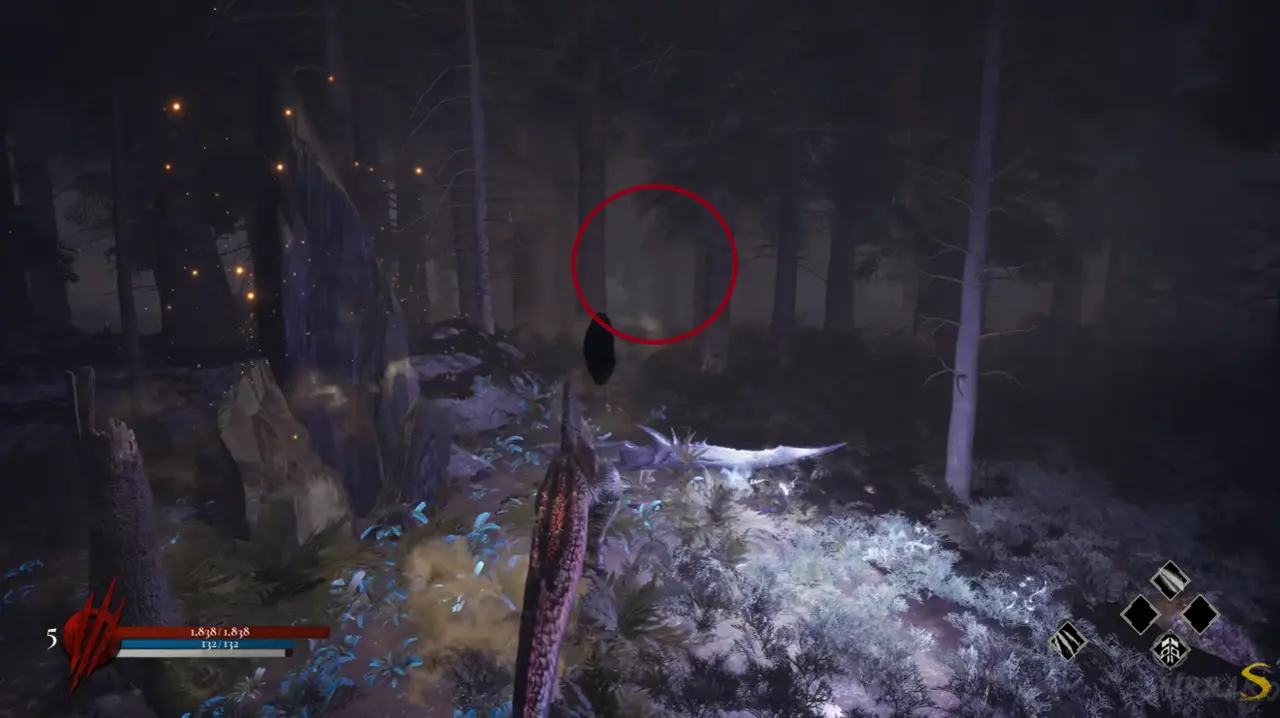
I pass between the trees and climb the hill to reach another boss.
Boss Fight: Stick
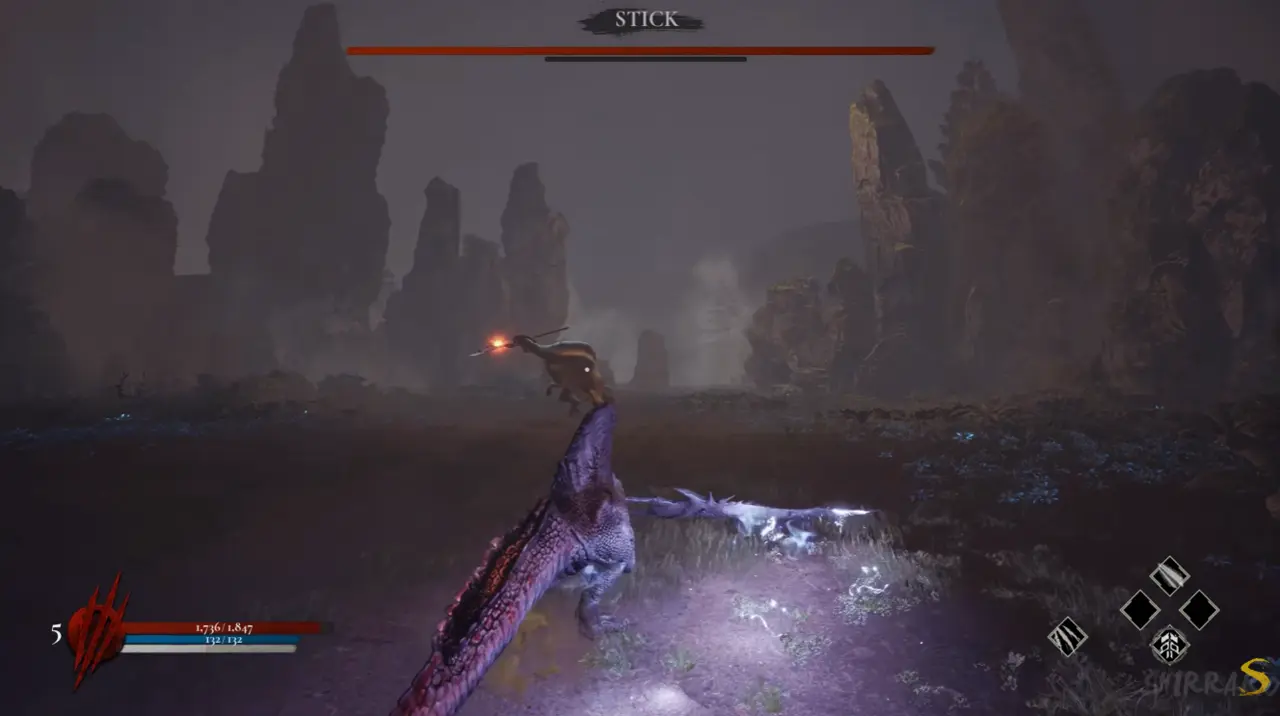
Stick is a spear-wielding Spinosaurus with high durability. He steps back before charging and swinging, so I use that backward movement as my signal to dodge.
After defeating Stick, I pass through the rocks and go left up the hill. I defeat the dinosaur ahead, continue straight to the Save Stone, then descend the grassy slope. Three small dinosaurs wait below, and after defeating them I take the left route.
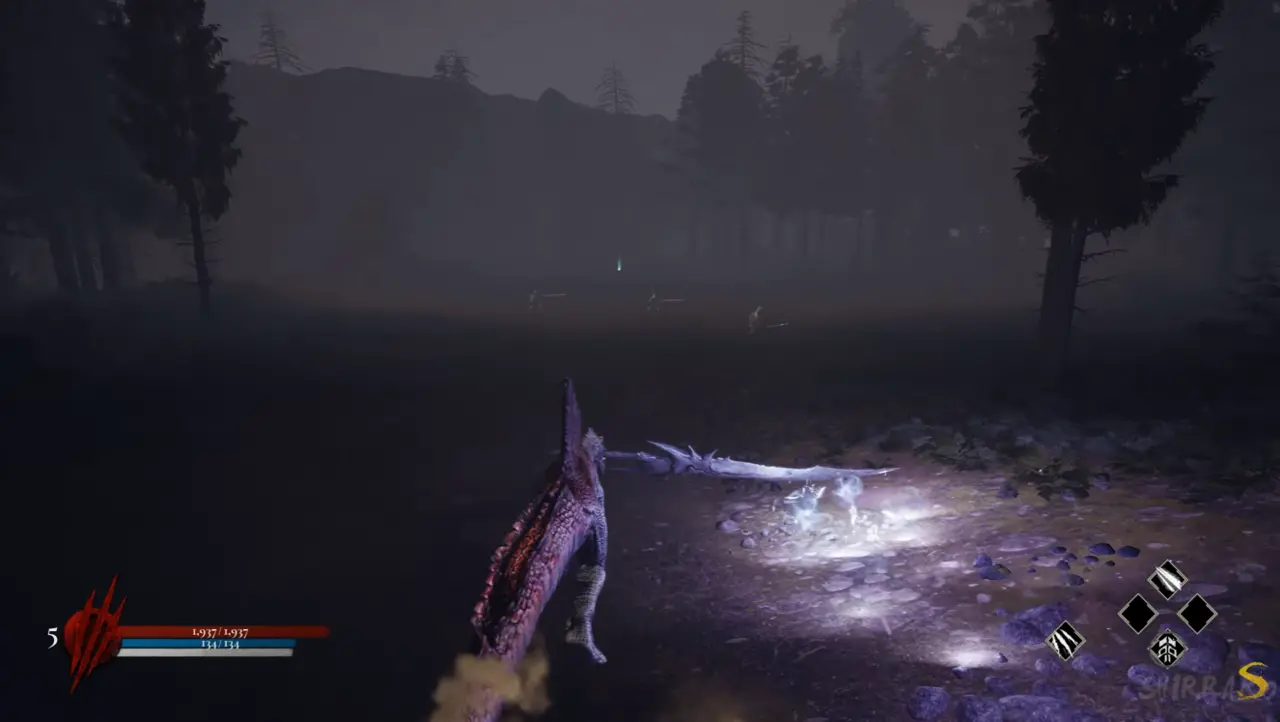
The path eventually leads into another boss arena.
Boss Fight: Speed
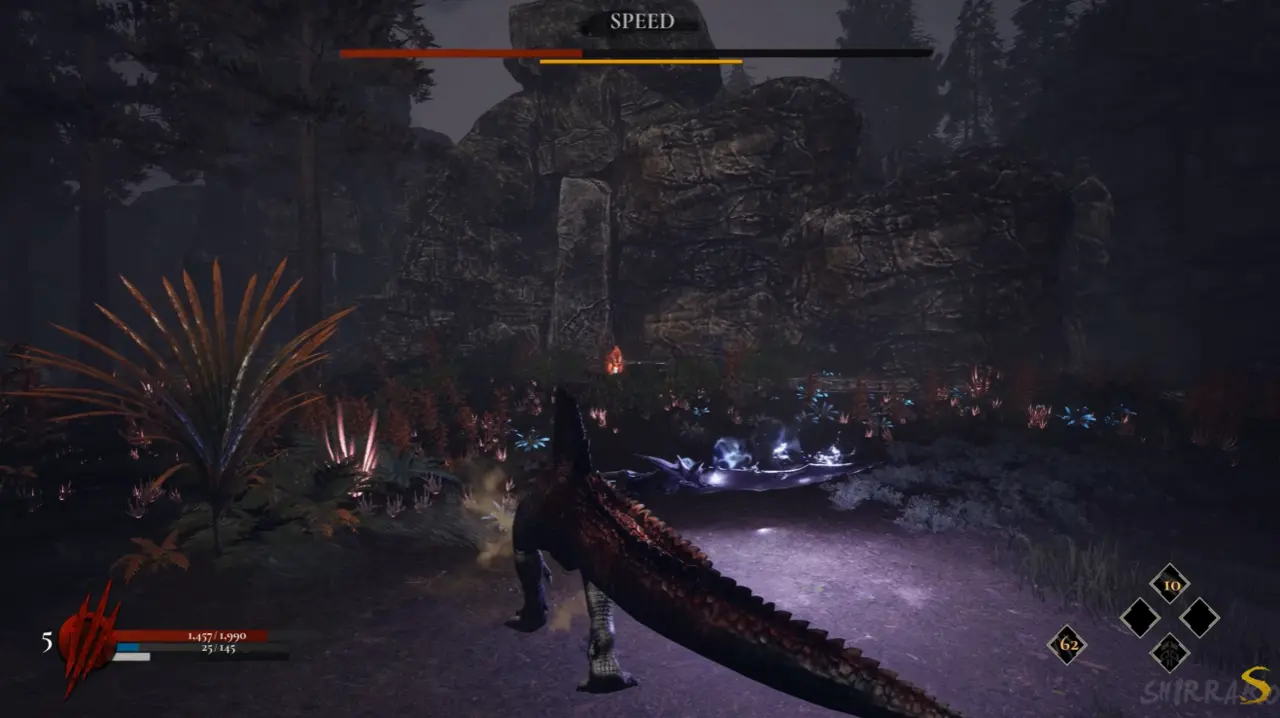
Speed is a small, aggressive T-Rex that jumps high and uses acrobatic movements. After winning the fight, I unlock Speed as a summon and pass through the rocks to the next Save Stone.
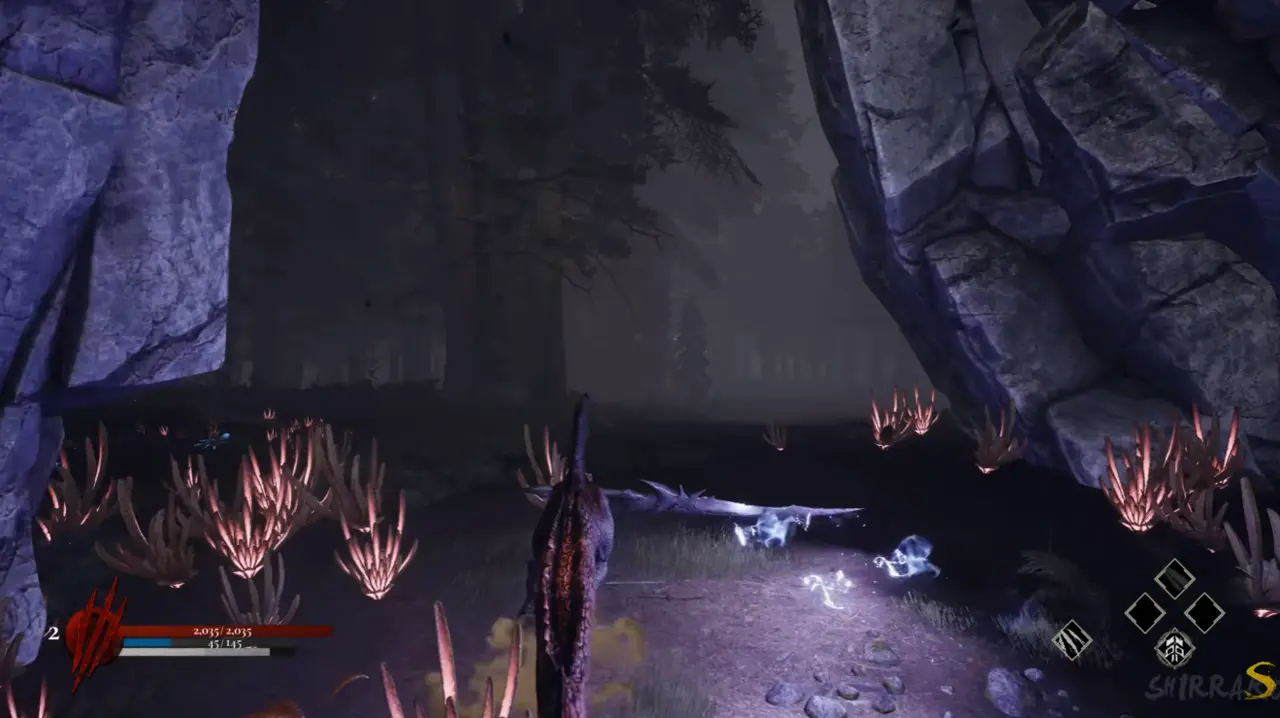
I continue forward, fight the small dinosaurs along the way, and spend SP on upgrades when needed. The enemy placement helps indicate the correct route. After defeating the larger dinosaur ahead, I continue to another Save Stone.
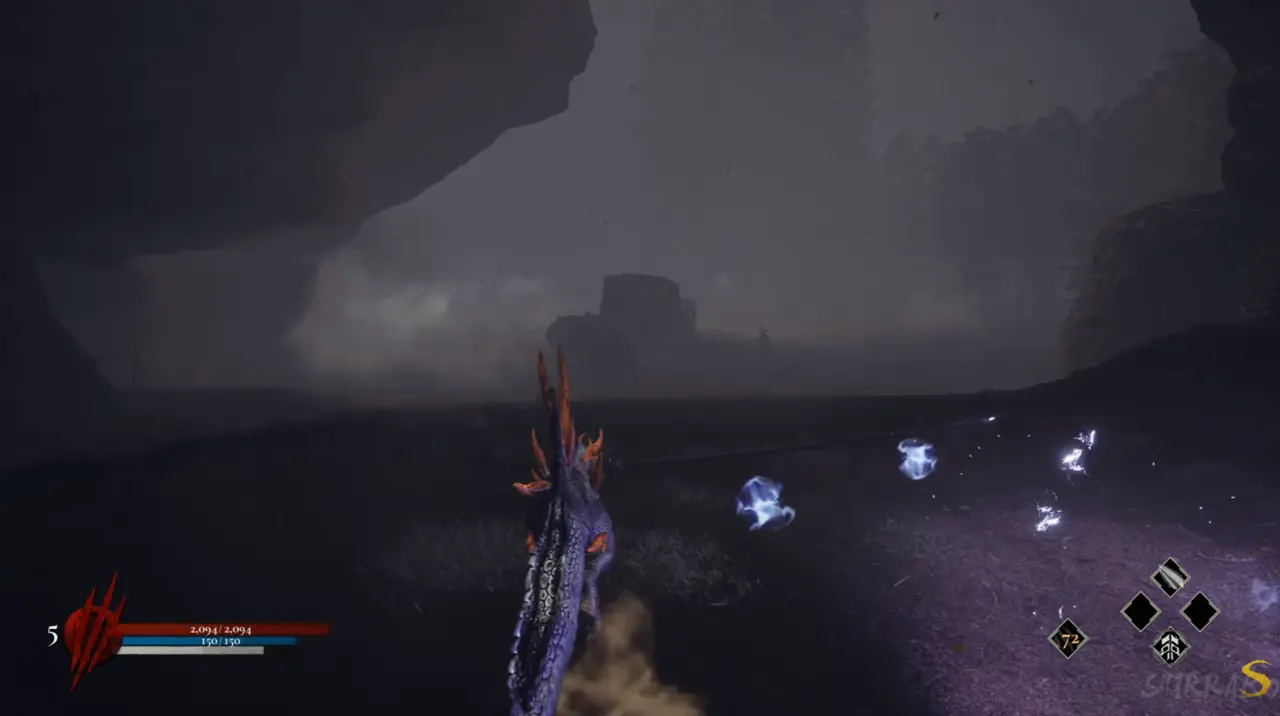
I descend beyond the Save Stone. A flash of lightning appears before the next boss arena.
Boss Fight: Ketsuro
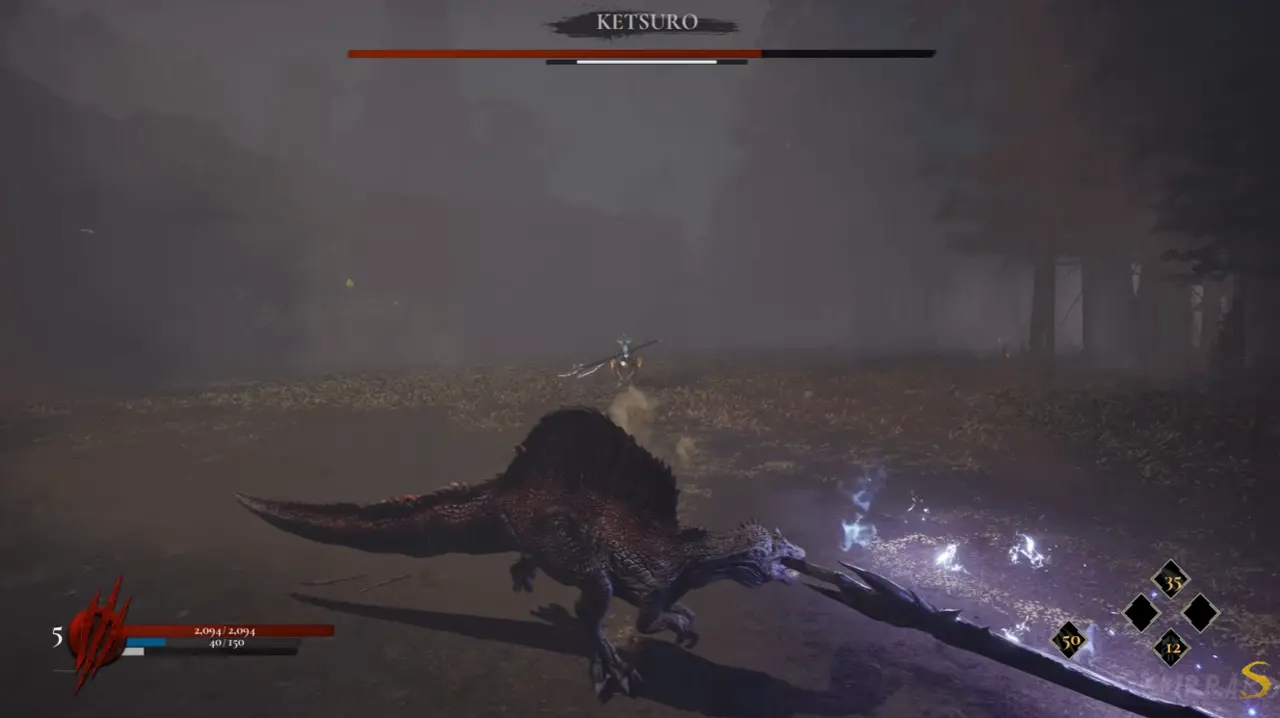
Ketsuro carries an axe, swings it, slams it down, and charges when I create too much distance. I combine melee pressure with short retreats instead of remaining entirely at range.
After the fight, I move right through the trees and continue deeper into the forest. A Save Stone appears on the right.
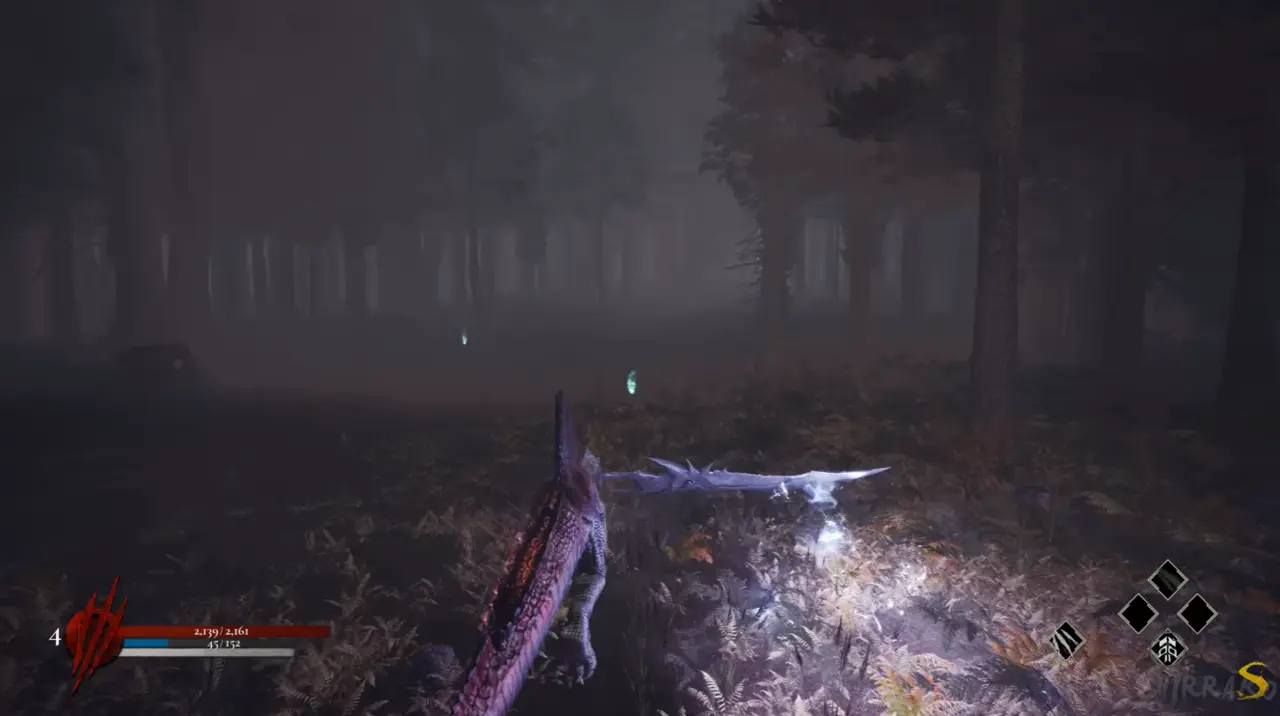
The route continues straight. I encounter a white T-Rex carrying a hammer, similar to enemies from the demo.
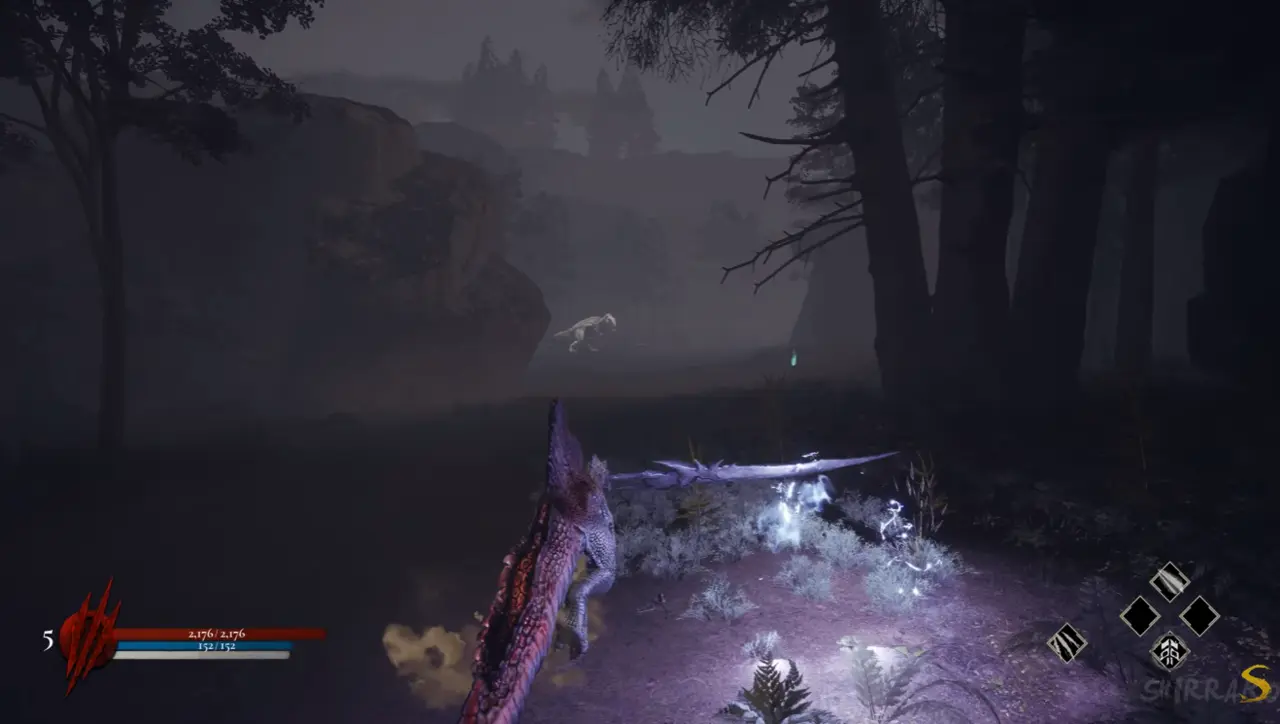
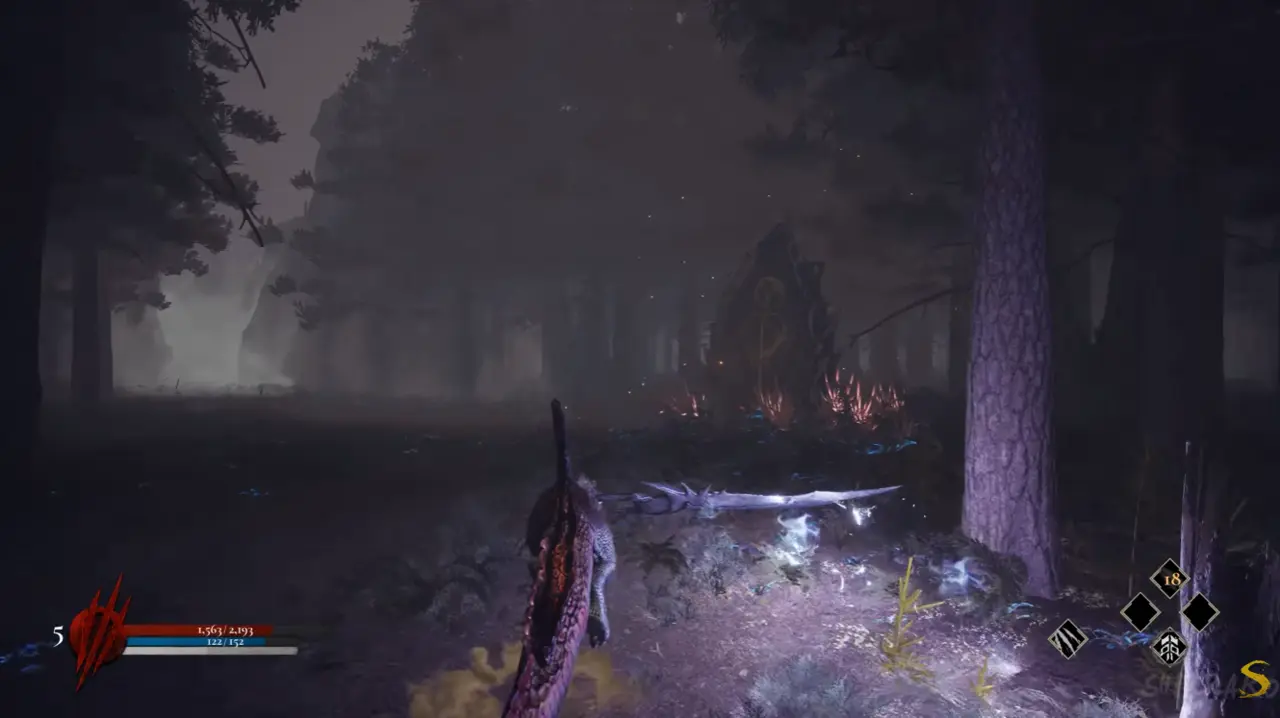
I continue through the forest until I reach the decorated stone. This marks the halfway point of the game. Passing through the rocks triggers a cutscene.
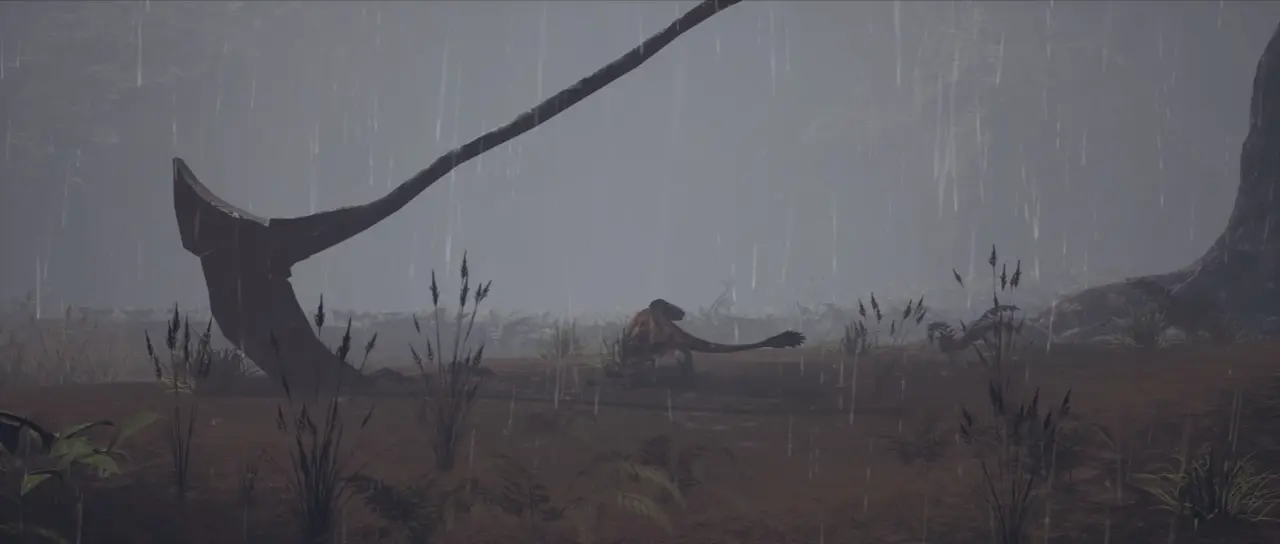
Boss Fight: Dosei the Giant Claw
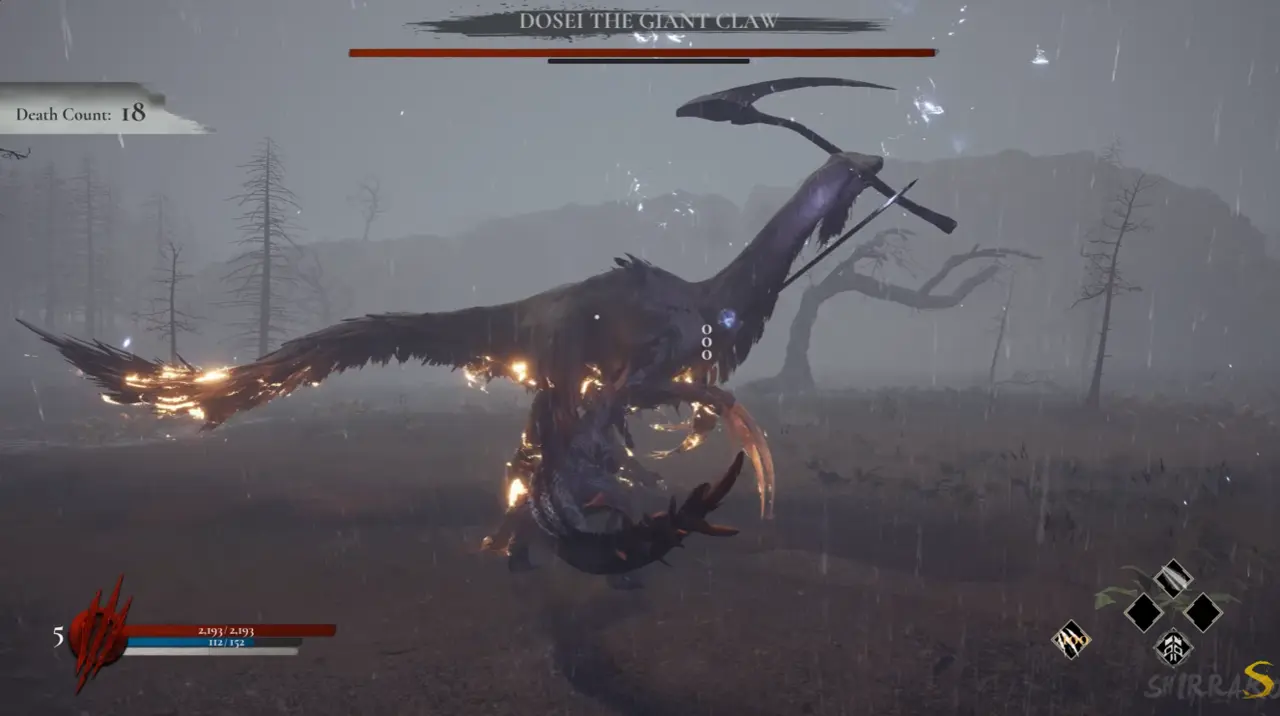
Dosei is an Alpha Therizinosaurus carrying a scythe. He barrel-rolls and deals heavy close-range damage. At half health, he changes into an invisible shadow and his weapon ignites. I stay outside the swing range and use my abilities during his recovery windows.
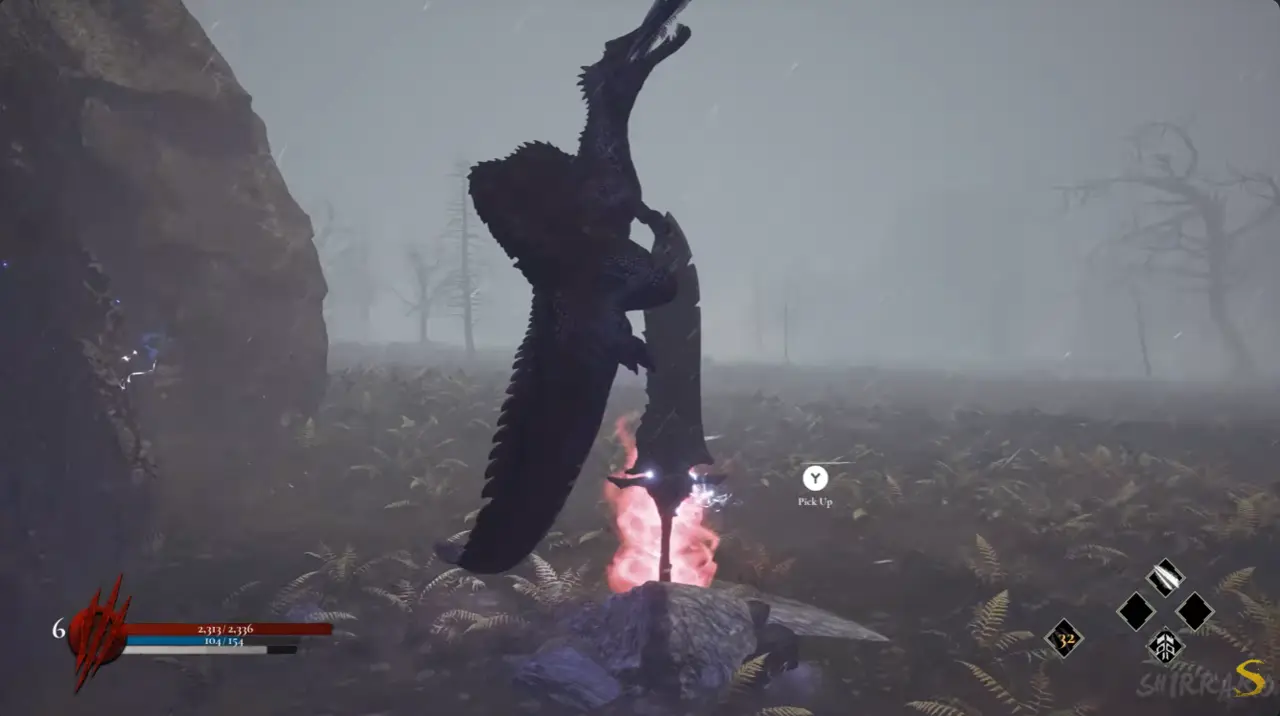
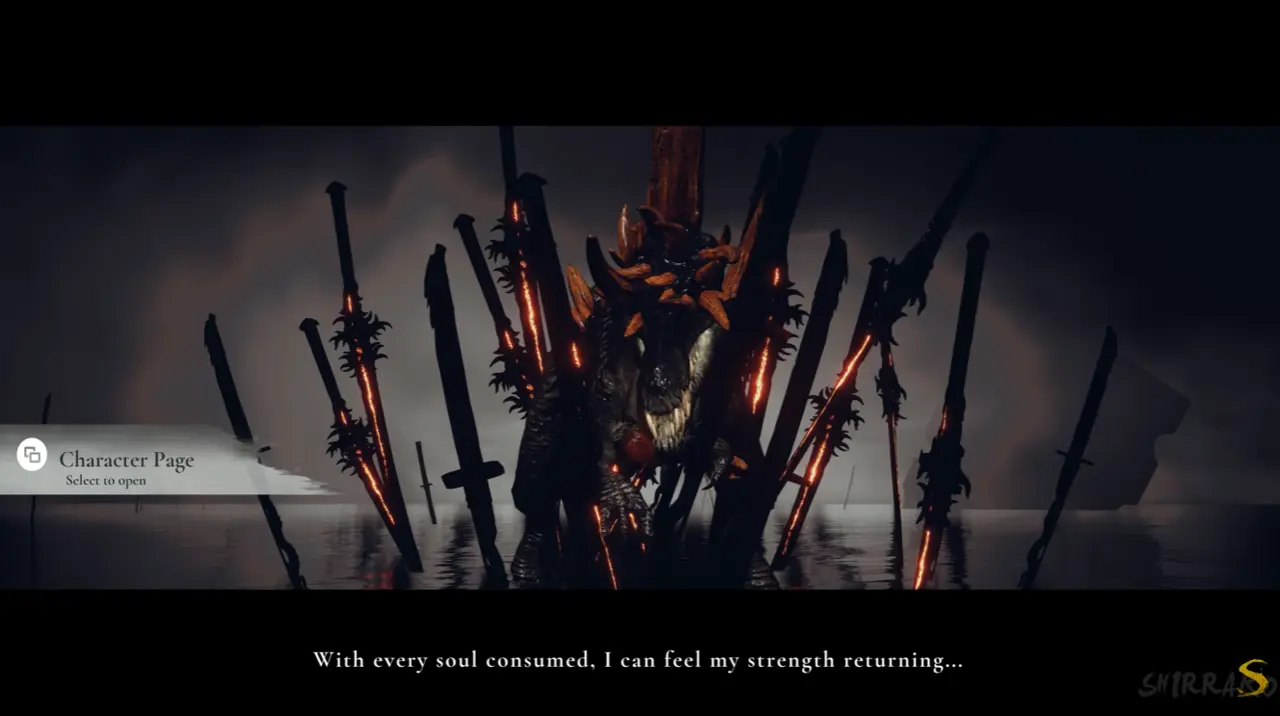
After defeating Dosei, I break the sword stone. A cutscene with the Evil Demon dinosaur follows.
Dinoblade Complete Walkthrough Part 2
Red Ashe’s Swamp
I arrive in the eerie swamp and immediately turn left. An optional Carnotaurus carrying a scythe waits nearby.
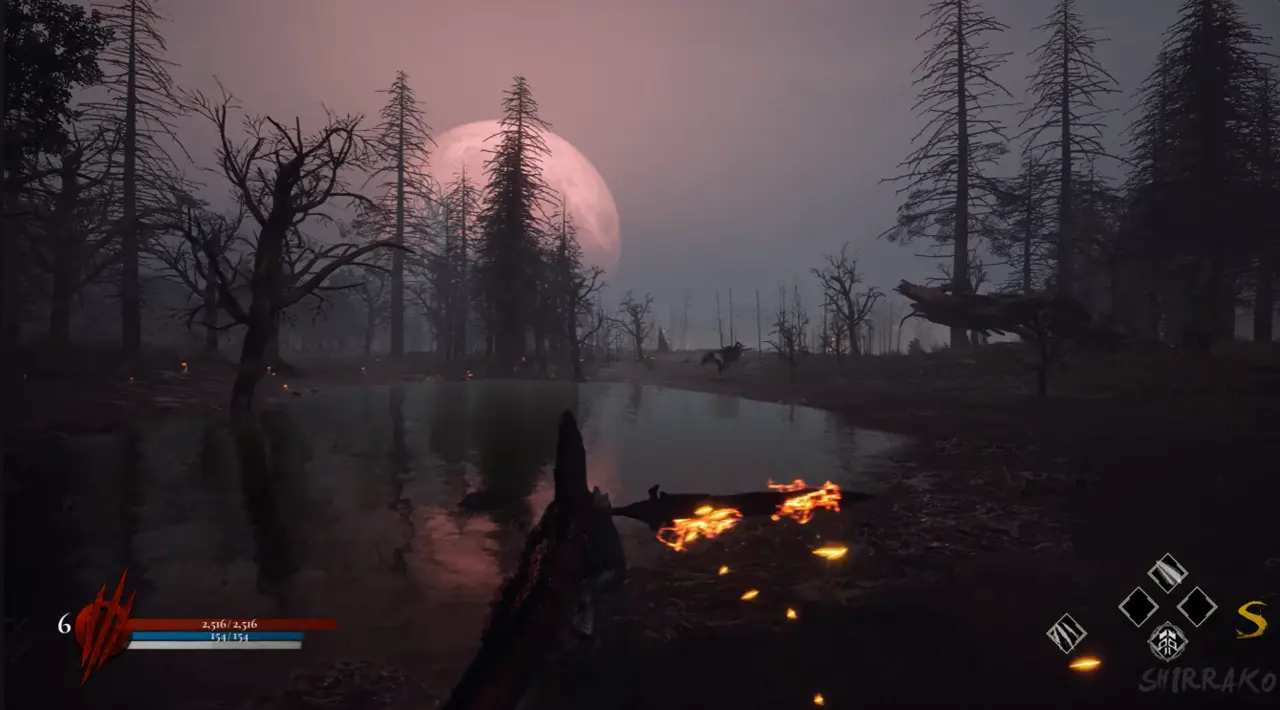
I follow the moon beyond the trees until I reach the next Save Stone.
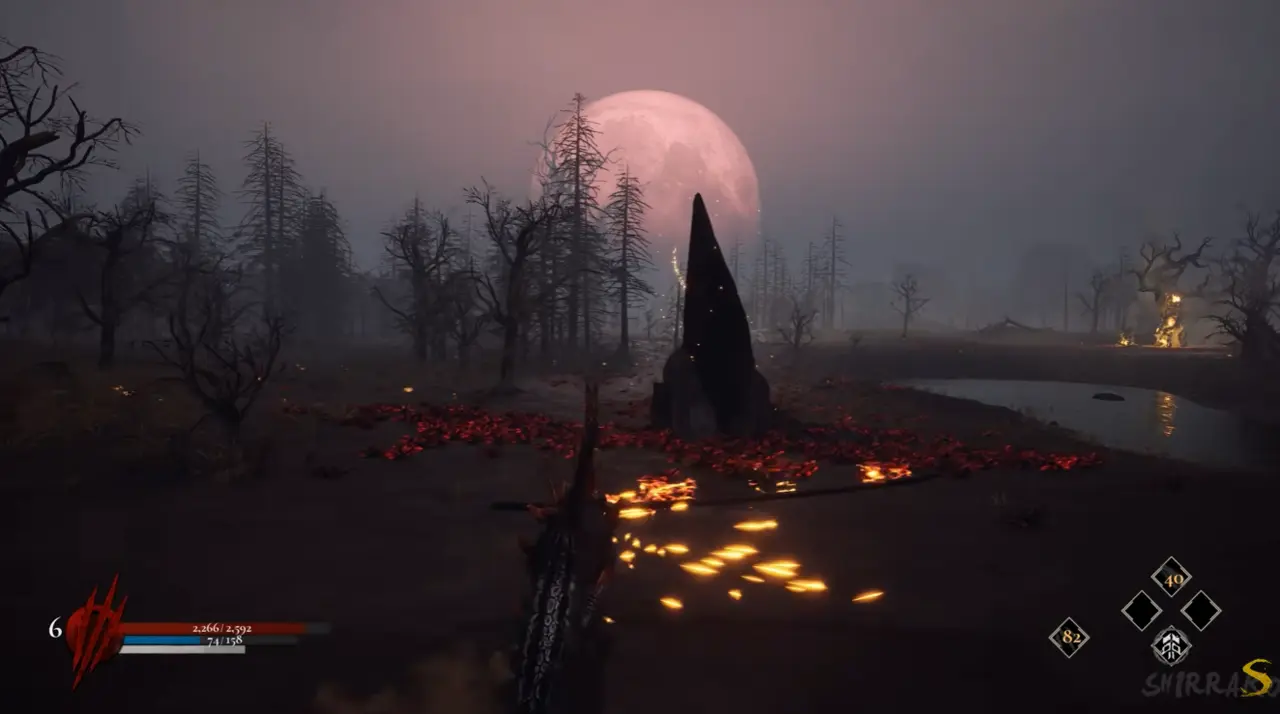
I can explore the area for optional enemy fights. When I reach the dinosaurs shown below, I take the left route along the path and river to find a fire upgrade.
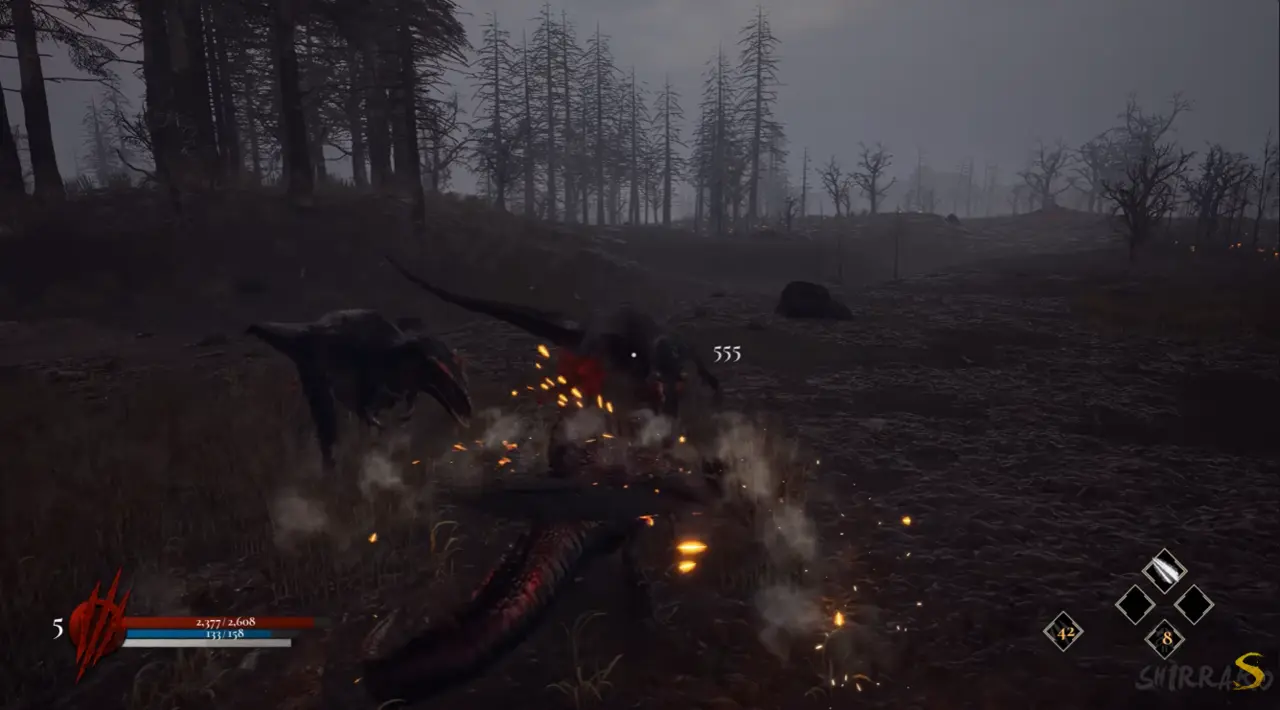
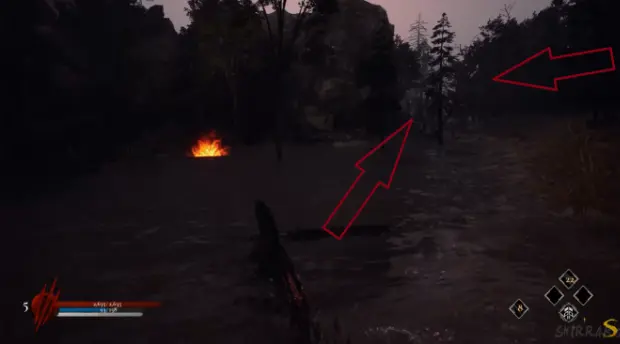
After collecting it, I pass through the trees and remain on the main path. I move past the Stegosaurus enemies and continue beyond more scythe-wielding Carnotaurus.
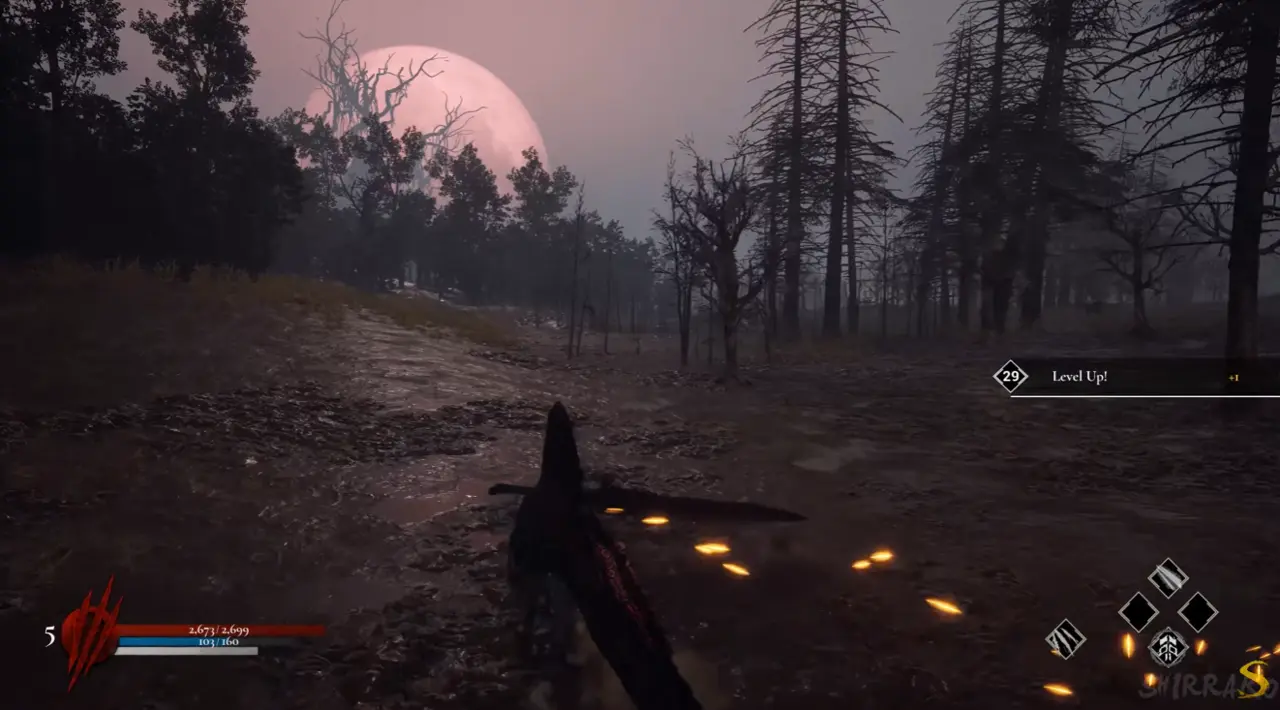
A Save Stone stands at the top of the hill on the left.
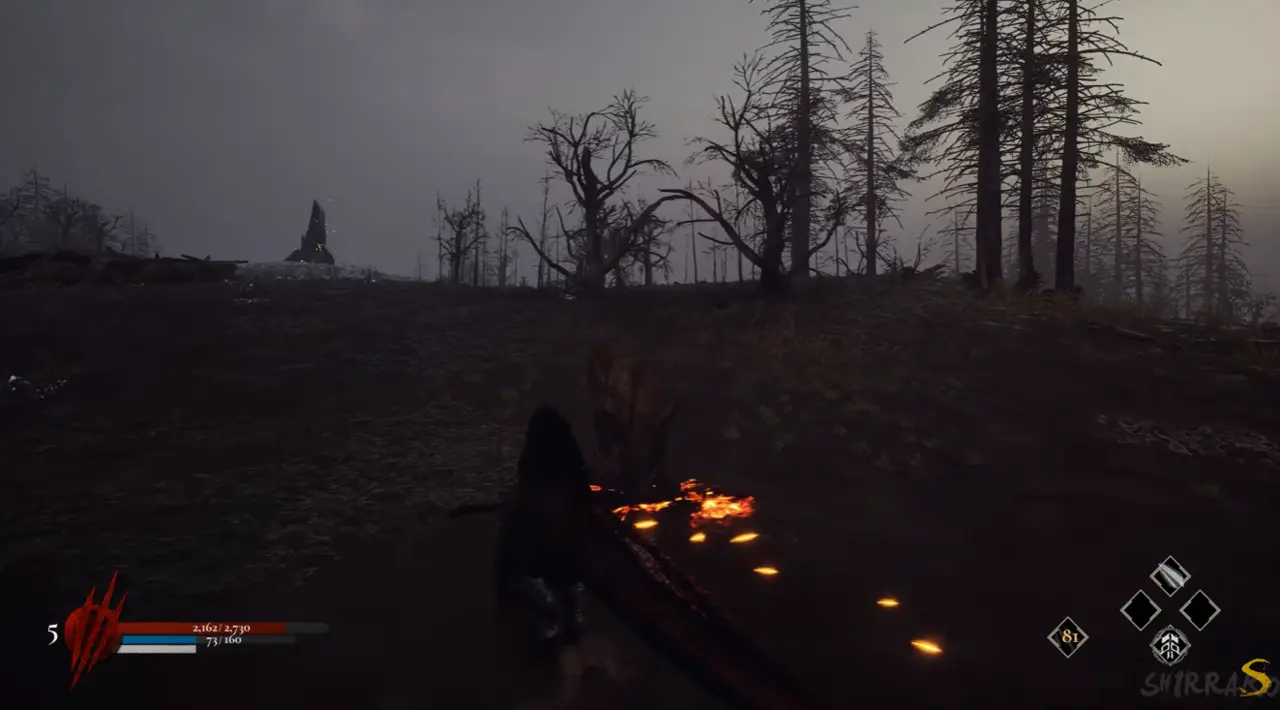
I go beyond the stone and turn left.
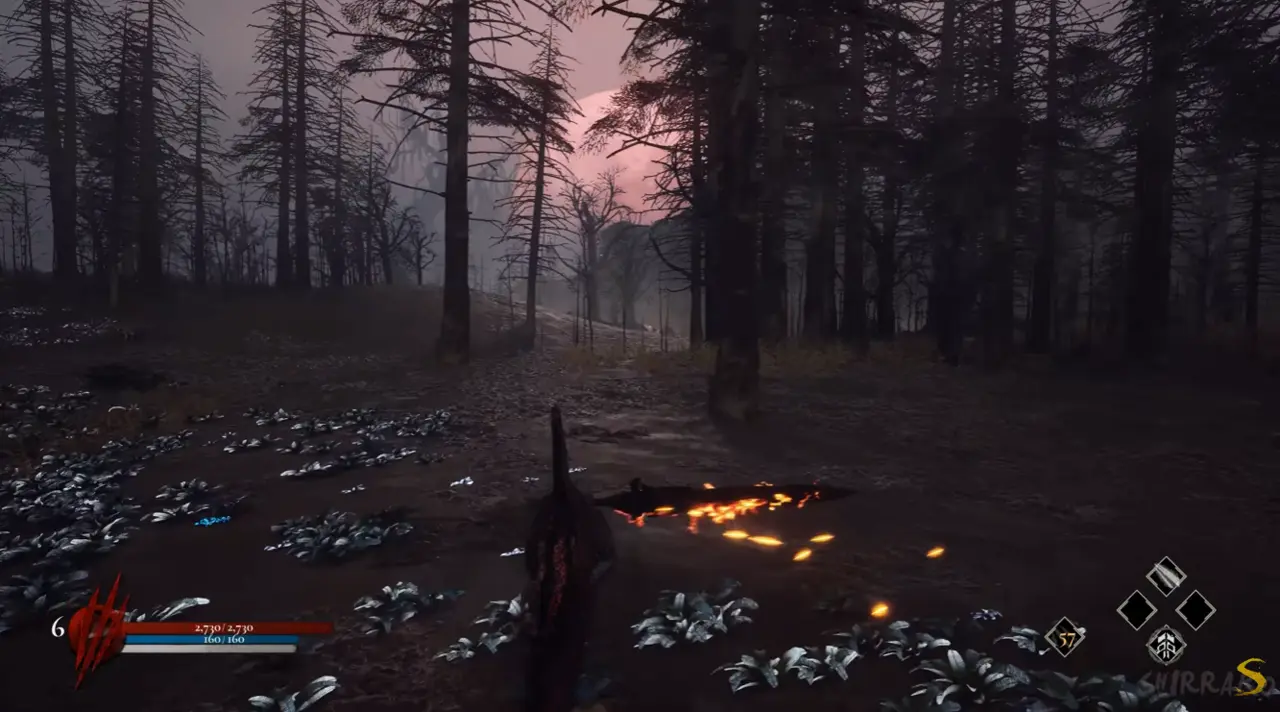
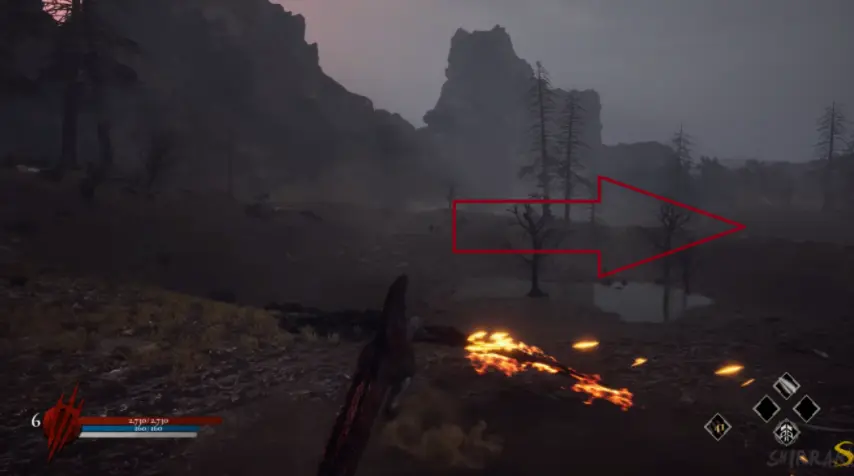
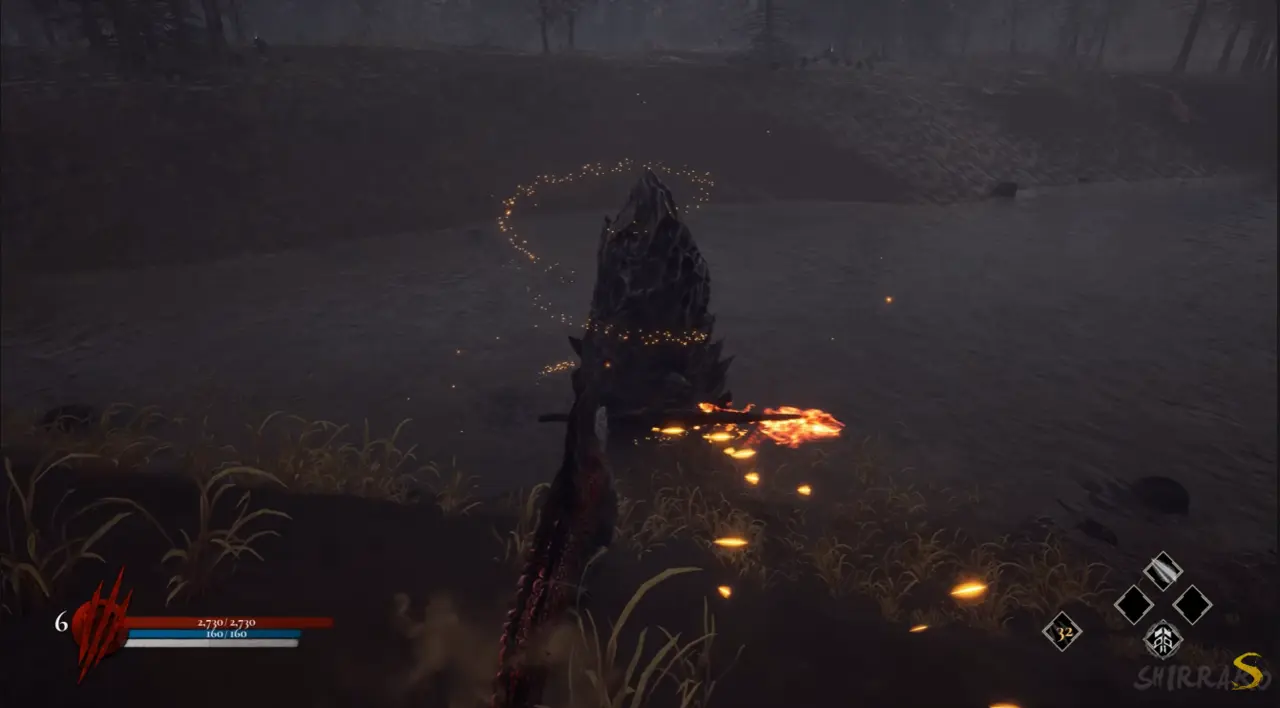
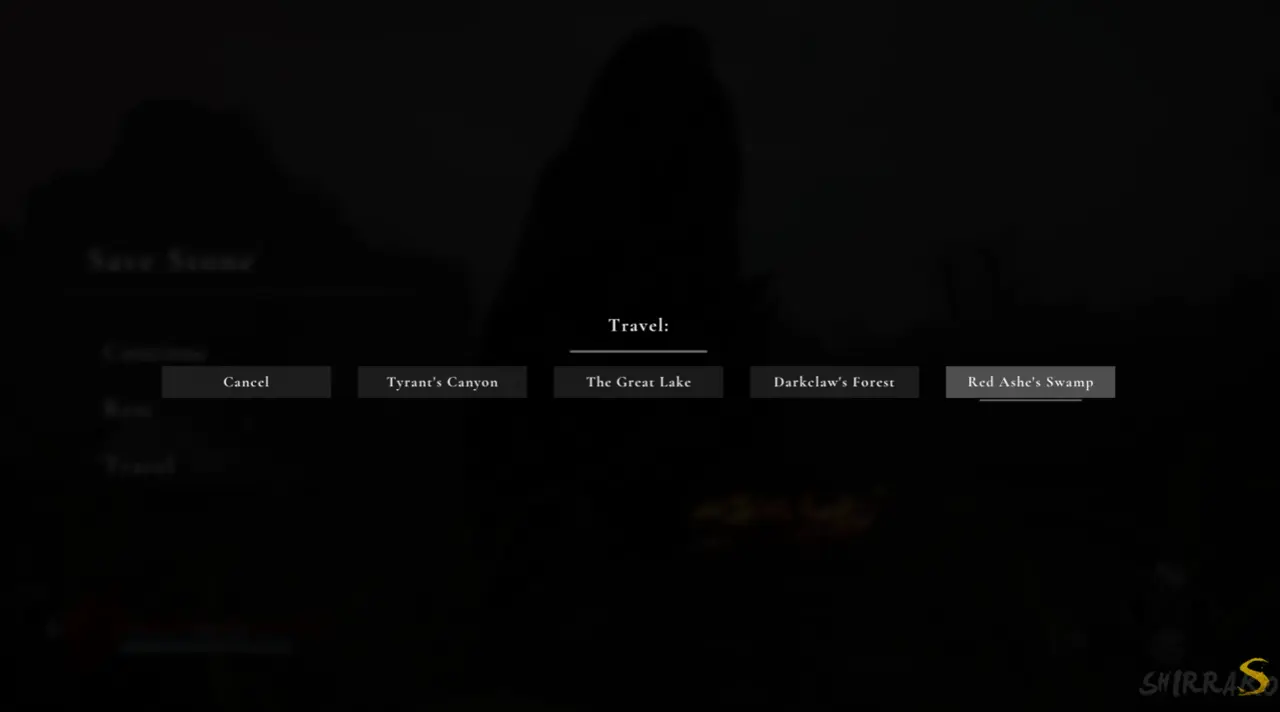
At the location shown below, I make a sharp left and descend the hill to reach a teleporter. It allows me to travel between every biome I have already explored. The Save Stones also provide this travel option.
Head to the Red Lake
I go down the hill, turn right, and pass the dead Brachiosaurus.
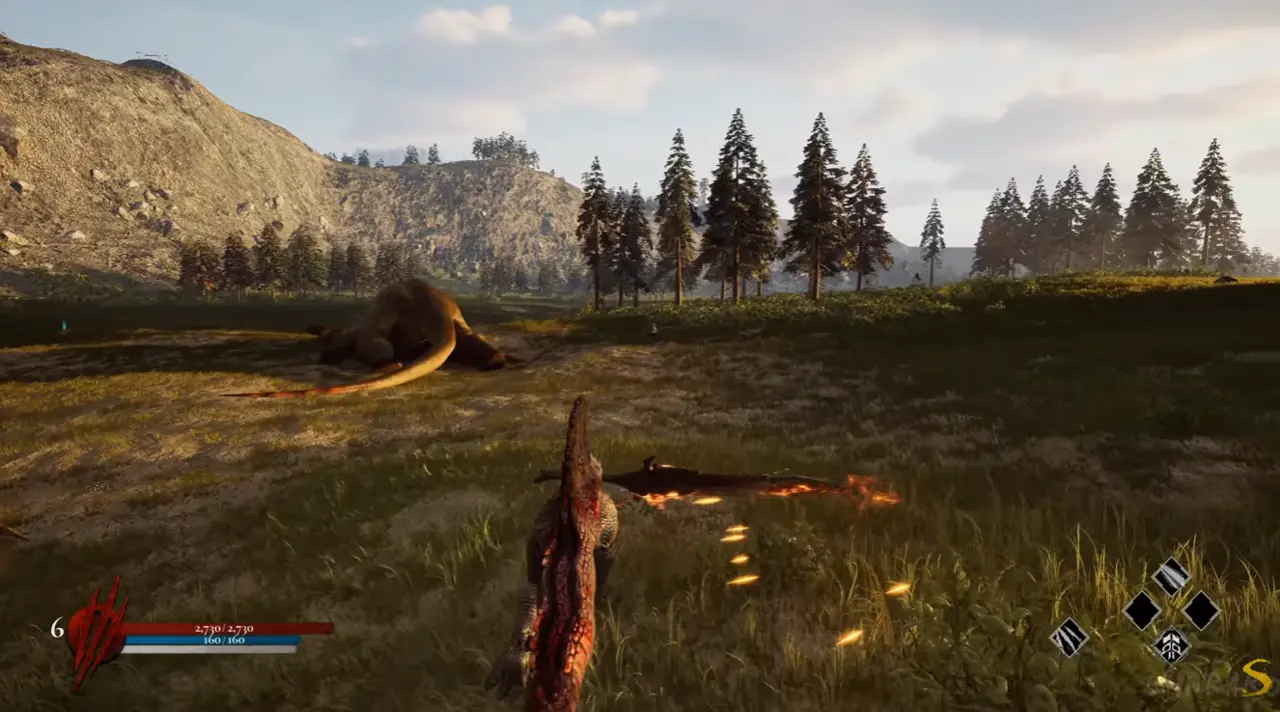
I continue right and stay on the marked paths. Optional enemies are hidden among the trees. When I reach the descending slopes, I find a Save Stone and a boss arena among the rocks in front of it.
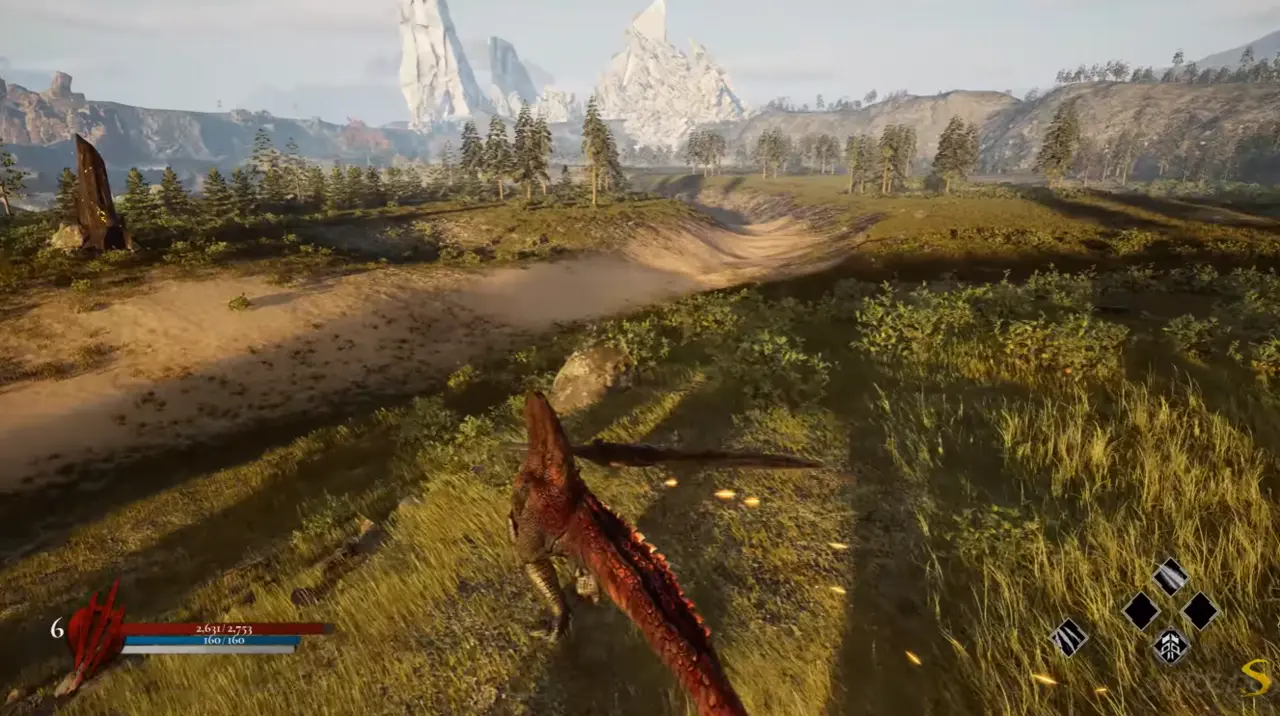
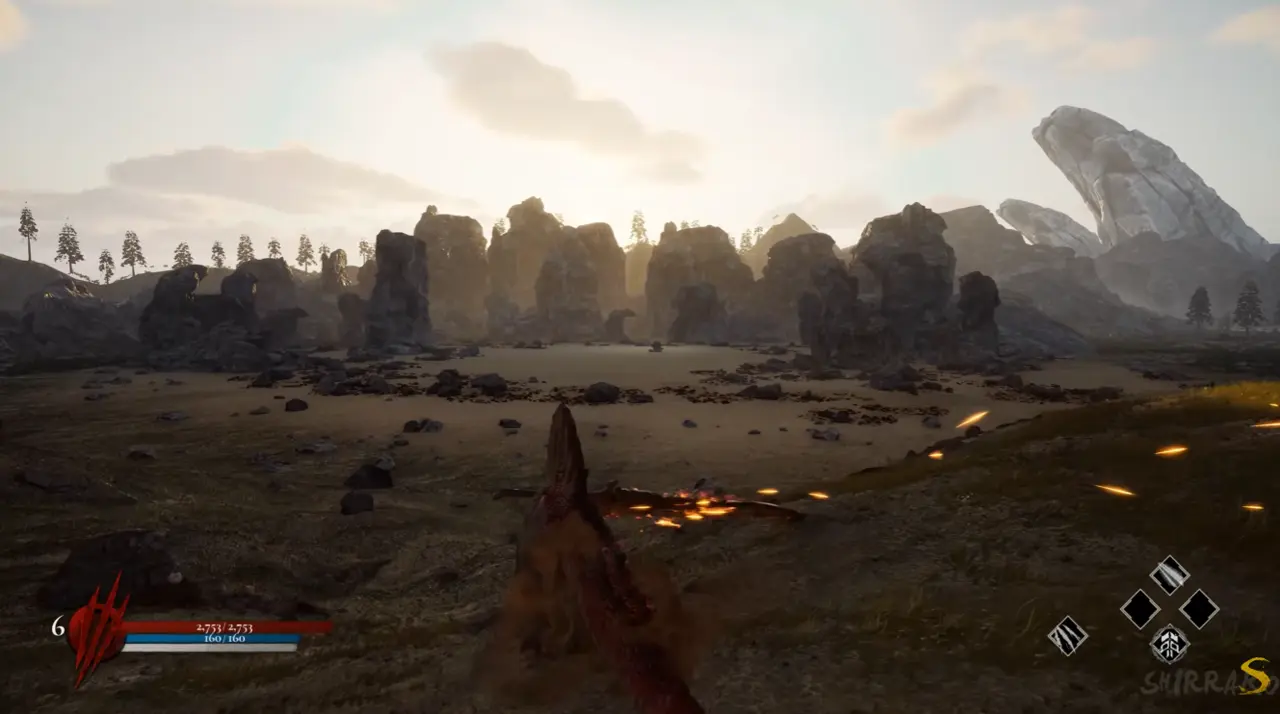
Boss Fight: Tank
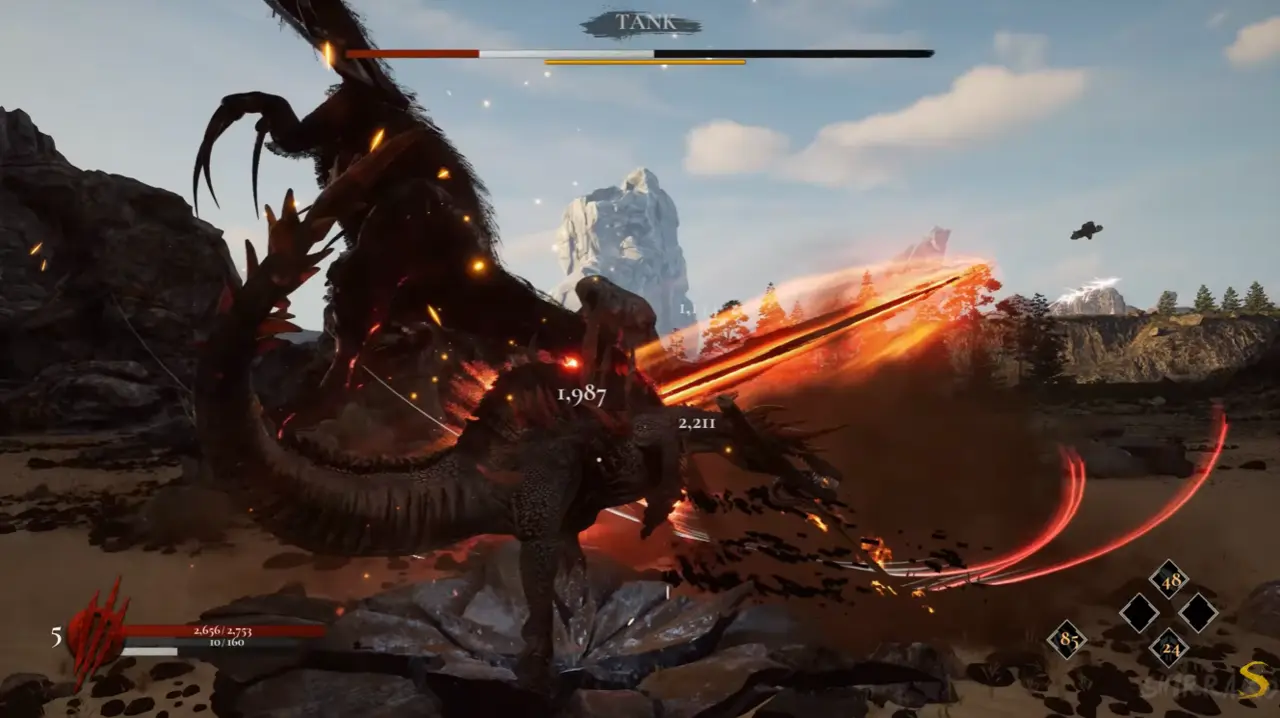
Tank is an Ankylosaurus carrying a spiked hammer. He rolls and spins his full body toward me, but his slow speed makes this one of the easier fights in the route. Defeating him unlocks Tank as a summon.
I leave the rocky enclosure on the left. Another Save Stone appears ahead, but I ignore it for the moment.
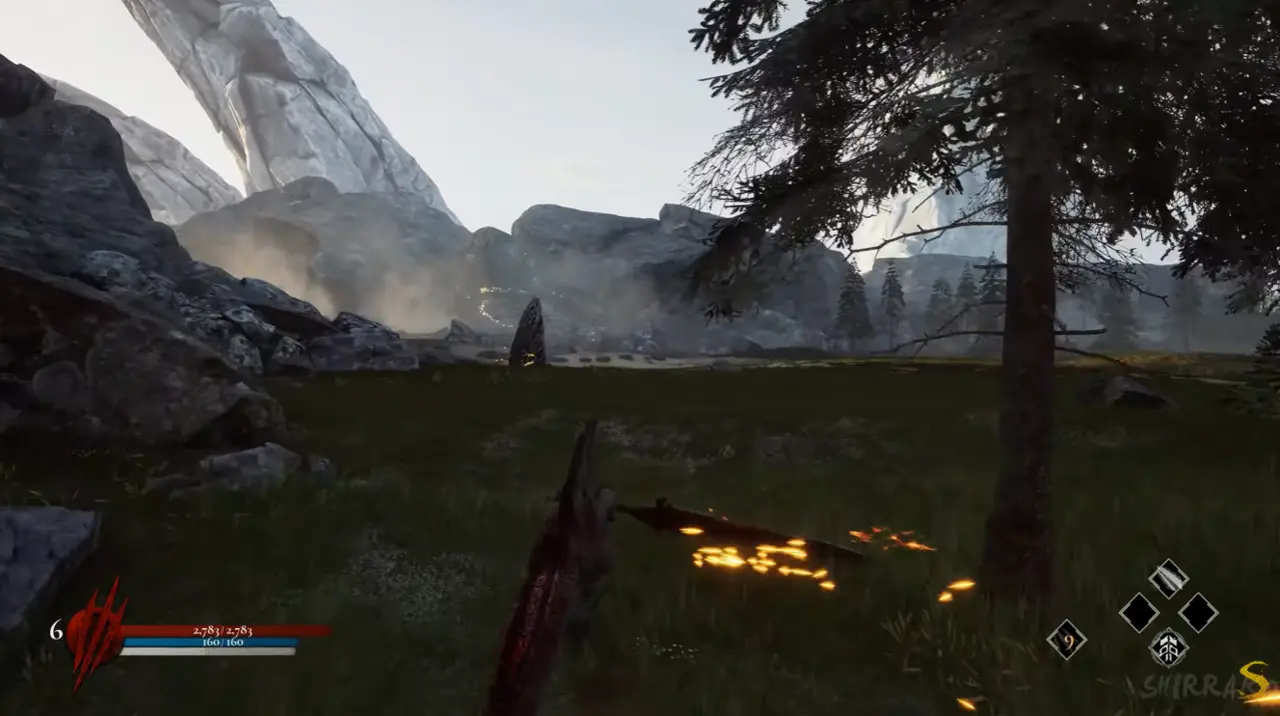
Instead, I turn right and reach a different Save Stone beside another boss encounter.
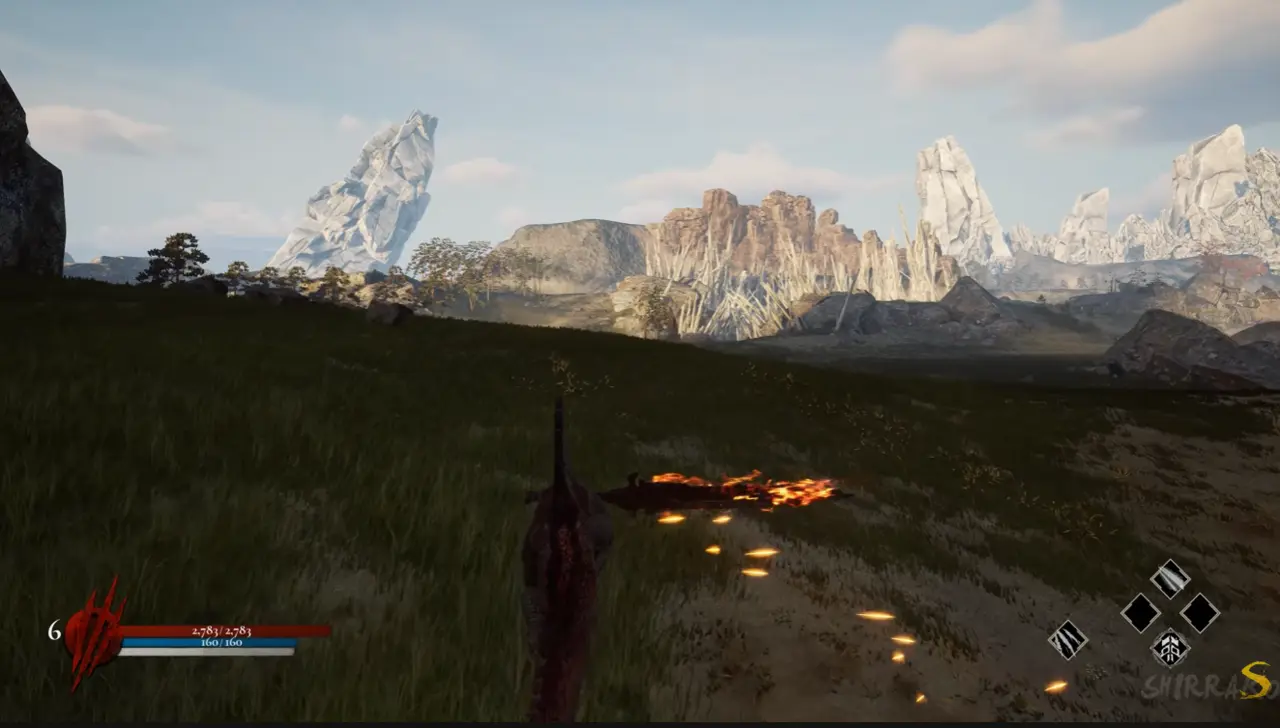
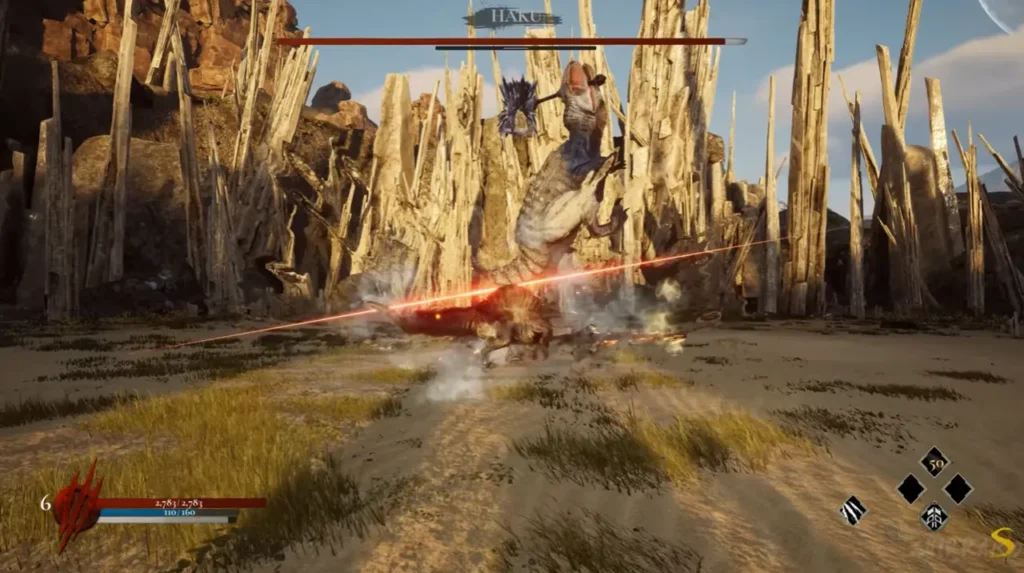
Boss Fight: Haku
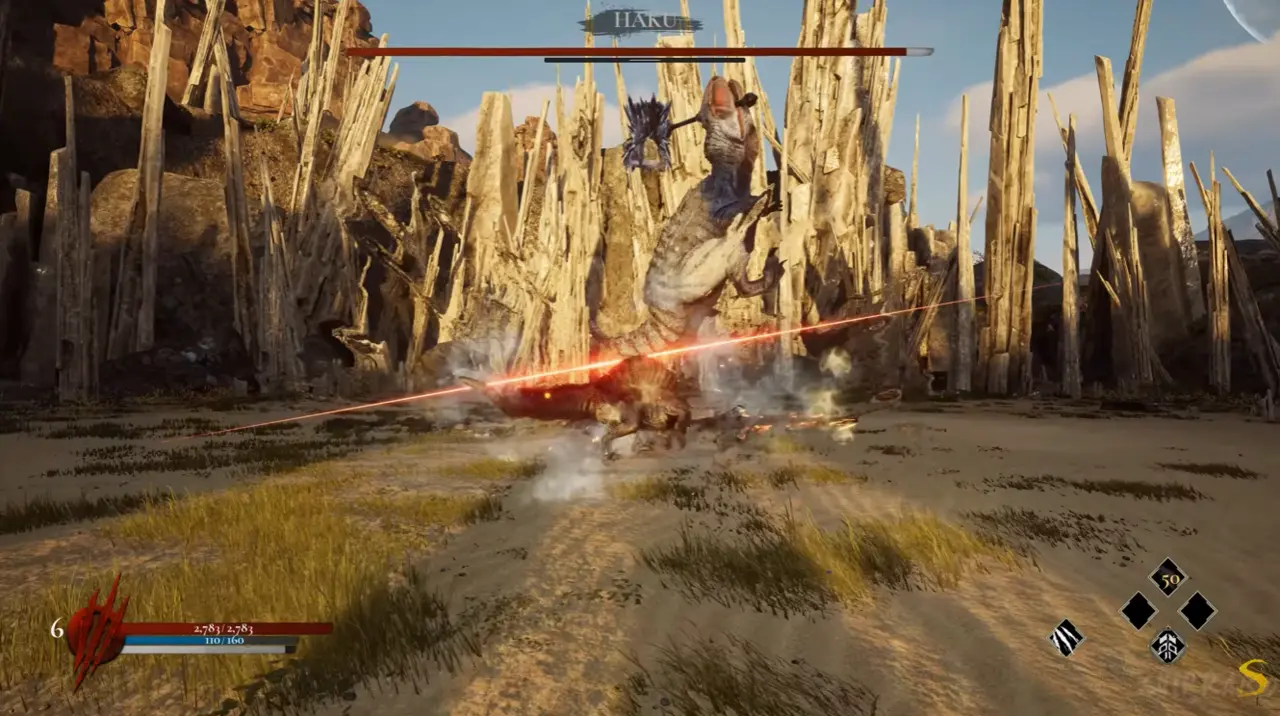
Haku is a Tarbosaurus carrying a spiked mallet. He spins and smashes the weapon into the ground. When he begins charging an attack, I create distance and wait for the strike to finish.
After defeating Haku, I use the Save Stone to travel back to Red Ashe’s Swamp. On arrival, I turn left and follow the route, fighting optional dinosaurs when desired.
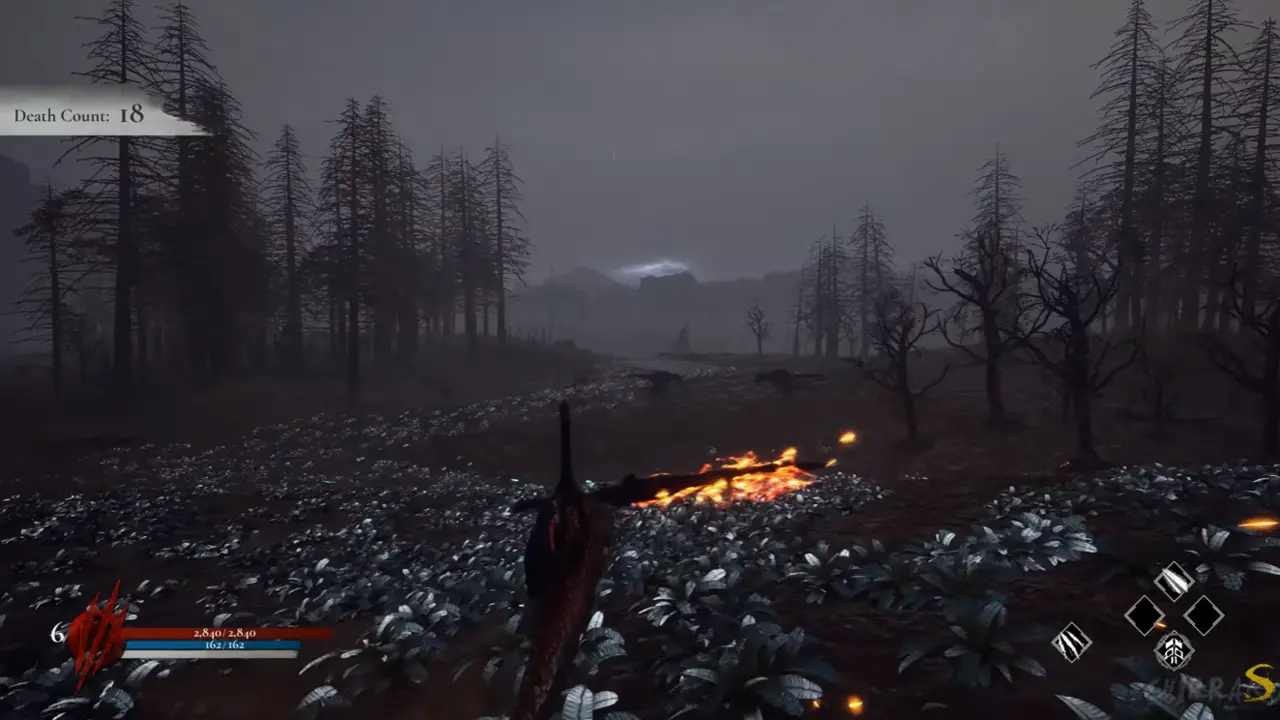
I continue forward, then turn right beside the lakes. More Save Stones appear ahead.
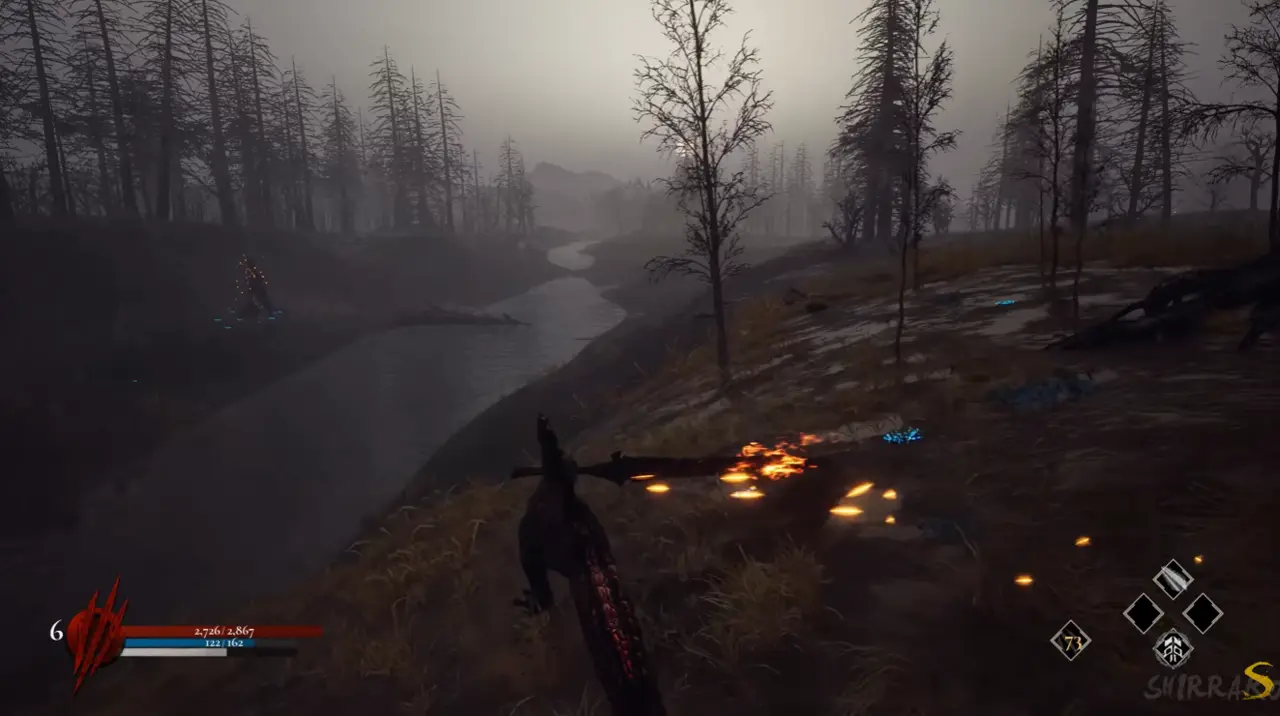
I enter the woods behind the Save Stone.
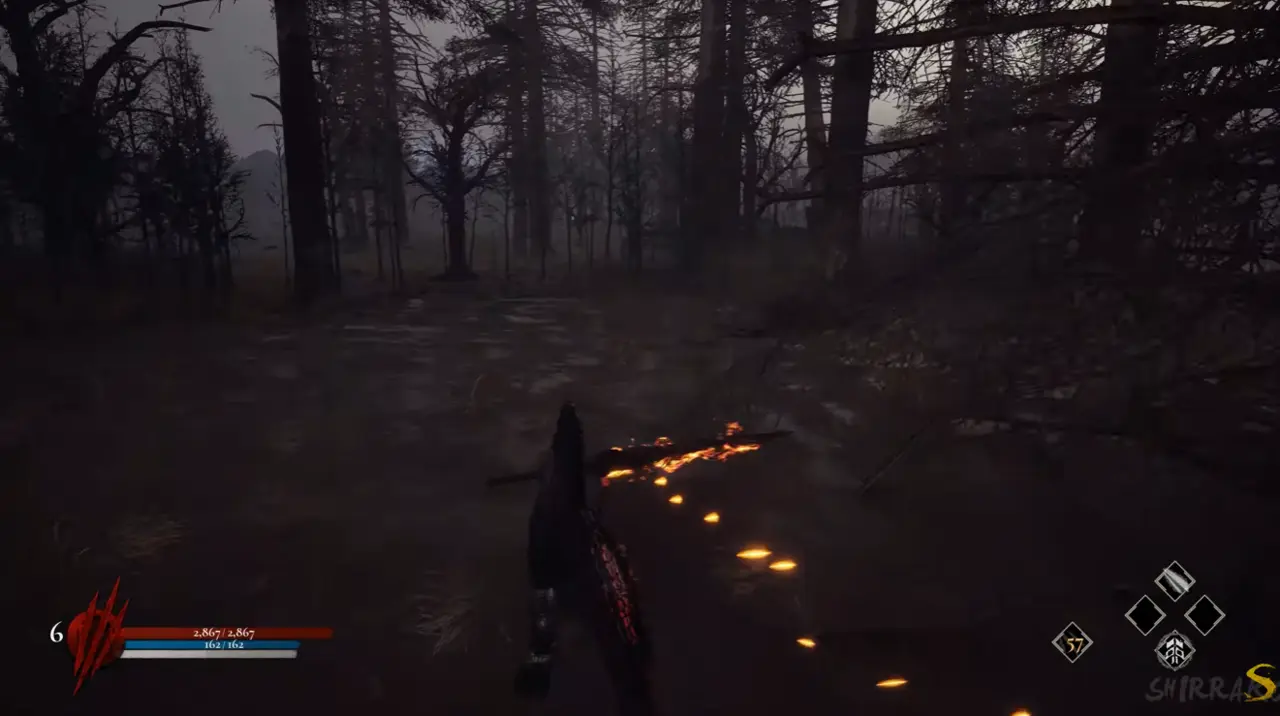
On the left, I find a dead Europasaurus guarded by a scythe-wielding Carnotaurus.
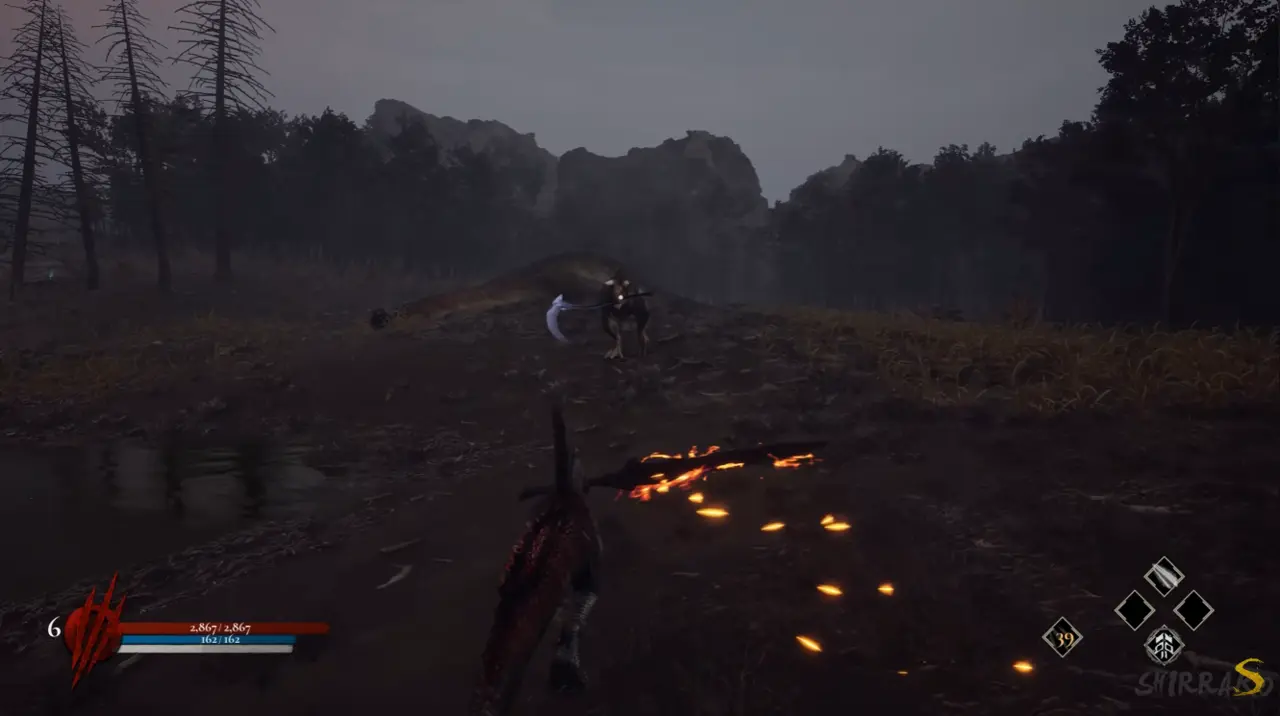
After checking the location, I turn back.
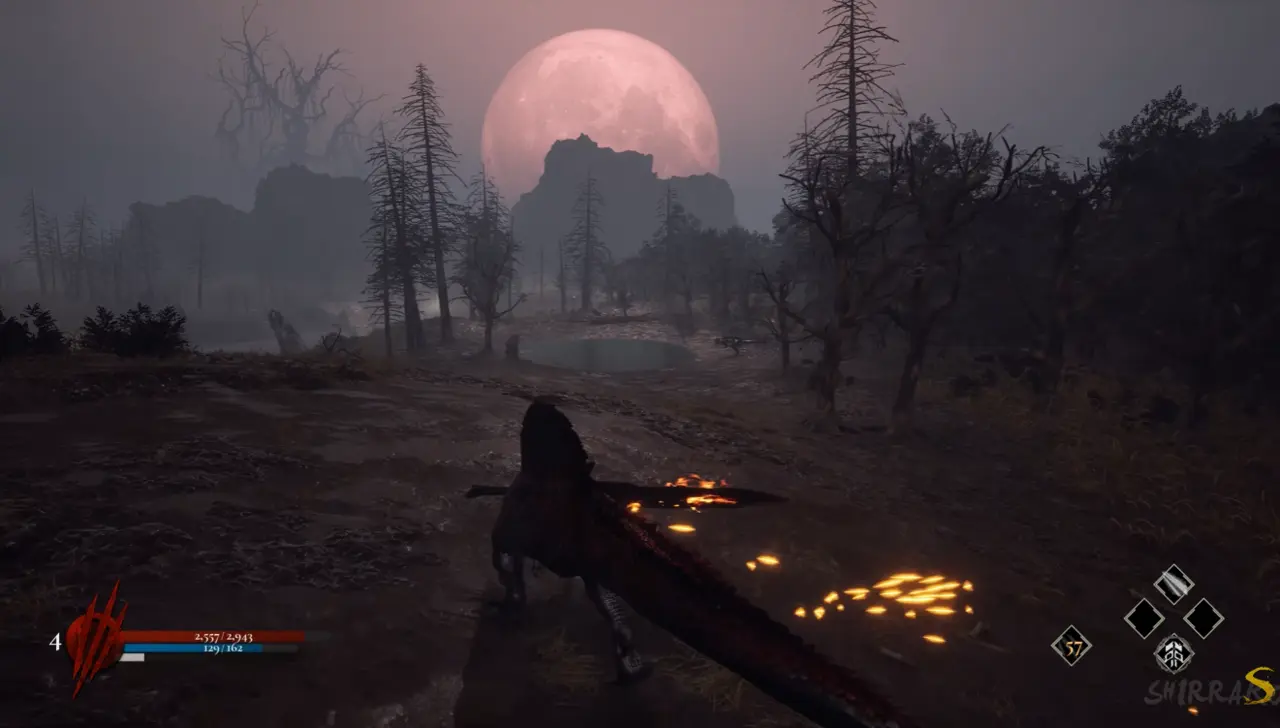
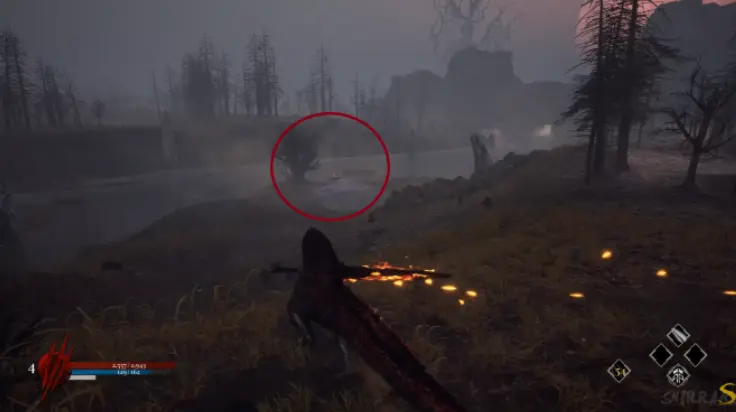
I descend the slopes and approach the tree, where the next fight begins.
Boss Fight: Red Ash
Ash carries a fire sword and attacks with fast, powerful swings. He charges around the arena before finishing with a heavy downward strike. I stay out of range during the sequence and move in after the final blow.
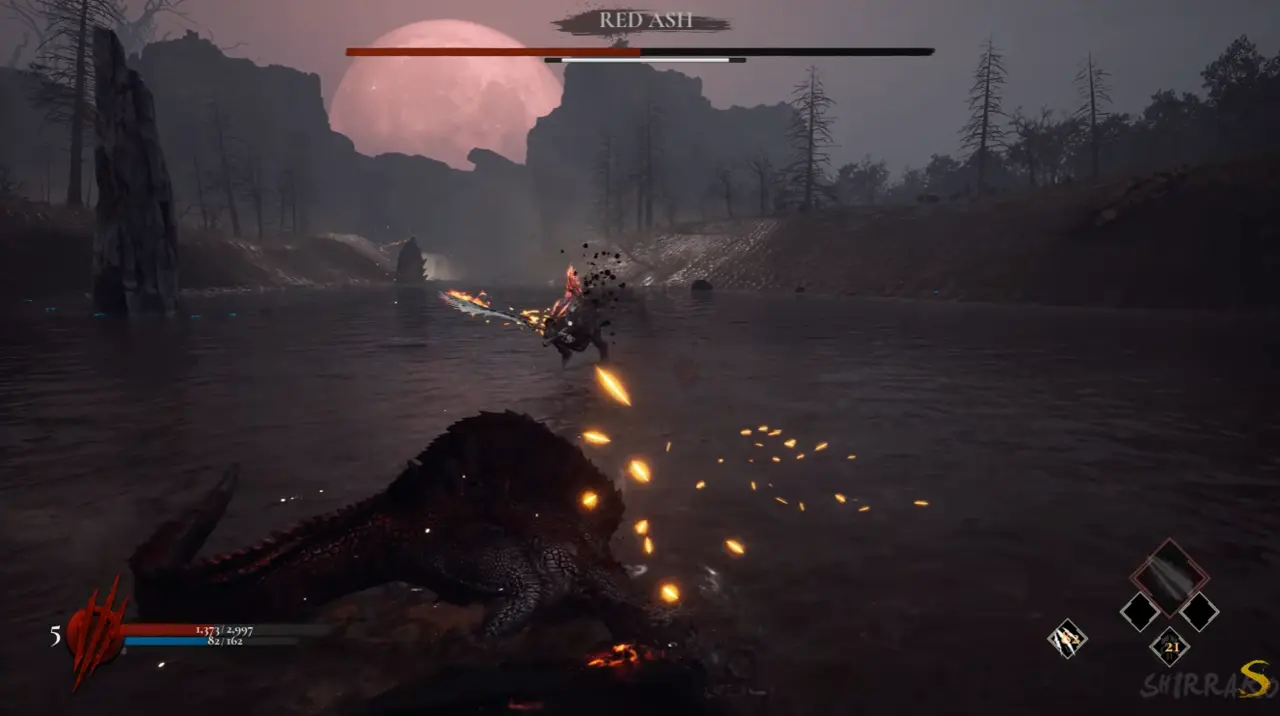
After the victory, I move backward and follow the rising sun.
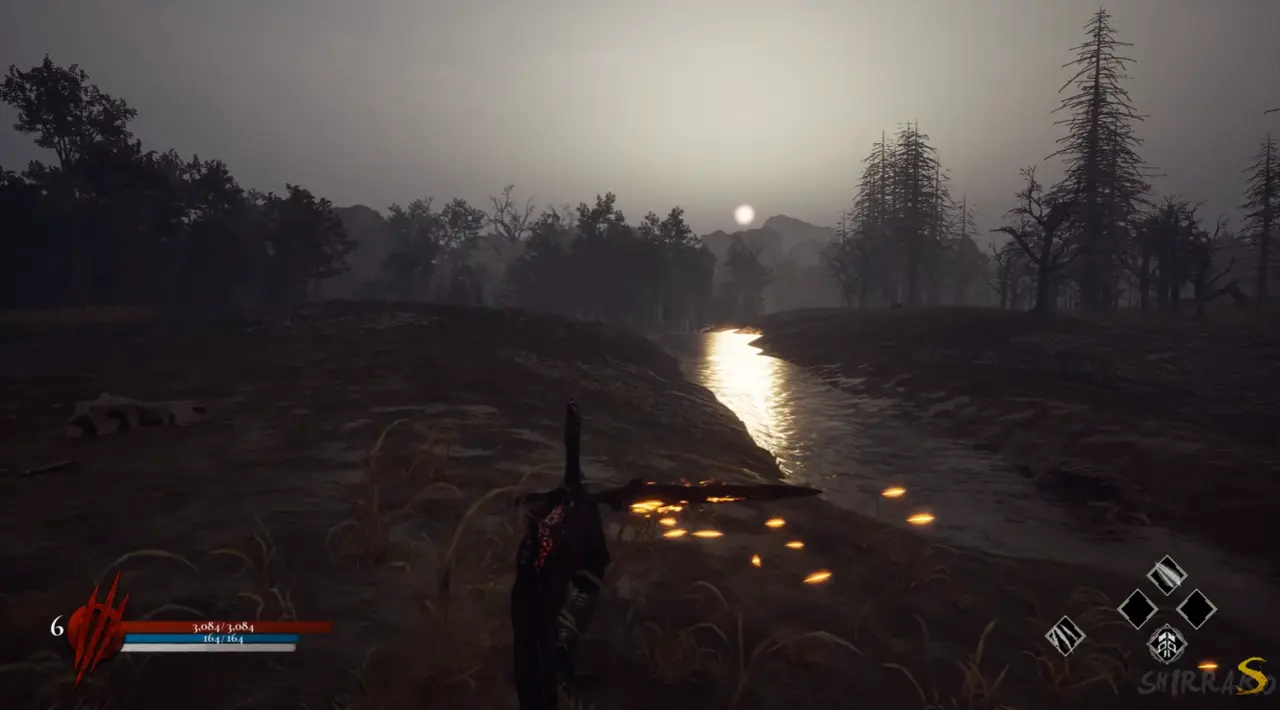
Deeper in the forest, I locate a sword stone, break it, and collect the weapon.
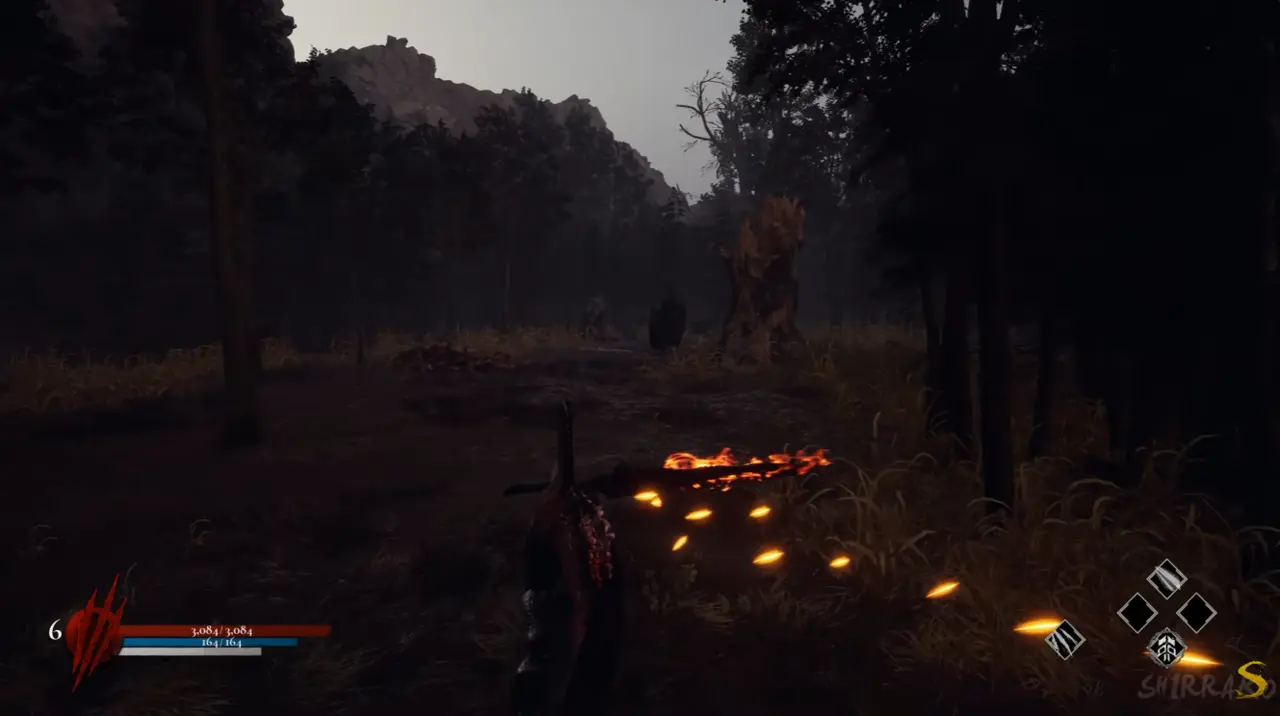
I return from the pickup, turn deeper to the left, and follow the river.
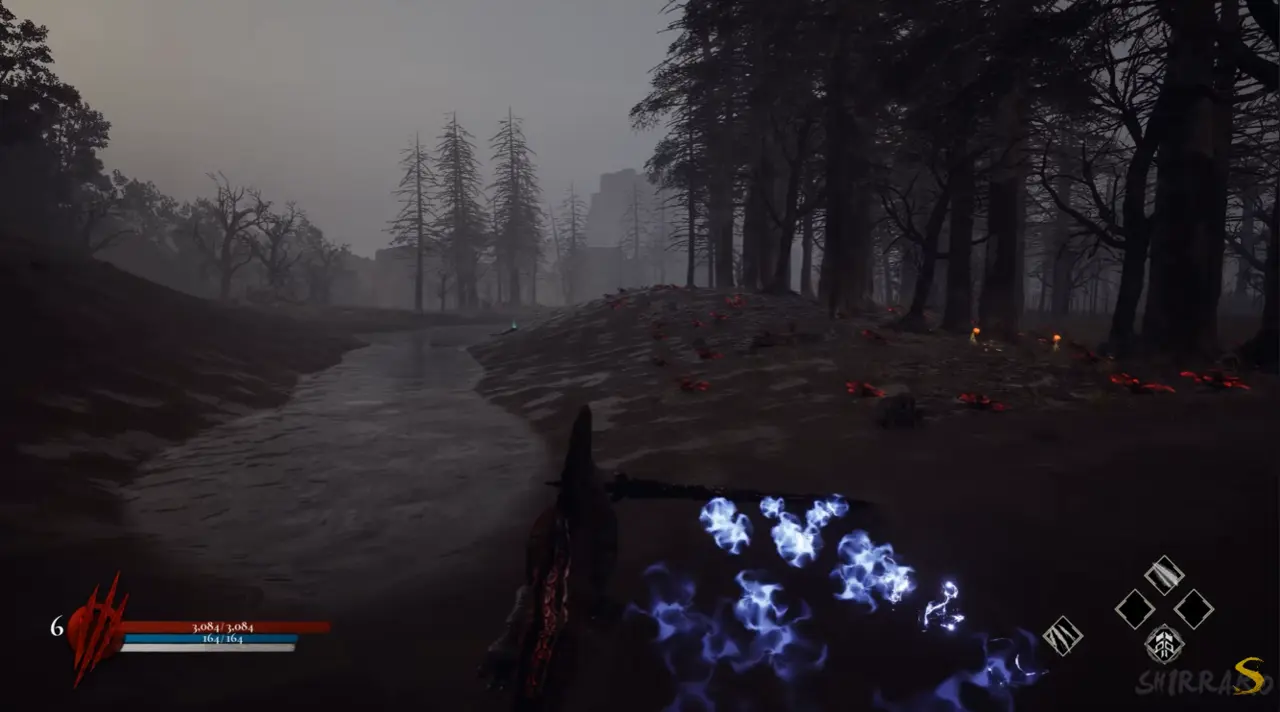
The river brings me back to the fire tree, with a Save Stone directly ahead.
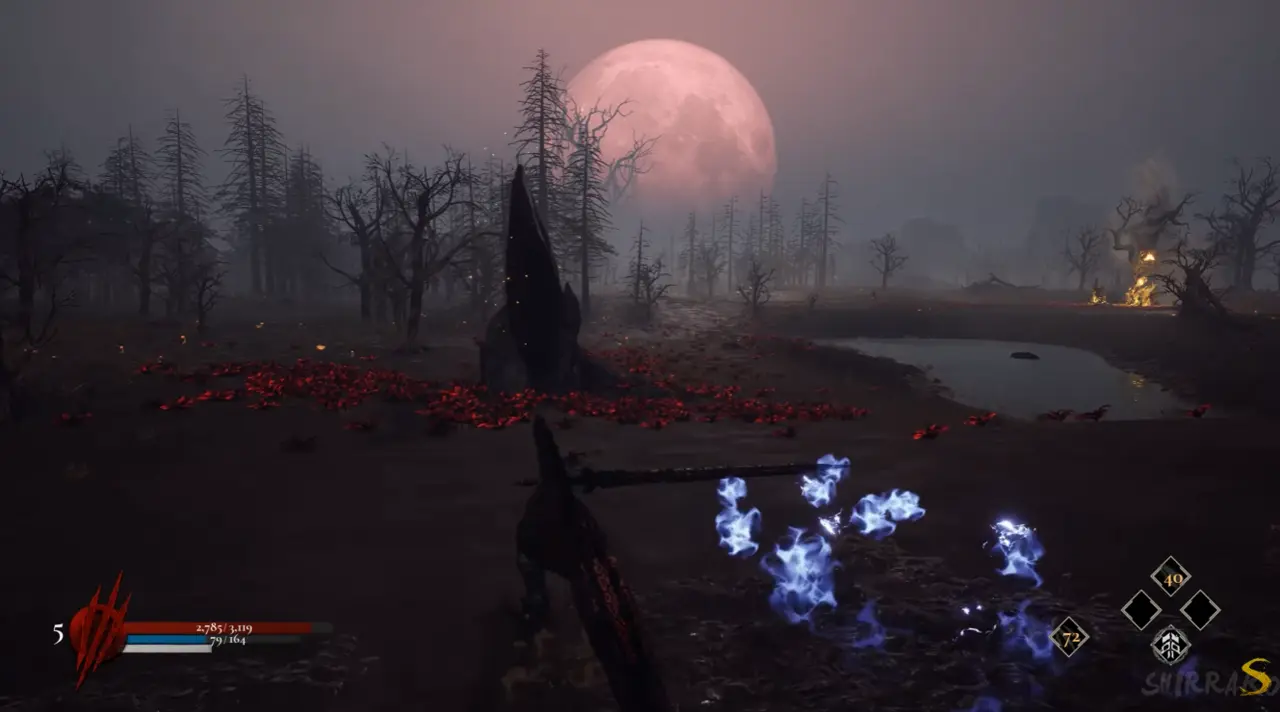
Approaching the tree activates two boss fights at the same time.
Boss Fights: Reaper and Shade
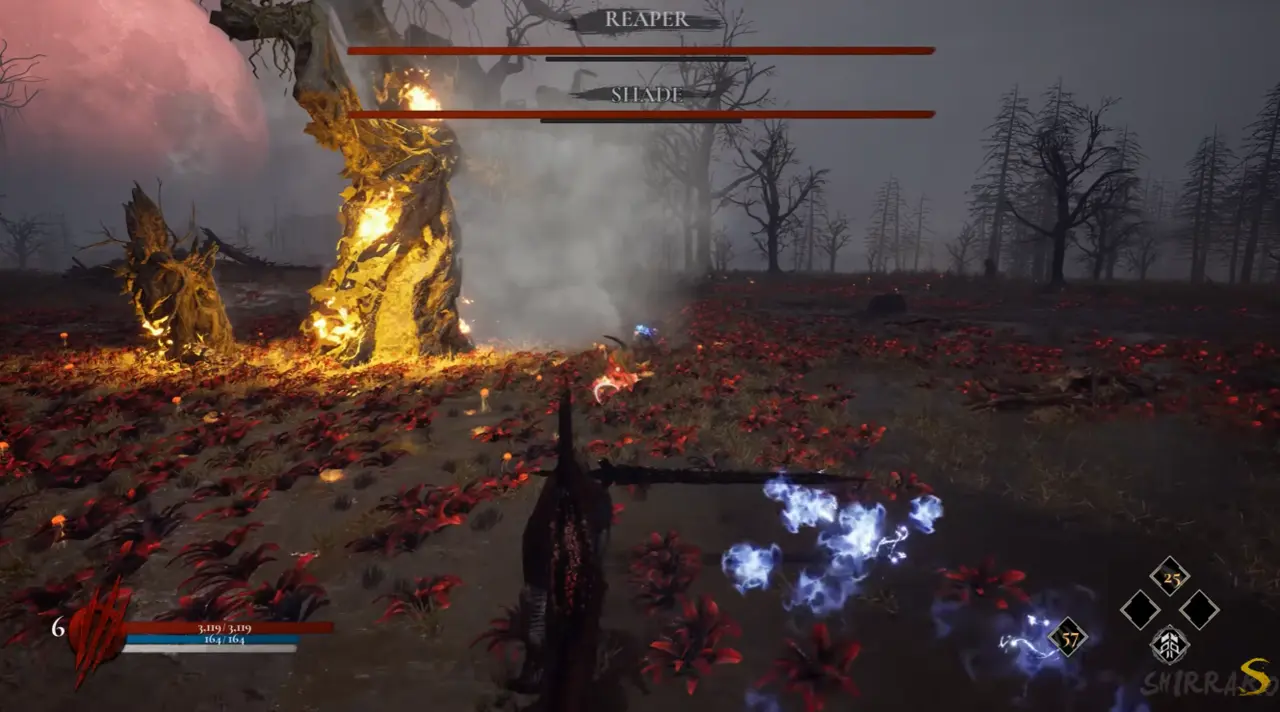
Reaper and Shade are smaller but extremely fast and powerful. Both charge and swing simultaneously, so I focus on one target while maintaining enough distance to watch the other. I avoid splitting my damage between them.
After defeating both bosses, I follow the moon up the hill and reach the Save Stone.
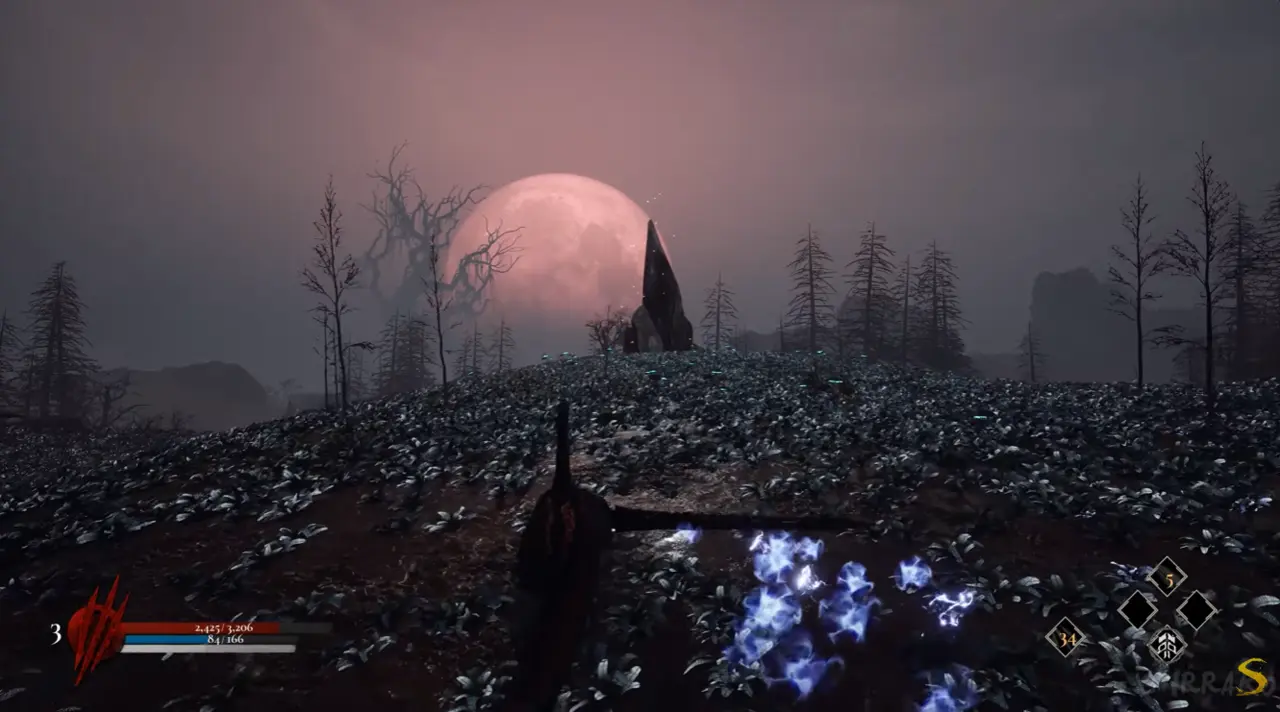
I turn left, continue to another Save Stone, and enter the boss arena behind it.
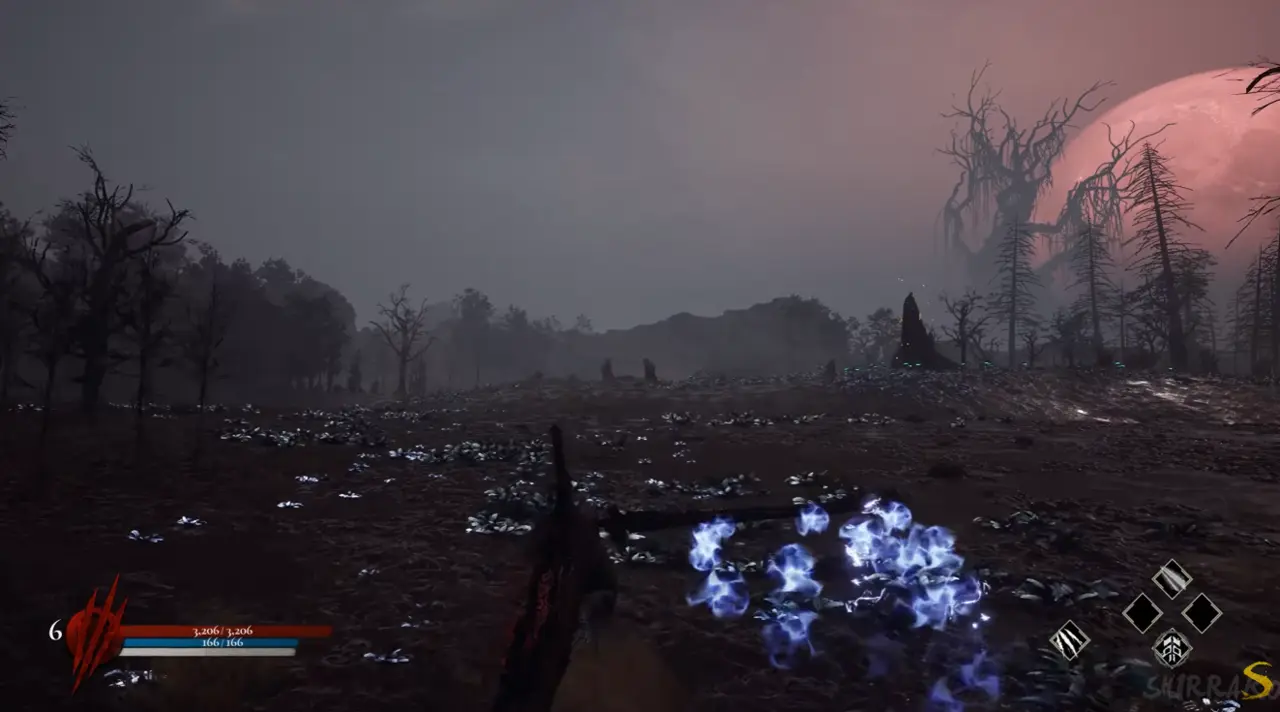
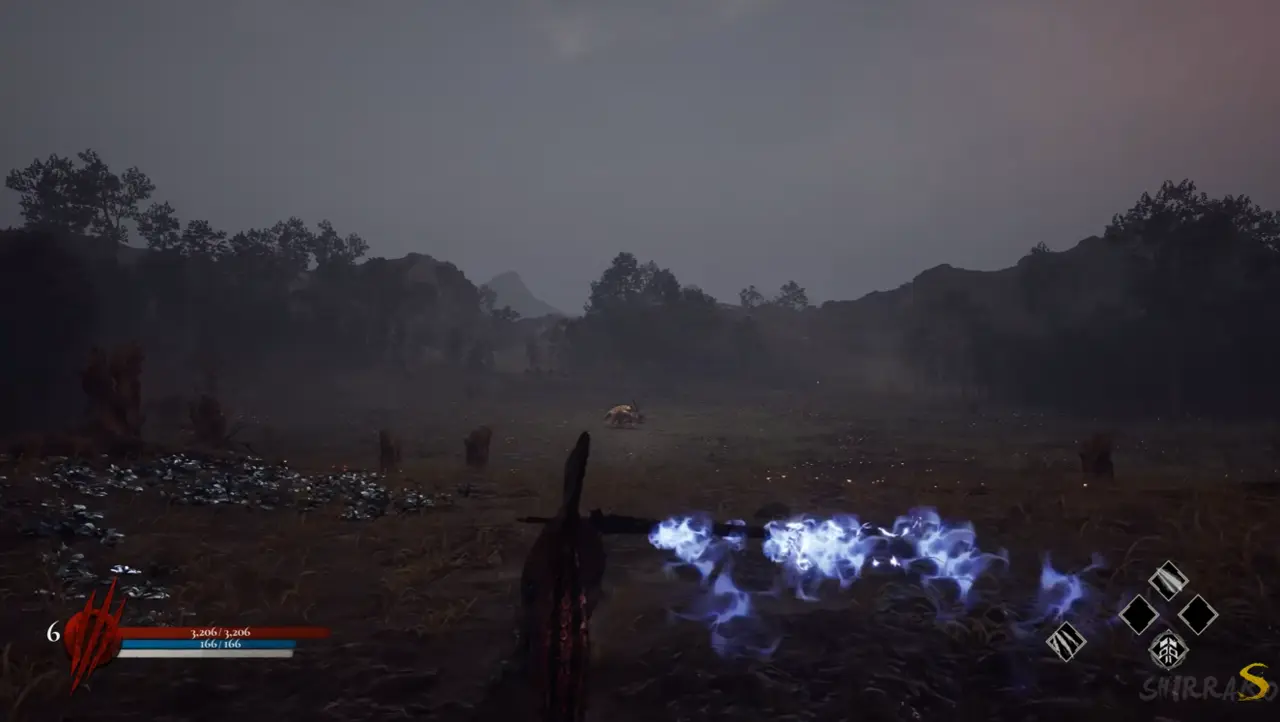
Boss Fight: Horn
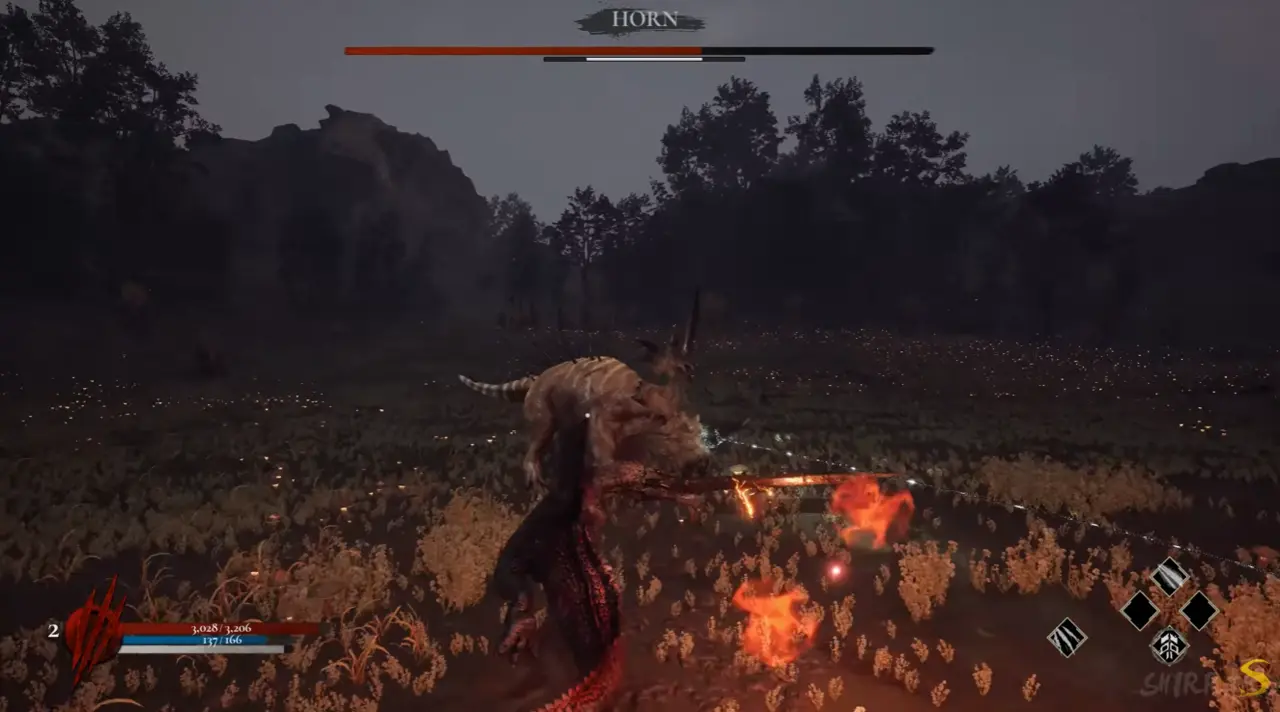
Horn is a Lokiceratops with a laser attack. He spins and projects lasers across the ground. I avoid the beams and the physical swings, then attack during the openings.
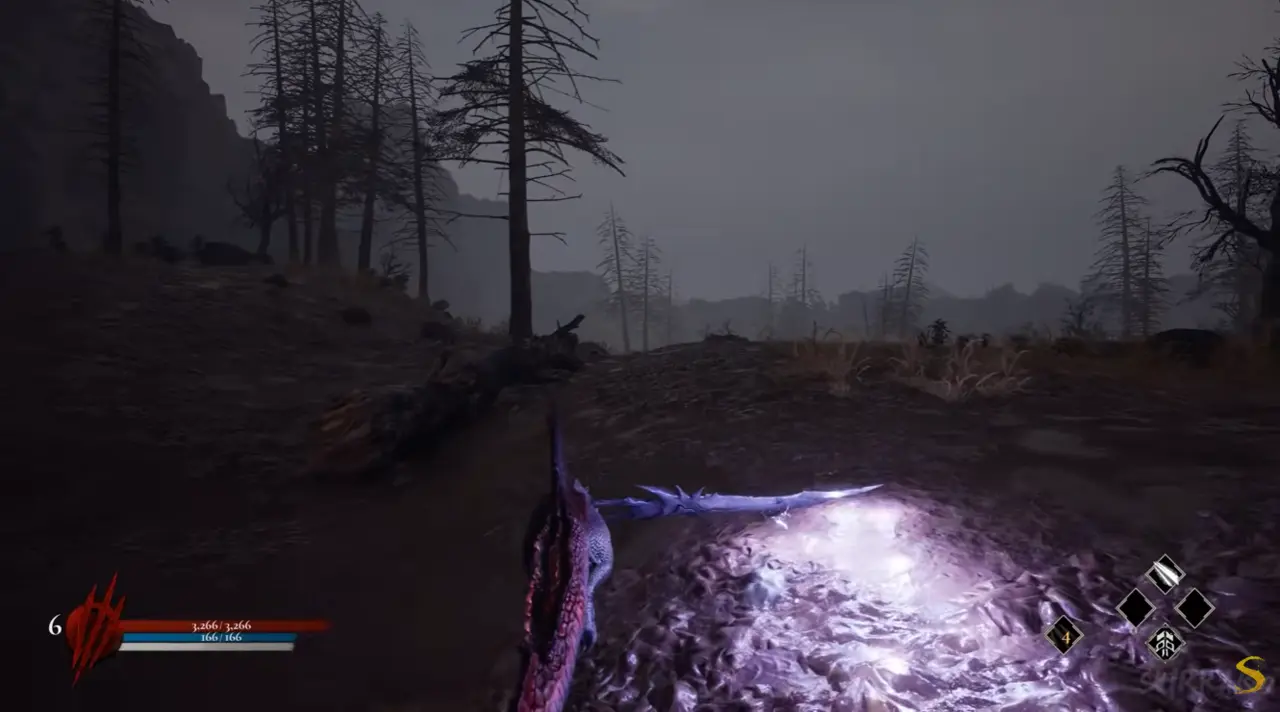
After defeating Horn, I move past the stone that stood before the arena and enter the woods. At the river, I turn left and swim through the arch to trigger a cutscene.
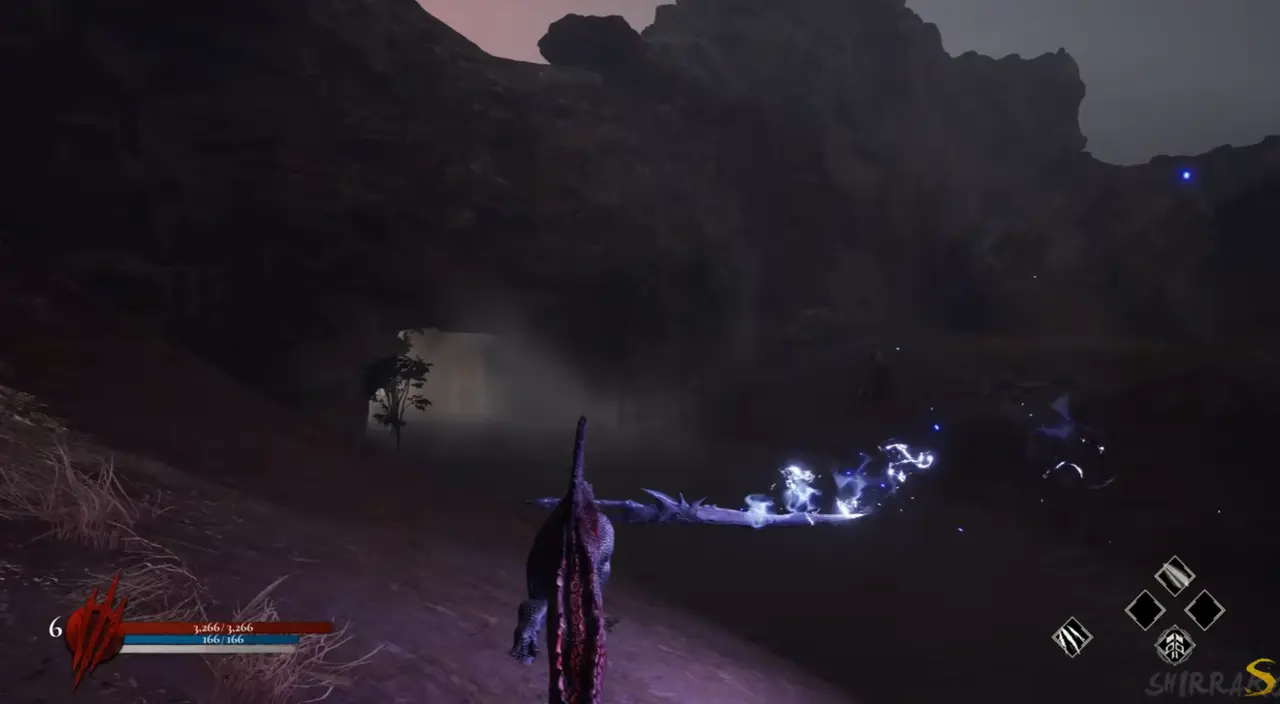
Dinoblade Complete Walkthrough Part 3
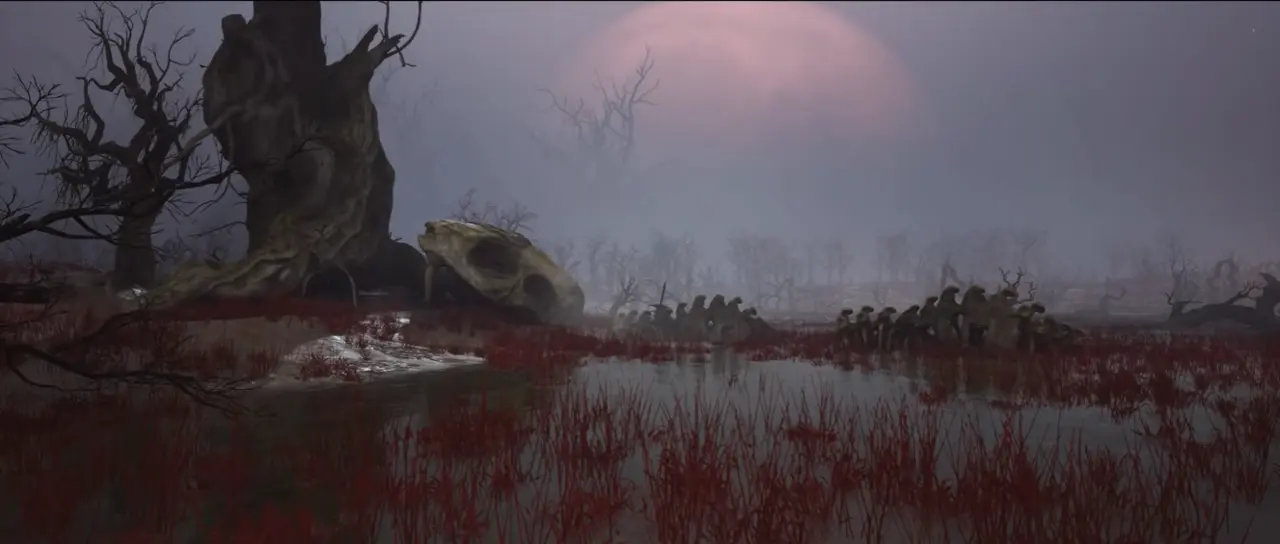
Boss Fight: Akai Tsuki, the Blood Moon
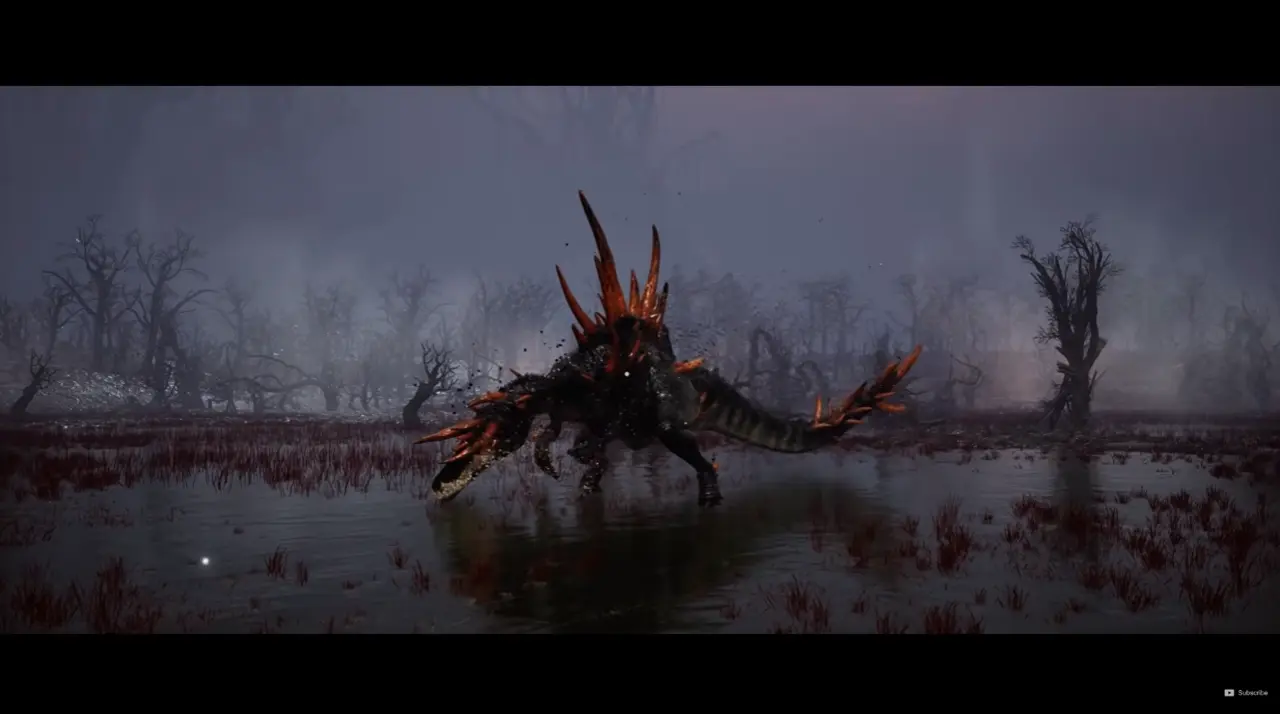
Akai is the final Alpha encountered in this walkthrough. He attacks constantly with swings and aggressive rushes. I maintain distance during the pressure and charge in only when a safe opening appears.
Boss Fight: Akai Tsuki, True Form
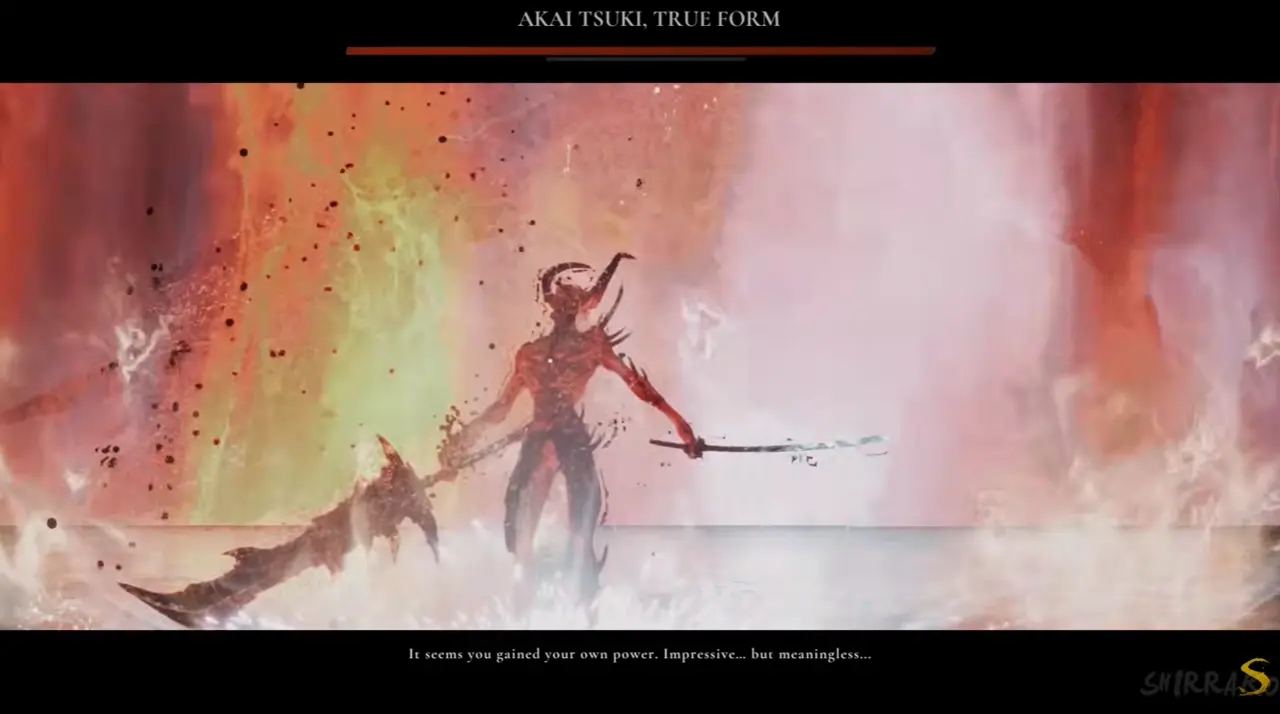
In his True Form, Akai uses two katanas. He attacks with rapid slashes and overhead strikes, and he can launch fireballs from range. I dodge around the sword chains, use melee attacks when the animation ends, and avoid remaining still at distance.
After I defeat him, a cutscene states that the true master was me. I collect the final sword, and another cutscene begins.

Snow Crater
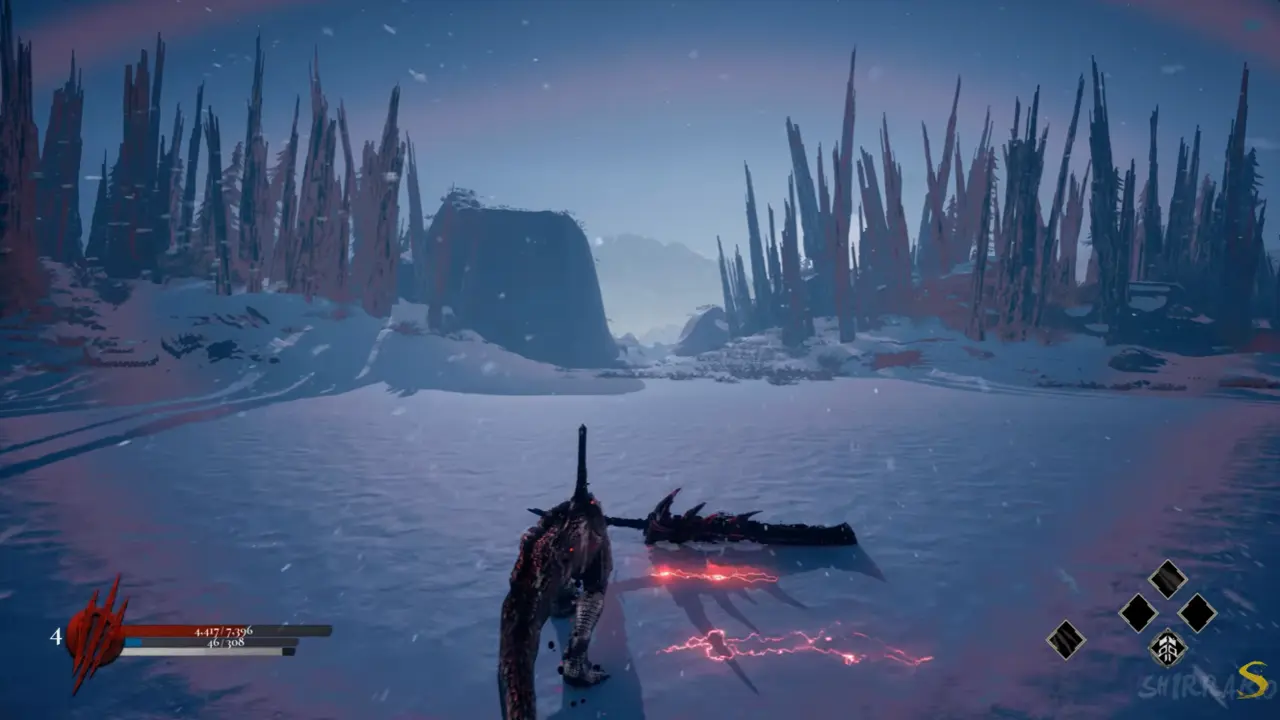
I wake in the snow biome with a Save Stone directly ahead. Alamosaurus dinosaurs stand farther away. They are passive, have extremely high health, and reward a large amount of XP, so fighting them is optional.
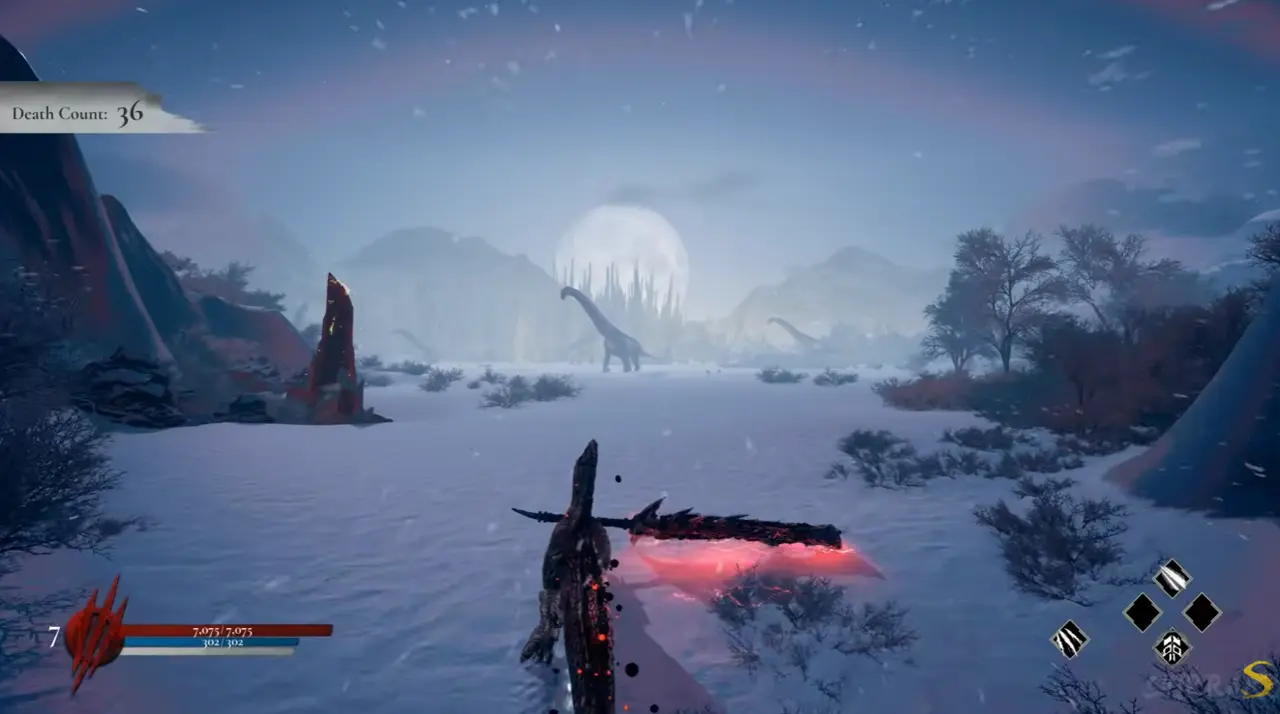
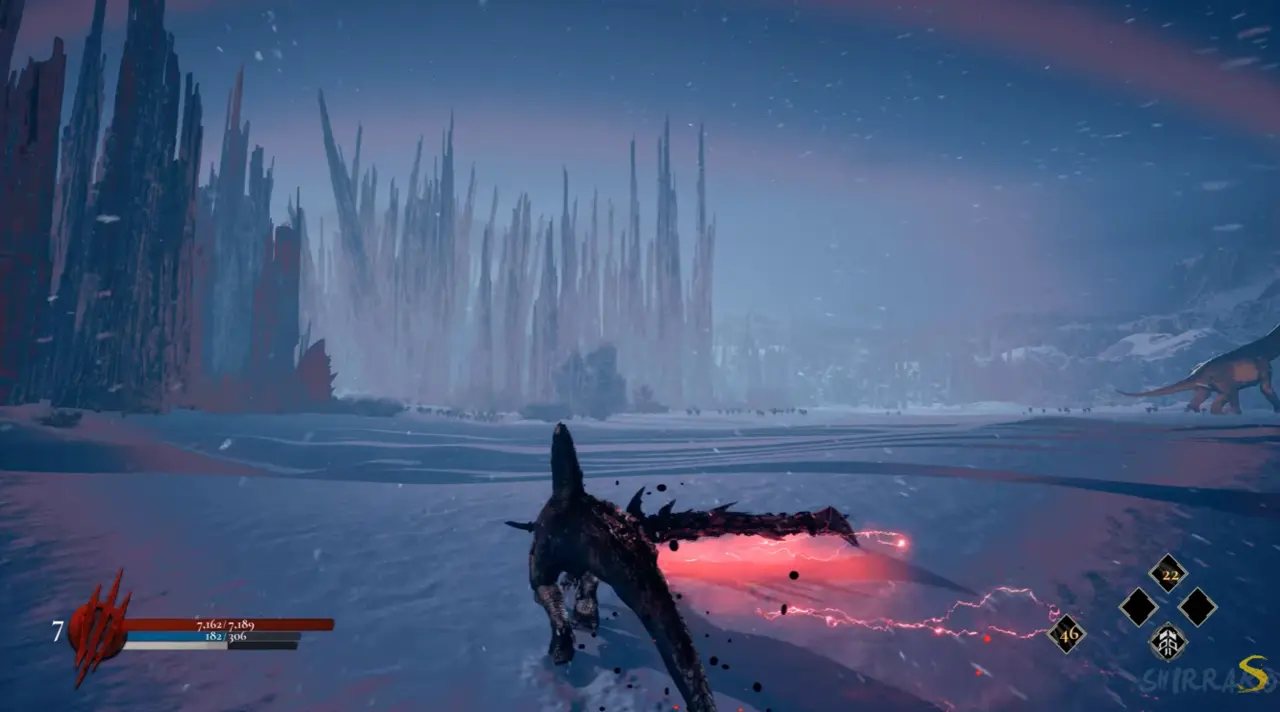
I turn left toward the ice spikes and reach another Save Stone.
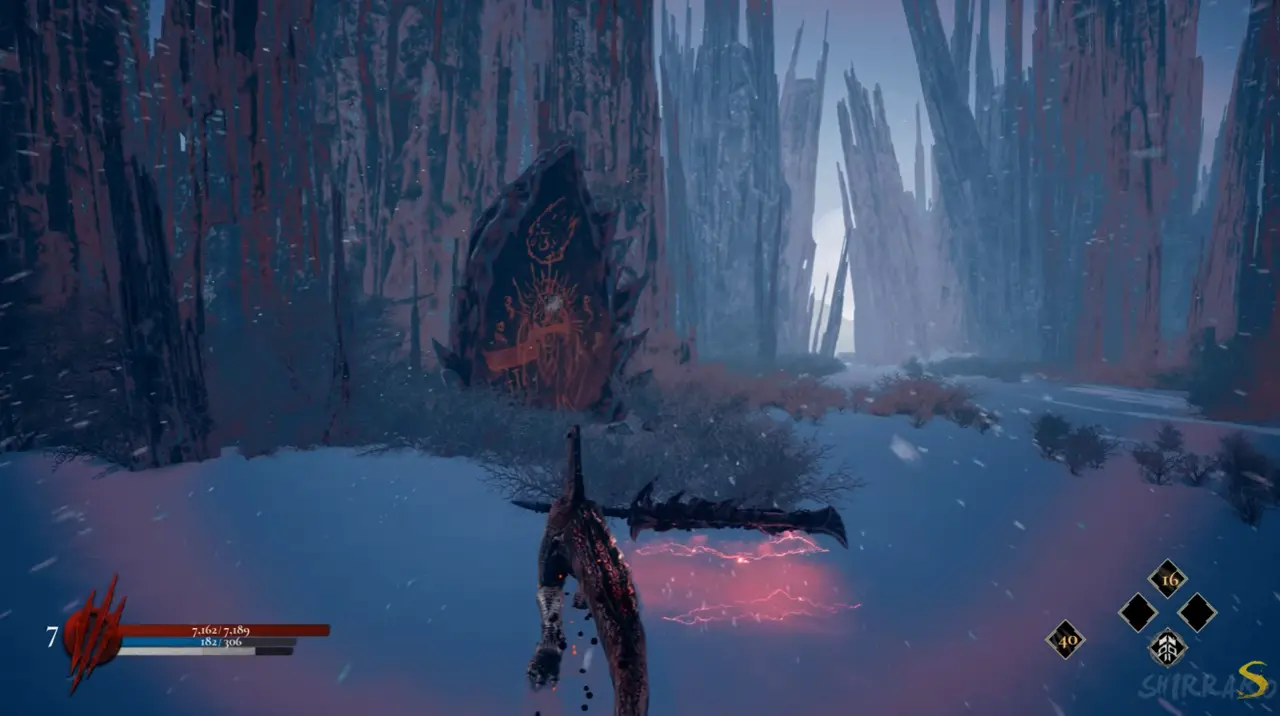
I pass through the ice on the right to trigger a cutscene.
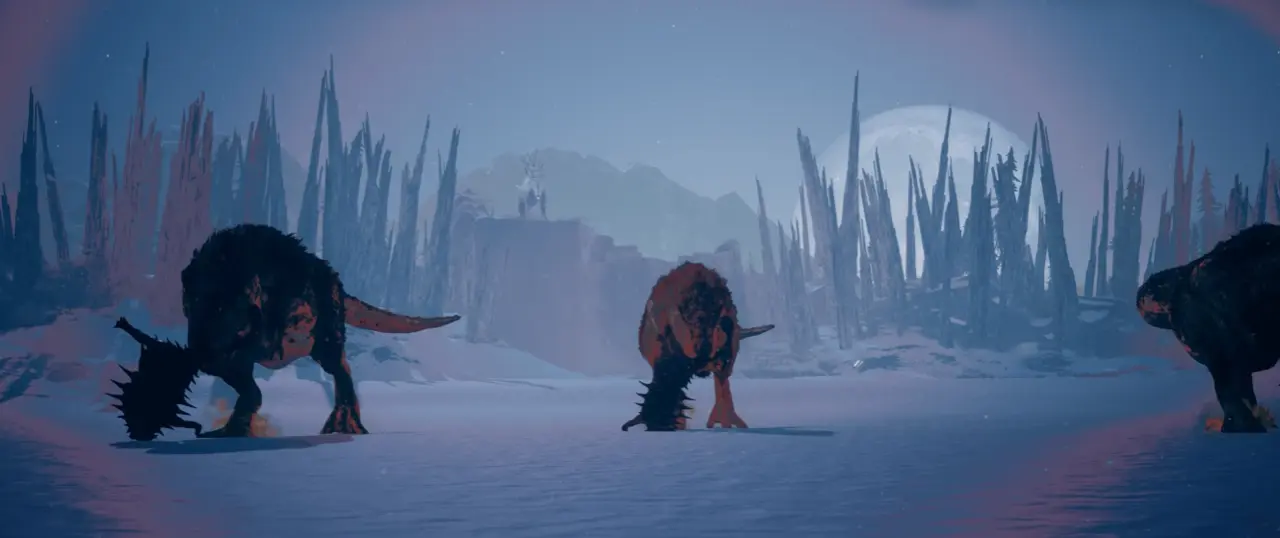
When the cutscene ends, I fight three flaming T-Rex enemies. Each carries an Ankylosaurus as a weapon. Whenever one dies, fireballs fall around the location of its defeat, so I move away from that area before continuing the fight.
After defeating all three, I pass between the ice spikes and the hill, which starts another cutscene.
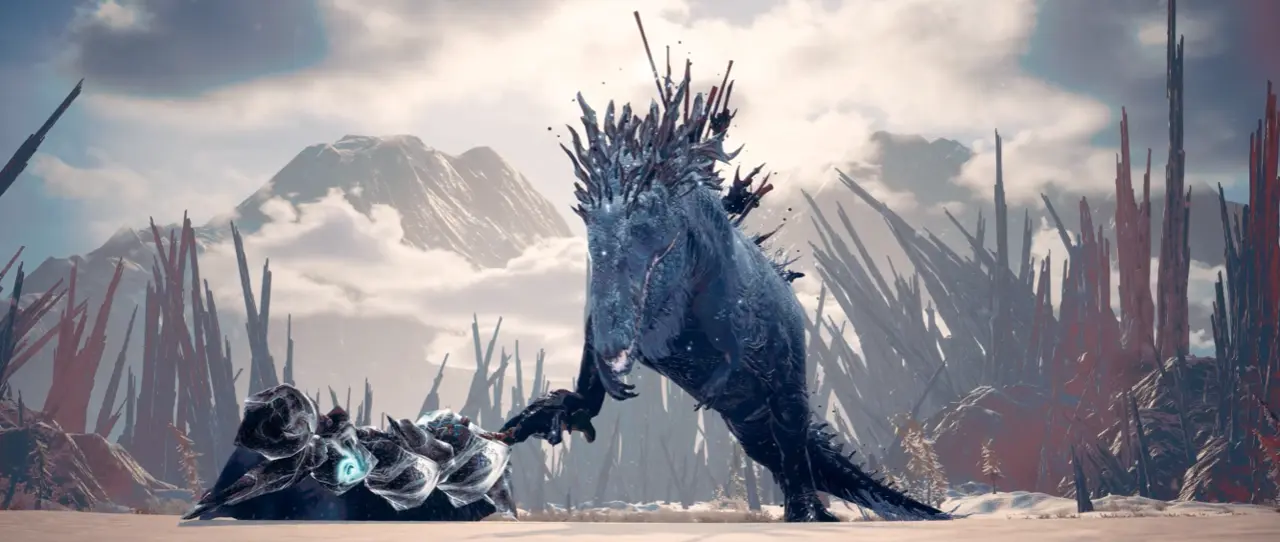
Main Boss: Maakyuurii, the Ice King
Maakyuurii carries an ice cleaver and uses jumps, stomps, spins, and charged swings. I dodge the heavy attacks and spend my abilities carefully instead of using everything before a reliable opening.
Final Boss: Maakyuurii, the Flame Reborn
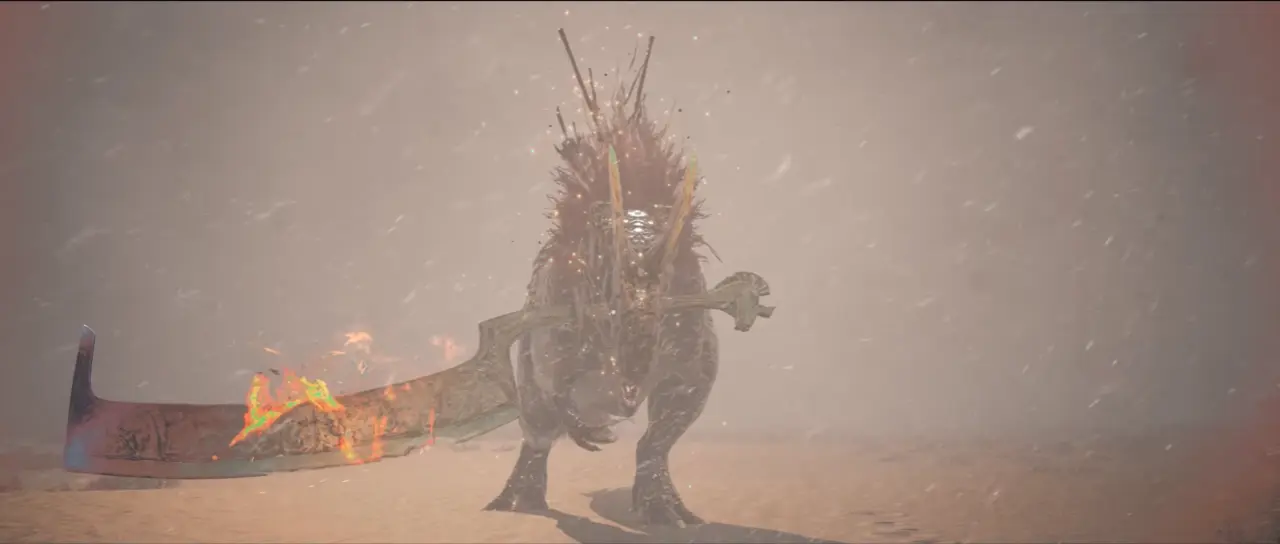
During the second phase, Maakyuurii breathes fire directly toward me. His reforged cleaver is also burning, and he can throw it like a boomerang or send fire strikes across the ground. I avoid the returning weapon and the ground effects before counterattacking.
Defeating him triggers the final cutscene.
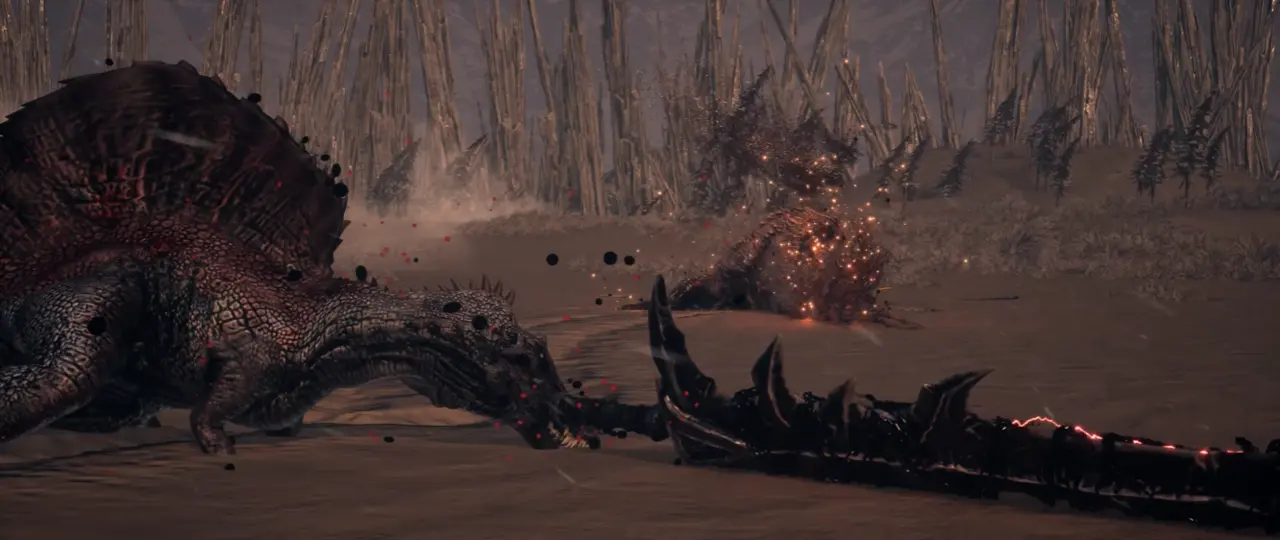
Congratulations! I have completed the game.
Dinoblade 100% Achievements Guide
The achievements shown first are unmissable and unlock naturally while I progress through Dinoblade.




















By this point, I should be close to finishing the game. The remaining achievements may require specific swords, health orbs, rescues, enemy kills, skill upgrades, or Boss Rush completion.
Stainless Extiction

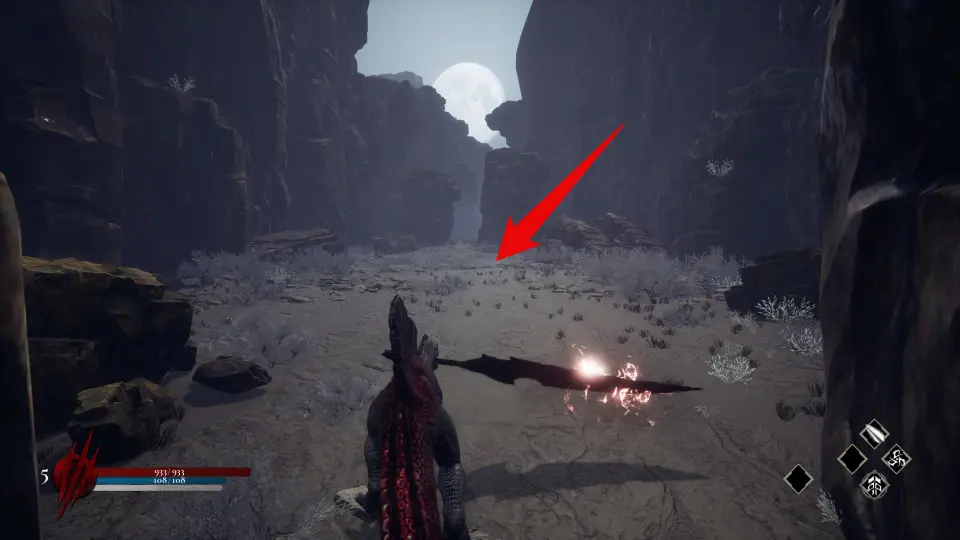
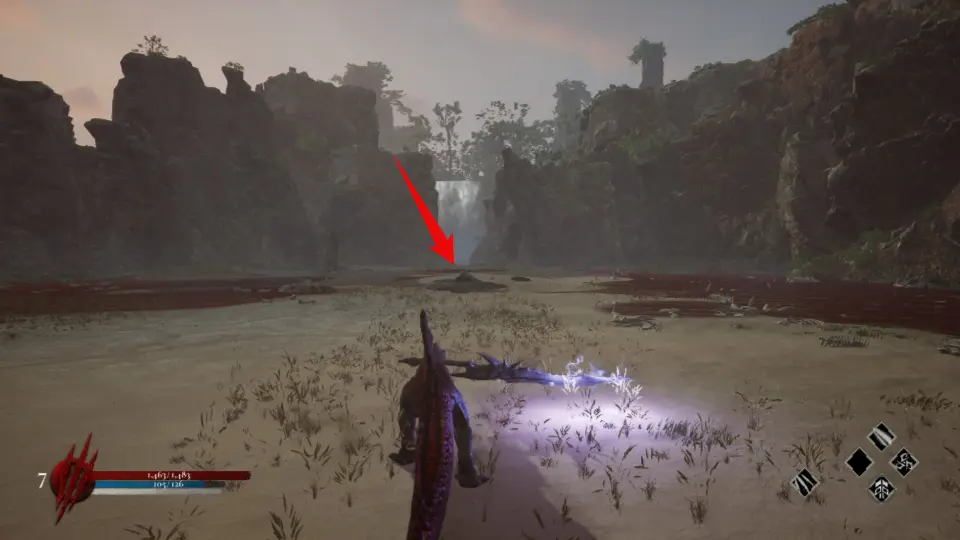
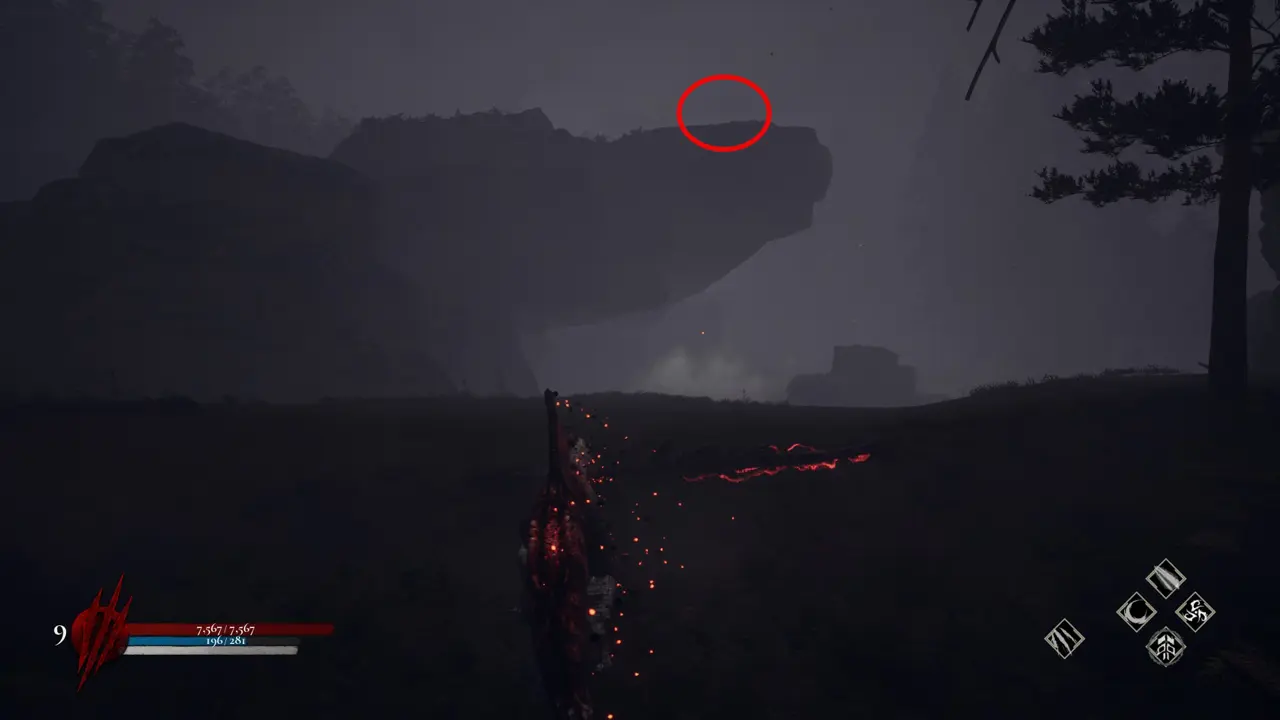
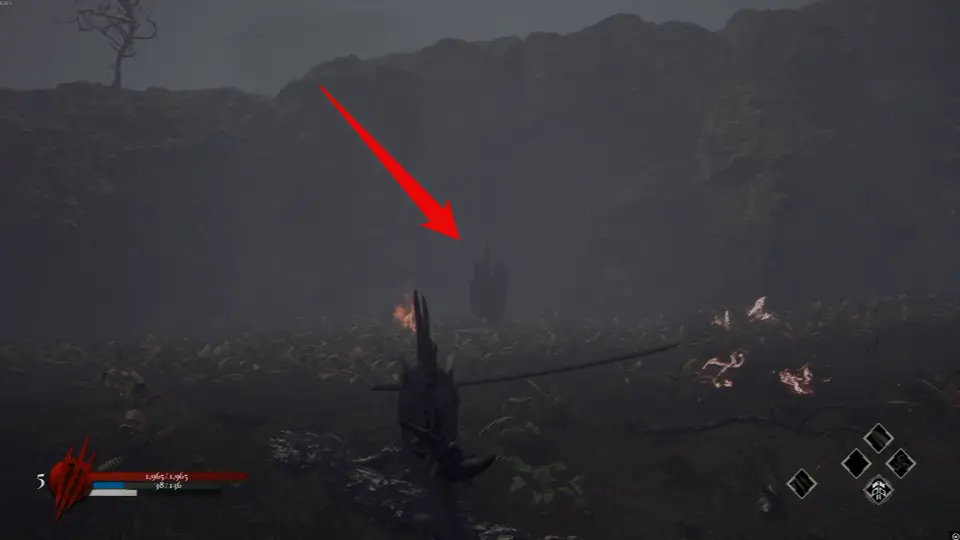
For this achievement, I collect all seven swords.
- First sword: I receive it at the beginning of the game.
- Second sword: I obtain it after defeating Kasei.
- Third sword: It appears in the center of the arena after Mokusei the Titan is defeated.
- Fourth sword: I find it on a cliff in Darkclaw’s Forest.
- Fifth sword: It appears where Dosei the Giant Claw was defeated.
- Sixth sword: It is hidden between the trees behind the Europasaurus, opposite the entrance to Akai Tsuki.
- Seventh sword: I receive it after defeating Akai Tsuki.
The Iron Dino

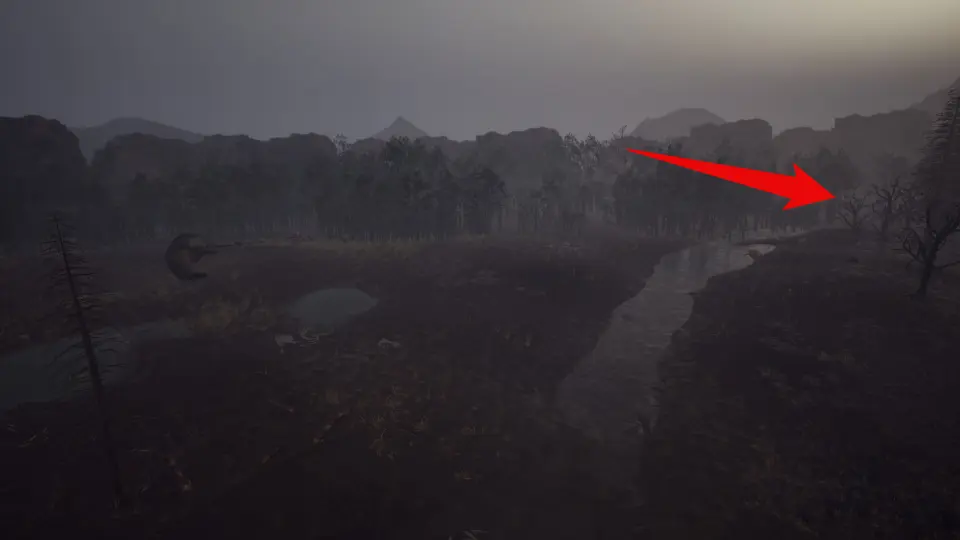
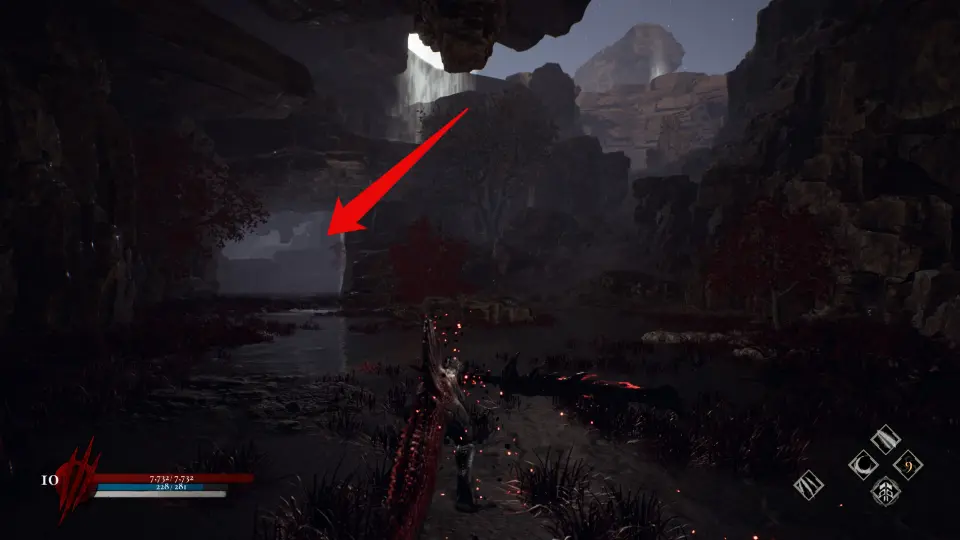
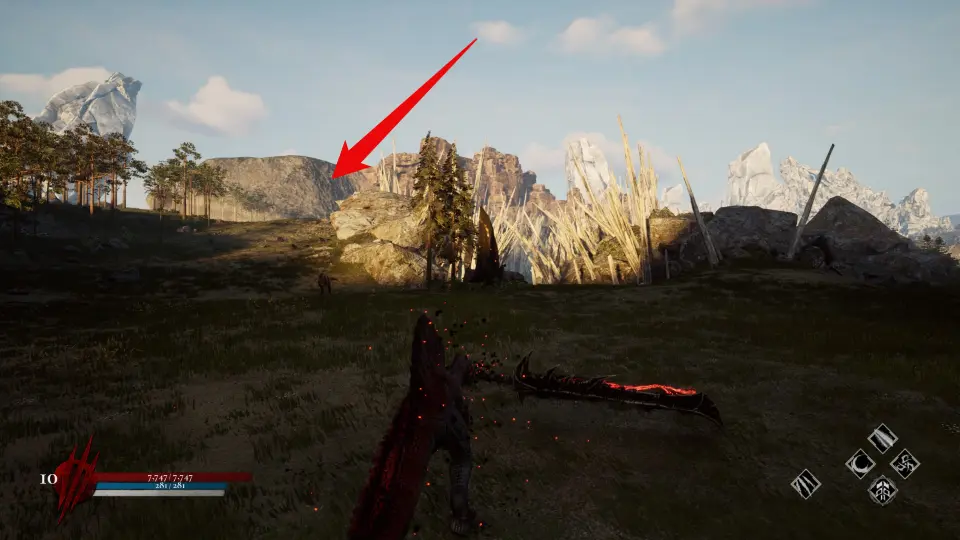
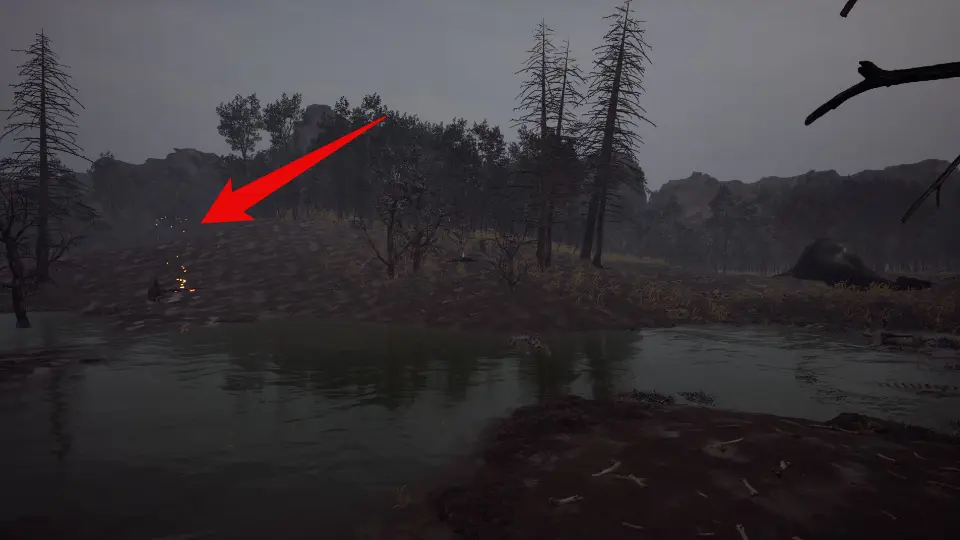
To unlock this achievement, I find all three additional health orbs.
- First health orb: It is inside the canyon through an opening that leads to the ore.
- Second health orb: It is inside a cave in the lake behind Haku’s arena.
- Third health orb: It is among the trees behind the Europasaurus.
Tiny Tank

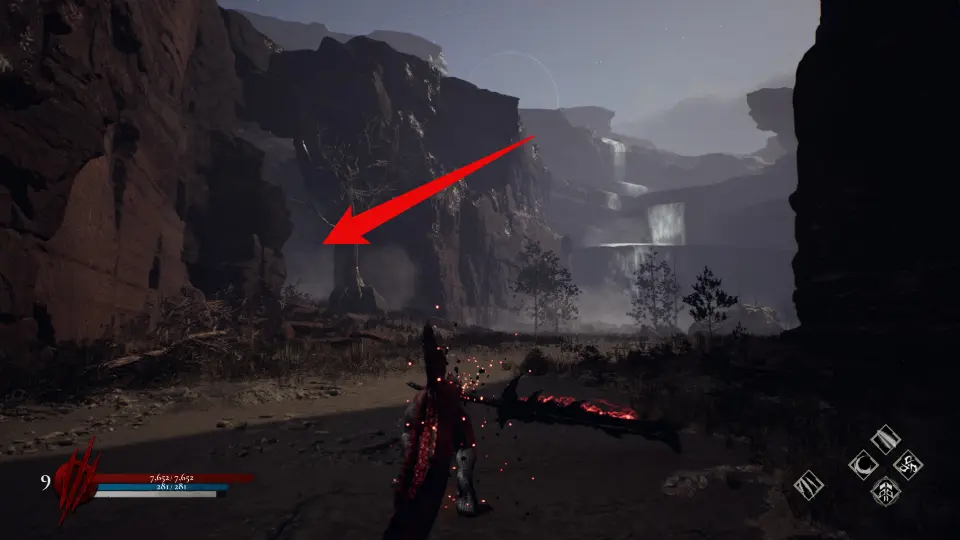
For Tiny Tank, I save the Ankylosaur. To the right of the hammer dinosaur in the canyon, two enemies are attacking it. I defeat both attackers before they can kill the Anky.
Silencing the Earthquakes

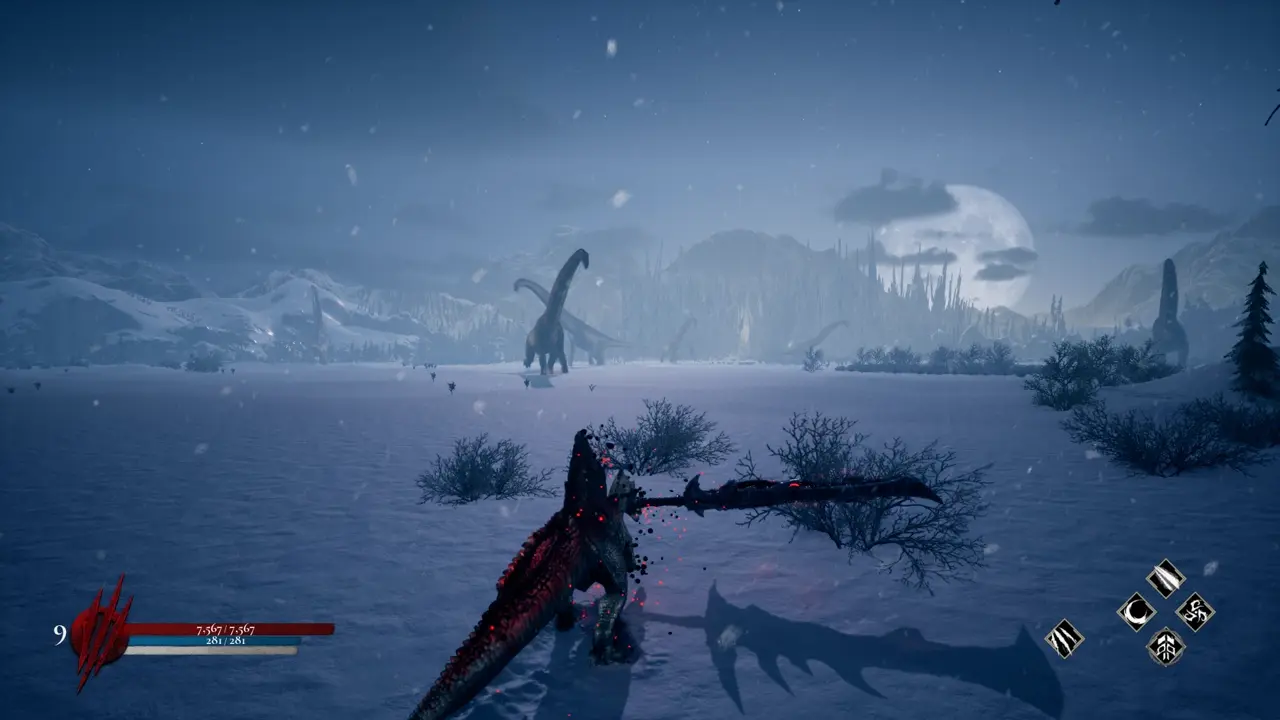
I unlock this achievement by defeating six of the required enemies in the winter biome.
Feed the Beast, Master of the Dash, Master of the Dance, and Master of the Blade

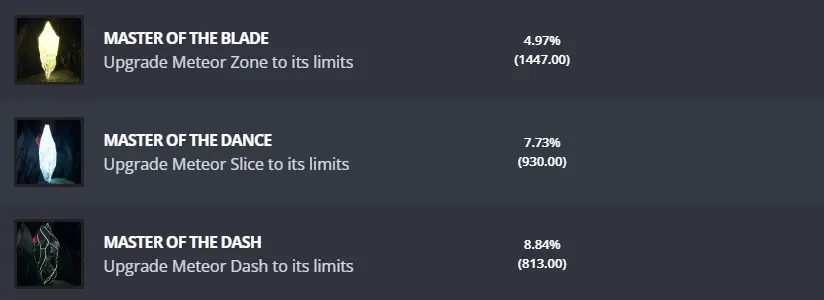
I unlock these achievements by upgrading the related skills to their maximum level. Feed the Beast also requires me to use the fully upgraded Alpha Roar skill once.
Feeding the Blade

I unlock Feeding the Blade by completing Boss Rush.
How to Get Boss Rush Part 1
How I Unlock Boss Rush Mode
Boss Rush becomes available after I defeat the final boss and complete the main campaign. I must finish every biome, overcome each Alpha predator, and reach the end of the story before the option appears.
| Requirement | Detail |
|---|---|
| Campaign completion | Defeat all four Alpha predators, including the T-Rex. |
| Save file | Keep a completed campaign save on the profile. |
| Access point | Open Boss Rush from the main menu after campaign completion. |
| New Game+ | Boss Rush is independent and does not require New Game+. |
Once the mode is unlocked, I can start it from the main menu separately from the campaign. The original guide states that my campaign skill tree and equipment carry over, so the build used at the end of the story becomes the starting Boss Rush setup.
Boss Rush Rules and Restrictions
| Rule | Detail |
|---|---|
| Boss order | The Alpha bosses are fought in sequence: Styracosaurus, Carnotaurus, Kira, and T-Rex. |
| Healing between fights | Restricted or unavailable according to the community reports cited by the source. |
| Skill tree | My campaign build carries over. |
| Equipment | My current weapon and upgrades carry over. |
| Posture meter | The meter resets before each boss. |
| Checkpoints | There are no checkpoints during the sequence. A failure restarts the run from the first boss. |
| Timer | A completion timer records the run. |
The lack of reliable healing between encounters is the main challenge. In the campaign, I can rest at Save Stones and recover before each boss. In Boss Rush, the health remaining after one fight carries into the next, so an early mistake becomes a lasting penalty for the rest of the sequence.
Boss Rush Encounter Order
Boss 1: Styracosaurus
- Goal: I take little or no damage so I can preserve health for the later bosses.
- Strategy: I perfect-parry the attacks, add efficient counters, and aim to break posture in two or three cycles.
- Danger: I avoid becoming careless simply because this is the most predictable fight.
Boss 2: Carnotaurus
- Goal: I maintain the parry rhythm while adapting to the faster attack speed.
- Strategy: I parry standard attacks, dodge red-flash charges, and counter after deflections.
- Danger: Charge attacks create distance and can allow some posture recovery.
Boss 3: Kira
- Goal: I manage Kira and the additional enemies without taking unnecessary chip damage.
- Strategy: I keep my lock-on focused on Kira, use positioning to avoid the secondary enemies, and parry the main attacks.
- Danger: The additional enemies can distract me from Kira’s patterns.
Boss 4: T-Rex
- Goal: I use my best parry and dodge timing to finish the sequence.
- Strategy: I parry weapon strikes, dodge grabs, and manage the phase transition carefully.
- Danger: Fatigue becomes a major factor by the final encounter.
Balanced Boss Rush Build
| Skill Investment | Rank | Reason |
|---|---|---|
| Health Upgrade | 2–3 | Adds a maximum-health buffer for the full sequence. |
| Parry Window Extension | 1–2 | Improves deflection consistency across every boss. |
| Posture Damage Up | 2–3 | Breaks posture faster and reduces time exposed to attacks. |
| Combo Extension | 1 | Adds extra damage after successful parries. |
| Charge Attack Boost | 1 | Provides optional damage during suitable openings. |
| AOE Skill | 0–1 | Primarily useful for managing Kira’s additional enemies. |
This setup balances survival and speed. Higher health and a more reliable parry window protect the run, while posture upgrades and extended counters reduce the duration of each fight.
Aggressive Boss Rush Build
| Skill Investment | Rank | Reason |
|---|---|---|
| Health Upgrade | 1 | I rely on parries instead of a large health buffer. |
| Posture Damage Up | 3 | Maximizes posture damage from each deflection. |
| Combo Extension | 2–3 | Extends attack chains after successful parries. |
| Charge Attack Boost | 2 | Adds high damage during stagger windows. |
| Parry Window Extension | 0–1 | I reduce this investment only when my timing is already reliable. |
This version trades safety for faster boss kills. I only use it when I can perfect-parry most attacks consistently, because a small health investment leaves little room for mistakes.
Respeccing Before Boss Rush
Because the campaign build carries into Boss Rush according to the source, I consider respeccing before I begin. A defensive campaign build is useful for learning bosses, but a balanced or aggressive setup is more efficient when I already know the patterns.
No-Hit Boss Rush Strategy
A no-hit run requires perfect execution on every blockable and unblockable attack. I must land every required parry, dodge every red-flash move, and avoid unexpected attacks from secondary enemies.
- I never miss a blockable parry window.
- I never confuse an unblockable attack with a normal strike.
- I position myself so secondary enemies cannot interrupt the main pattern.
How to Get Boss Rush Part 2
Pattern Memorization
Each boss uses repeatable attack sequences within its phases. I memorize the order so I can anticipate the next input rather than waiting to identify every animation from the beginning.
- Styracosaurus: Thrust → sweep → thrust → stomp, which I dodge → repeat.
- Carnotaurus: Swing → charge, which I dodge → swing → combo → repeat.
- Kira: A more complex multi-pattern sequence combined with additional-enemy management.
- T-Rex: Club → blade → grab, which I dodge → blade combo → repeat.
Once the pattern is internalized, I press parry because I know what comes next, not only because I have reacted to the start of the animation.
Preserving Health Through the Sequence
A no-hit attempt automatically preserves health, but the mental pressure increases after every successful fight. I manage that pressure by treating each boss as a separate encounter, taking deliberate breaths during transitions, keeping the same rhythm, and deciding in advance whether one hit means I continue or restart.
Boss Rush Rewards and Completion
The source says that community discussions indicate completion rewards, although the exact details were not fully confirmed. The suggested rewards include tracked completion times, possible leaderboards, cosmetic unlocks such as skins or titles, and an achievement or trophy for finishing the mode.
The main reward is proving that I have mastered Dinoblade’s combat rhythm across the complete sequence. Every parry, dodge, and counterattack shows that I can manage the posture system without a Save Stone or a checkpoint between bosses.
Common Boss Rush Mistakes
| Mistake | Consequence | Fix |
|---|---|---|
| Using a defensive campaign build | Boss fights last longer and create more total damage exposure. | I respec to a balanced or aggressive setup. |
| Taking damage on early bosses | The health deficit carries into every later encounter. | I treat Styracosaurus as seriously as the final T-Rex. |
| Panicking during Kira’s additional enemies | I miss Kira’s parries and take unnecessary damage. | I keep lock-on focused on Kira and position away from the adds. |
| Forgetting the dodge-or-parry decision | I try to parry unblockable attacks. | I always dodge a red flash. |
| Losing focus against T-Rex | Fatigue causes slower reactions and missed timings. | I practice the final boss separately until the inputs become automatic. |
Boss Rush reduces Dinoblade to four consecutive fights with no safety net. My preparation starts in the campaign: I choose the right build, practice every boss until the attack order feels automatic, and carry that experience into the complete run. The original guide also refers readers to boss-specific strategies and official showcase videos for examples of the sequence.
Boss Rush FAQ
How Do I Unlock Boss Rush Mode in Dinoblade?
I unlock it by defeating the final campaign boss and completing all four Alpha predator encounters. The mode then appears in the main menu and can be started independently from the campaign. The source states that my campaign skill tree and equipment carry over.
Can I Heal Between Boss Fights?
The original guide reports that healing is restricted or unavailable between encounters. The health remaining after one boss therefore carries into the next, making damage taken early in the run increasingly costly.
What Is the Best Boss Rush Build?
The recommended balanced build uses Health Upgrade at rank 2–3, Posture Damage Up at rank 2–3, and Parry Window Extension at rank 1–2. I avoid a heavily defensive setup because longer fights increase the total time in danger.
What Is the Boss Order?
The source lists Styracosaurus first, Carnotaurus second, Kira third, and T-Rex last. Posture resets between encounters, health carries forward, and failing any boss restarts the full sequence from Styracosaurus.
Can I Respec Before Boss Rush?
Yes, according to the original guide. Since the campaign build carries over, I can change from a defensive learning setup to a Boss Rush build focused on efficient posture breaks and sustained combat performance.