
Welcome to the Game III can feel overwhelming during my first night because the game introduces several survival systems at the same time. In this guide, I explain how I prepare the motel room, explore safely, manage websites, recognize threats, earn DOS, and place motion sensors without rushing my progression.
Beginner’s Walkthrough Guide
My main goal at the beginning of the night is preparation. I secure the motel, learn the important locations, collect useful supplies, and only then begin making progress on the computer.
Table of Contents
1. Secure the Motel Room
As soon as the game starts, I lock the motel room door. I also take a moment to locate the panic button, light switch, peephole, computer, and back door because I return to this room throughout the night.
- Lock the motel room door.
- Locate the panic button.
- Check the light switch.
- Learn how to use the peephole.
- Find the computer and back door.
2. Search the Motel Rooms
Before I spend much time on the computer, I search the motel rooms. My first priority is finding one bag of meth for Cletus. I carry only one bag, and when I find extras, I remember where I left them.
I also search for speed drugs, motion sensors, cameras, and any other useful supplies.
3. Learn the Motel Layout
I learn the motel layout before the night becomes dangerous. Getting lost later can easily get me killed, so I memorize the following locations:
- Electrical room
- Internet boxes
- Package pickup locations
- Escape routes
- The Ace of Spades room required for Tucker
4. Set Up Motion Sensors
Once I find motion sensors, I place them at the left motel end, the right motel end, and Lucas’ back door. This three-sensor setup makes Tanner and Lucas much easier for me to detect.
5. Start Browsing Websites
After I finish my basic preparation, I begin browsing websites, collecting hashes, and gathering clues. I avoid dangerous websites unless they are necessary.
I do not visit The Bomb Maker’s website early. He only becomes active after I open his site, so I wait until progression requires it.
6. Keep Every Door Locked
Whenever I am inside, I keep the door locked, listen for lockpicking, watch for threats, and check the peephole before leaving. I repeat this routine every time I return to a motel room.
7. Watch the Clock
Some websites only appear during specific time windows. If I miss one, I have to wait until the next hour, so I organize my browsing around the clock.
8. Respond to Threats Calmly
When a threat appears, I stay calm and focus on its warning sign. Most killers provide a clear visual or audio cue, and understanding what triggered an encounter is often more useful than reacting without a plan.
Early Priorities in Order
- Lock the motel room.
- Find one bag of meth.
- Learn the motel layout.
- Collect motion sensors.
- Set up the sensors.
- Begin browsing websites.
- Avoid activating The Bomb Maker.
- Continue progressing while checking timed websites.
Beginner Mistakes I Avoid
- Carrying multiple bags of meth
- Forgetting to lock doors
- Visiting The Bomb Maker immediately
- Sprinting everywhere outside
- Ignoring timed websites
- Leaving motel rooms without checking the peephole
- Forgetting important locations
Important Sound Cues
Many threats announce themselves through sound. I use headphones or Earbuds because they make several of these cues easier to hear.
- Quiet rustling grass: Tanner
- Lockpicking: Lucas
- Old-time music: Tucker
- Quiet bomb ticking: The Bomb Maker
- Short motion sensor beep of about two seconds: Tanner
- Long continuous motion sensor beep of five to six seconds or more: Lucas
General First Night Advice
I do not try to brute-force the game. I survive by keeping doors locked, learning warning cues, preparing before chasing progression, and avoiding unnecessary trips outside. The more organized I am, the easier each night becomes.
Website Availability Guide
I use this website schedule to decide which darknet pages I should check at each point in the hour. Some websites are always available, some only appear during fixed time windows, and others are permanently dead.

Always Available Websites
- Blushing Brides
- Cavity Lease
- Crisis Calls
- Doctor Murder
- Dont Waste It
- Doughy
- Encrave
- Forever Friend
- Jakobs Sink
- LostTapes
- Oneless
- Prohibited Stockpile
- Red Triangle
- Ring Ring
- Symphoros Chosen
- Synapse Decay
- Tango Down
- Thanks For Visiting!
- The Bomb Maker
- The Hole
- The Light Within
- The Loogaroo
- Time Sharing
- TRACK06
- VoluVision
- World Wide Workers
Timed Websites
:00–:14
- FindLove
- Forsaken Gifts
- Mors N More Market
- Order Of Nine
- The Prey
:00–:29
- Blackhat Post
- Drug Tickets
- Kill For Me
- MamaBruguglio
- Red Handed
- ViaMarisRoute
:15–:29
- Building A Future
- Eat My ♥♥♥♥
- Overnight Success
:30–:44
- Bizzare Propagation
- Crystal Guild
- I Am Here
- Keep Sake
- Shelter
- You There?
:30–:59
- Chevron
- finalStanding
- Lab Monkey
- The Grey
:45–:59
- The Hall
Permanently Dead Websites
- Abyssal Chat
- Backrooms
- Bathroom Cams
- Bone Altar
- Carrion Stage
- Corpses For Sale
- Crimson Bazaar
- Crimson Relay
- Dread Signal
- Drone Spy
- Dusk Haven
- Echo Vault
- Eternal Loop
- Evidence Locker
- Father Donald
- Flicker Stream
- Foot Doctor
- Forgive Me
- Ghost Proxy
- Gloom Archive
- Hollow Key
- Iron Ledger
- Iron Mask
- Is Evil
- Lost Signals
- Murk Lair
- Mutilation
- My Gut
- Noir Gallery
- Obsidian Trade
- Pale Market
- Phantom Lot
- Red Veil
- Roses Destruction
- Rust Network
- Secure Drop
- Shade Broker
- Shadow Cache
- Silent Auction
- Specter Hub
- The Black Waves
- The Butcher
- The End Of NY
- Veiled Eyes
- Void Library
- Wraith Cam
Quick Website Check Schedule
:00: FindLove, Blackhat Post, Drug Tickets, Kill For Me, MamaBruguglio, Red Handed, ViaMarisRoute, Forsaken Gifts, Mors N More Market, Order Of Nine, and The Prey.
:15: Building A Future, Eat My ♥♥♥♥, and Overnight Success.
:30: Bizzare Propagation, Crystal Guild, I Am Here, Keep Sake, Shelter, You There?, Chevron, finalStanding, Lab Monkey, and The Grey.
:45: The Hall.
Hacking Guide
I intentionally do not cover the hacking minigames in detail in this walkthrough because I have prepared a separate guide for the entire hacking system.
In my complete hacking guide, I explain how I beat K3RN3LC0MP1L3R, memDEALLOCATER, shiftSEQ, stackPUSHER, and TOKENINE. The guide covers the controls, objectives, failure conditions, useful strategies, and the changes introduced in harder versions of each minigame.
For a more detailed explanation of every hacking minigame, read my Welcome to the Game 3 Hacking Guide: All Minigames.
Threat Guide
I use the warning signs in this section to identify each threat and respond before the encounter becomes fatal. Doors, sound cues, lights, cameras, and the motel layout all affect how I survive.

Noir (Myra)

Noir appears in front of my desk. When she appears, I do not stand up. I turn my view away and wait until she says, “Good boy.” She disappears after speaking.
Turning the lights off increases her chance of appearing, but keeping the lights off also reduces the amount of time Lucas searches for me.
Lucas

Lucas is announced by the sound of a squeaking door lock. I keep the motel door locked at all times. If I unlock the shortcut between the electrical room and the computer room, I make sure both doors remain locked.
The Kidnapper
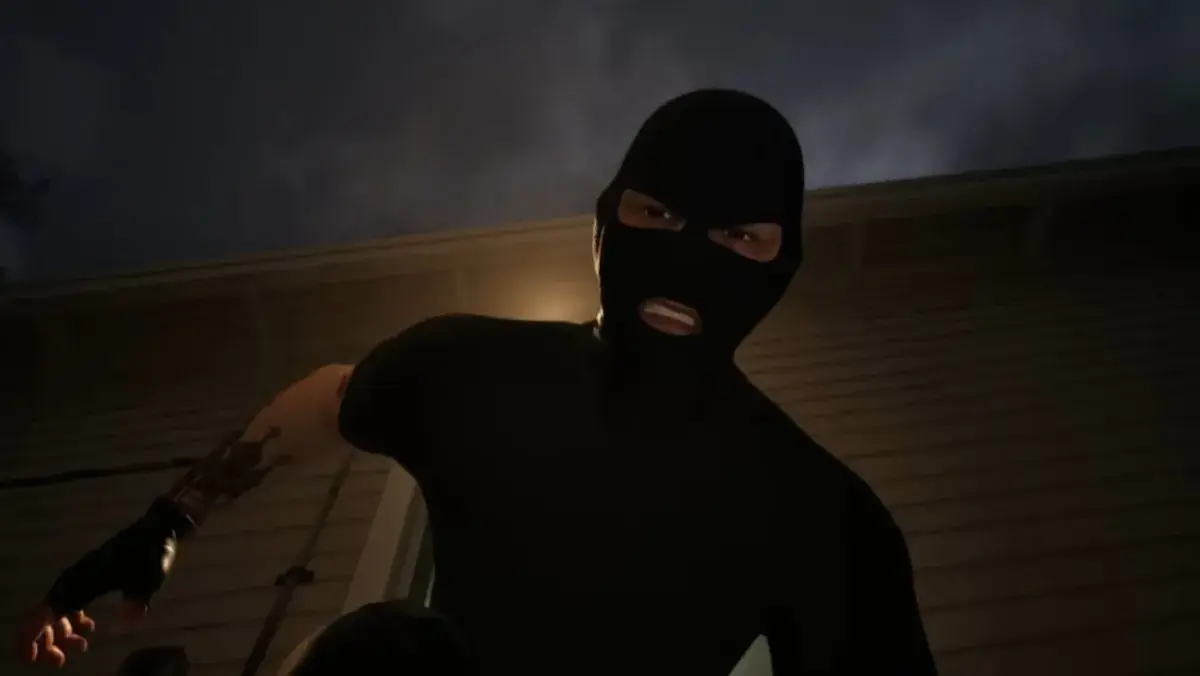
The Kidnapper uses a white van. When I see it, I keep watching it until it leaves because leaving certain safe areas while he is active may cause an instant death.
I can place two cameras facing the utility poles to spot the van earlier. Without cameras, I may still be able to see it through the motel’s front windows.
He appears to kill indoors only when a rear door is left unlocked, and he has not been observed spawning during red Internet or Power outages.
Tanner

Tanner is announced by very quiet rustling grass, the same sound used in Scrutinized. AID Pods make this cue easier for me to hear.
I always lock motel room doors behind me and check the peephole before opening one. If Tanner is outside, I wait for him to leave.
If he rushes my motel door while I am at the desk, I press the panic button. During the first encounter he slams into the door and falls. In later encounters, he wags his finger and leaves. I do not spam the panic button because Patch 1.0.1 added a penalty for excessive use.
Tucker

Tucker can ambush power boxes and Internet boxes, and he can also start a music chase event. In the power room, I lock the outside door behind me.
After I repair or slap an Internet or Power box, I stay still and wait for an arrival sound and a departure sound. If I hear nothing after about 15 seconds, I am likely safe.
When Tucker starts playing an old-time song, I immediately run to the motel room marked with the Ace of Spades because I have very little time.
Some players report that he mainly ambushes after cables are reconnected rather than after boxes are slapped. He can also ambush players who are searching for Bomb Maker bombs near Wi-Fi boxes.
Cletus

Cletus wants meth, so I search motel rooms during roughly the first 30 minutes. At least one meth spawn appears to be guaranteed.
I carry only one bag. When I find more, I memorize their locations because Cletus takes every bag I am carrying.
The Breather
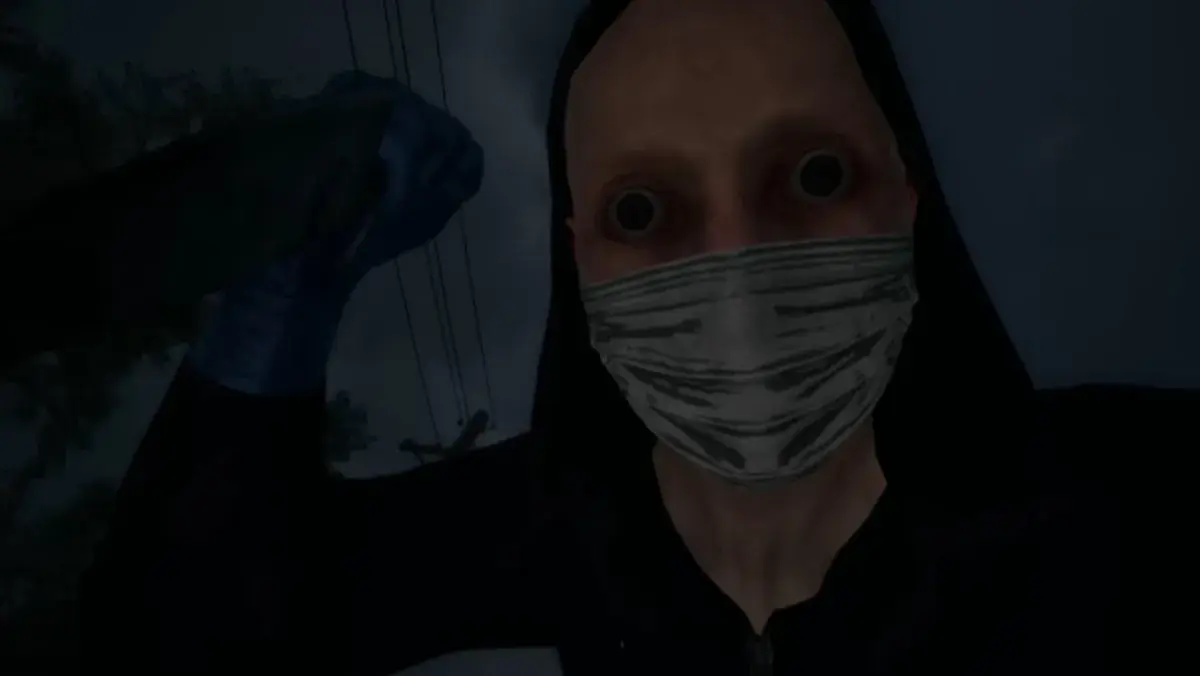
The Breather punishes me for wandering too far from the playable area. I avoid sprinting while retrieving packages.
If I encounter him, I sprint back toward the motel immediately. Reaching the parking lot usually ends the chase, and speed drugs found in motel rooms make the escape easier.
The Bomb Maker
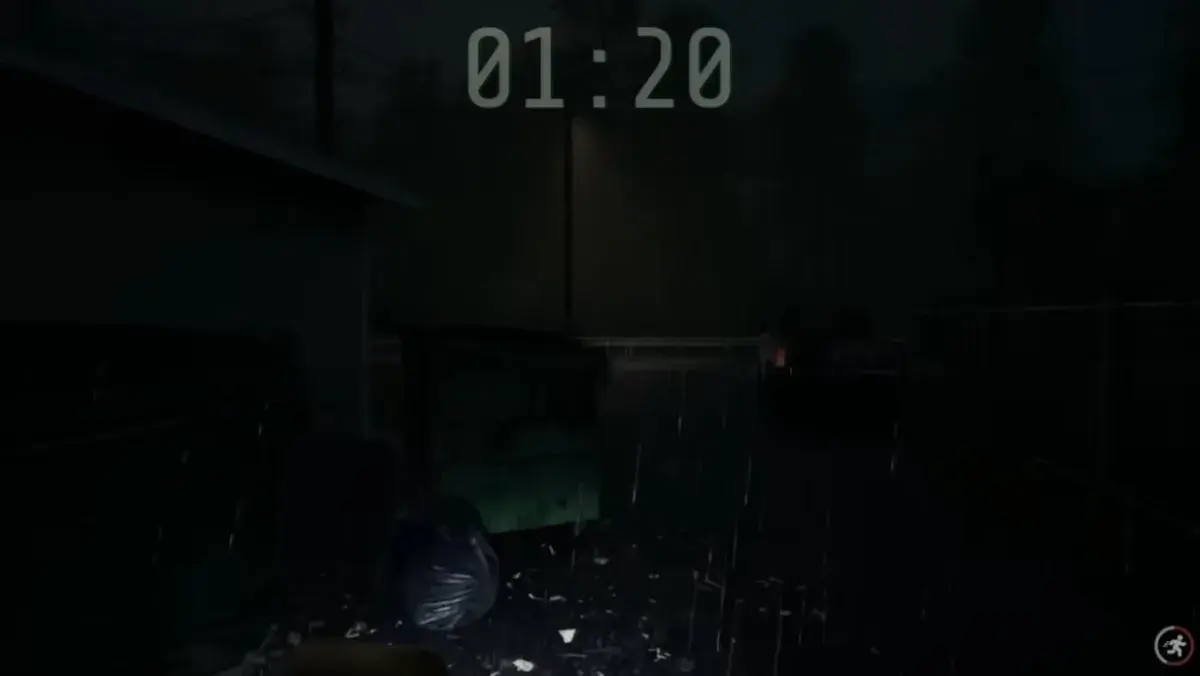
The Bomb Maker only becomes active after I visit his website, so I avoid the site until progression requires it.
After activation, a bomb is planted. I find it before the timer expires and enter the provided code to disarm it.
Possible Bomb Locations
- Empty motel rooms
- Behind motel rooms
- Near Wi-Fi boxes
I listen for quiet ticking and move close enough to hear it. When I cannot hear anything from the parking lot, I check behind the buildings.
If the room lights are off, my flashlight also turns off while I am disarming the bomb, which makes the keypad difficult to see. I keep 50 DOS available, and I remain alert because Tucker may ambush me while I search.
General Threat Tips
- Keep every usable door locked whenever possible.
- Check peepholes before opening motel room doors.
- Use security cameras to make The Kidnapper easier to manage.
- Keep the lights on for a safer Bomb Maker disarm, or turn them off for shorter Lucas searches while accepting more Myra appearances.
- Remember at least one extra meth location and keep DOS available for emergencies.
DOS and Money Guide
I need DOS to buy upgrades, software, and services, so I use several different income sources instead of relying on a single method.
Selling Website Links
Whenever I discover a new darknet website, I save it in the Notes app. NPCs on CryptChat sometimes request website links and pay DOS for them.
- Easy money
- No risk
- Passive income
Selling Downloaded Files
Some websites contain files that I can download through ShadowFetch. CryptChat NPCs may request these files, and the payouts are usually higher than the payments for website links.
- One of the best money-making methods
- High payouts, often around 40 DOS
Mining DOSCoin
After I gain access to VirtMesh users, I can mine their computers for DOSCoin. Higher-tier users generate DOS faster than lower-tier users.
First tier: WebTyk (1.84), UserJyx (1.80), NetVorn (1.45), CloudFuz (0.88), SysBlip (0.87), DevQuix (0.64), and DataRax (0.3).
Second tier: Pheonix (4.79), OpsHex (3.23), GameDrux (2.57), PrintYiv (2.43), FileNuz (1.84), VM_Wekl (1.74), BlackShiv (1.49), and LabBzop (0.42).
Gambling
The slot machine can produce a large DOS payout, but the result is extremely inconsistent and it is also an easy way for me to lose money.
I only gamble when I can afford to lose the amount I am betting.
Shopping Priorities
High Priority
- Motion Sensors
- Cameras
- Earbuds
- Security Software
These purchases improve my awareness and make several threats easier to handle.
Medium Priority
After I establish my basic defenses, I buy upgrades that help me locate puzzle pieces.
Low Priority
I leave luxury purchases and gambling until I have a steady source of income.
Motion Sensor Guide
I use a three-sensor setup because it gives me reliable warnings for Tanner and Lucas while avoiding the reported problem connected to the optional dumpster sensor.

Recommended Three-Sensor Setup
Sensor 1: Right Motel End
I place the first sensor at the right end of the motel. It detects Tanner when he approaches from the right side.
Sensor 2: Left Motel End
I place the second sensor at the left end of the motel. It detects Tanner when he approaches from the left side.
Sensor 3: Lucas’ Back Door
I place the third sensor at the back door shown after Wade’s introduction cutscene. It detects Lucas before he begins lockpicking and gives me time to turn off the lights, hide, and prepare.
Optional Fourth Sensor
The optional fourth sensor can be placed by the garbage dumpster near the fence beside the network boxes. It may detect Lucas more than 10 seconds earlier.
I do not recommend this placement. Multiple players have reported that it may cause Lucas to attack or spawn repeatedly, so I avoid it unless the issue is patched.
How I Identify Tanner and Lucas
Three-Sensor Setup
A Tanner alert lasts for about two seconds. When I hear it, I press the panic button and secure the door.
A Lucas alert continues for five to six seconds or longer. This usually gives me enough time to turn off the lights, hide, and optionally check the front entrance.
Four-Sensor Setup
The dumpster sensor also produces a short warning, so Tanner and Lucas can initially sound similar. When I am unsure, I check the front entrance. If Tanner is not approaching, I assume the warning is for Lucas.
Lucas still needs to walk from the dumpster, reach the back door, and begin lockpicking, so I normally have time to prepare.
Motion Sensor Quick Reference
- Right Motel End: Detects Tanner approaching from the right and is recommended.
- Left Motel End: Detects Tanner approaching from the left and is recommended.
- Lucas’ Back Door: Detects Lucas before lockpicking and is recommended.
- Dumpster or Fence: Gives an earlier Lucas warning but may cause repeated Lucas attacks or spawns.
My recommended arrangement is three motion sensors: one at each end of the motel and one at Lucas’ back door. This provides reliable detection without using the reported bugged dumpster placement.
FAQ
Is Gambling Worth It?
I usually avoid gambling. It is a high-risk way to earn DOS and is not reliable enough to become my main income source.
Should I Always Carry Meth?
Yes. I carry one bag, but never more than one.
Should I Visit The Bomb Maker Early?
No. I avoid activating him until progression requires me to visit his website.
Do I Need to Check Website Source Code?
Yes. Hidden clues and puzzle pieces can appear in the source code.
Can I Pause While Using the Computer?
No. Threats continue to exist while I browse, so I stay aware of my surroundings.

I will continue updating this guide as more information becomes available about the game.