Welcome to the Game 3 uses five different hacking minigames to defend the system from incoming attacks. In this guide, I explain how I beat K3RN3LC0MP1L3R, memDEALLOCATER, shiftSEQ, stackPUSHER, and TOKENINE, including their controls, failure conditions, and harder versions.

Hacking Guide: All Minigames and Controls
Each hacking minigame works differently. Some test my typing, while others require movement, timing, resource management, or pattern matching. Below, I explain exactly what I do in each minigame without the unnecessary background information.
How to Beat K3RN3LC0MP1L3R
K3RN3LC0MP1L3R is a typing minigame. I copy the highlighted line exactly as it appears on the screen, then press Enter.

When I enter the line correctly, the game moves to the next line. After I submit the final line, the attack is blocked.

If I type a wrong character, both the active line and my input show the mistake in red. I press Backspace until the incorrect characters are removed, then continue typing.

K3RN3LC0MP1L3R Controls
- Keyboard: Type the highlighted text or code exactly as shown
- Enter: Submit the current line
- Backspace: Delete incorrect characters
The counter in the lower-left corner shows how many corrupted memory blocks I still need to remove.

Harder versions can contain several corrupted memory blocks, code instead of normal text, or multiple blocks filled with code. The method stays the same: I type every highlighted line accurately and submit it with Enter.
How to Beat memDEALLOCATER
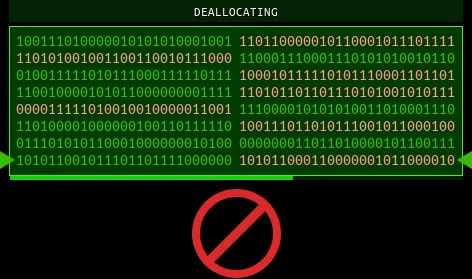
In memDEALLOCATER, I move through the memory block one row at a time while avoiding the red sections. I read the green areas from the bottom upward to decide which key to press next.
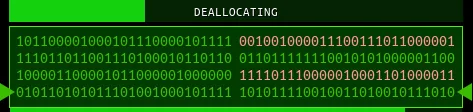
The red sections are the areas I must avoid. Each input moves the memory block down by one row and adds a new row at the top.
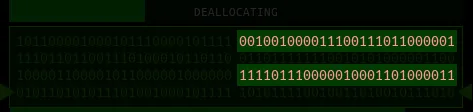
memDEALLOCATER Controls
- Left side is green: Press A or the Left Arrow
- Both sides are green: Press Space
- Right side is green: Press D or the Right Arrow
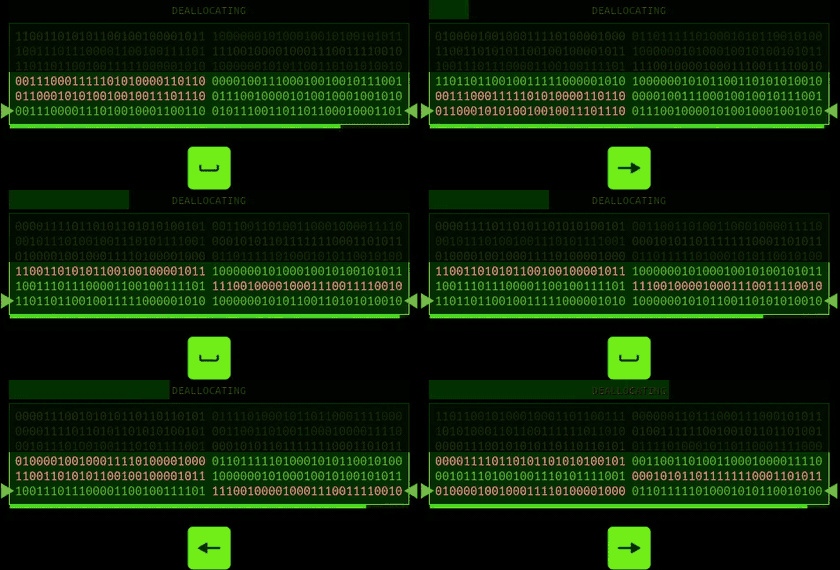
I find it faster to read the upcoming rows and prepare my next inputs instead of waiting for the key prompt below the memory block.
Correct inputs fill the progress bar at the top. Wrong inputs reduce my progress. Once the bar is full, the attack is blocked.

Harder versions remove the key prompt below the memory block and apply a larger penalty when I press the wrong key.
How to Beat shiftSEQ
shiftSEQ places me on a grid of network nodes. I start inside the home node and must destroy every infected node to stop the attack.
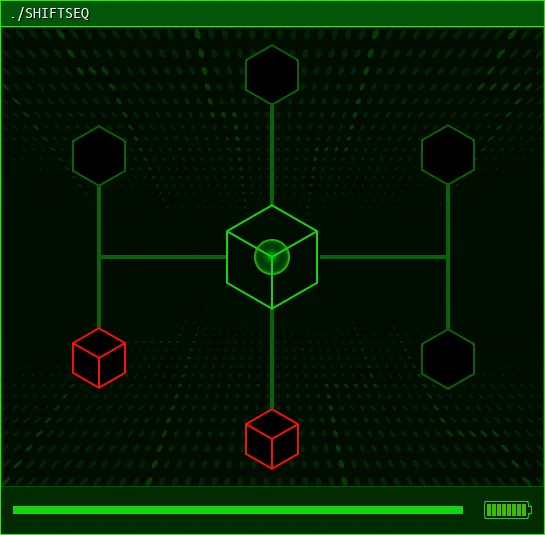
The infected nodes are shown on the grid as red targets. I move onto each one and attack it repeatedly.
shiftSEQ Controls
- W: Move up
- A: Move left
- S: Move down
- D: Move right
- Space: Attack an infected node or perform an active recharge inside the home node
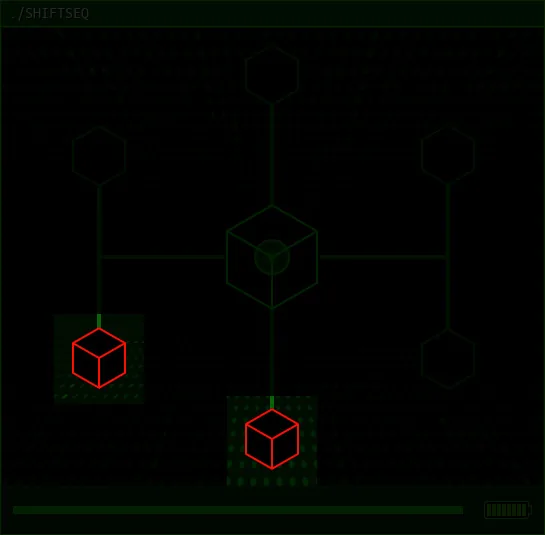
When I stand inside an infected node, its attacks are blocked. I can also move through node attacks without taking damage.
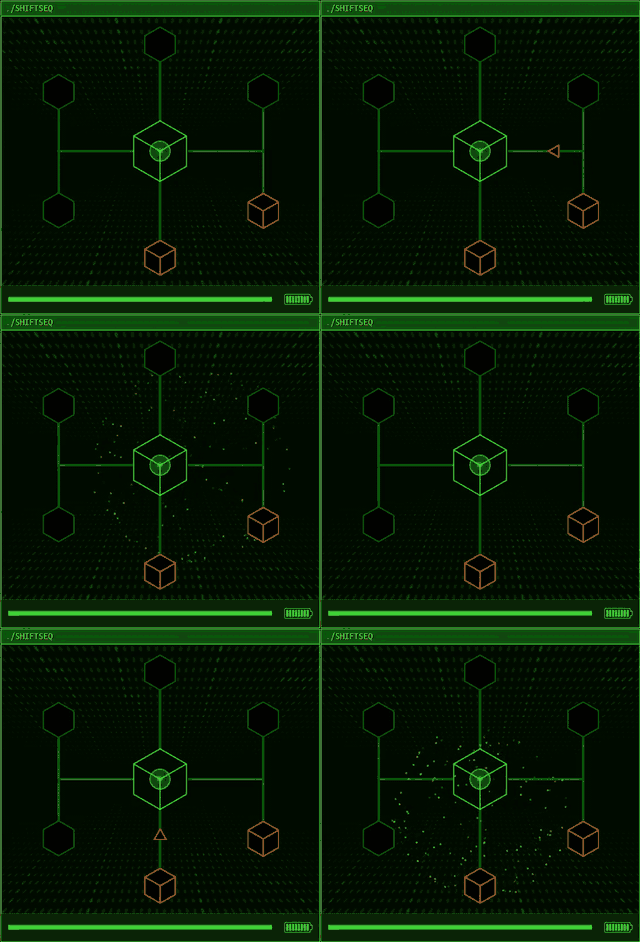
If an attack reaches the home node while I am somewhere else, my connection health decreases. This is the only way I can fail early.
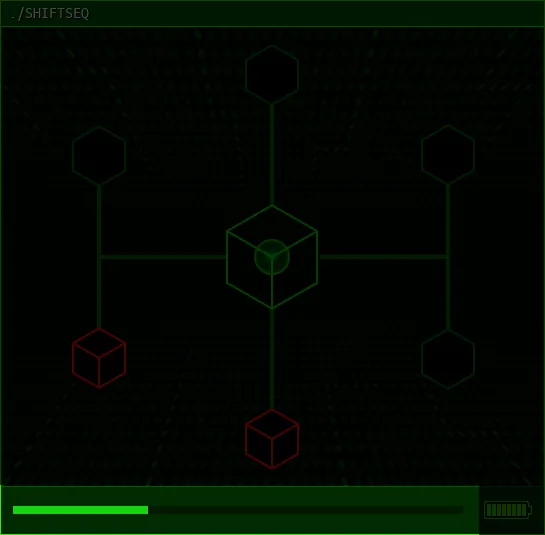
After reaching an infected node, I press Space repeatedly until its health reaches zero. Attacking consumes a limited resource shown by the battery icon in the lower-right corner, so I return to the home node when I need to recharge.
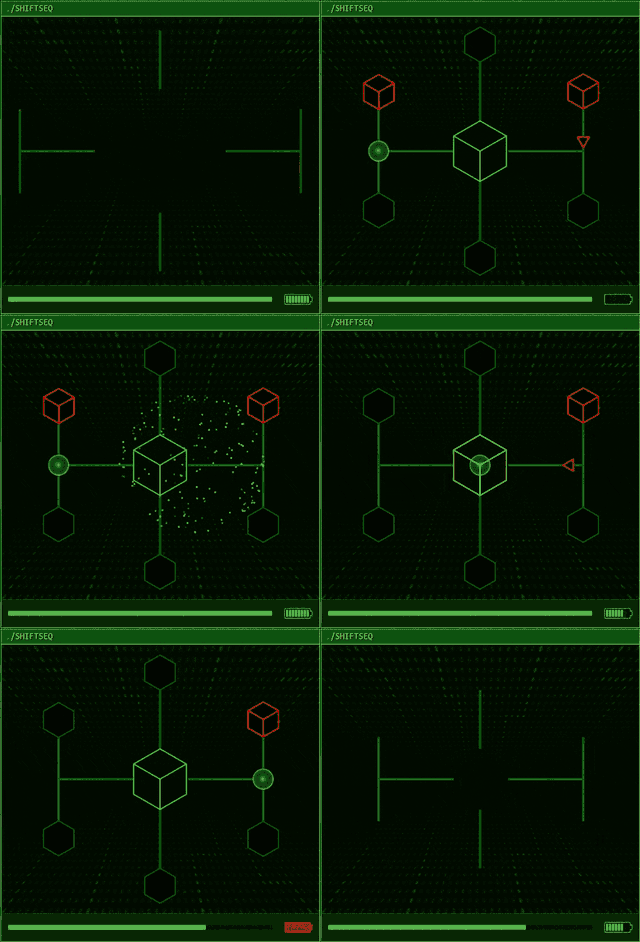
How Active Recharge Works in shiftSEQ
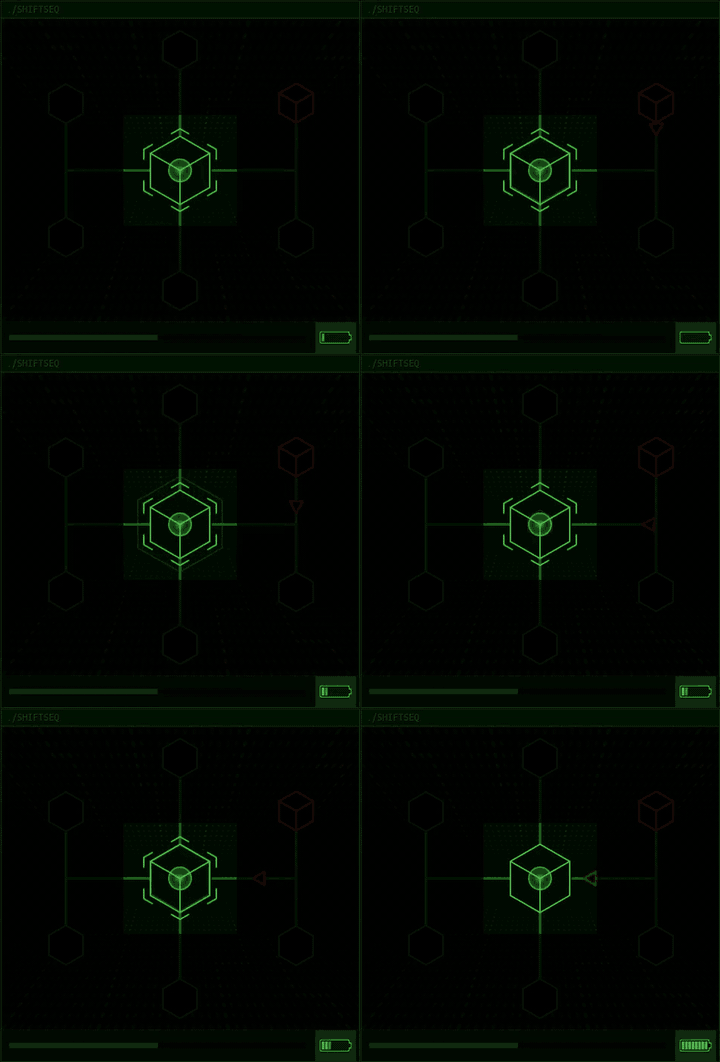
Inside the home node, I can recharge to full by pressing Space when the expanding pulse overlaps the solid outline of the node. If I press it at the wrong time, all recharging is temporarily disabled.
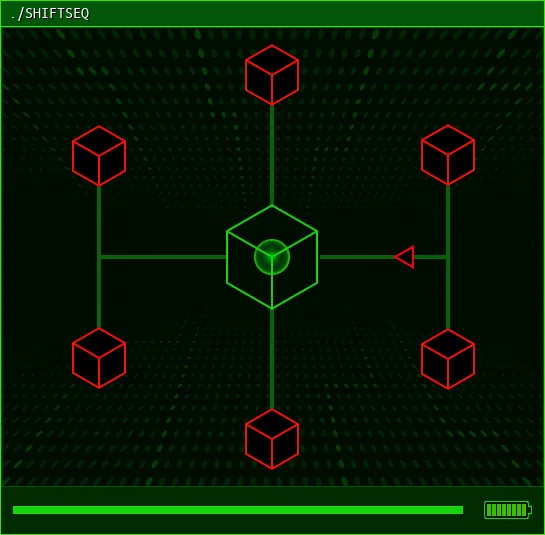
Harder shiftSEQ versions use faster and more frequent attacks, deal more connection health damage when an attack is not blocked, and add more infected nodes to destroy.
How to Beat stackPUSHER
stackPUSHER is a grid puzzle. I complete it by moving every stack node into the delete node while avoiding the laughing skull spaces.
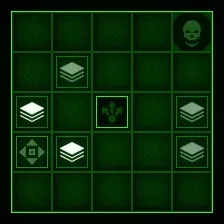
These are the stack nodes I need to move:
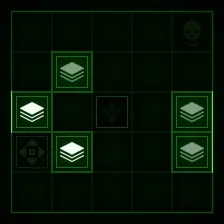
This is the delete node where every stack node must be placed:
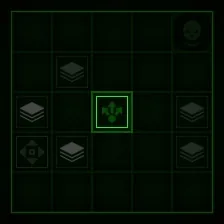
A stack node can only move when it is activated by the pusher node:
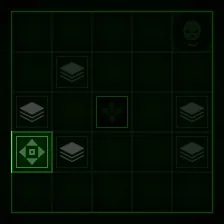
How to Move Nodes in stackPUSHER
I left-click the pusher node to pick it up, then left-click another space to place it. I move stack nodes in the same way: one click to pick up a node and another click to place it.
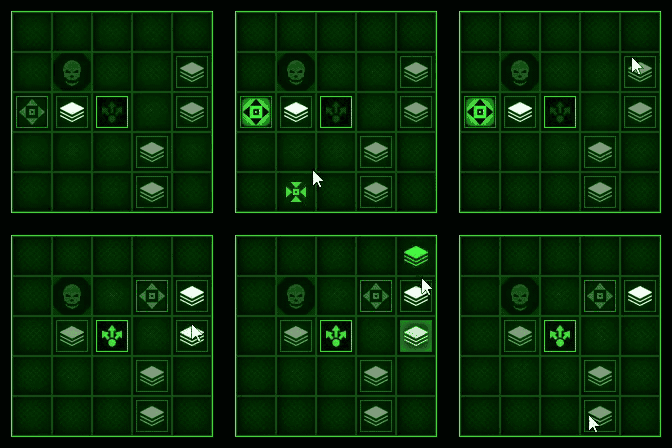
Stack nodes are limited to the 3×3 area surrounding the pusher node. I reposition the pusher whenever a stack node needs to move outside its current range.
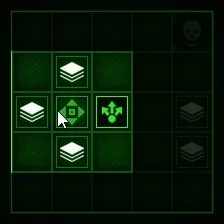
Careful pusher placement lets me move the stack nodes toward the delete node in a smooth sequence.
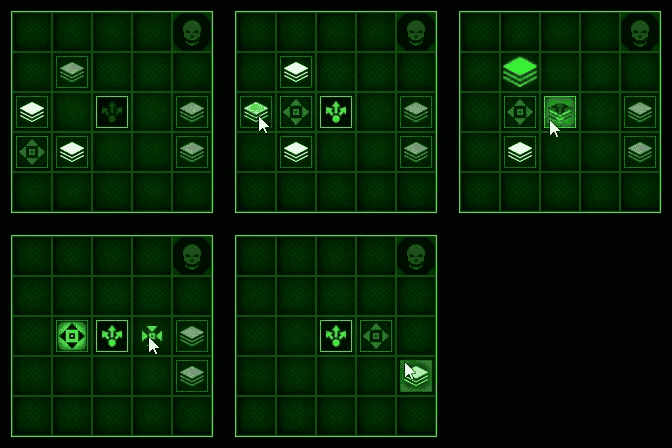
Important: I never place the pusher node or a stack node on a laughing skull. Doing so causes an immediate failure.
How to Beat TOKENINE
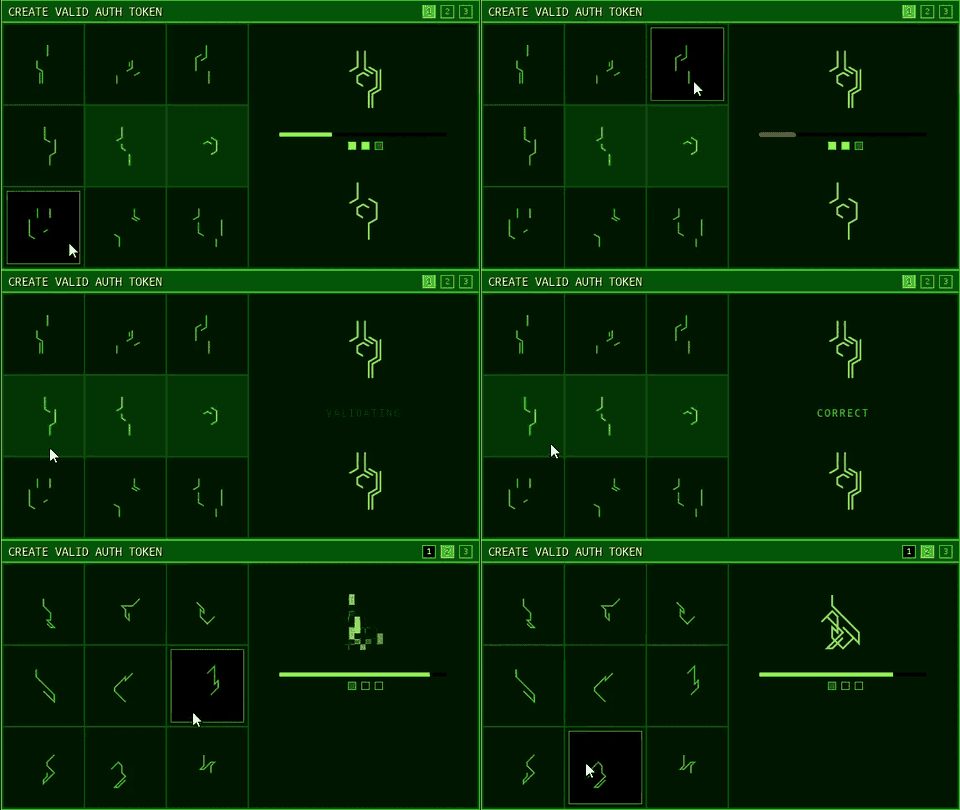
In TOKENINE, I recreate the authorization token shown at the top of the screen by selecting the matching token parts with the left mouse button.
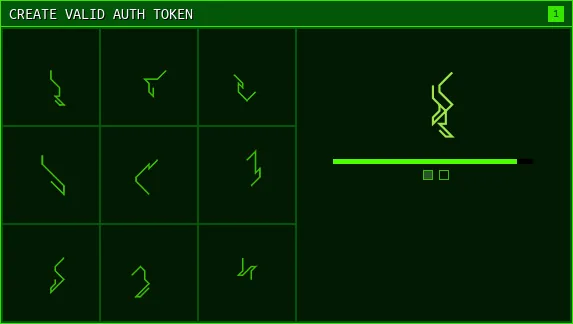
I compare the displayed token with the available pieces, then left-click each part needed to assemble the same shape.
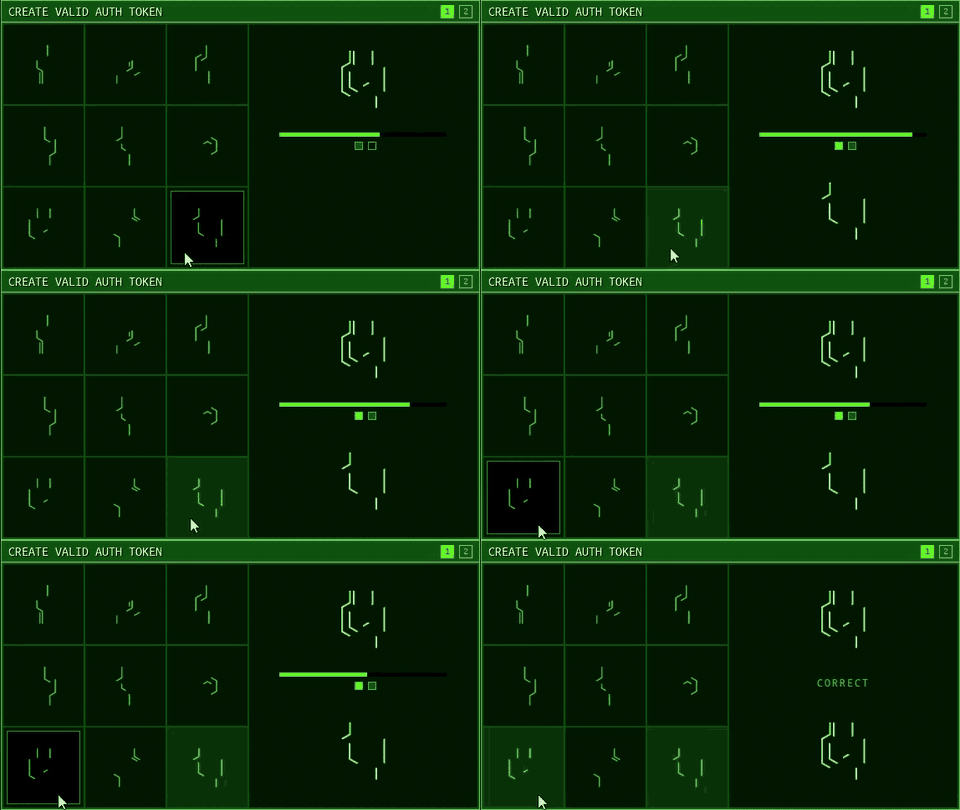
The squares below the displayed token show how many parts I must select. For example, two squares mean that the token requires two pieces.
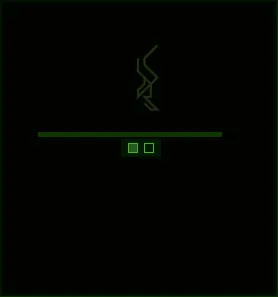
Once I select a part, I cannot remove it. If the assembled token is incorrect when it is checked, my selected parts are cleared and I must try again. A correct token moves me to the next one in the series, if another token remains.
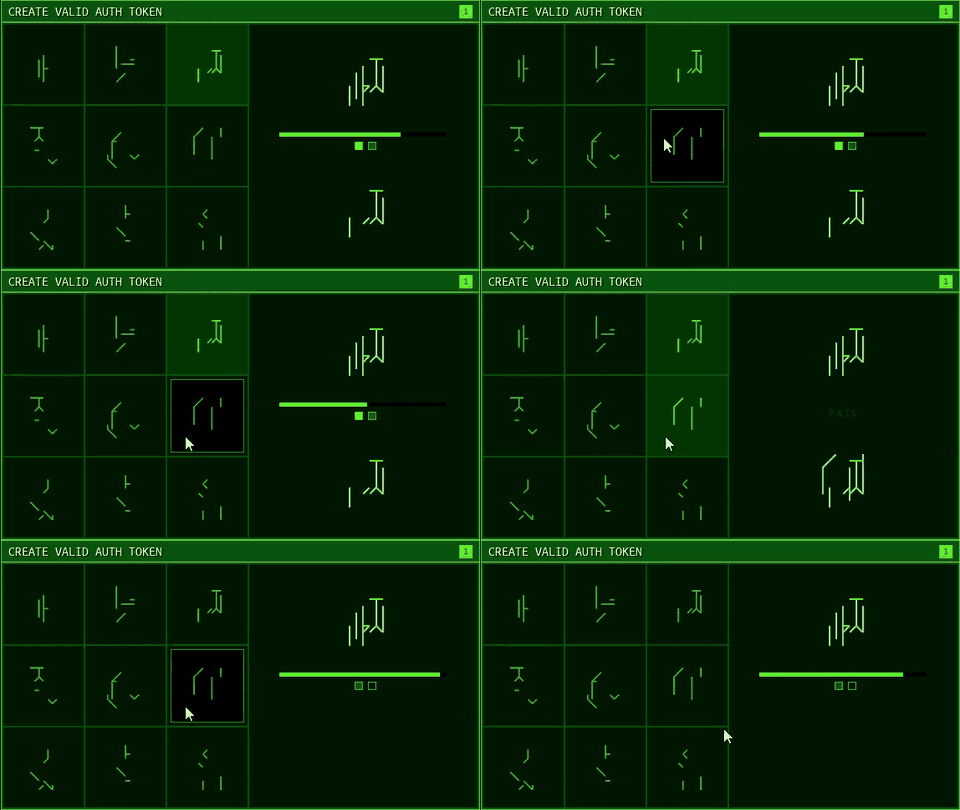
There is a limited amount of time between each selection. If I am unsure, I still select a part before the timer expires, because failing to choose anything causes an early failure.
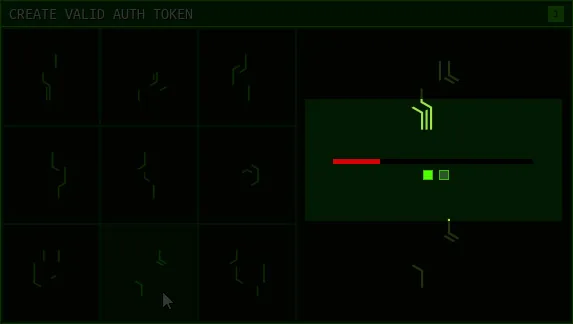
Harder TOKENINE versions require more authorization tokens, use visual interference to distort the token I need to copy, and require more parts for each token.