In this Forensics Crime Scene Detective walkthrough guide, I explain how I complete Tutorials 1 through 4, including every evidence location, the correct collection methods, and the laboratory analysis steps required to close each case.
All Tutorial Evidence Locations and Analysis Walkthrough
For each tutorial, I first locate the required evidence, place evidence markers where needed, photograph the scene, and collect the items. After returning to the laboratory, I analyze the evidence and send the completed results from my workstation.
Table of Contents
Tutorial 1: Digital Device Evidence
In the first tutorial, I need to locate one password and three digital devices. I place markers next to each piece of evidence and photograph them with the camera before collecting the devices.
Tutorial 1 Evidence List
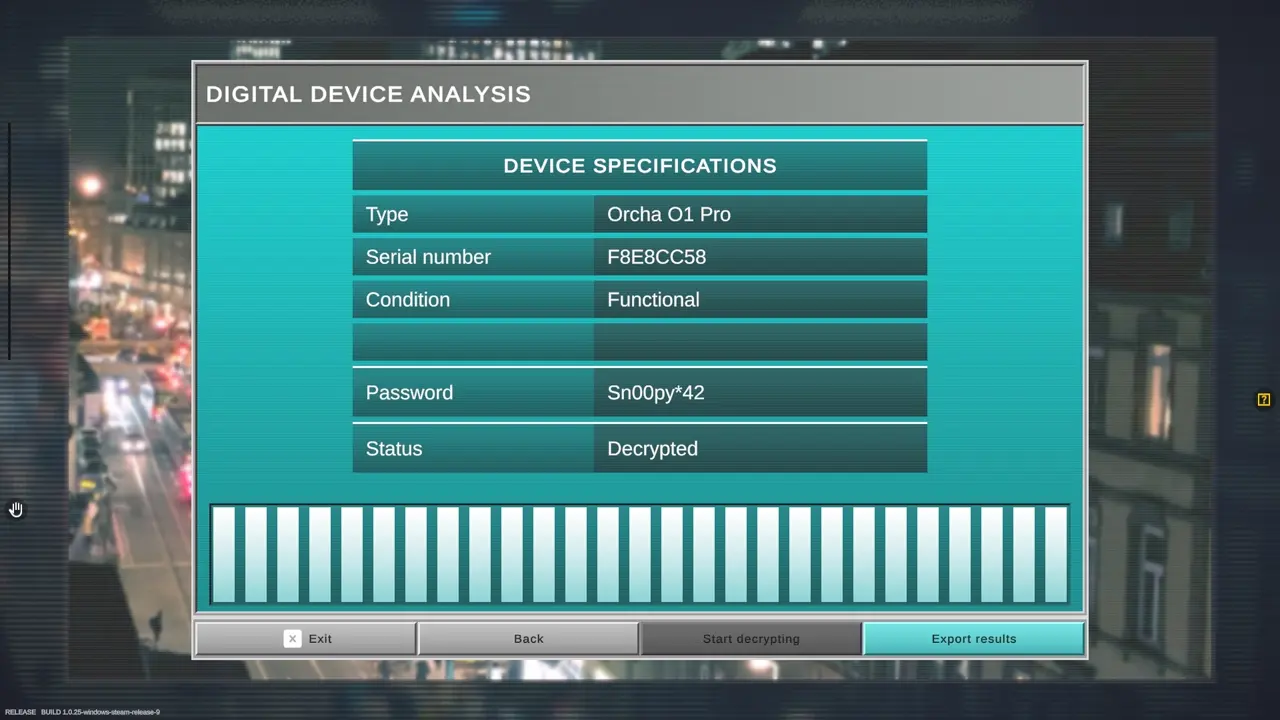
- Password: Sn00py*42
- Digital Device Smartphone – Orcha
- Digital Device Smartphone – Novaris (Damaged)
- Digital Device Smartphone – Korellia (Damaged)
Password Location
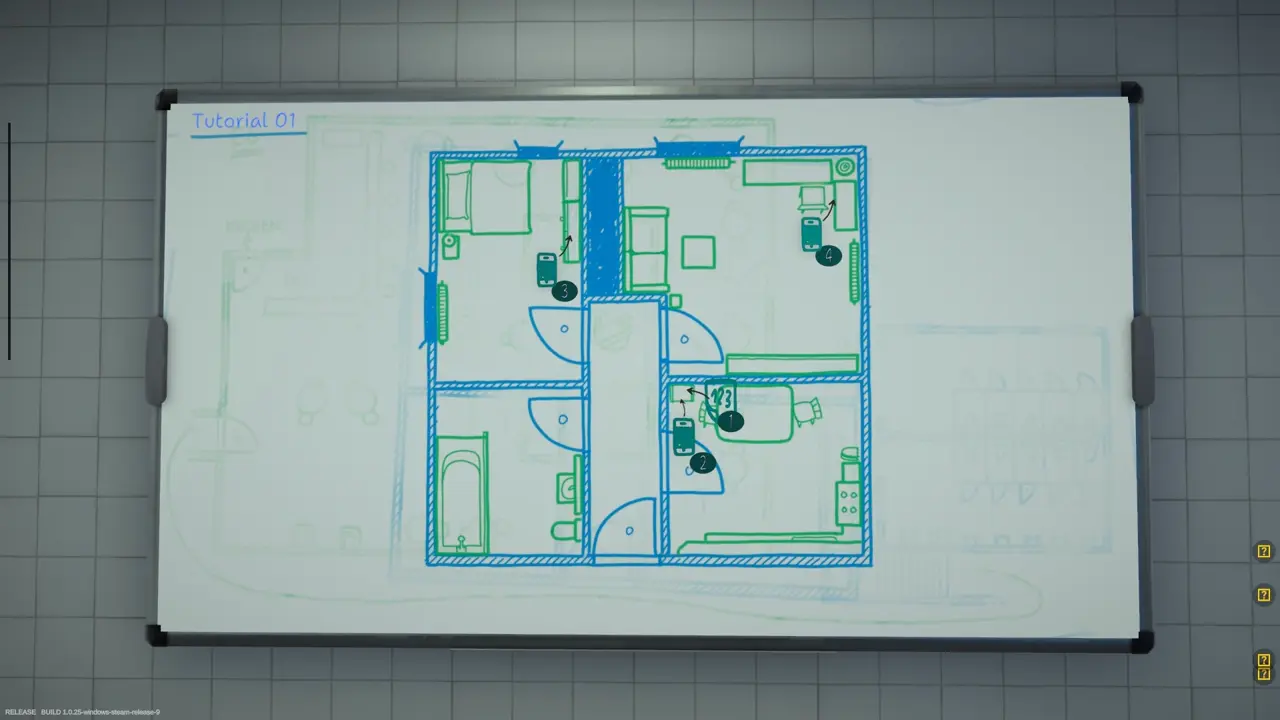
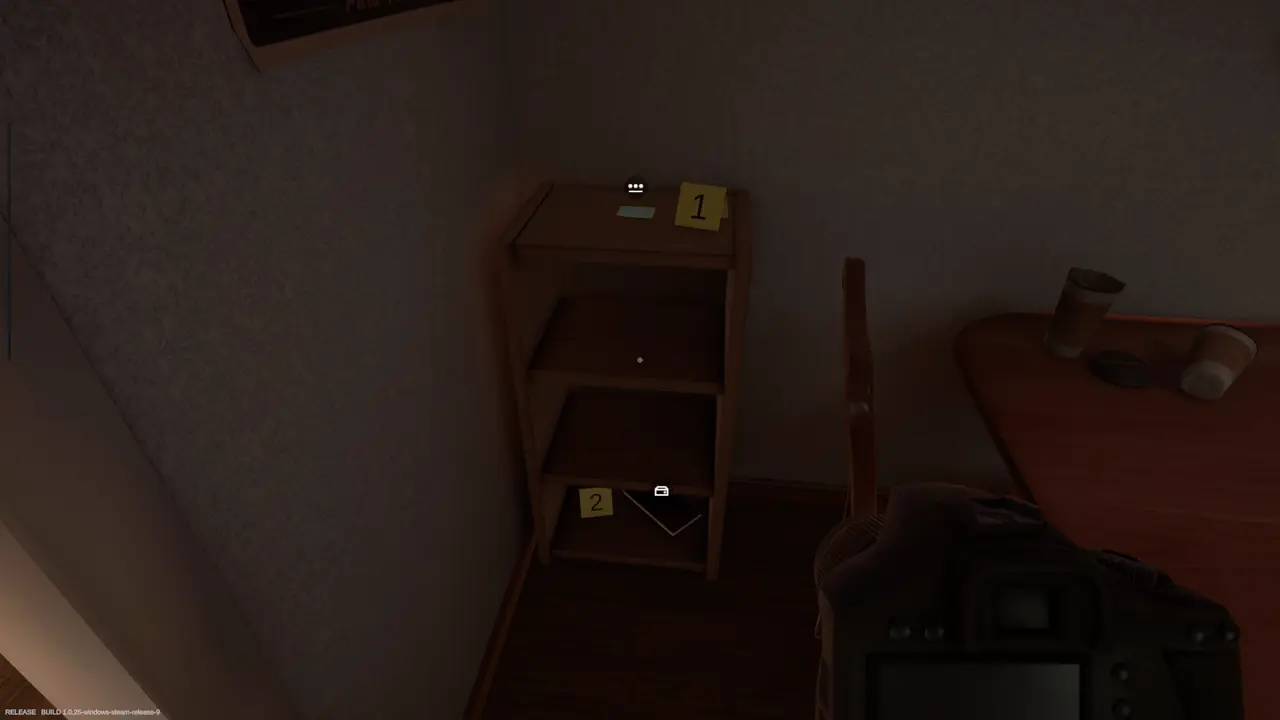
I find the password, Sn00py*42, on the shelves in the kitchen.
Orcha Smartphone Location
I also find the Orcha smartphone on the shelves in the kitchen.
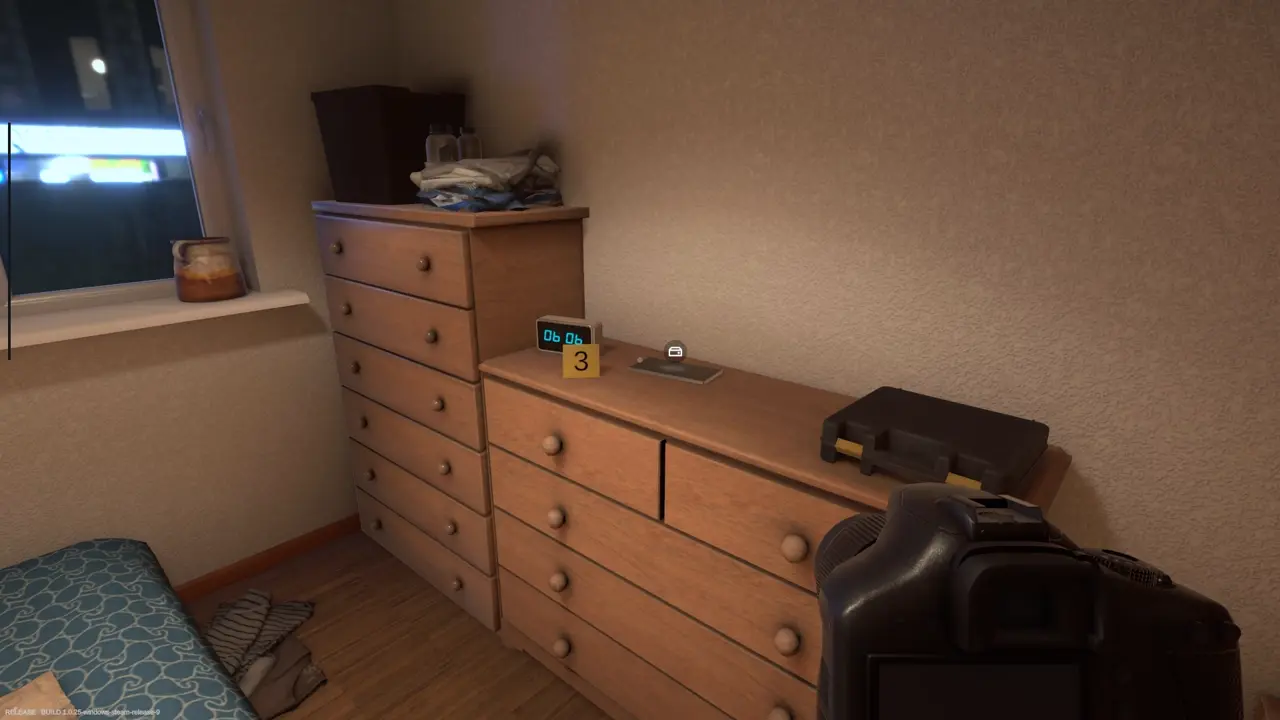
Novaris Smartphone Location
I find the damaged Novaris smartphone inside the bedroom.
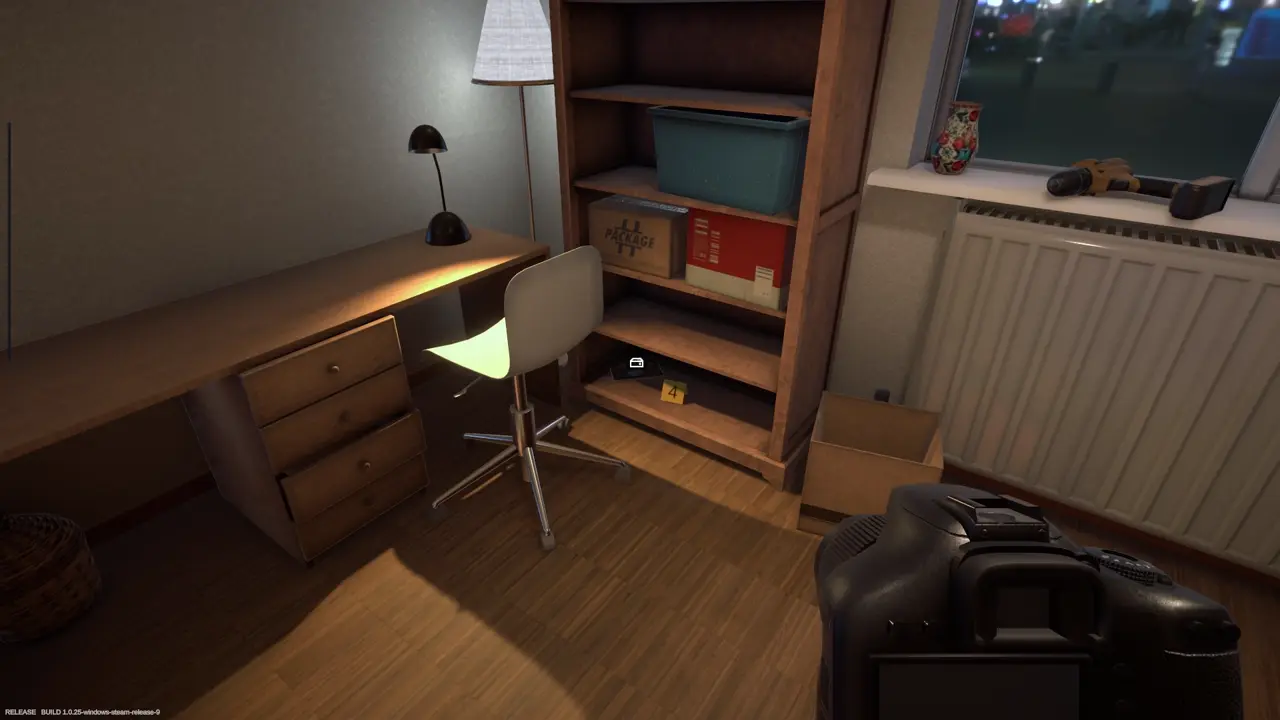
Korellia Smartphone Location
I find the damaged Korellia smartphone hidden on the bottom shelf in the living room.
How I Desolder the Digital Devices
After returning to the laboratory, I begin by desoldering the digital devices. I heat each memory chip evenly until it reaches the required temperature shown on the scale on the right side of the display.
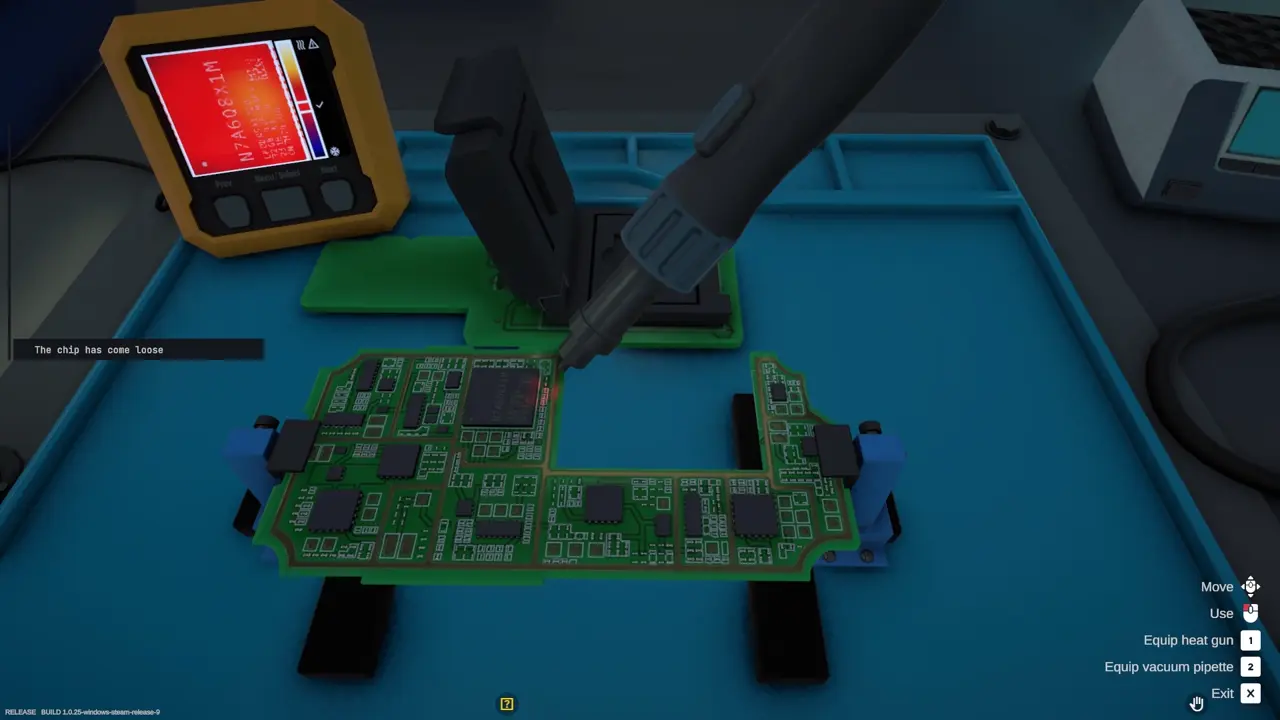
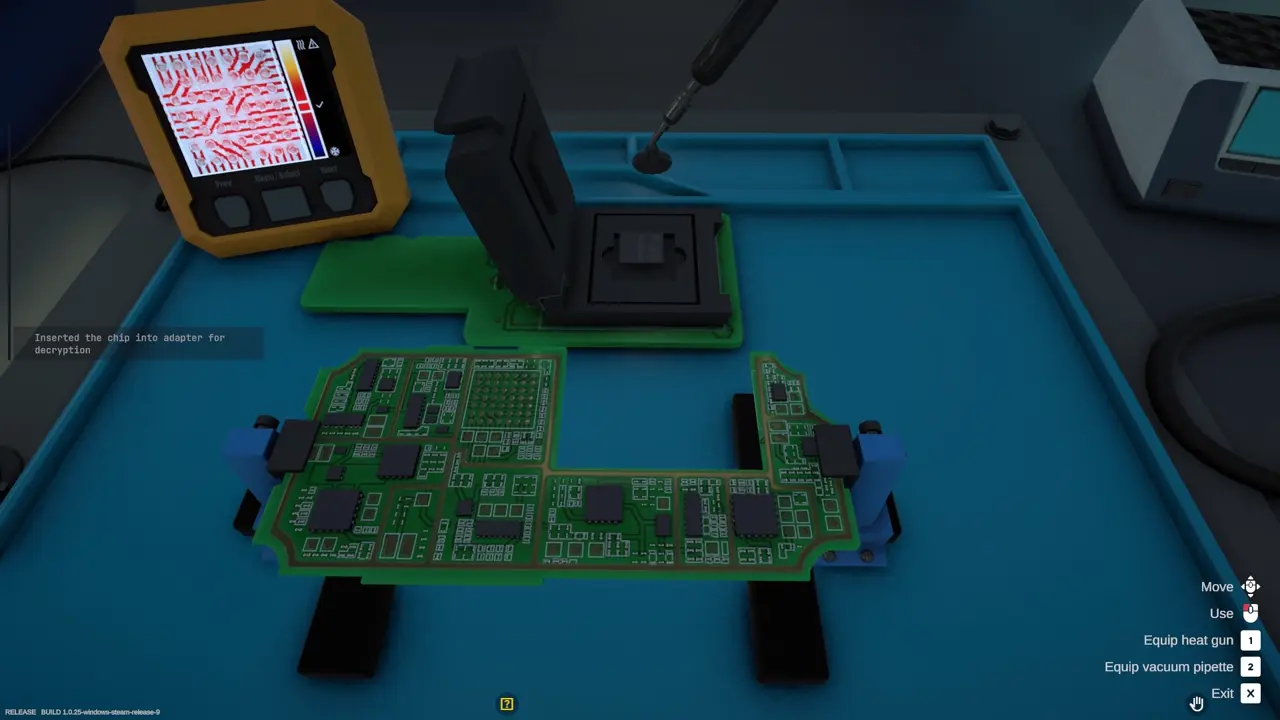
When the chip becomes loose, I receive a notification. I then use the vacuum pipette to lift the memory chip and place it inside the box.
How I Analyze the Digital Evidence
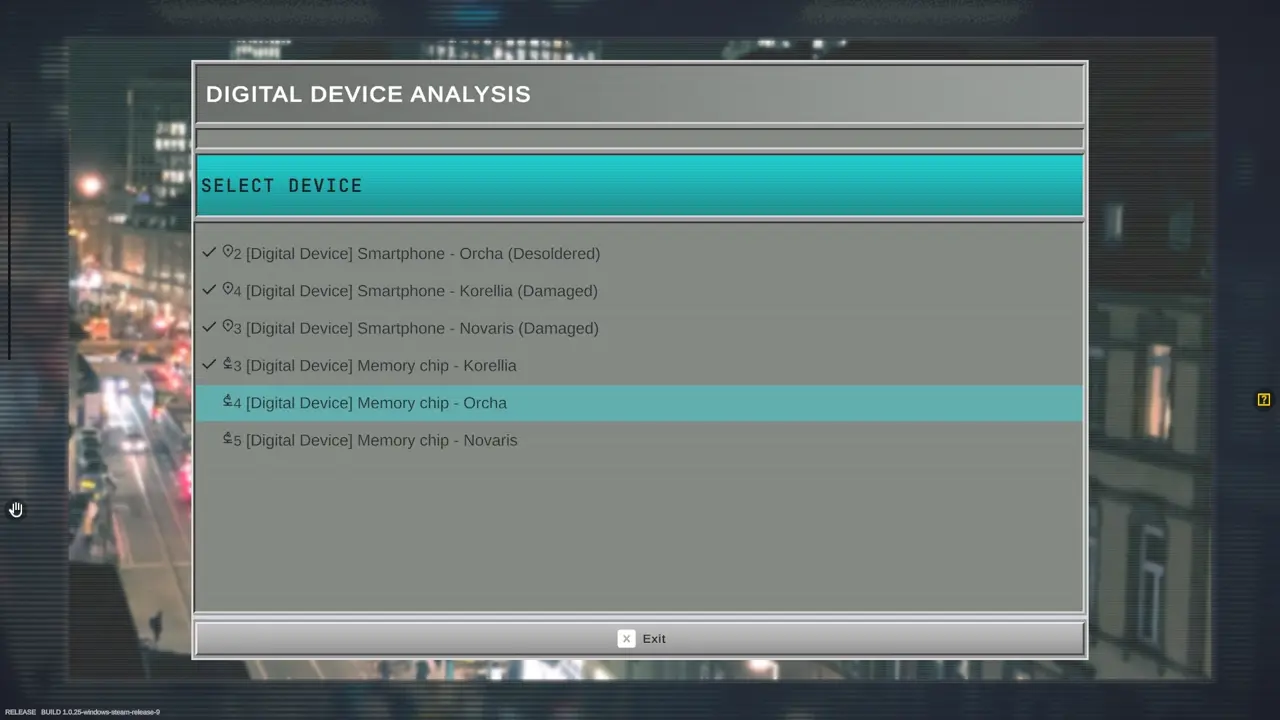
After desoldering all three memory chips, I move to the digital evidence analysis station. I select a device, add the password when available, and choose Start Decrypting.
I wait for the decryption process to finish and then export the results.
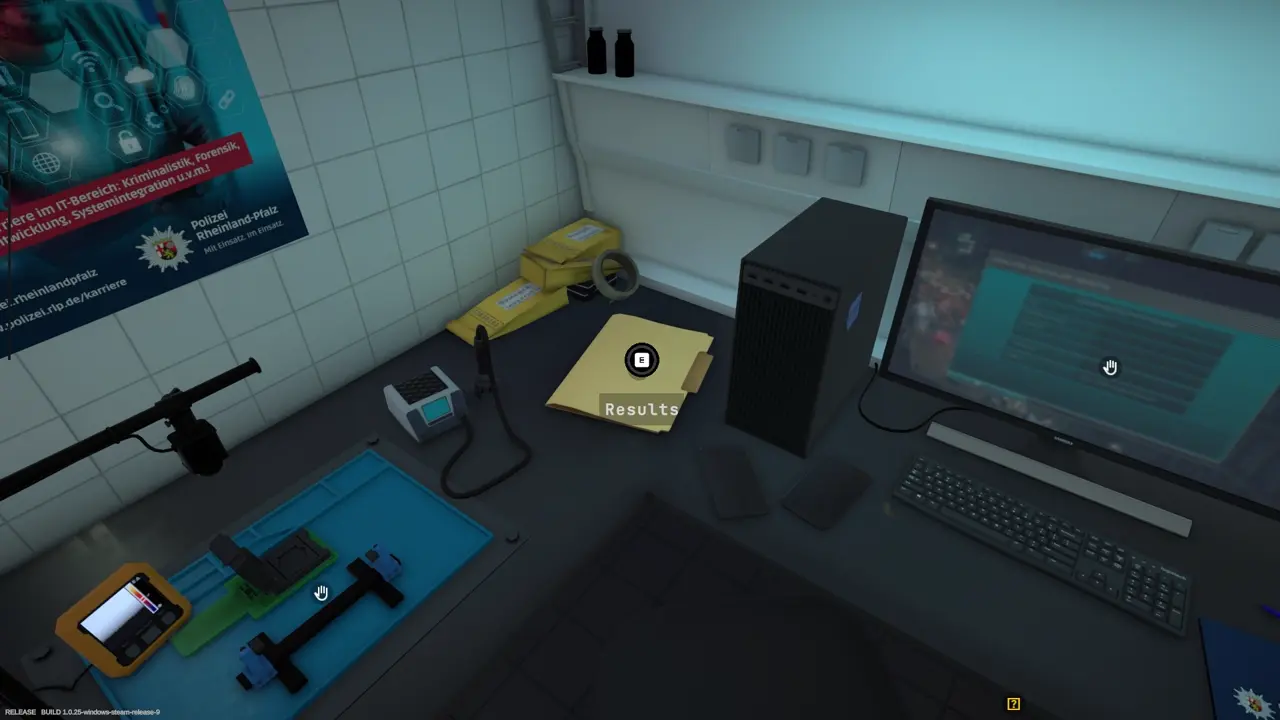
Once the results are exported, I collect the yellow results folder from the station.
How I Complete Tutorial 1
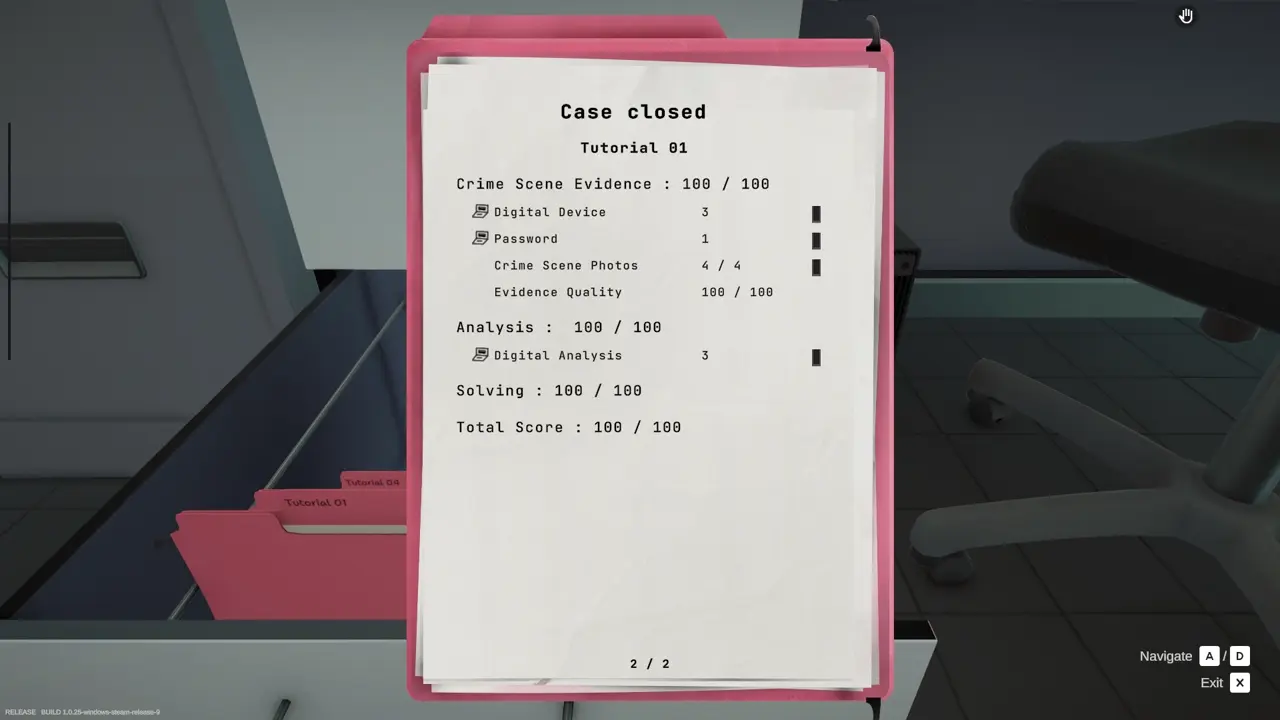
I go to my workstation, open the Send Message tab, and attach the completed analysis results.
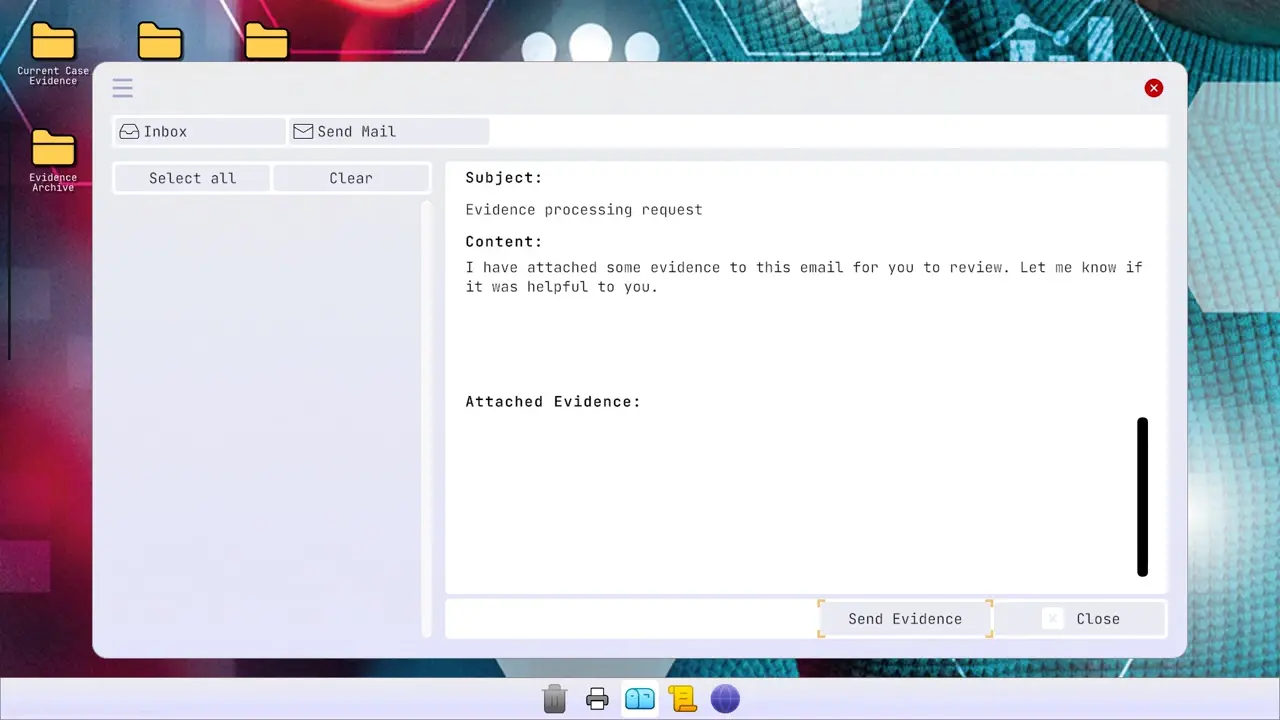
After sending the results, I wait for a response from my colleagues. Once their reply arrives, I can close the case.
Tutorial 2: Wine Bottle and Fingerprint Evidence
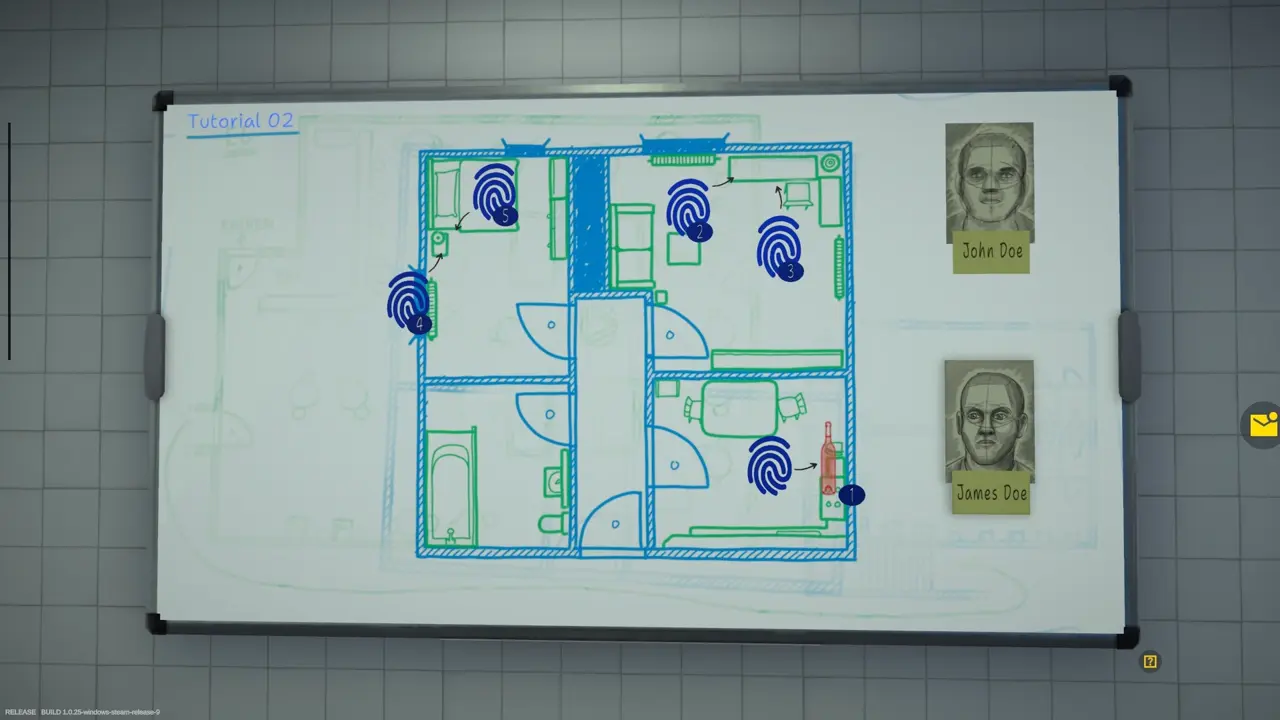
In the second tutorial, I need to collect a wine bottle and four unknown fingerprints. The fingerprints are divided between the bedroom and the living room.
Tutorial 2 Evidence List
- General Wine Bottle
- Fingerprint (Unknown) ×4
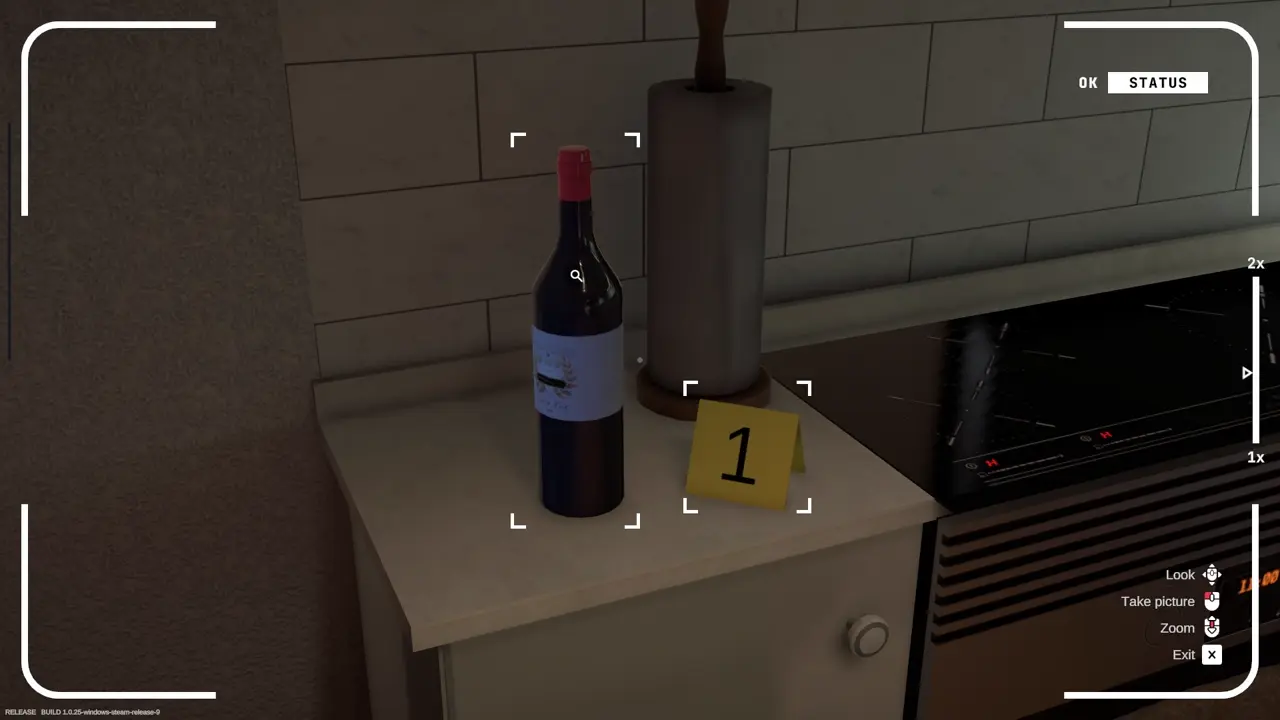
Wine Bottle Location
I find the wine bottle on the kitchen counter.
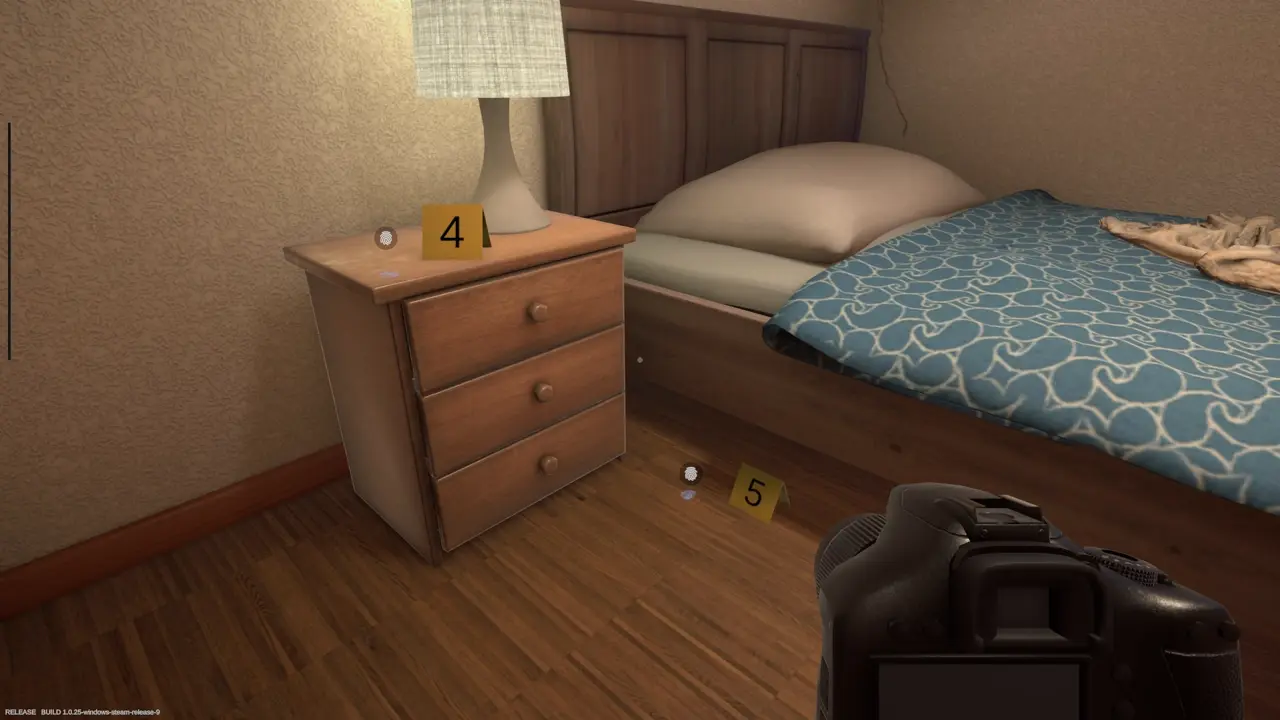
Bedroom Fingerprint Locations
I find two of the unknown fingerprints in the bedroom.
Living Room Fingerprint Locations
I find the remaining two unknown fingerprints in the living room.
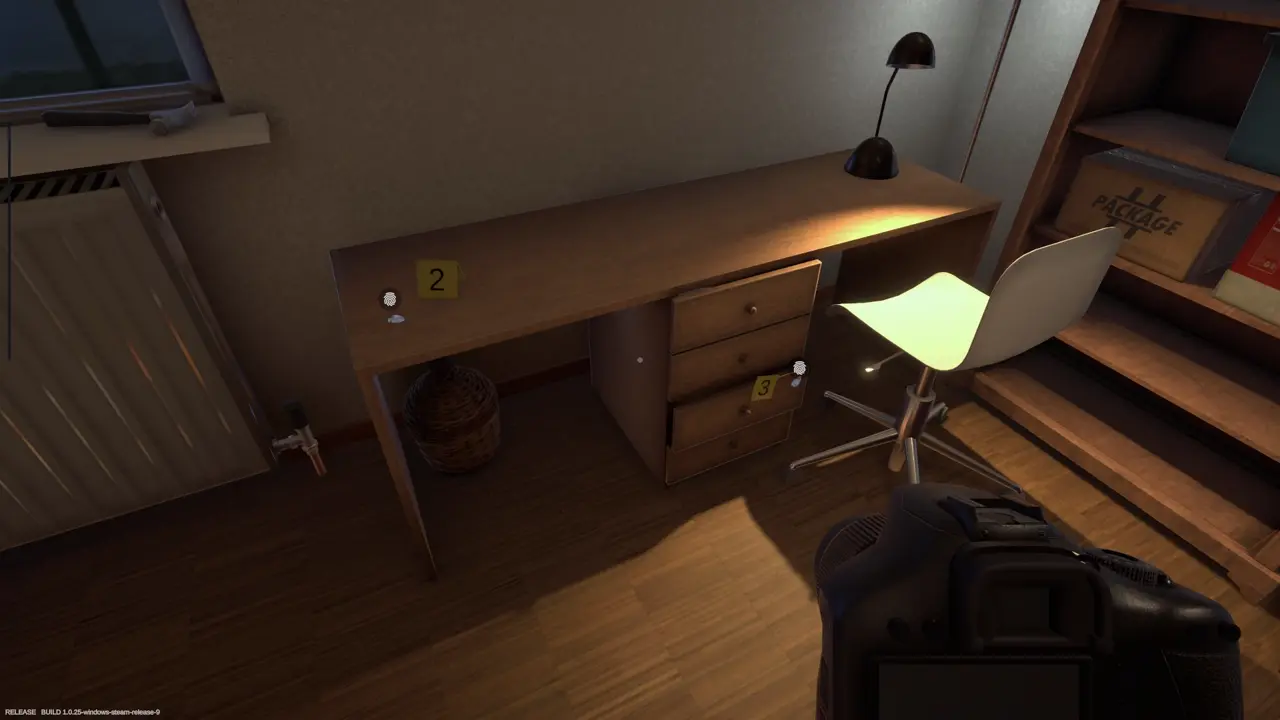
How I Find and Collect Fingerprints
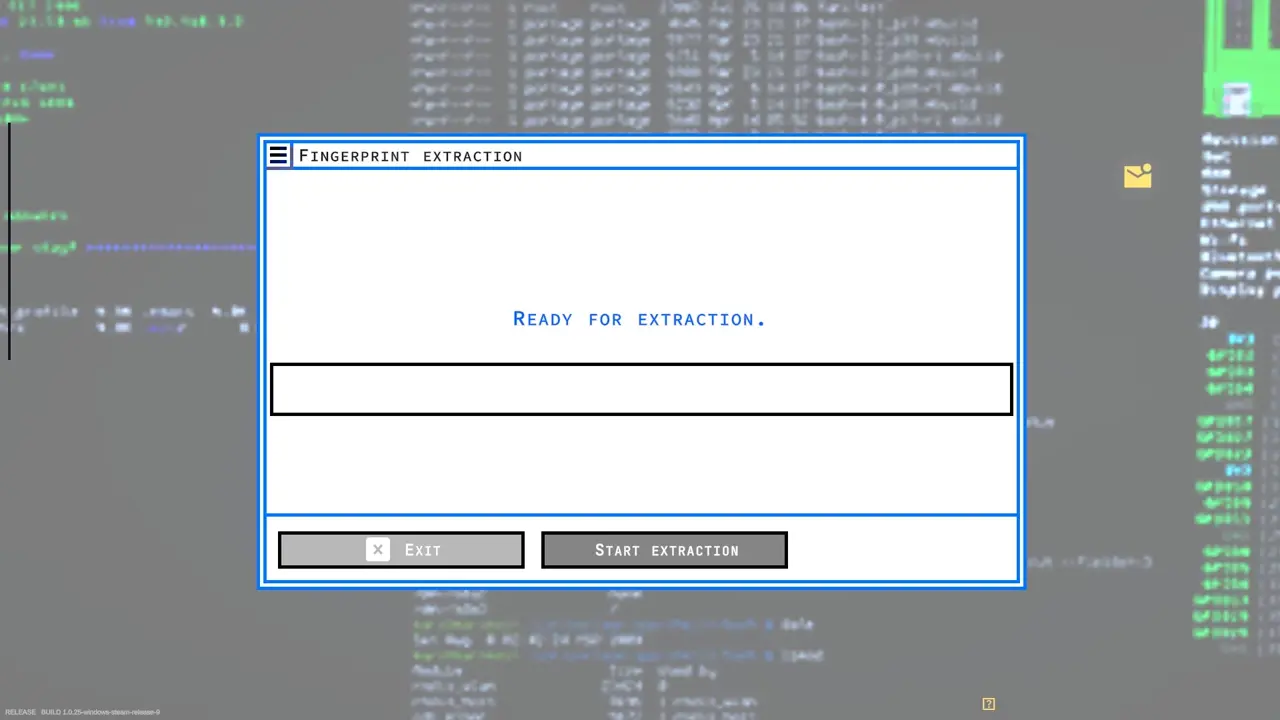
I first use the UV flashlight to reveal each hidden fingerprint.
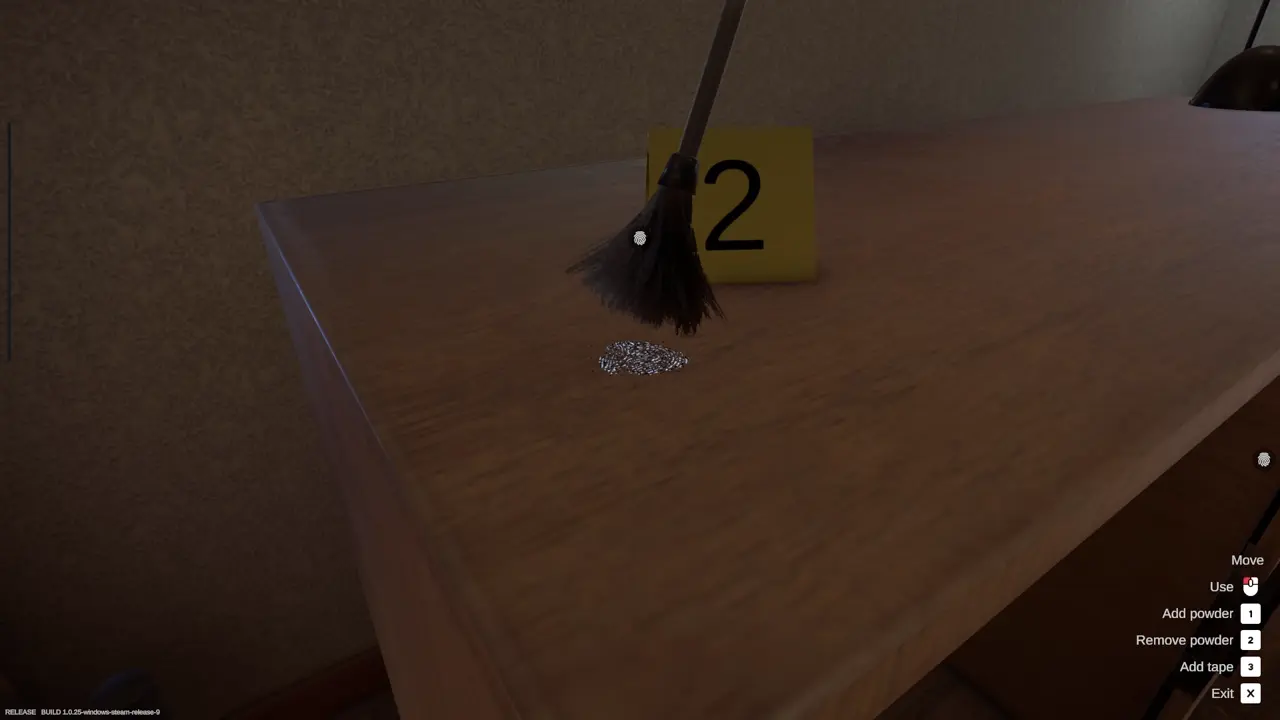
After locating a print, I equip the fingerprint kit, apply powder, and use tape to lift and collect it.
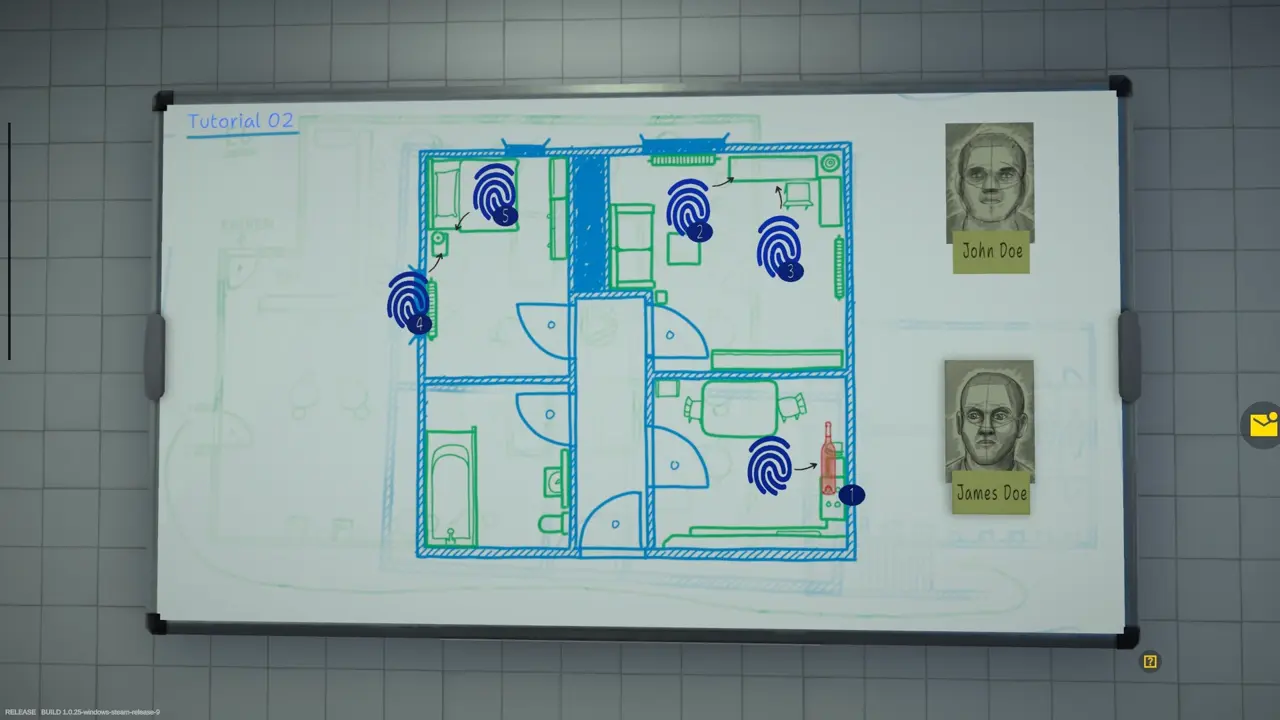
How I Analyze the Wine Bottle
Back at the laboratory, I use Cyanoacrylate Fuming on the collected wine bottle. I open the chamber, place the bottle inside, and close the chamber.
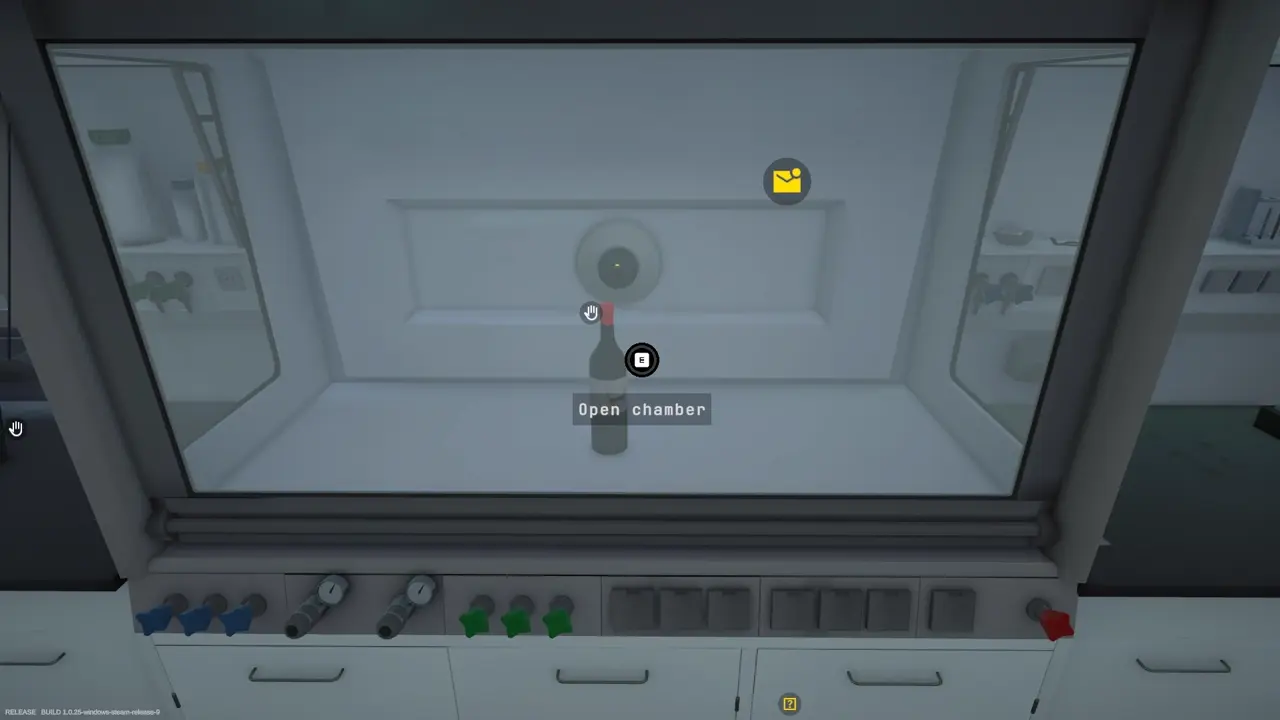
I start the process from the computer and collect the yellow results folder after the analysis is complete.
How I Complete the Fingerprint Comparisons
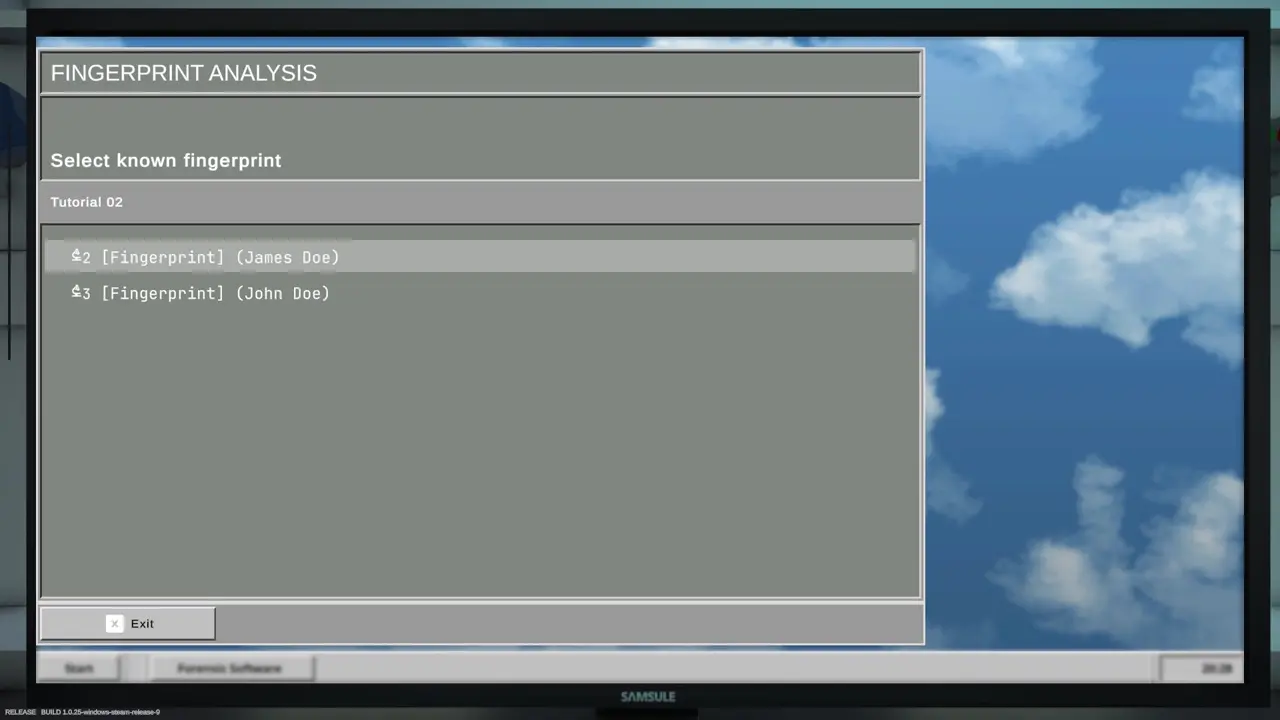
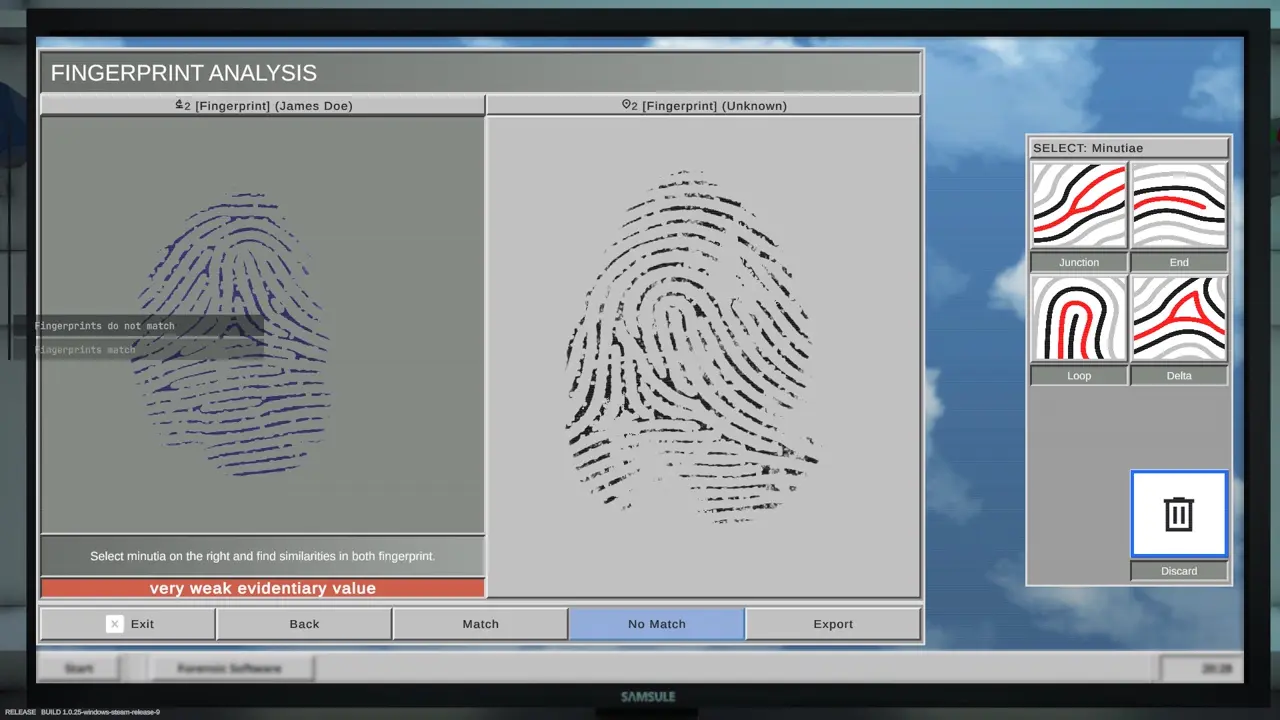
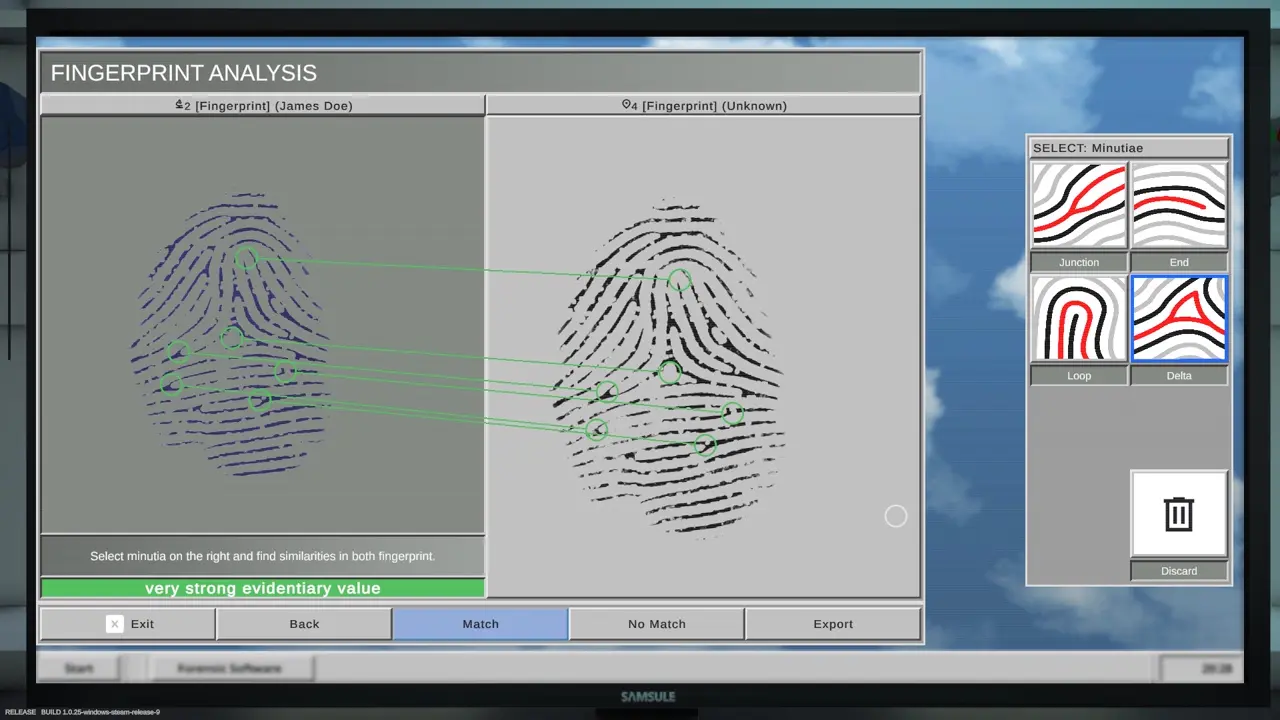
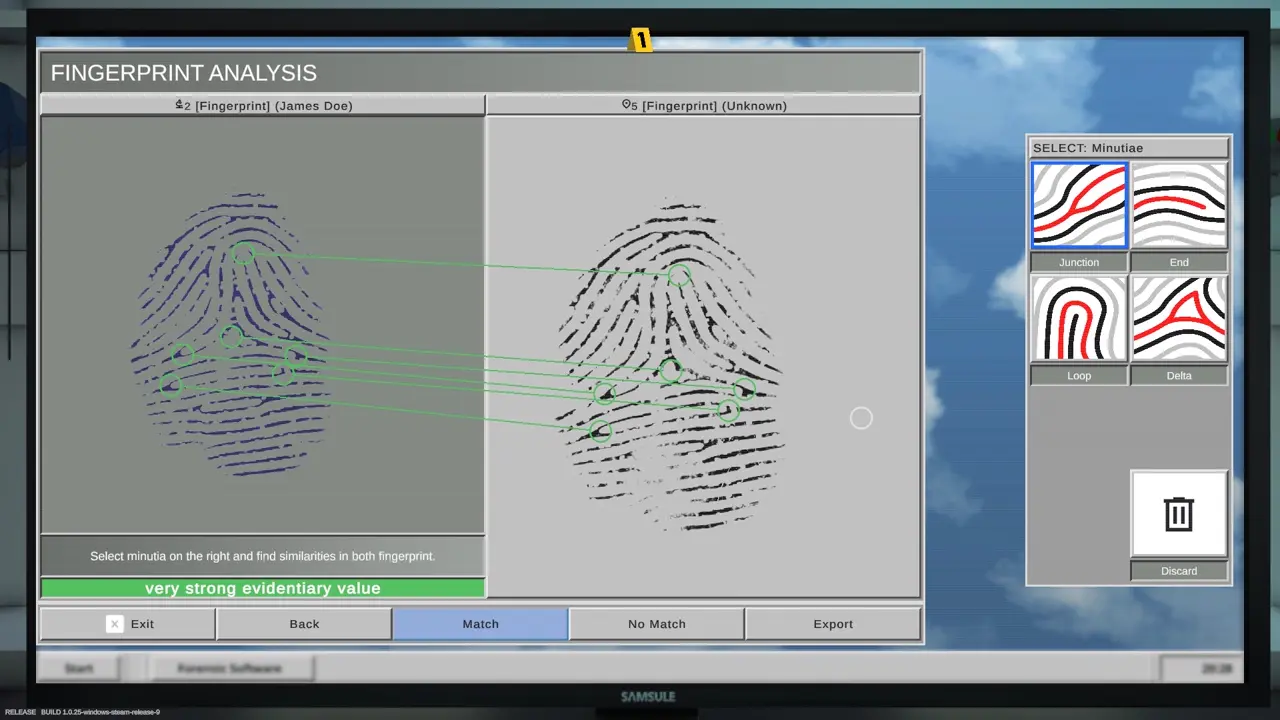
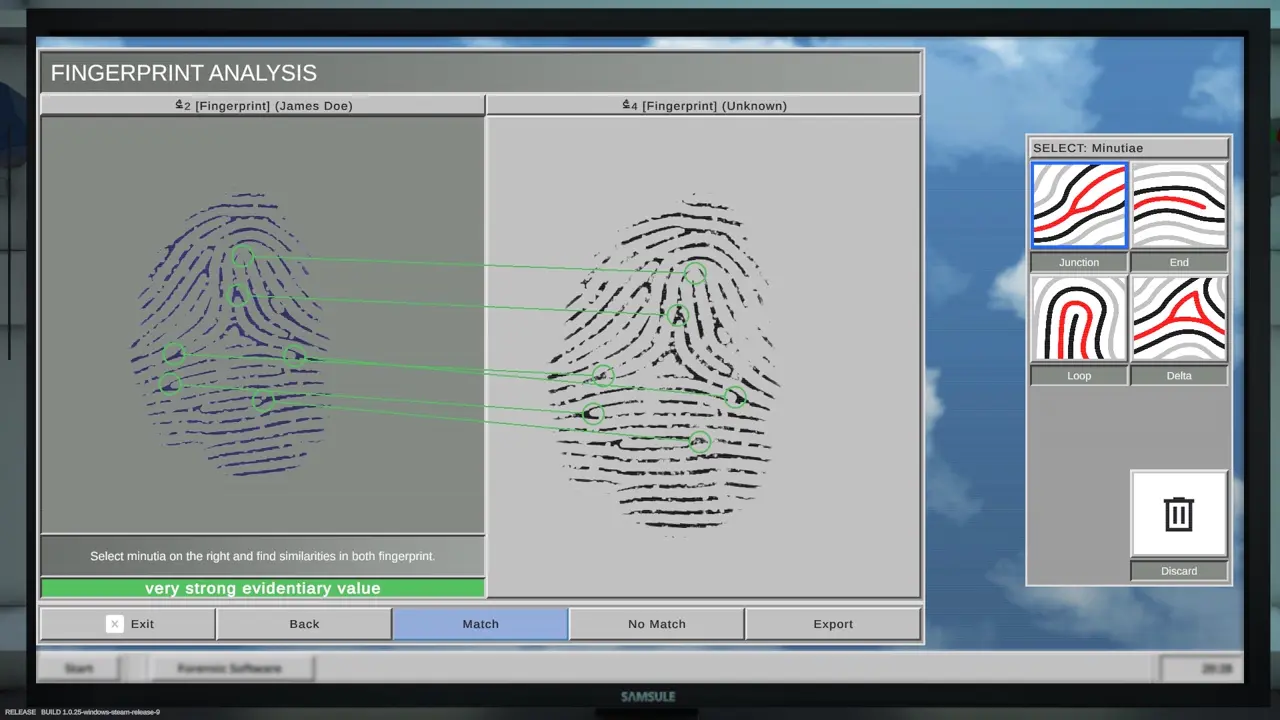
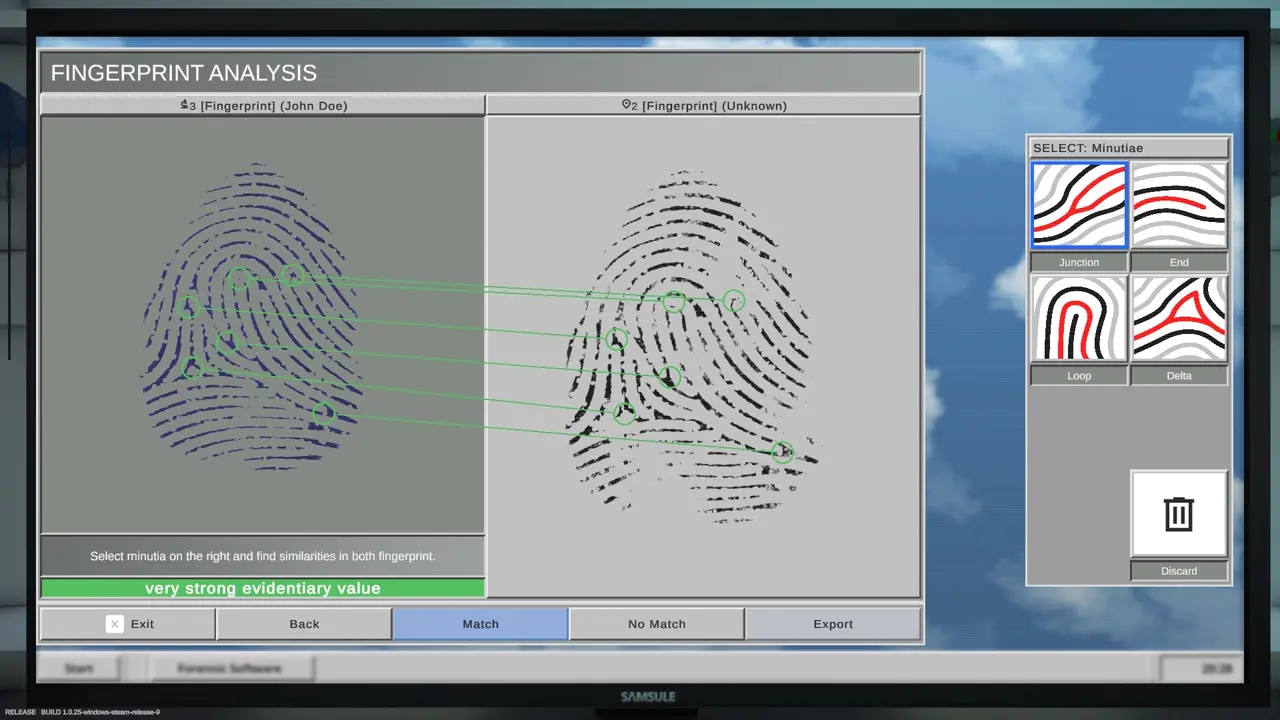
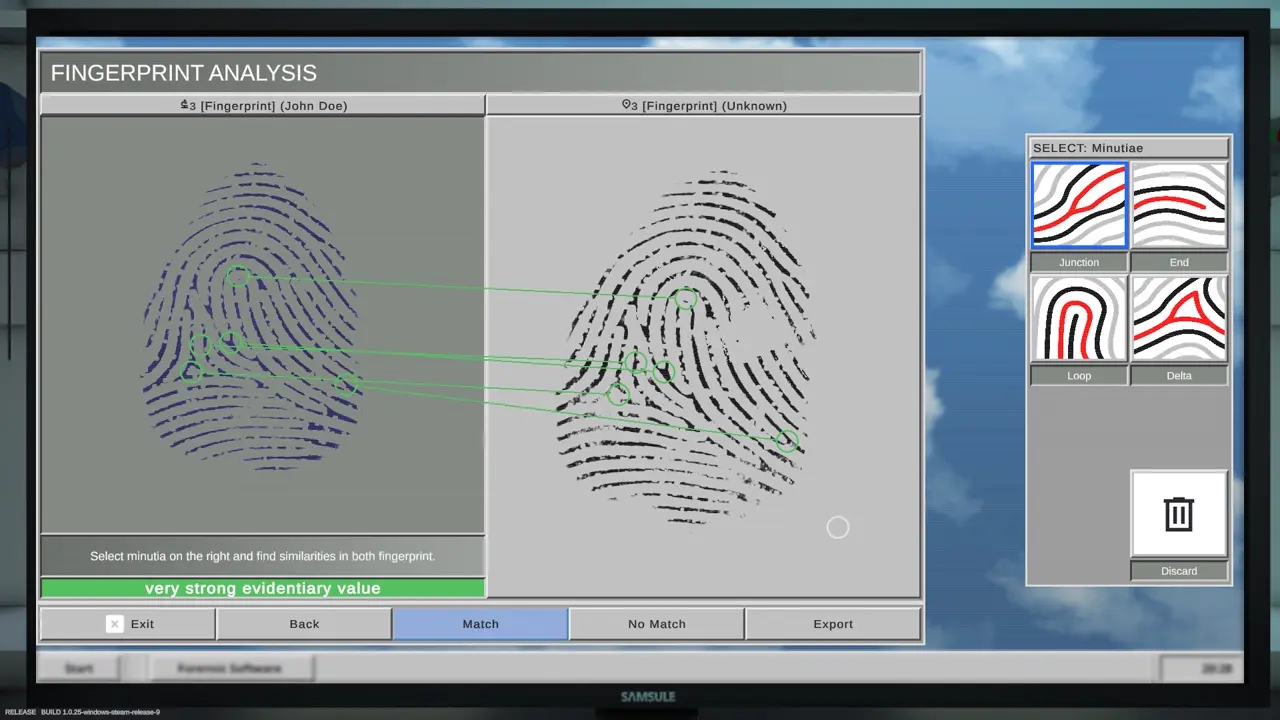
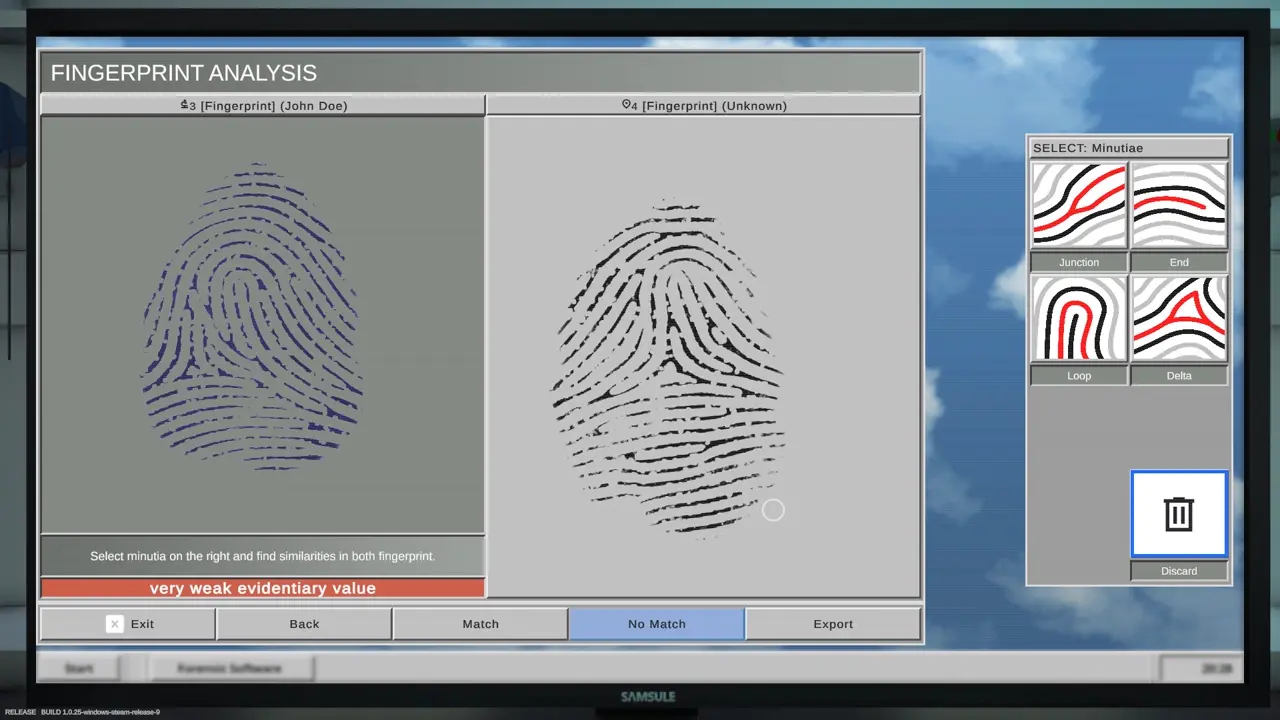
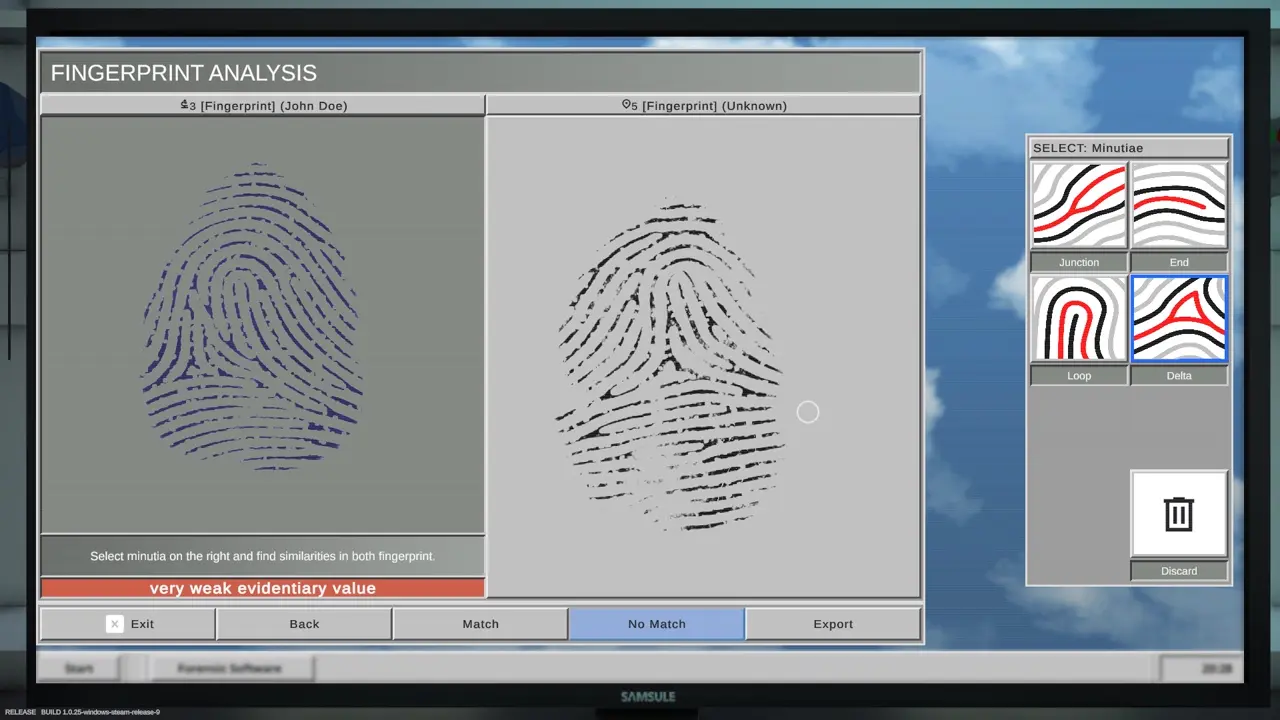
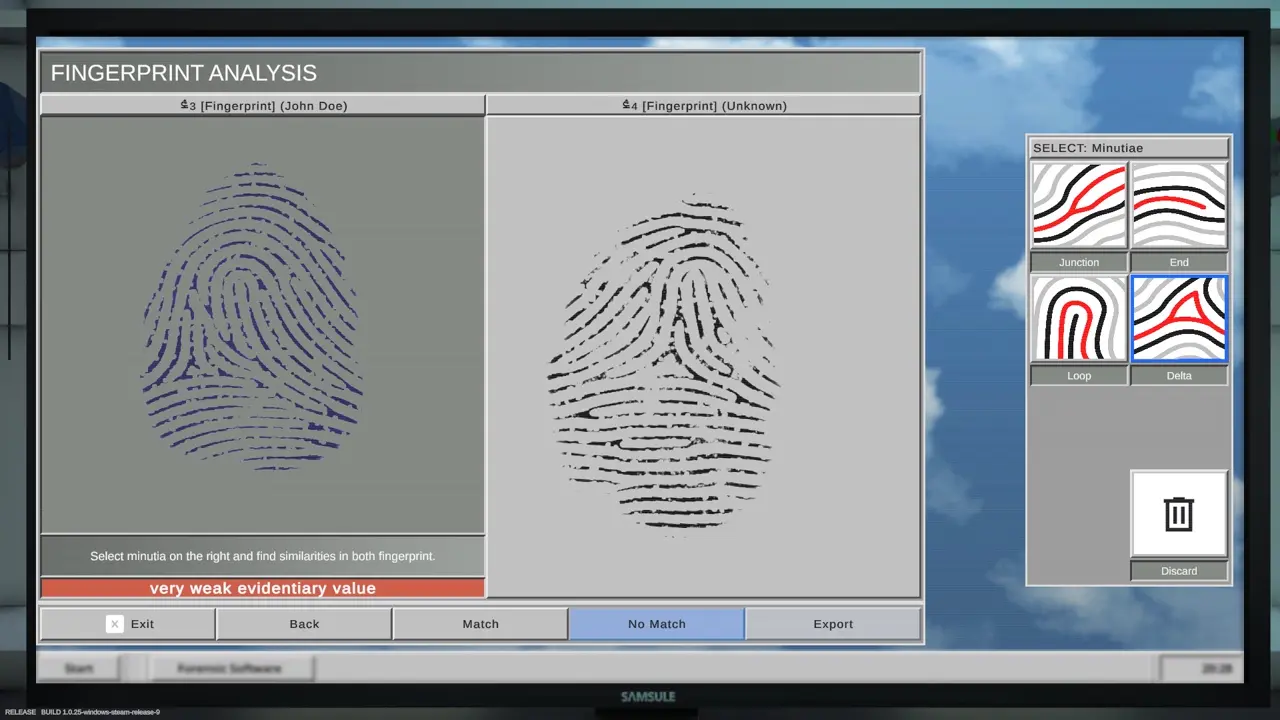
For the fingerprint analysis, I compare every known fingerprint with the unknown prints. I look for matching visual features and mark the corresponding points on both fingerprints.
The following comparisons show the matching points I use to complete the analysis.
How I Complete Tutorial 2
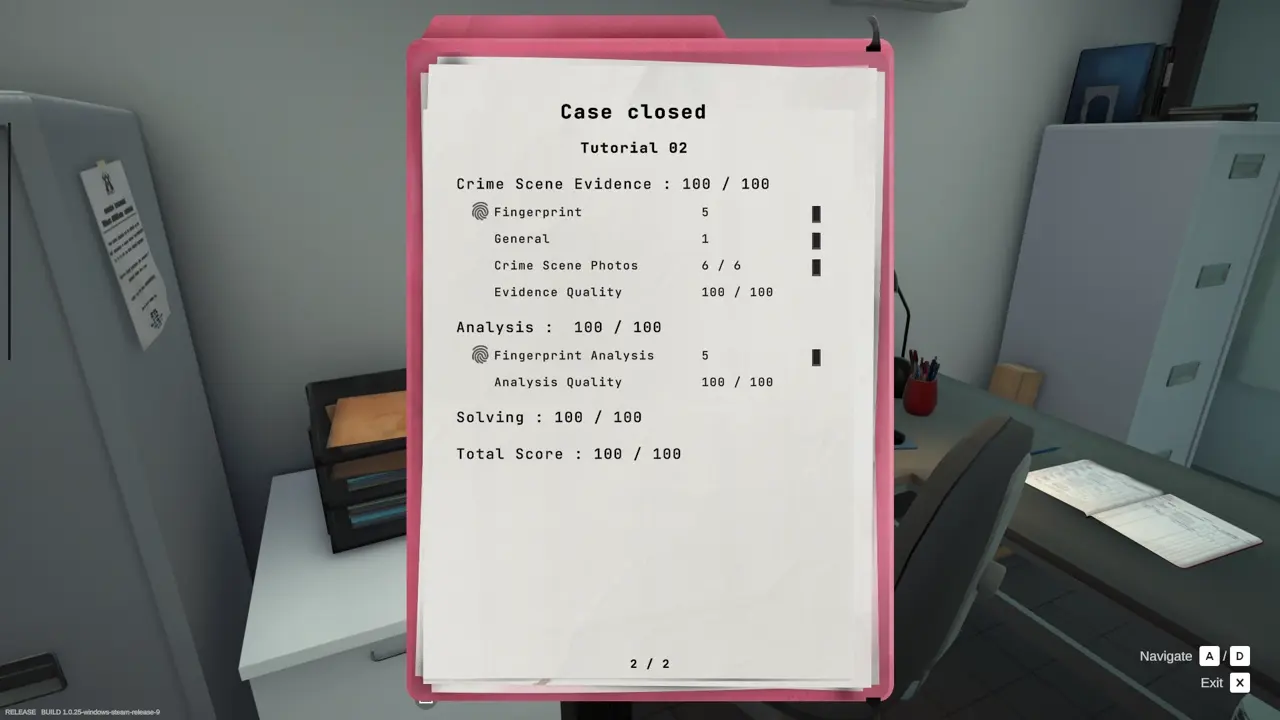
After completing the comparisons, I return to my workstation and open the Send Message tab. I attach the analysis results, send them to my colleagues, and wait for their response. Once the reply arrives, I close the case.
Tutorial 3: Biological Sample and DNA Analysis
In the third tutorial, I need to photograph and collect an unknown biological sample before comparing its DNA profile with the John Doe sample.
Tutorial 3 Evidence List
- Biological Sample (Unknown)
Biological Sample Location
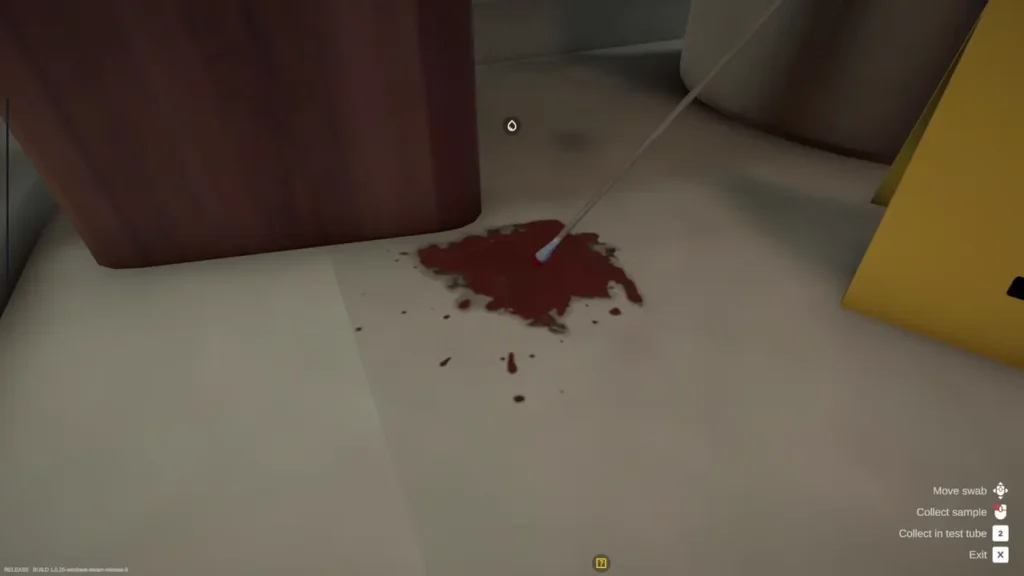
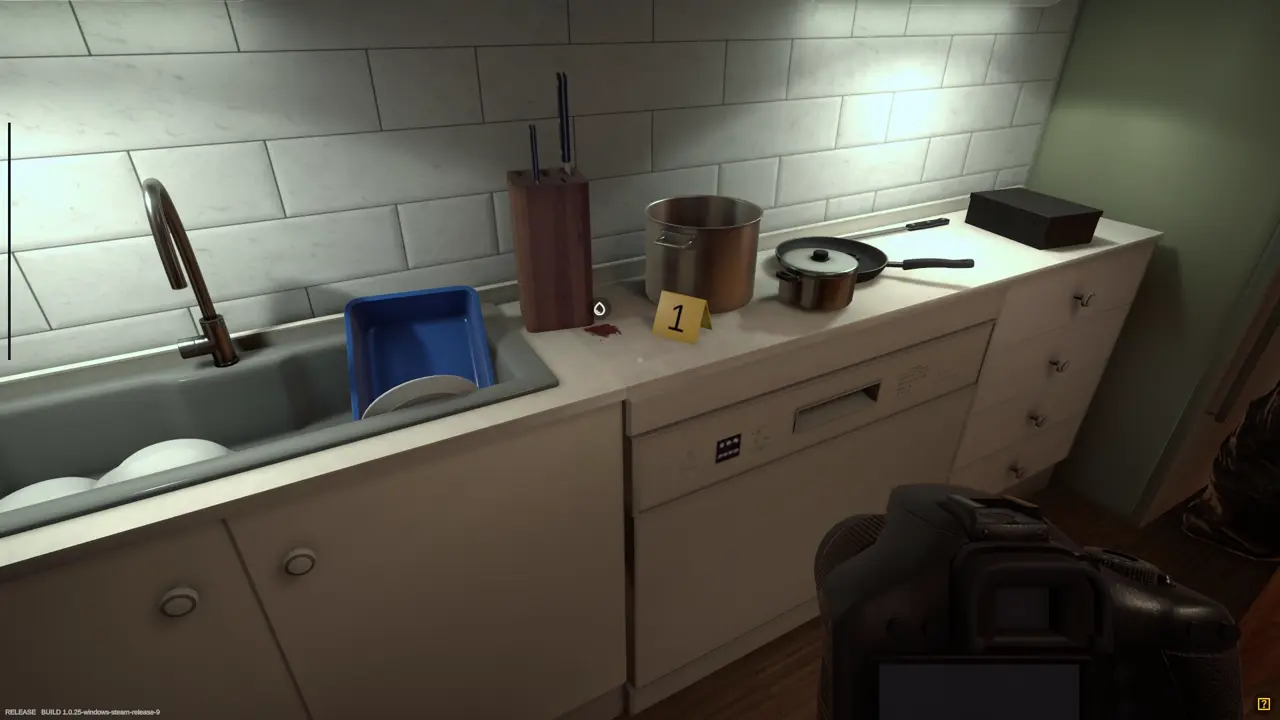
I find the blood stain on the kitchen counter. I place an evidence marker beside it and take a photograph before collecting the sample.
How I Collect the Biological Sample
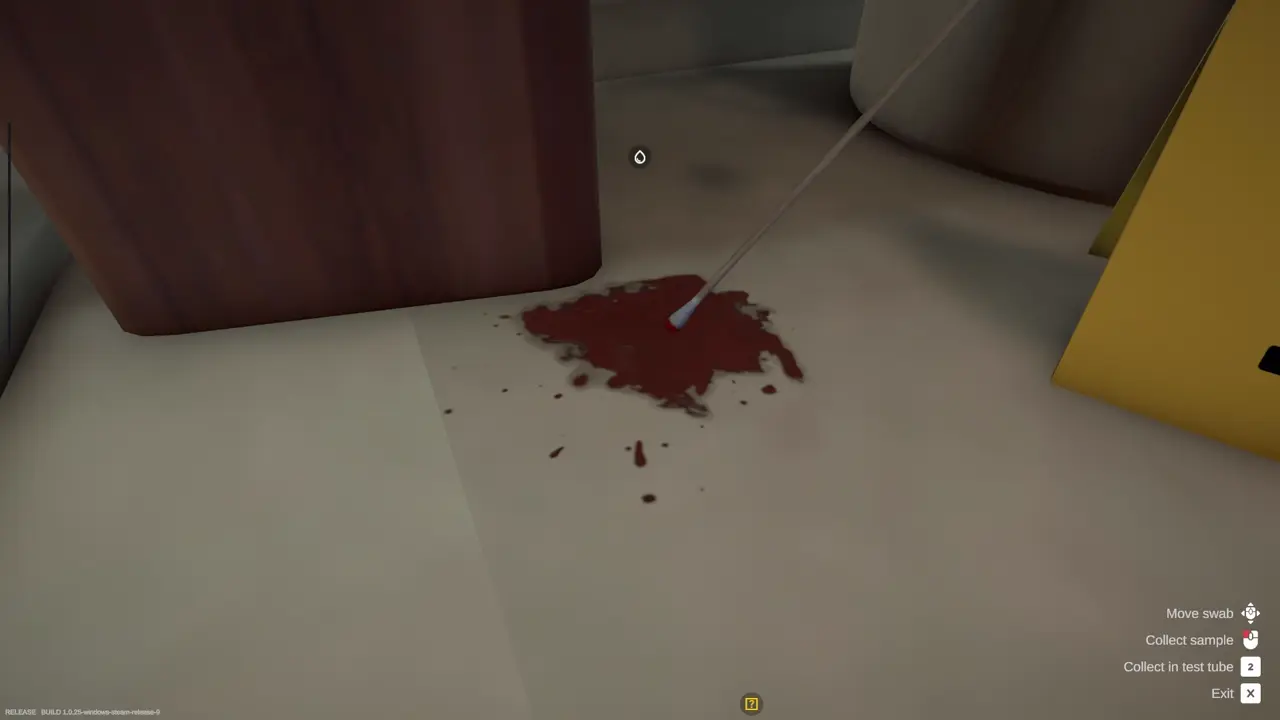
I equip the Bio Material Kit and move the swab around the blood stain until the unknown biological sample is collected.
How I Create the DNA Profiles
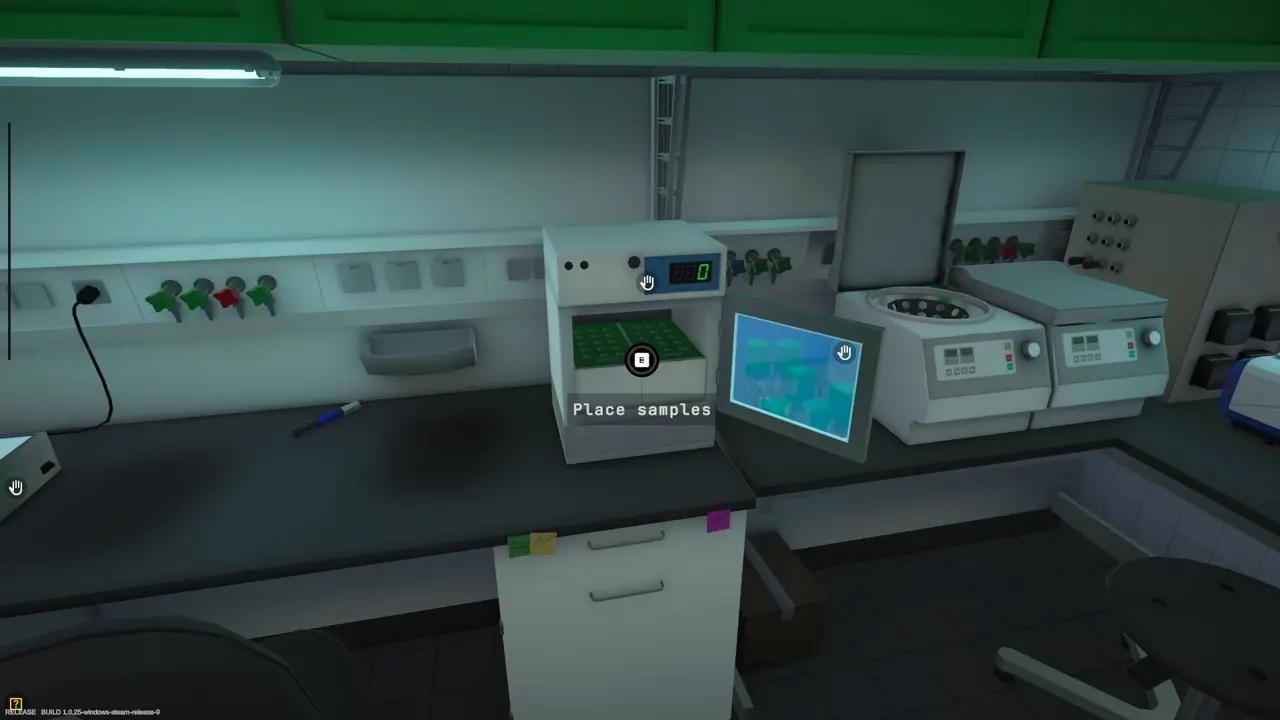
After returning to the laboratory, I place both the John Doe sample and the unknown sample into the station. The station creates a DNA profile for each sample, and I collect the results folder.
How I Compare the DNA Profiles
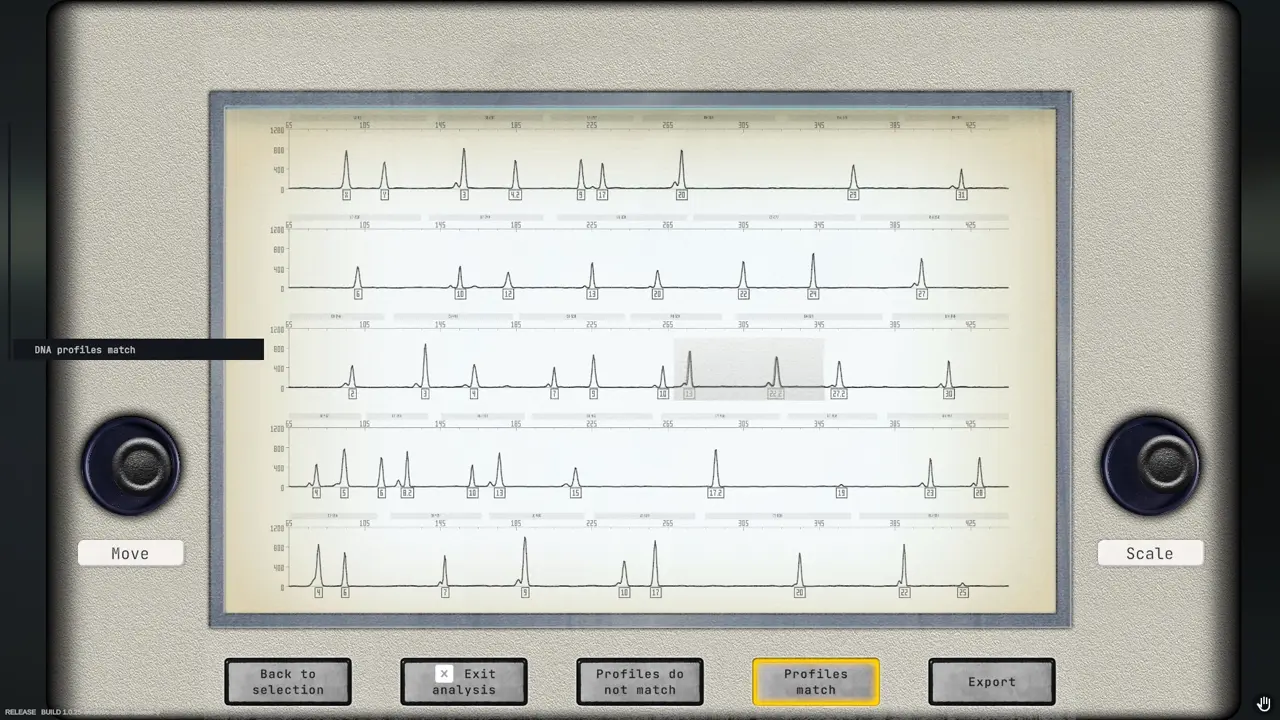
I take both DNA profiles to the DNA comparison station. I use the Move and Scale tools to adjust the images and check whether their patterns match.
The two samples match in this case. I align the top layer as accurately as possible because the quality of the alignment affects the final case score.
How I Complete Tutorial 3
I return to my workstation, open the Send Message tab, and attach the completed DNA analysis results.
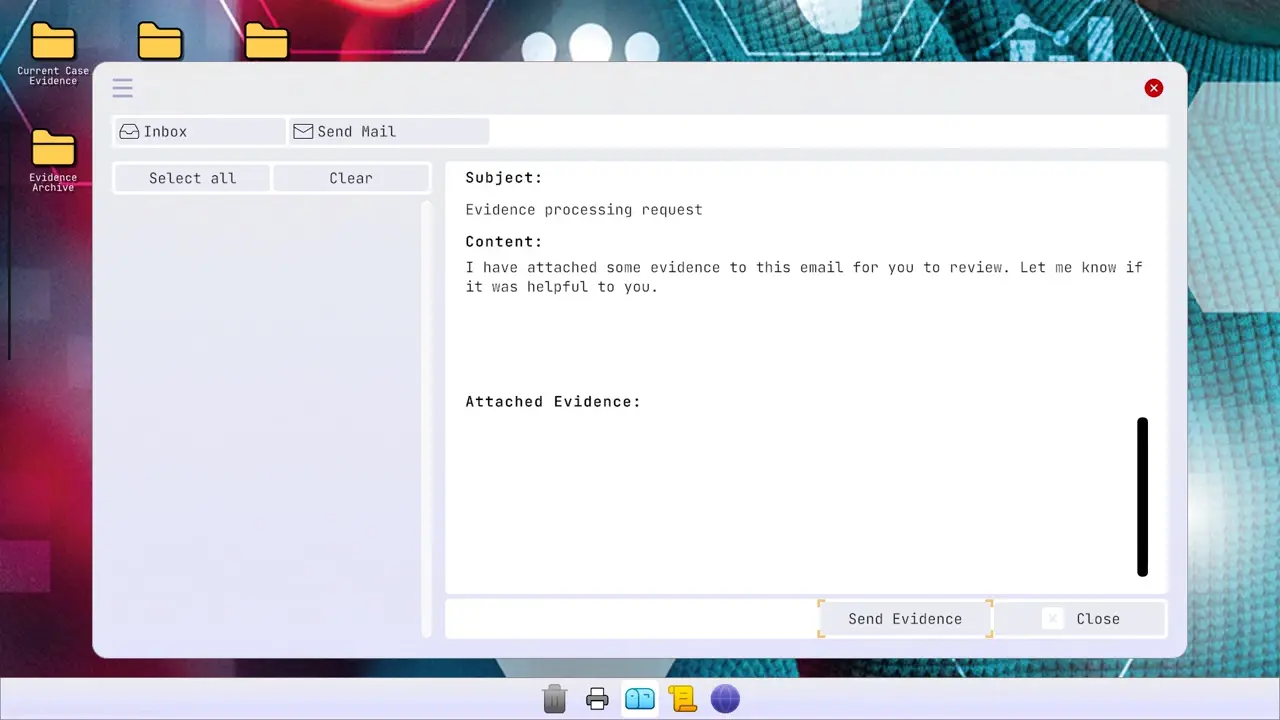
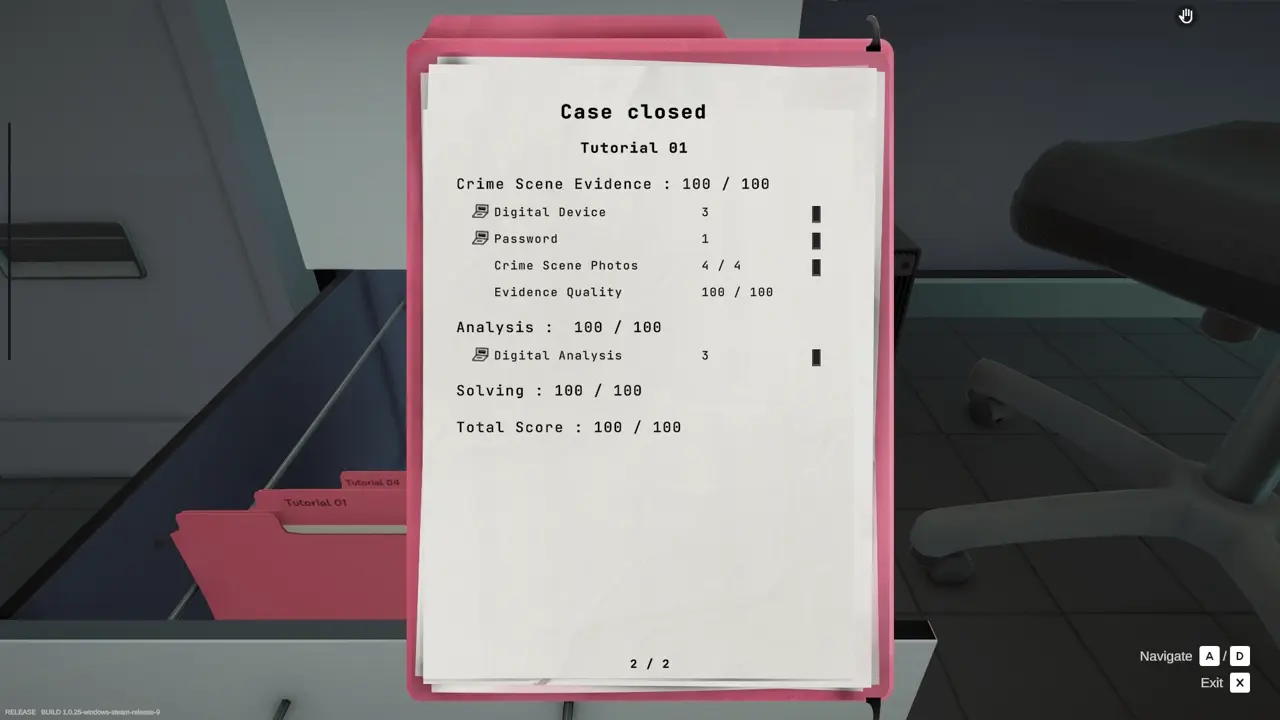
After sending the results, I wait for a reply from my colleagues. When their response arrives, I close the case.
Tutorial 4: Projectile and Firearm Analysis
In the fourth tutorial, I locate a 9mm lead projectile and a Gastl Armory GA-20C pistol. I also reconstruct the projectile trajectory and compare the recovered projectile with a reference projectile in the laboratory.
Tutorial 4 Evidence List
- Projectile – Caliber 9mm, Lead
- Firearm – Pistol Gastl Armory GA-20C
9mm Projectile Location
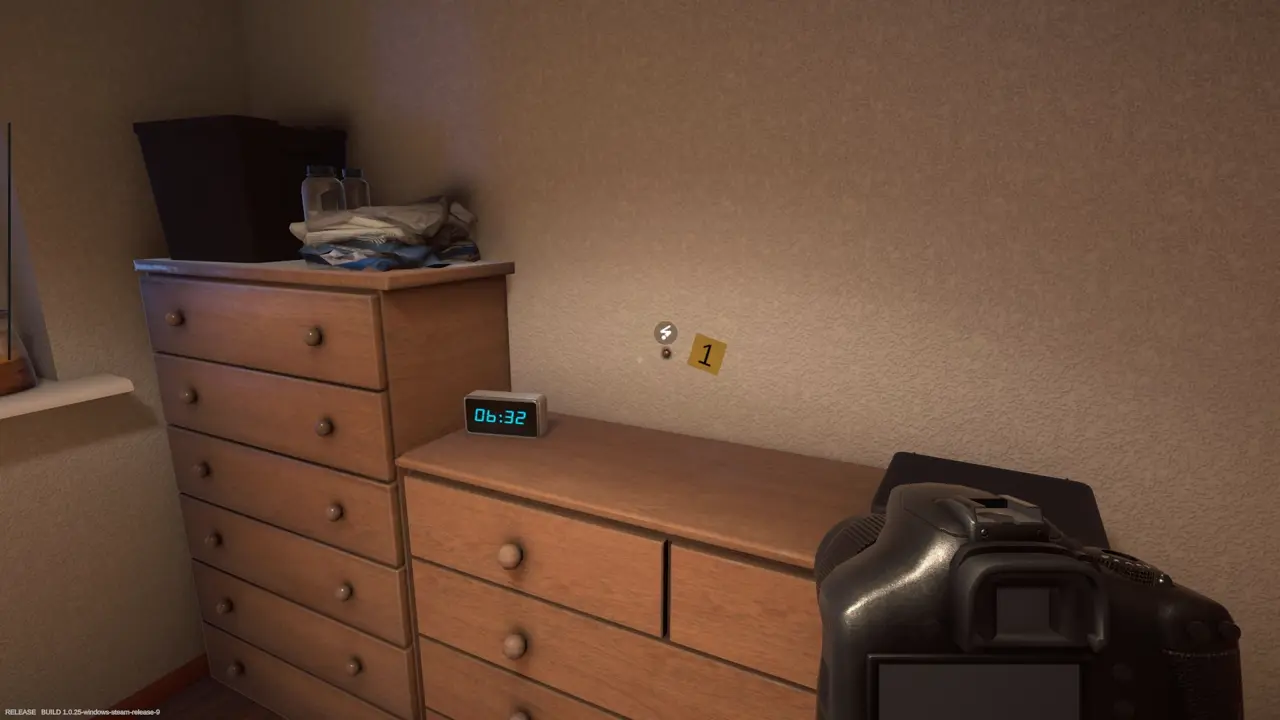
I find the 9mm lead projectile embedded in the wall inside the bedroom.
Gastl Armory GA-20C Pistol Location
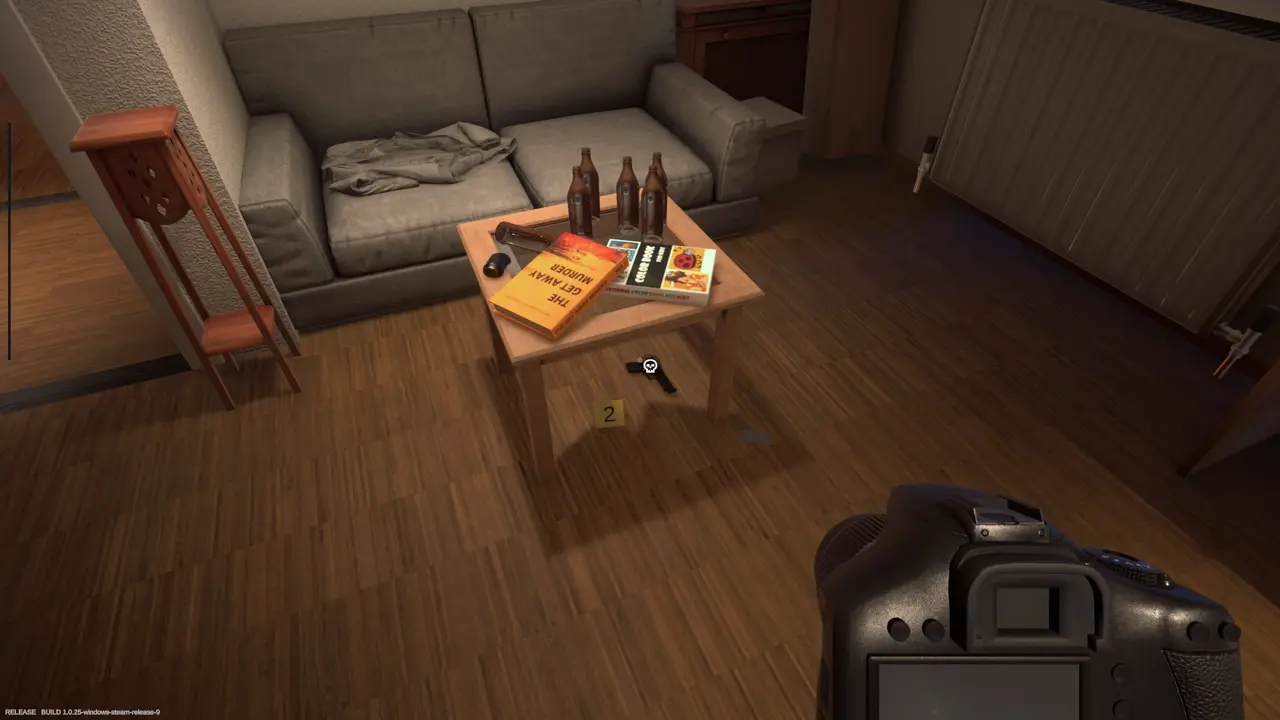
I find the Gastl Armory GA-20C pistol underneath the table in the living room.
How I Reconstruct the Projectile Trajectory
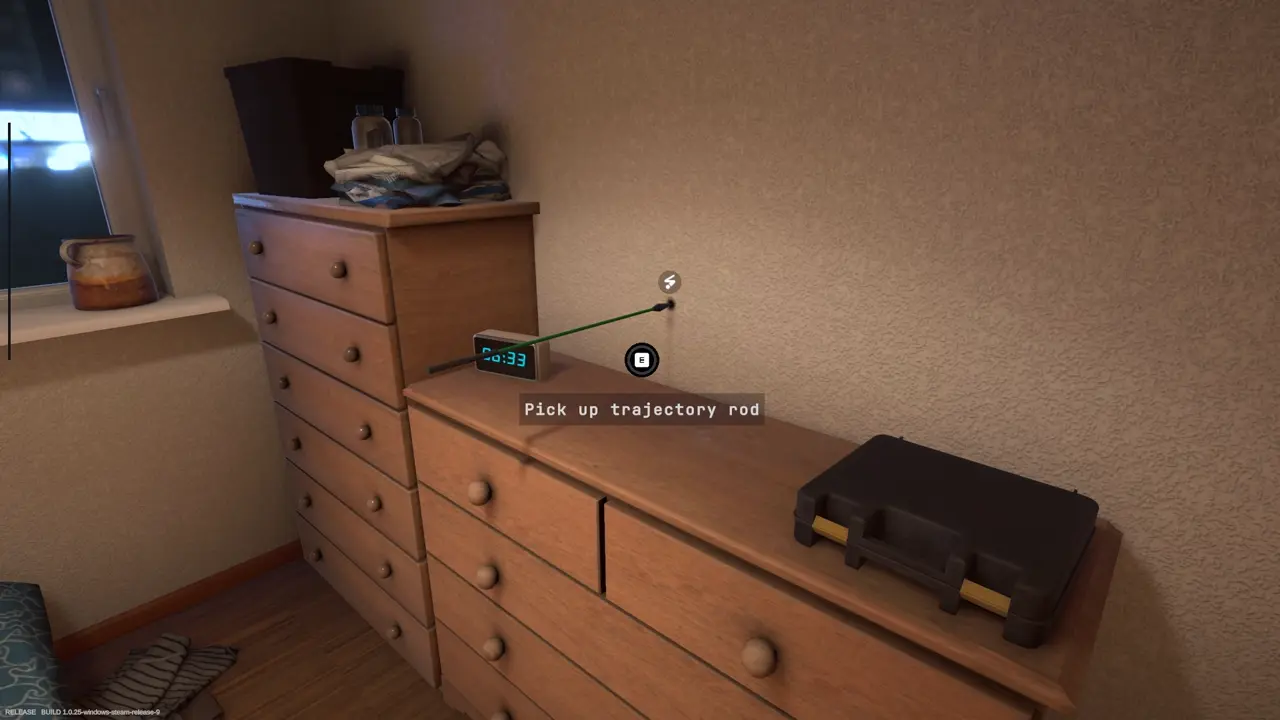
I begin the trajectory reconstruction by inserting the trajectory rod into the bullet hole.
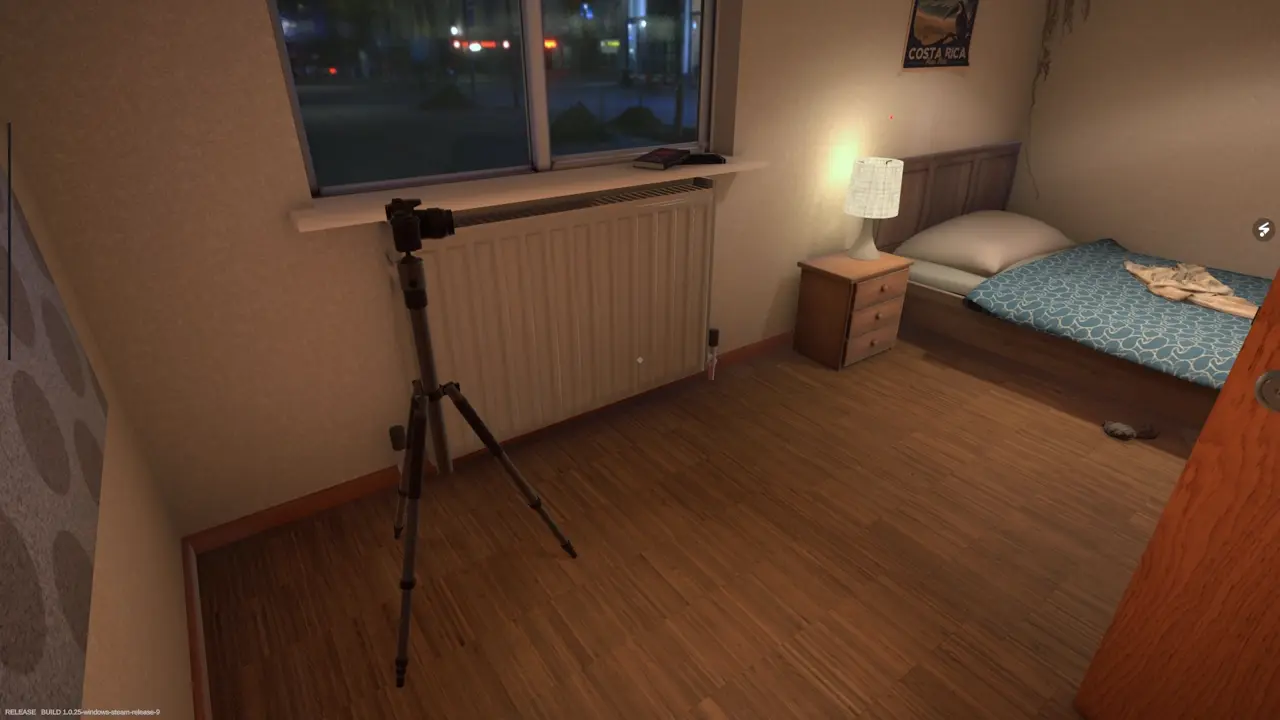
I then position the tripod camera so that the entire bullet trajectory is visible.
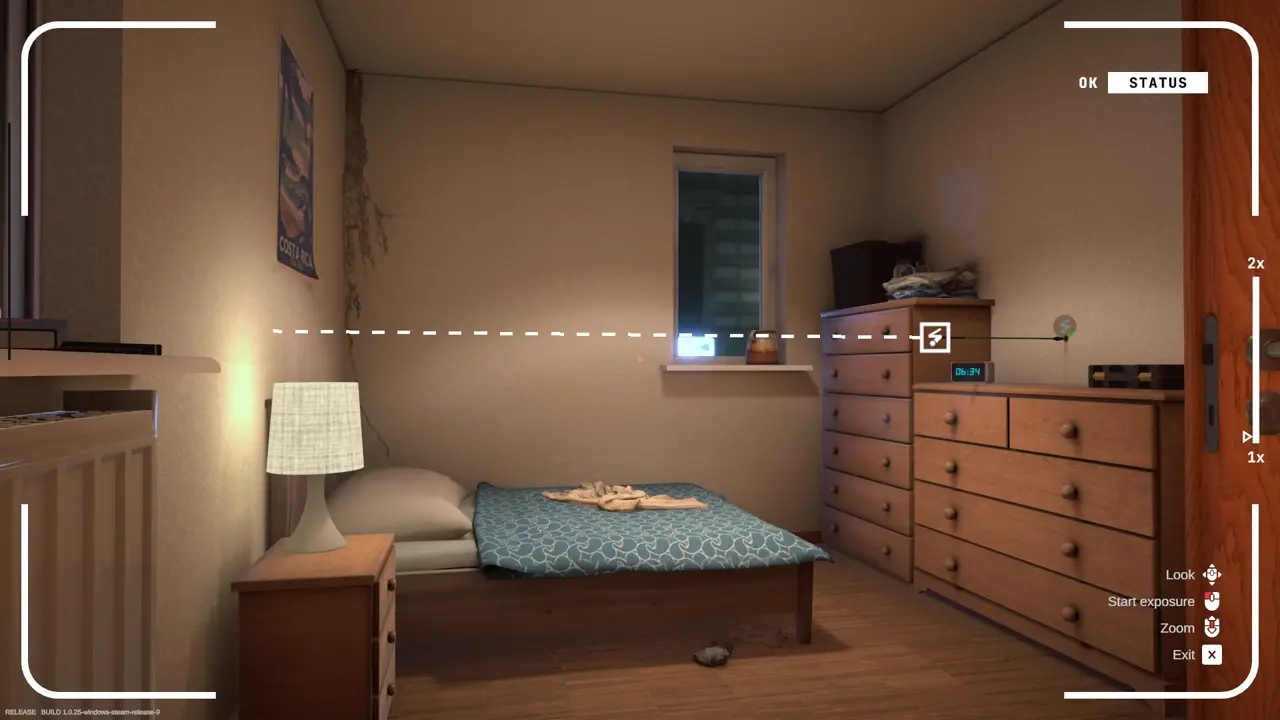
I open the camera and begin the 30-second exposure. While the exposure is active, I equip the spray can and start spraying at the beginning of the trajectory rod.
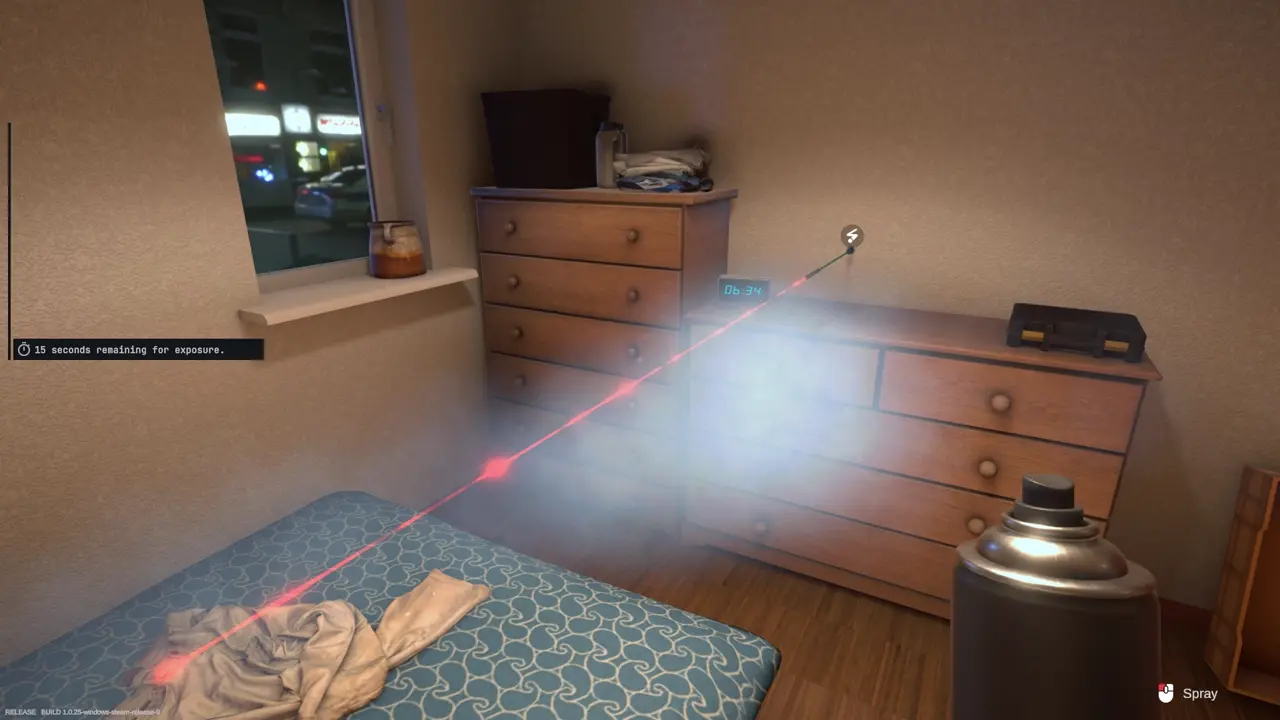
I follow the laser with the spray all the way to the end of the trajectory. The camera automatically takes the photograph when the exposure finishes.
How I Create a Reference Projectile
Back at the laboratory, I place the firearm into the Reference Projectiles Station and press the red button to fire it.
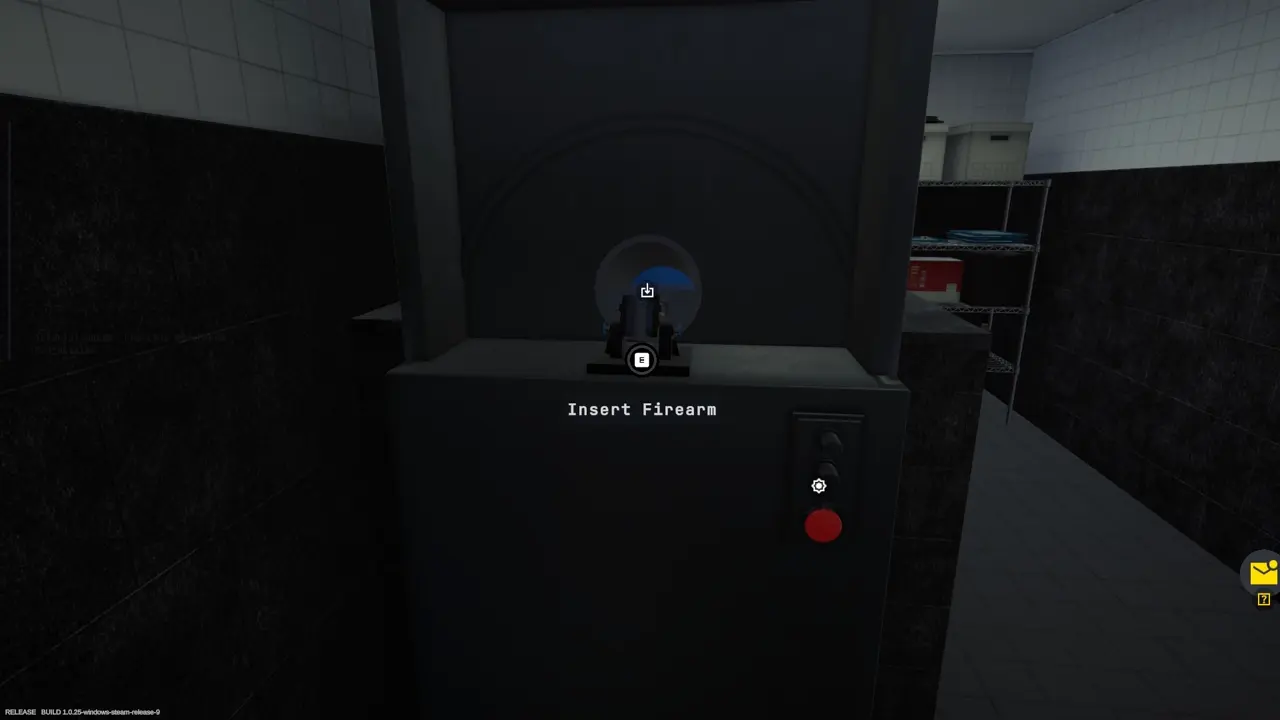
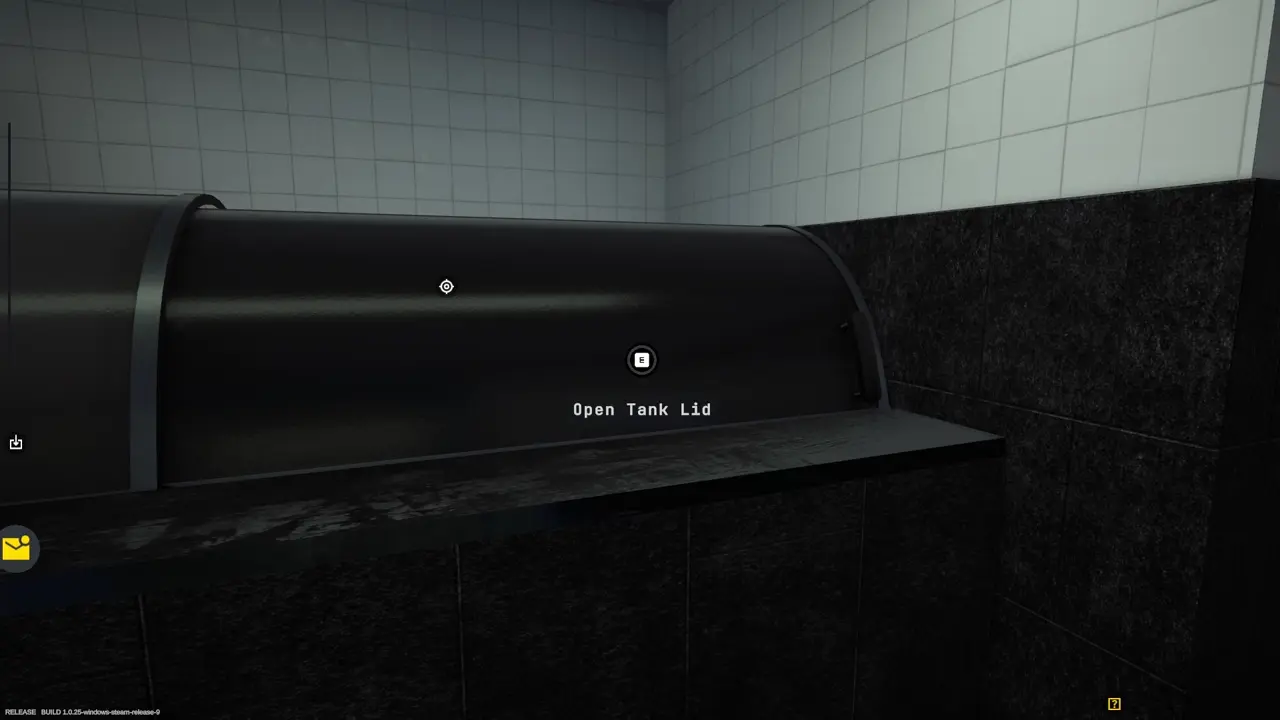
After firing the weapon, I collect the reference projectile from the water tank.
How I Compare the Projectiles
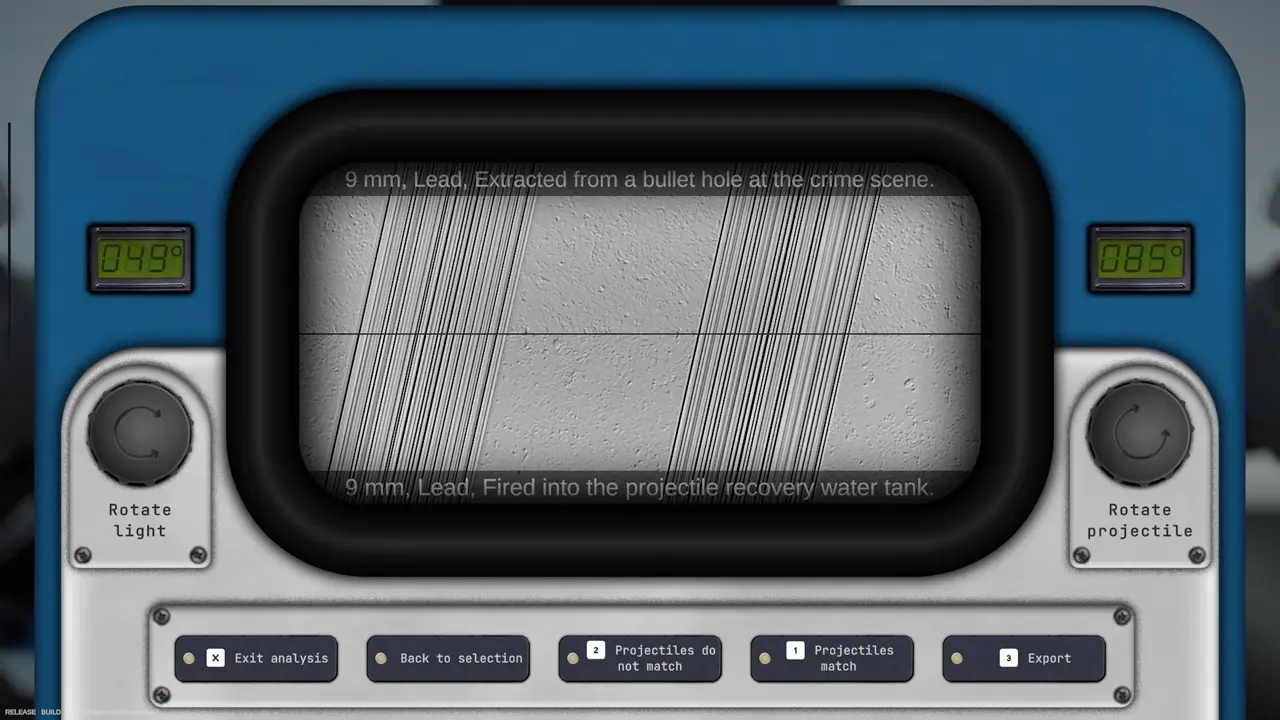
I place the recovered projectile and the reference projectile under the comparison microscope. I use the Rotate Light and Rotate Projectile controls to adjust both samples.
The projectile patterns match in this case. I align the markings as accurately as possible because the quality of the comparison affects the final case score.
How I Complete Tutorial 4
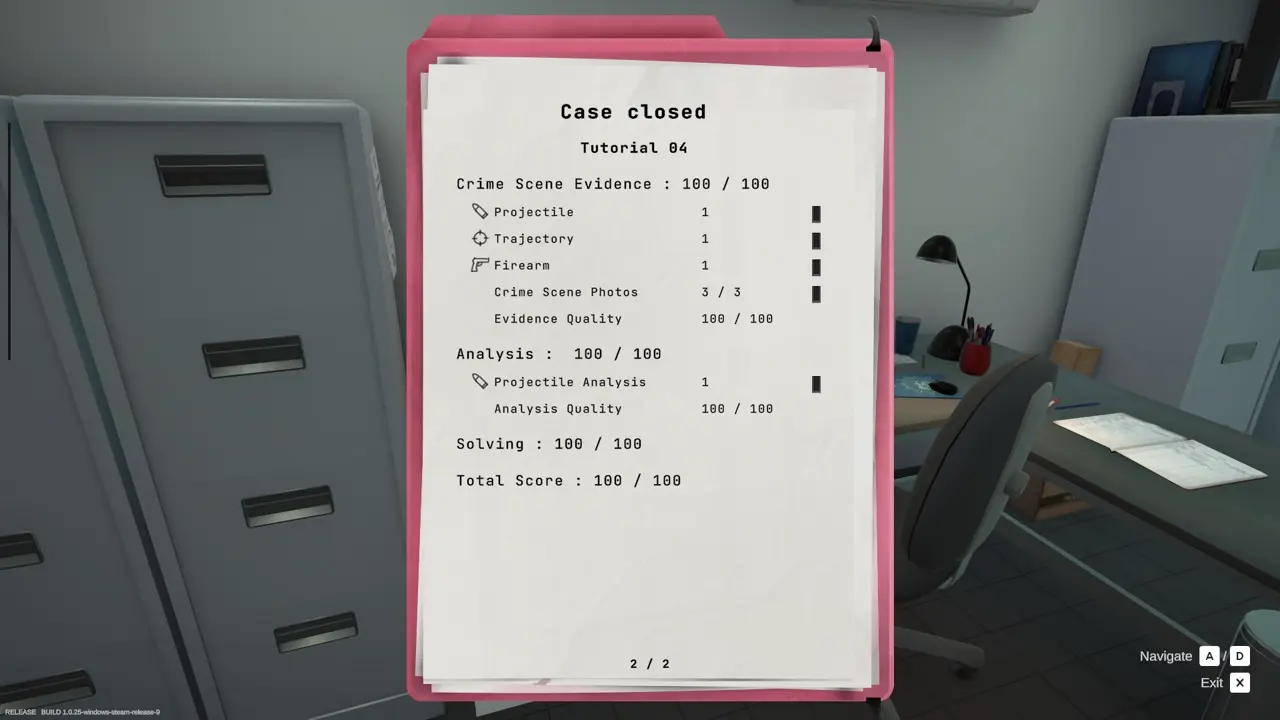
Once the projectile comparison is complete, I return to my workstation and open the Send Message tab. I attach the analysis results and wait for my colleagues to reply. After receiving their response, I can close the case.