In this SAND: Raiders of Sophie resources guide, I list the common, uncommon, rare, noteworthy, and experimental resources I can collect, along with boxes and amplifiers. I also show the related images in order, so I can quickly recognize each item, its use, and where it can be found.
All Resources
In this guide, I explain how I identify resources in SAND: Raiders of Sophie, what I use each item for, and which boxes, crates, forts, enemies, or locations are connected to them. I keep the resource categories in the same order as the original guide.
Table of Contents
Common Resources
I use this section to track common resources and remember what each resource is used for.
Repair Kit

I get Repair Kits from robots that arrive after an orange flare response. The drop is not guaranteed, and when I use the 3-use kit to repair a module, I need to shut down the reactor first.
Metal Scrap

I use regular Metal Scrap for crafting, trading, and research tree progress. I can find it inside specialized boxes.
Fabric Scraps

I use Fabric Scraps for crafting, trading, and research tree progress. I can find them in specialized boxes.
Threads

I use Threads for crafting, trading, and research tree progress. I can find them in specialized boxes.
Scrapped Ammo

I use broken or defective ammo for crafting, trading, and research tree progress. I can find Scrapped Ammo in specialized boxes.
Mixtures

I use Mixtures for crafting, trading, and research tree progress. I can find them in specialized boxes.
Uncommon Resources
I use this section to track uncommon resources and remember what each resource is used for.
Crowns

I use Crowns as the main currency for buying many items. I can find them in specialized boxes.
Metal Rods

I use Metal Rods for crafting, trading, and research tree progress. I can find them in specialized boxes.
Weapon Parts

I use Weapon Parts for crafting, trading, and research tree progress. I can find them in specialized boxes.
Mechanical Parts

I use Mechanical Parts for crafting tramplers, trading, and research tree progress. I can also buy them at the coin rate of 1 part for 2 coins, and I can find them in specialized boxes.
Coral Chunk

I use Coral Chunk for crafting, trade, or agriculture. I can find it in specialized boxes.
Weiro Coral

I use Weiro Coral, also described as Strange Coral, for crafting or research tree progress. I can find it after killing infected enemies.
Fabric

I use Fabric for crafting, trading, and research tree progress. I can find it in specialized boxes.
Leviathan Meat

I use Leviathan Meat for crafting or research tree progress. I can find it in specialized crates.
Gunpowder

I use Gunpowder for crafting or research tree progress. I can find it in specialized boxes.
Leviathan Skin

I use Leviathan Skin, also described as Leviathan Leather, for crafting, trading, and research tree progress. I can find it in specialized boxes.
Coraldust

I use Coraldust for crafting or research tree progress. I can find it in specialized boxes.
Canned Food

I use Canned Food to restore health by half of one bar. I can find it in specialized boxes.
Valuables

I use Valuables for trading. I can find them in specialized boxes.
NZ MK2 Energy Rod

I use the NZ MK2 Energy Rod to refuel the reactor. I can find it in forts, in fort courtyards, in cities inside cars, on chairs, indoors, and also at the exit. There are 3 guaranteed rods there if nobody has taken them before me.
Rare Resources
I use this section to track rare resources and remember what each resource is used for.
Pneumatic Parts

I use Pneumatic Parts for crafting, trading, research, and Templar creation. I can find them in specialized crates.
Reinforced Leather Strips

I use Reinforced Leather Strips for crafting, trading, and research tree progress. I can find them in specialized boxes.
High-Grade Gunpowder

I use High-Grade Gunpowder for crafting, trading, and research tree progress. I can find it in specialized boxes.
Medkit

I use a Medkit to fully restore health. I can find it in specialized boxes.
Valuable Papers

I use Valuable Papers for trade. I can find them in specialized boxes.
Optical Lenses

I use Optical Lenses for crafting and trading. I can find them in specialized boxes.
Noteworthy Resources
I use this section to track noteworthy resources and remember what each resource is used for.
Computing Module

I use the Computing Module when constructing tramplers. I can find it in specialized boxes.
Crystal

I use Crystal for trade. I can craft it at a workbench from Raw Aurogen Crystal at a ratio of 1 to 4.
Alloy Steel

I use Alloy Steel for crafting or research tree progress. I can find it in specialized boxes.
Raw Aurogen Crystal

I use Raw Aurogen Crystal for research tree progress. I can get it by destroying a large crystal located among stone elevations. I need to be careful because the crystal emits radiation nearby in any state, whether it is lying down, held by the player, or still undamaged. When it is destroyed, it explodes and jams all electronics.
District Officer’s Portable Safe

I use the District Officer’s Portable Safe for trade. I can find it in hard-to-access urban areas that are closed with boards.
Canned Sea Deer XL

I use Canned Sea Deer XL for trade, where it is exchanged for canned goods. I can find it in city hangars and hard-to-reach areas that are closed with boards.
Crate of 1889 Chardonnay

I use the Crate of 1889 Chardonnay, or wine, for research tree progress and trade. It can be exchanged for guns for the Templar. I can find it at the top of the lighthouse under the table, and also in closed rooms in cities.
Black Box

I use Black Boxes for trade or research tree progress. I can find one after destroying an enemy Templar, where it lies near the destroyed reactor.
Experimental Resources
I use this section to track experimental resources and remember what each resource is used for.
Orbital Strike Pointer

I use the Orbital Strike Pointer to call an orbital strike on enemies, and I can find it on forts. After I mark the target, a beam appears where the strike is requested. The spread is huge, so I should not call it near myself. Even with low accuracy, one projectile can heavily damage my Templar, especially early Templars with low durability.
The Great Silence

I use The Great Silence as a single-use energy weapon that disables all electronics within its radius. If I shoot an enemy Templar’s reactor, I can disable it.
NZ Mk2-RF Smokeless Energy Rod

I use the NZ Mk2-RF Smokeless Energy Rod for the reactor. It keeps the reactor working for a long time without smoke, and I can find it in boxes from robots that land after an orange signal rocket, as well as on forts.
NZ MKI Modified Energy Rod
I use the NZ MKI Modified Energy Rod for the reactor. It gives the Templar a short-term speed increase, and I can find it in boxes from robots dropped by an orange signal flare, as well as on forts.
Boxes
In this section, I keep the box images and their drop item icons in the same order as the original guide. Each group starts with the box image, followed by the resources shown as possible drops.
Box Drop Group 1
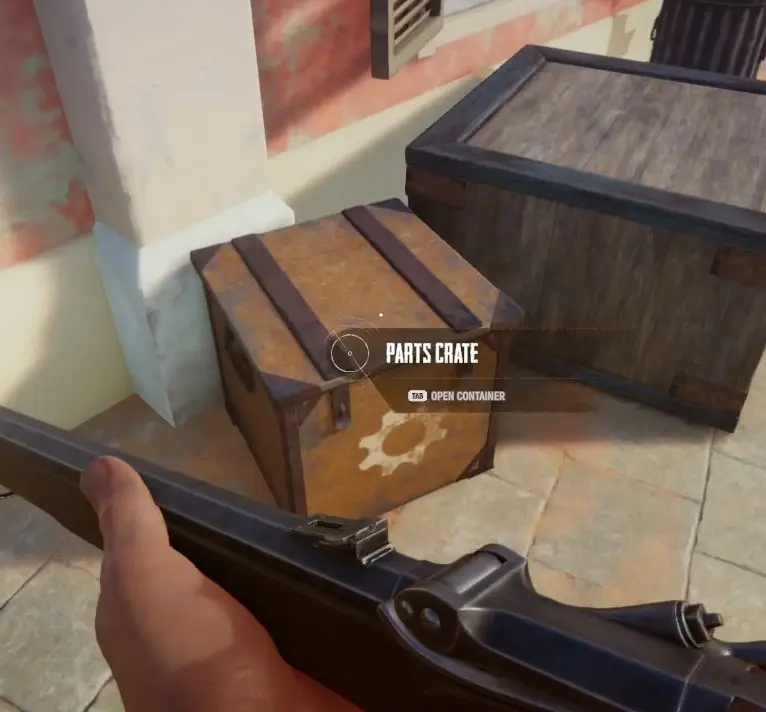
Drop items shown in this group: Metal Scrap, Fabric Scraps, Pneumatic Parts, NZ MK2 Energy Rod.


Box Drop Group 2
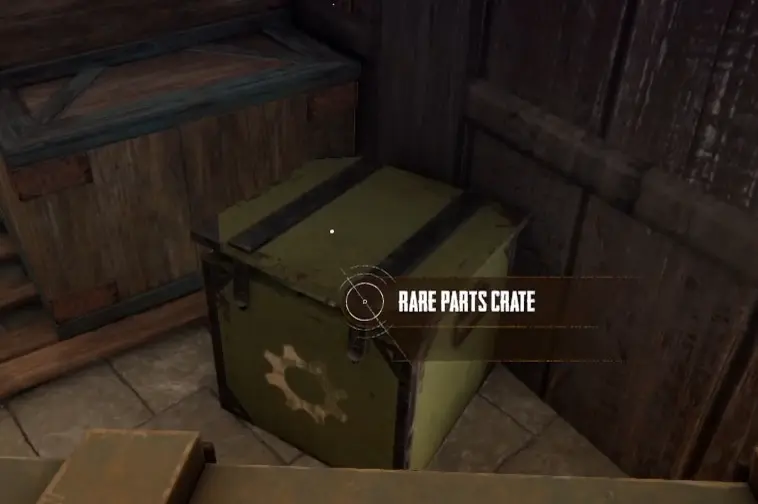
Drop items shown in this group: Metal Scrap, Fabric Scraps, Pneumatic Parts, NZ MK2 Energy Rod, Gunpowder.


Box Drop Group 3
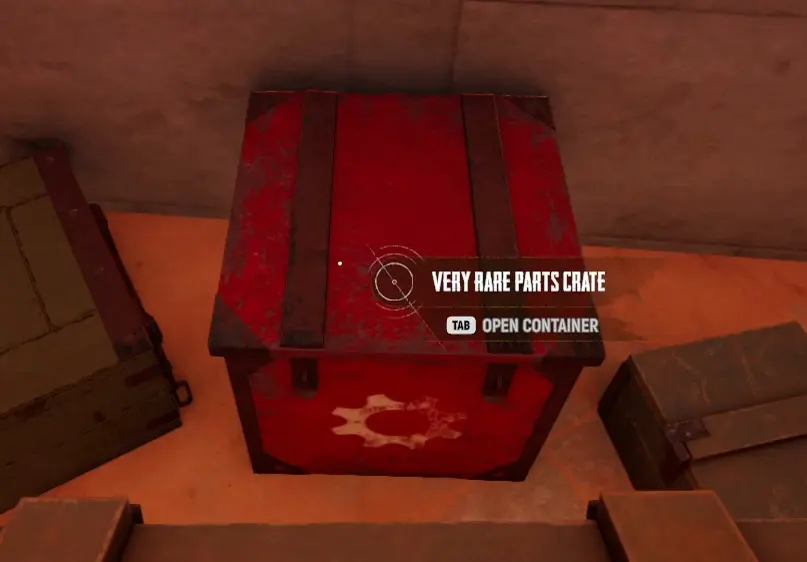
Drop items shown in this group: Metal Scrap, Fabric Scraps, Pneumatic Parts, NZ MK2 Energy Rod, Gunpowder, High-Grade Gunpowder.


Box Drop Group 4
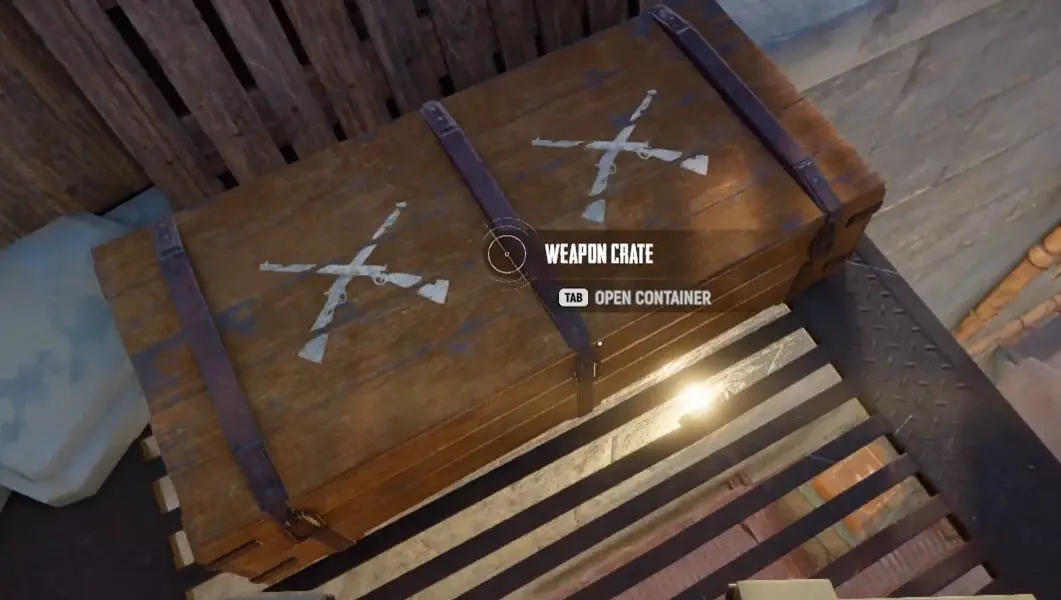
Drop items shown in this group: Scrapped Ammo.

Box Drop Group 5
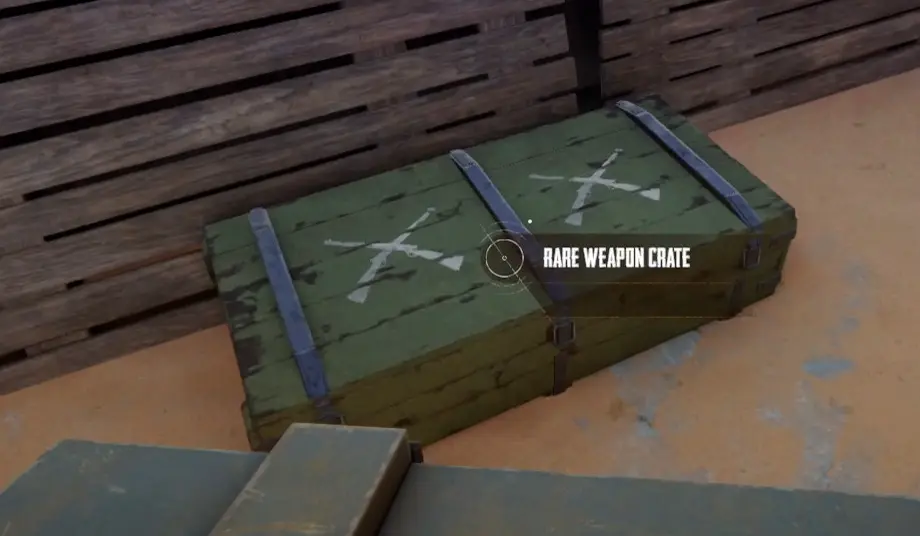
Drop items shown in this group: Scrapped Ammo, Weapon Parts.


Box Drop Group 6
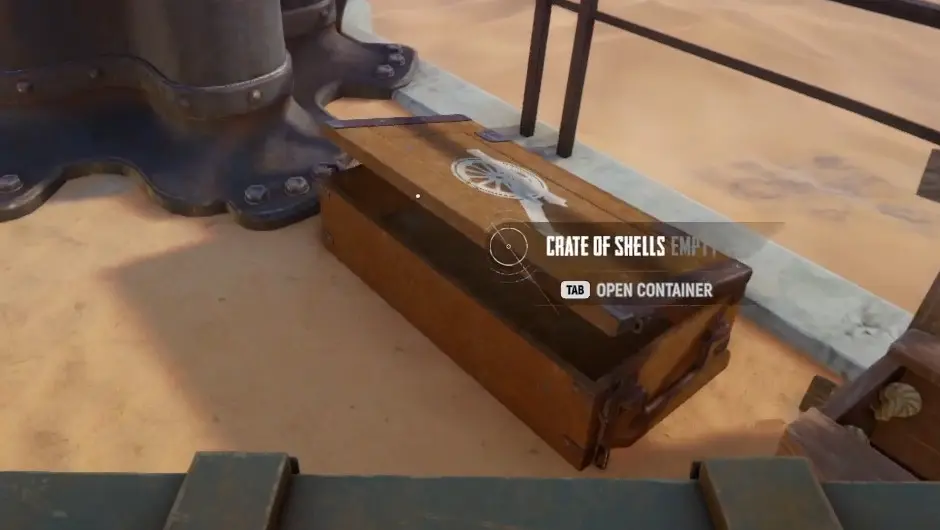
Drop items shown in this group: Fabric Scraps.

Box Drop Group 7
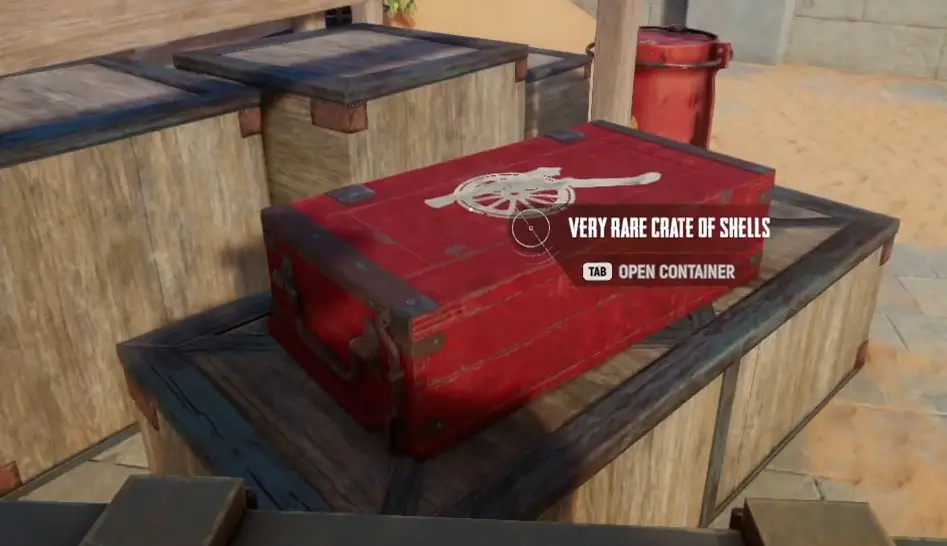
Drop items shown in this group: Fabric Scraps, Metal Rods, Reinforced Leather Strips.


Box Drop Group 8
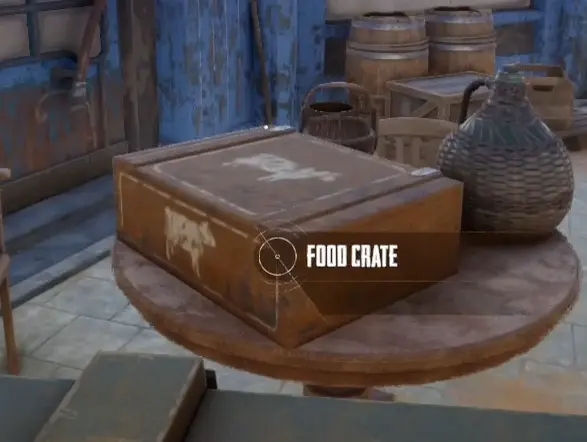
Drop items shown in this group: Threads, Canned Food.


Box Drop Group 9
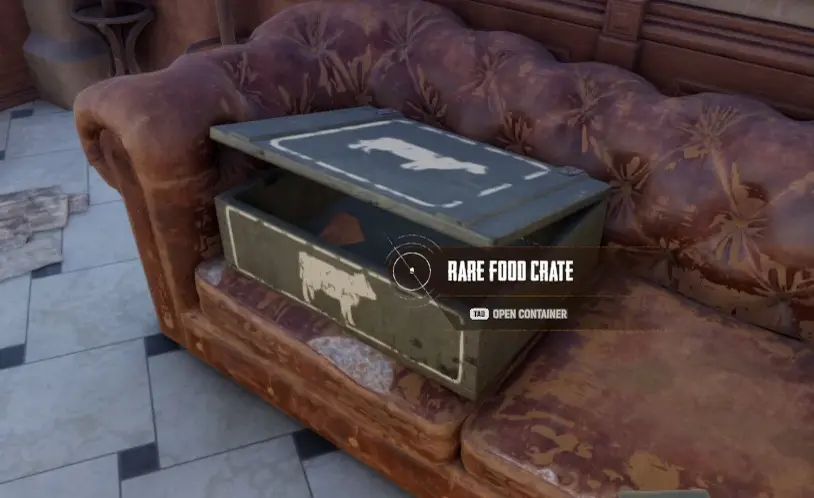
Drop items shown in this group: Threads, Canned Food, Coraldust, Leviathan Meat.


Box Drop Group 10
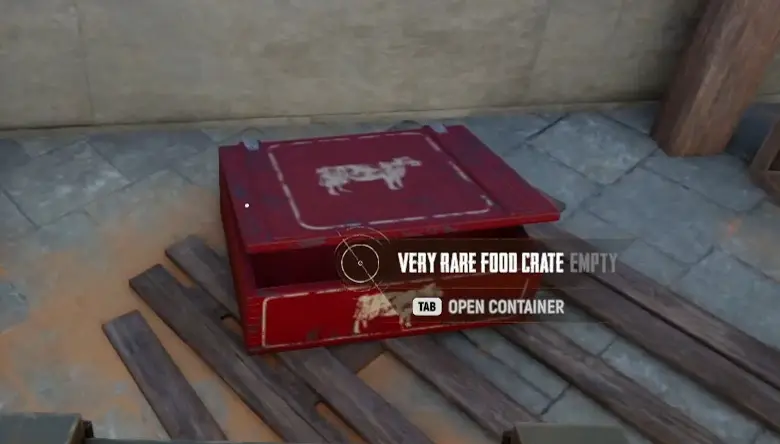
Drop items shown in this group: Threads, Canned Food, Coraldust, Leviathan Meat, Reinforced Leather Strips.


Box Drop Group 11
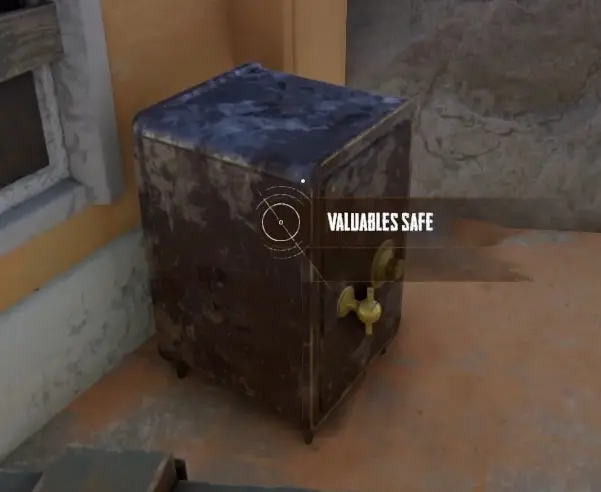
Drop items shown in this group: Crowns, Valuables, Coral Chunk, Leviathan Skin, Valuable Papers.


Box Drop Group 12
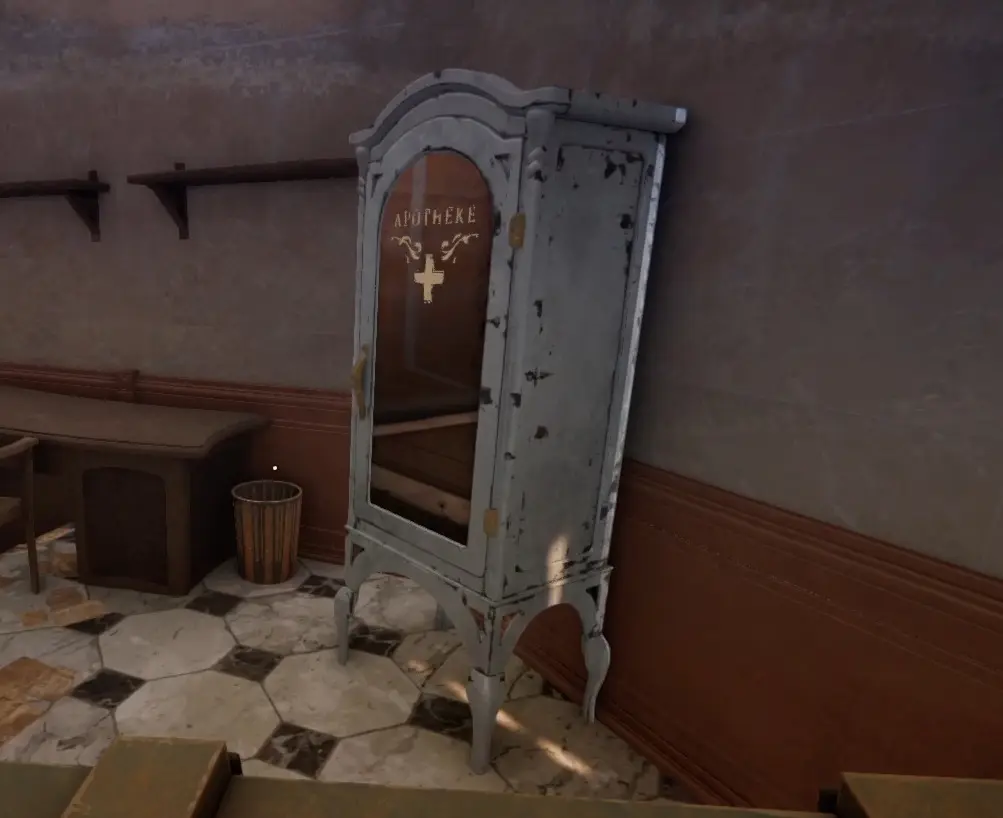
Drop items shown in this group: Boxes, Fabric, Medkit.


Box Drop Group 13
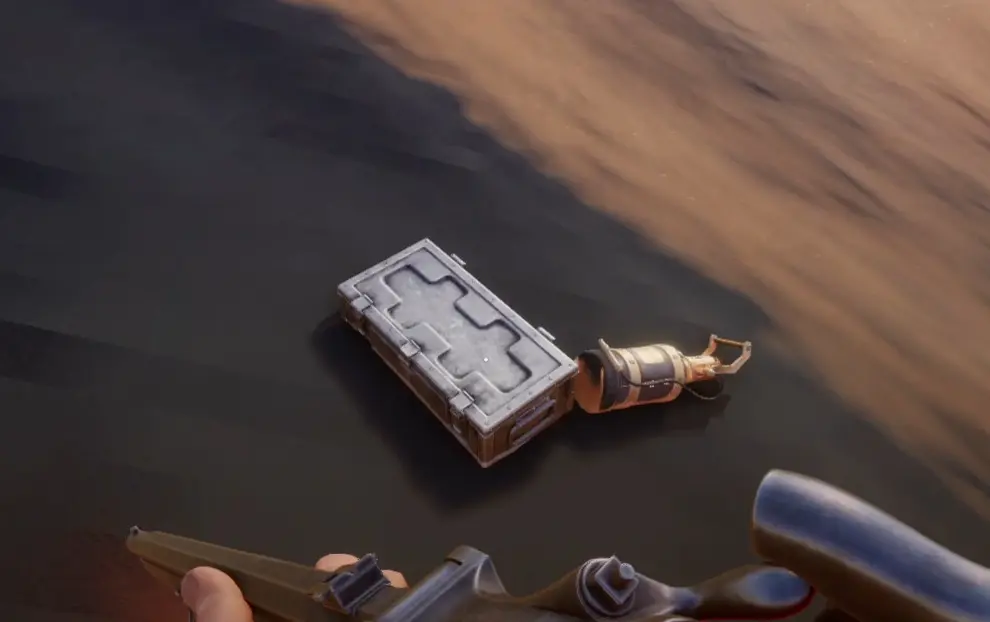
Drop items shown in this group: Weapon Parts, NZ MK2 Energy Rod, Canned Food, Alloy Steel, Computing Module, NZ Mk2-RF Smokeless Energy Rod, NZ MKI Modified Energy Rod.


Amplifiers
In this section, I list the amplifier effects and their duration.
Projectile Damage Amplifier
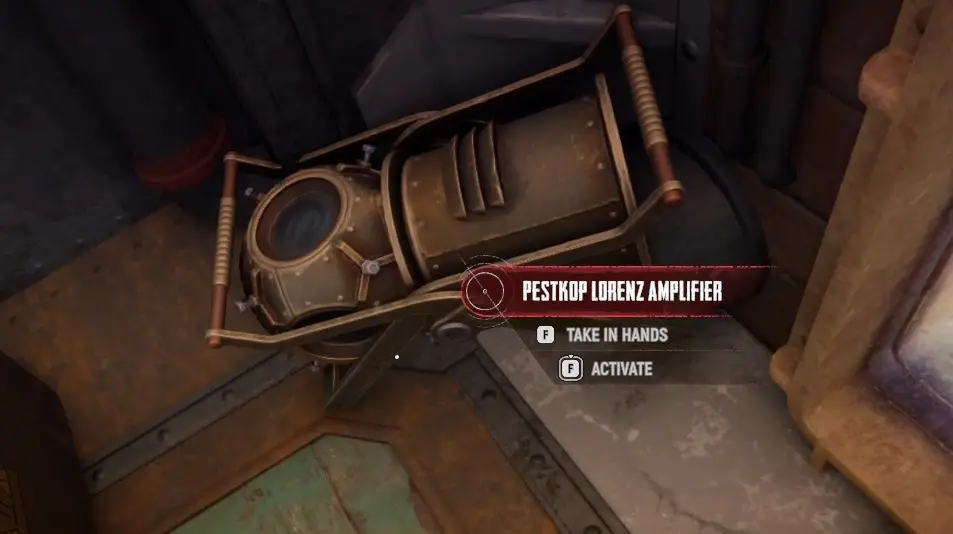
This amplifier increases the damage of my projectiles, including shots from the Templar’s guns and my personal weapons. Its duration is 1 minute.
Health Maintenance Amplifier
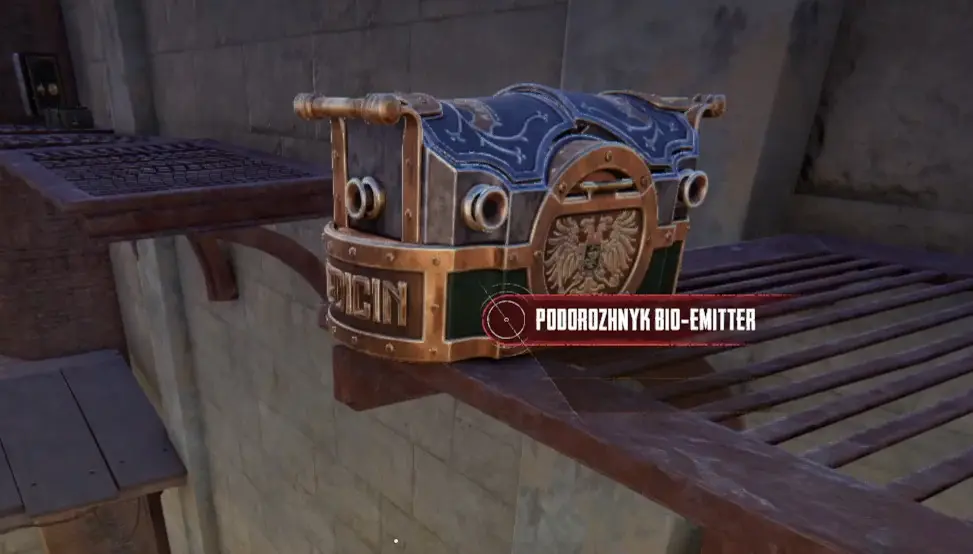
This amplifier maintains the health level of everyone inside its area of effect. It does not heal the Templar. Its duration is 1 minute.
Protective Field Amplifier
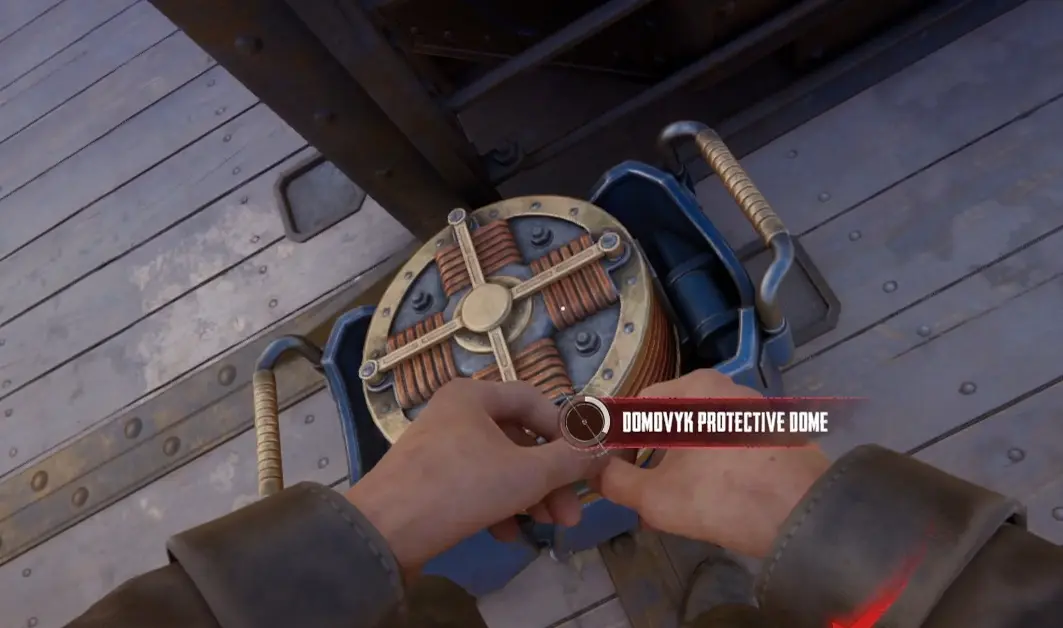
This amplifier creates a protective field that blocks all projectiles from outside, including Templar cannon shots and enemy weapon fire. If I am inside the field, I can safely shoot at enemies. Its duration is 1 minute.