In this 100% achievement guide, I explain how I unlock the map, farm yen, use the vending machine, collect items, complete the routes, and trigger the required endings. I follow the same order I used in my own run, and I keep the focus only on the steps needed for completion.
100% Achievements, Endings & Walkthrough
I played on Normal difficulty. I did not notice any achievement restriction tied to difficulty, so I would use an easier setting if I wanted a smoother run. The main loop is simple: I beg for yen, spend that yen at vending machines, eat the right items, and use the resulting mutations to unlock routes and achievements.
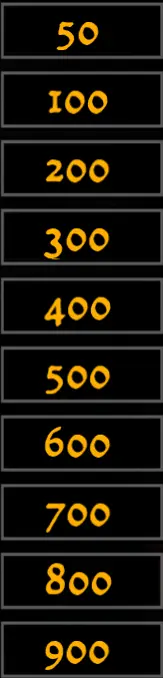
Important warning: the exact yen values for items can be random. I do not rely blindly on the values from my own save. My safest method is to test the main categories with 100, 200, 300, 400, 500, 600, 700, 800, and 900 yen, then note the exact number that gives the item I want.
Table of Contents
The Beginning and Farming Tips
I start by entering Main Street and using it as my first money-making area.
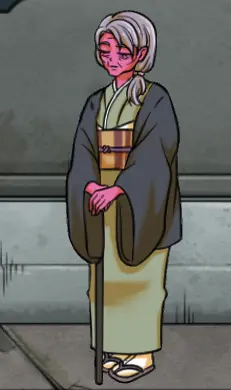
From Main Street, I go to the elderly lady and give her any item. After that, she opens access to more streets, including Empty Street and Dark Street. I also pick up the card on the right side if it is still there.
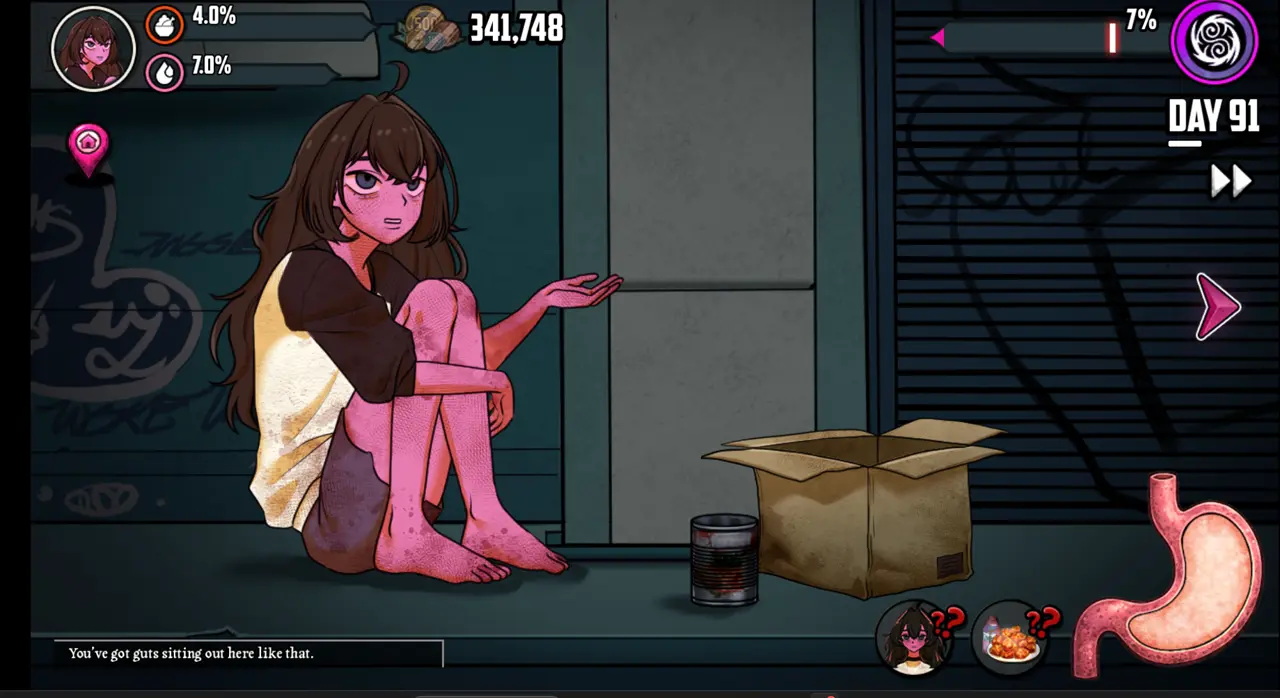
Next, I beg in Main Street or Empty Street. I prefer Main Street because it gives better money early on, especially when I only need enough yen for cheap vending machine items.
When I reach the area where I can go left and right, I go left, talk to the man, give him any food, and finish his dialogue.
NPC forms can change depending on how well they are fed. I do not focus on that for 100% completion, but if I want to change an NPC form, apple seeds are the easiest option for me.
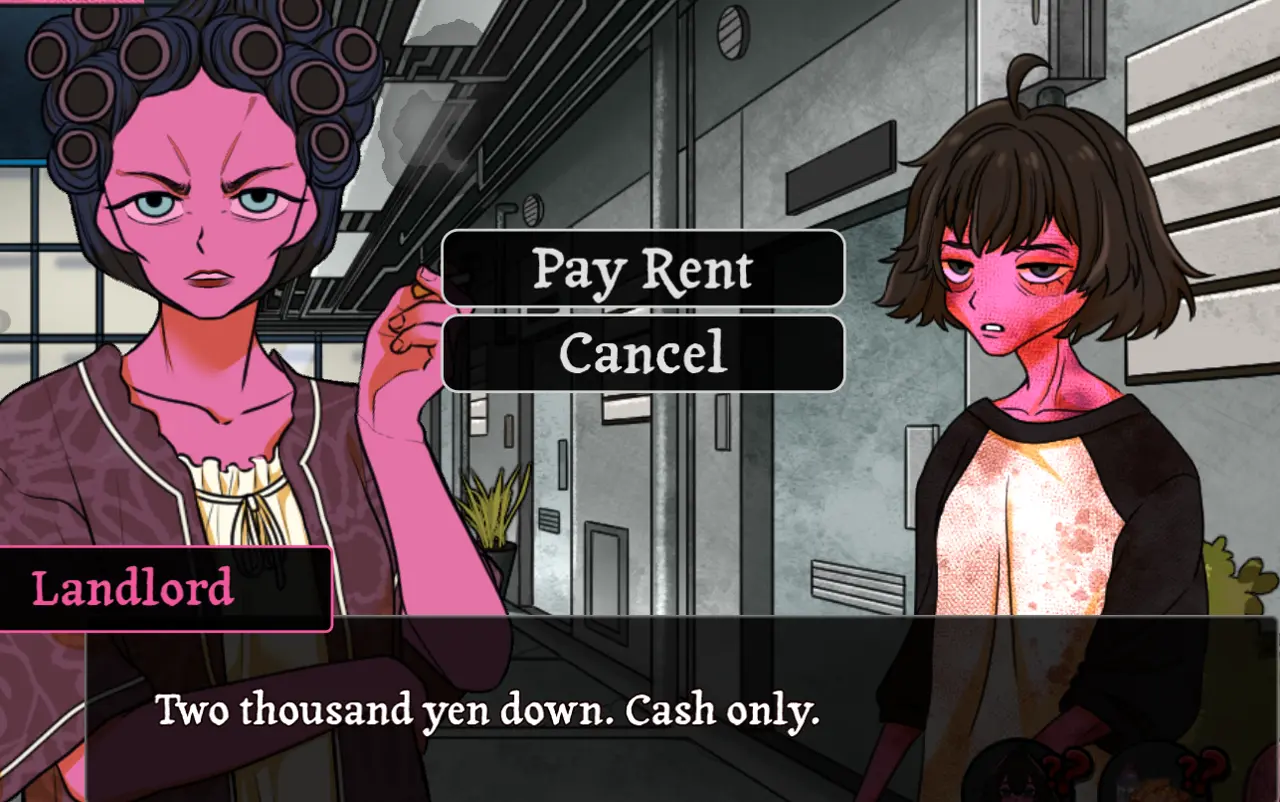
After I feed this NPC, the apartments become available. From here, my next target is to farm 2,000 yen so I can pay for a month and access the hotel room.
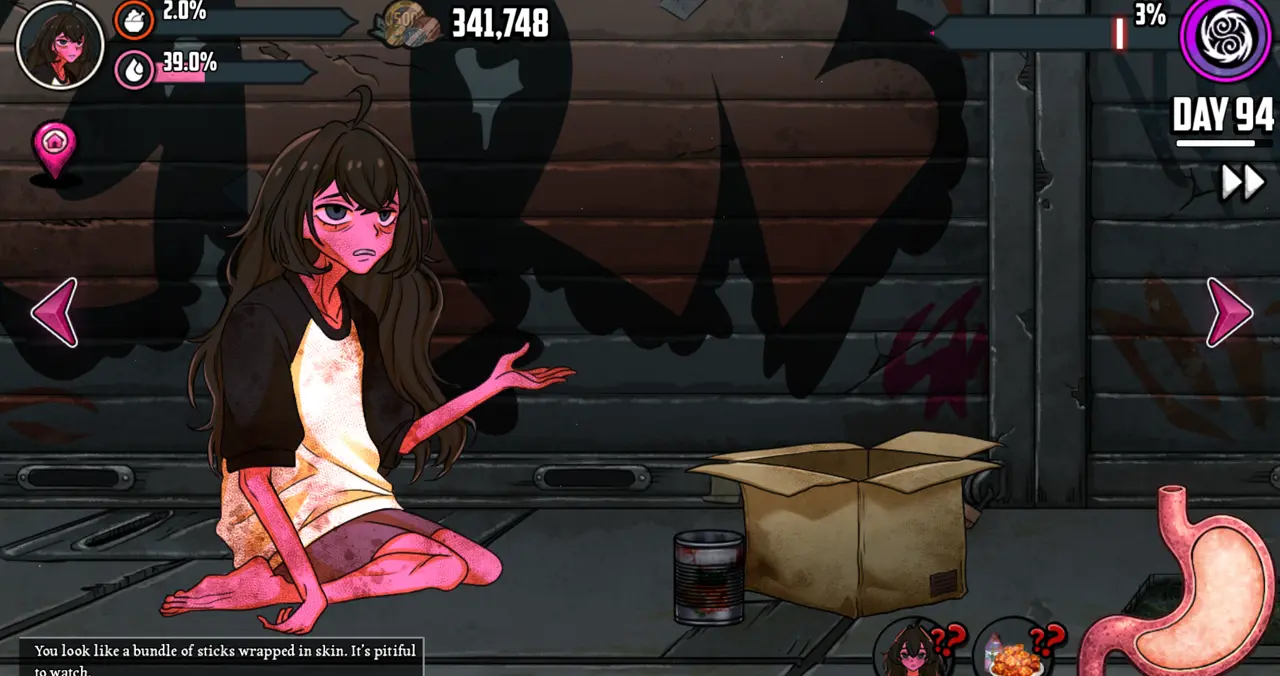
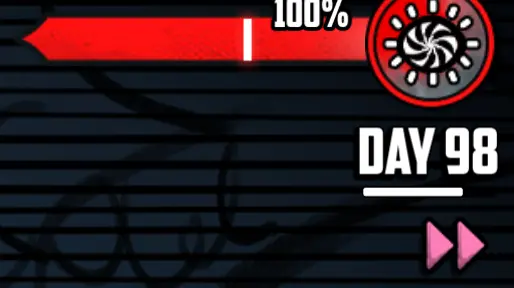
For my first route, I prefer starting with the Rotten route. I beg constantly and use the X2 speed button below the day counter to make the early grind faster.
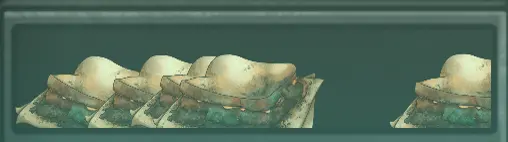
Once I have around 1,000 yen, I return to the vending machine. In my run, 52 yen gave me Moldy Sandwiches, but because item values can be random, I check the value in my own save. I eat enough Rotten-type items to reach stage 2 or 3, then beg again to raise the danger level.
Other items can work too, as long as they have the same Rotten icon.

The first warning does not immediately end the run. If I trigger it, the game continues one day later, I keep my money, and I lose mutations in a way similar to rebirth, with an added bonus.
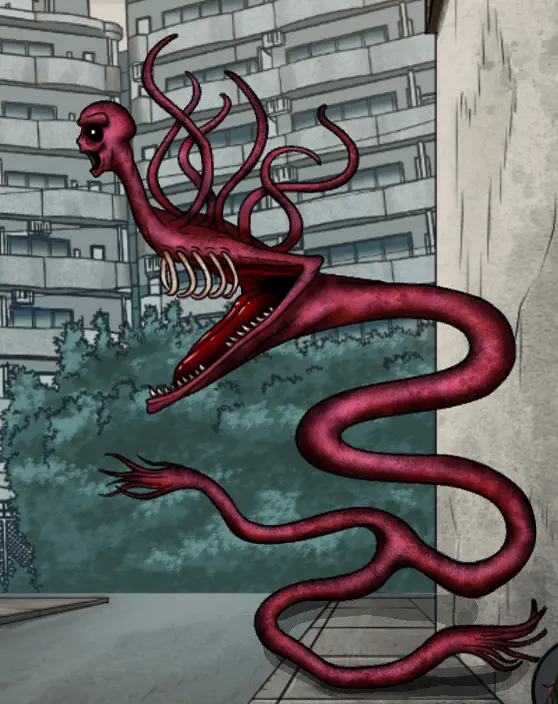
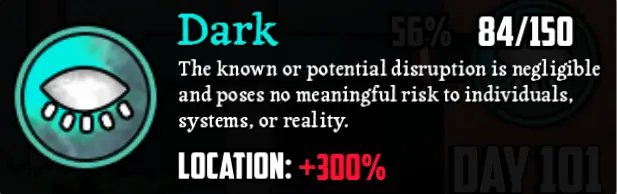
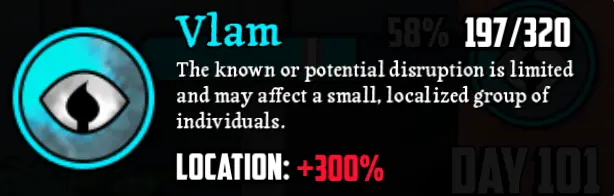
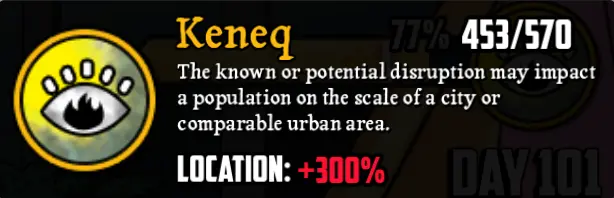
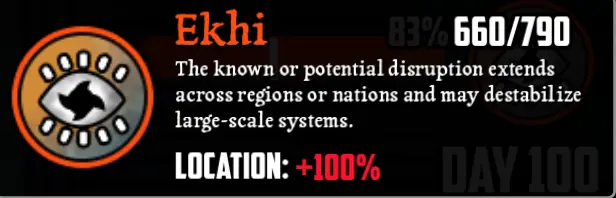
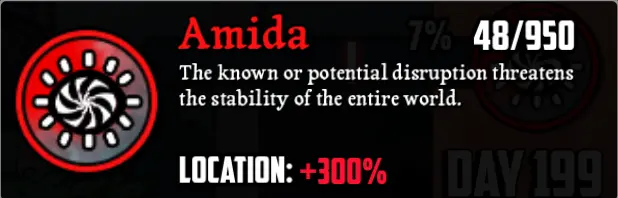
These are the danger stages shown from the least dangerous to the most dangerous.

With the first few Rotten mutations, I can only progress so far. After reaching that point, I return to the vending machine and get more Moldy Sandwiches. If the setup worked, the machine can give several sandwiches at once.
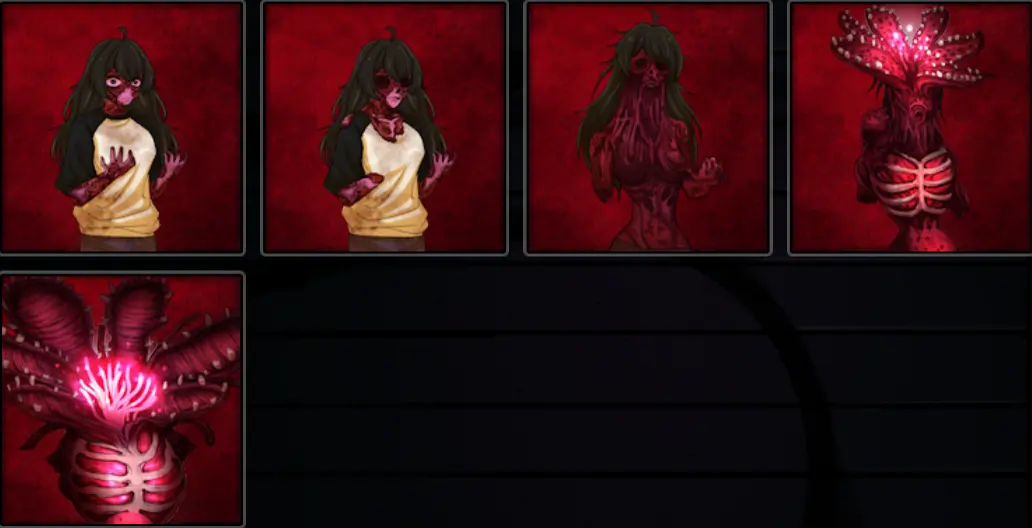
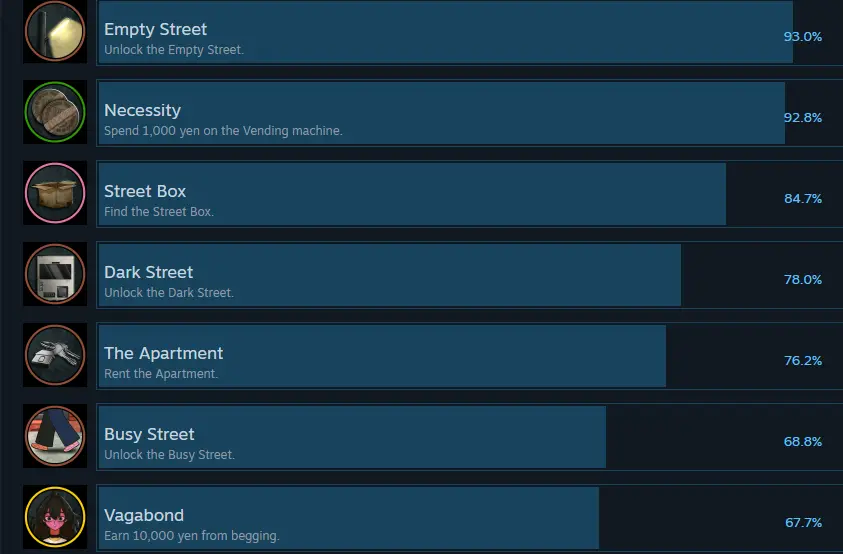
After reaching the last Rotten stage, I unlock the related achievement.

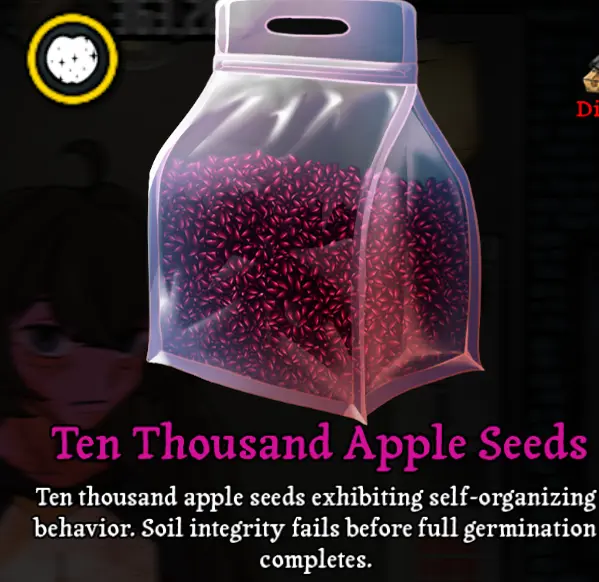
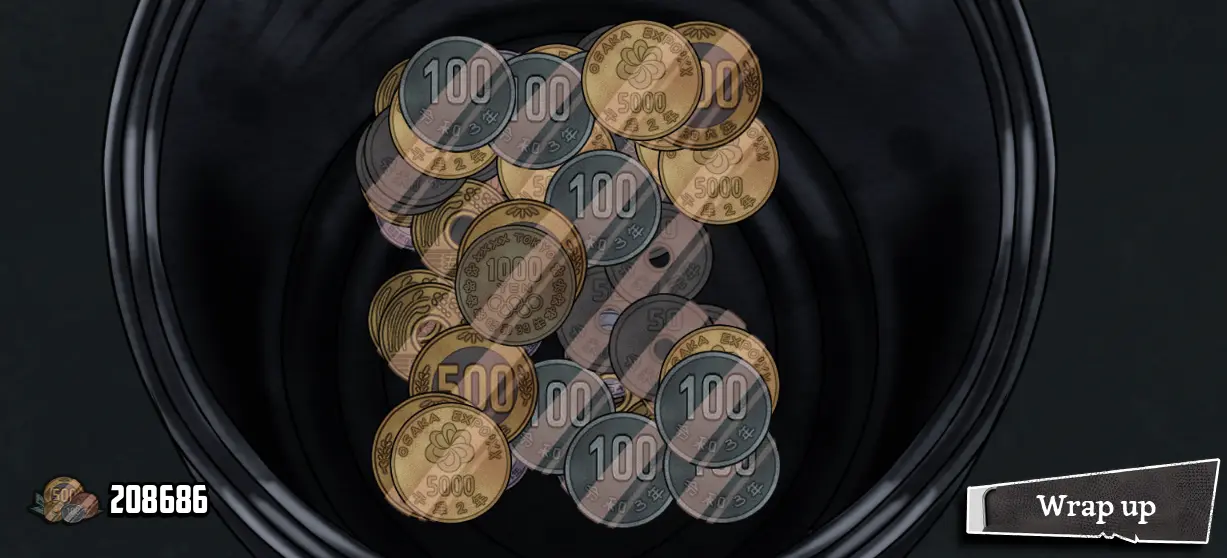
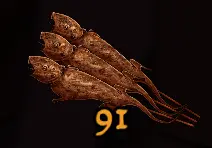
I do not use the rebirth arrows immediately, because they are useful later. Instead, I beg again, raise danger as high as I can, and farm until I have more than 10,000 yen. Then I put exactly 10,000 yen into the vending machine to receive the apple seed bags shown here.
The Beginning and Farming Tips Part 2
Putting many coins into the machine can be slow. To make the 10,000 yen step easier, I go to Dark Street and give 10,000 yen to the crow. The next day, the crow returns it as one 10,000 yen coin.

After that, I go back to the elderly person in Main Street and give all the apple seed bags.
This gives me much more yen than I spent. I can repeat the same idea with 50,000 yen for an even stronger money strategy, and doing so also unlocks the achievement shown below.

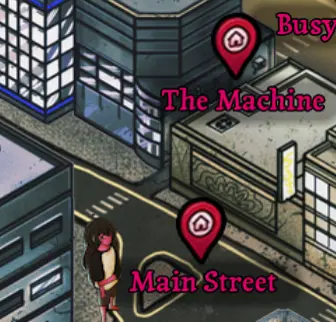
Then I pay the 2,000 yen apartment fee. This unlocks the Mall Entrance. I go there, head left, and find the transformed child.
I give the child food. This gives money and unlocks Busy Street and Corner Merger. From this point, I prioritize giving apple seed bags to this NPC because it pays better and unlocks another achievement.

In Busy Street, I go left and talk to the two people there, then give them food.

This unlocks Farthest Street. At this stage, I have the main areas I need, so I can focus on achievements.
Every Item and Earning Achievement
By following the route above, I should already have several achievements unlocked.


Before going further, I avoid the reset-style money achievement until everything else is finished. With the crow and 50,000 apple seed bags it is easy, but it resets progress, removes the food index, and makes the rest of completion more annoying. I save it for a second run or for the very end.


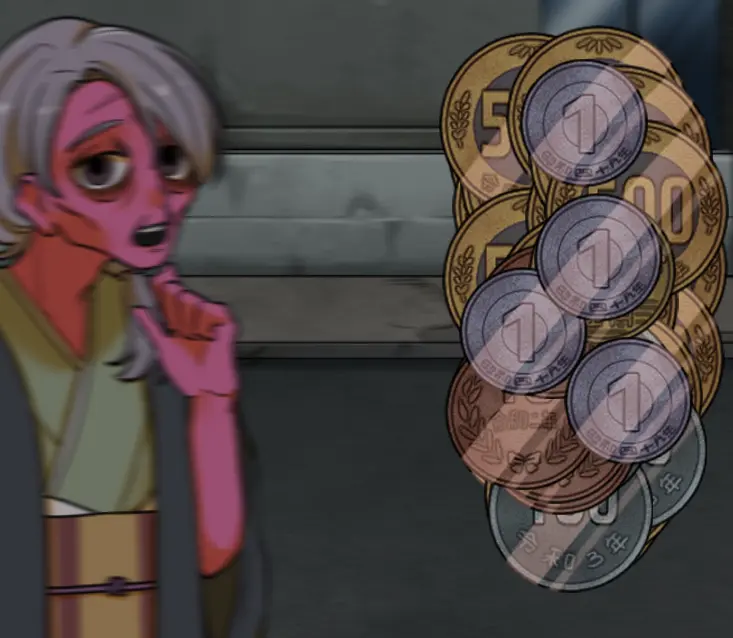
During the run, I also work on the stealing achievement. I go to Empty Street, turn right, and find the blind beggar.

I can rob him once per day. The amount is random, and in my run it never seemed to go above 500 yen in a day. I repeat this enough times to reach 10,000 yen stolen.
For the machine coffee achievements, I use the coffee machine and put in 10,000 yen. The machine can give several items, but these are not required for Steam 100% completion.


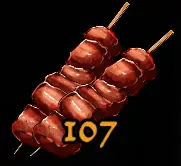
If I am still in the Rotten mutation, I continue from there. If the mutation is gone, I can rebuild it by eating the same item type again. When my food stage reaches zero, I lose mutation progress until I enter starvation, so I keep neutral food such as skewers on hand when needed.
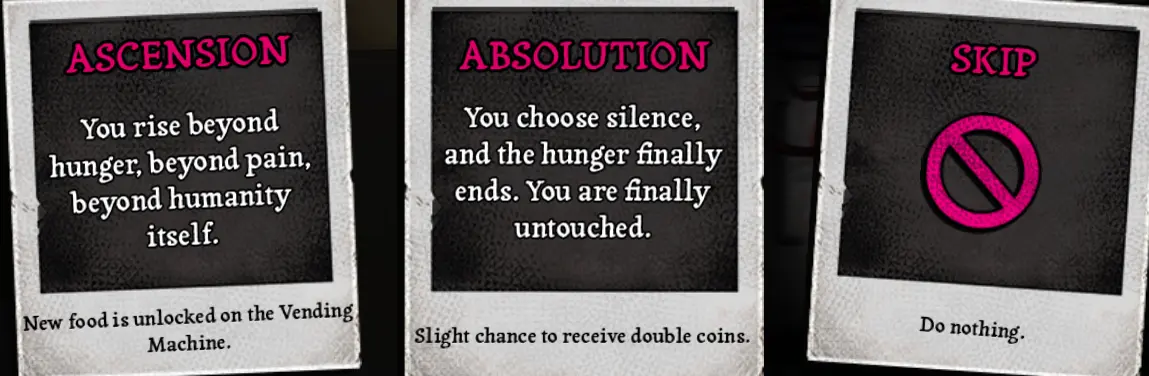
Once I have the latest transformation stage, I use the icon on the right side of the screen.
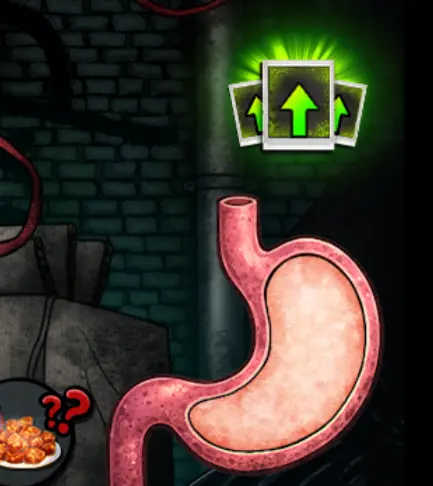
I choose ascension. In my own save all extra roads were already unlocked, but normally this unlocks Angel Road. Repeating the transformation and ascension process unlocks the remaining roads.
As I continue, the following achievements unlock naturally, except for the 300 item achievement, which usually needs extra attention.


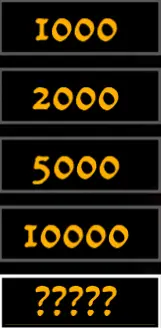
For item collecting, I use the item category numbers. When I put one of the shown numbers into the vending machine exactly, I receive random items from that same category. This is the best way I found to fill the item list.
I also remember that all items are not available immediately. I need 13 ascensions to unlock every road and the items connected to those roads.
For the ?????? category, the first items are variations of apple seeds and popcorn. I test 1 to 10 yen to find them, and 1 yen can also give paper in the same category. The other items are made by the NPC in Farthest Street.
Talking to this NPC gives the following achievement, and I can return every day for another item. It is not mandatory, but it helps with the 300 item goal.

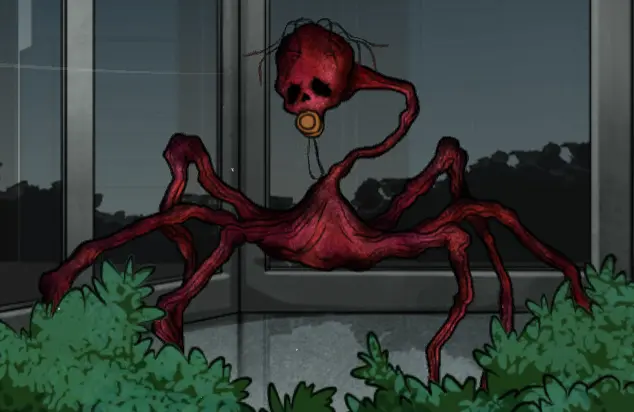
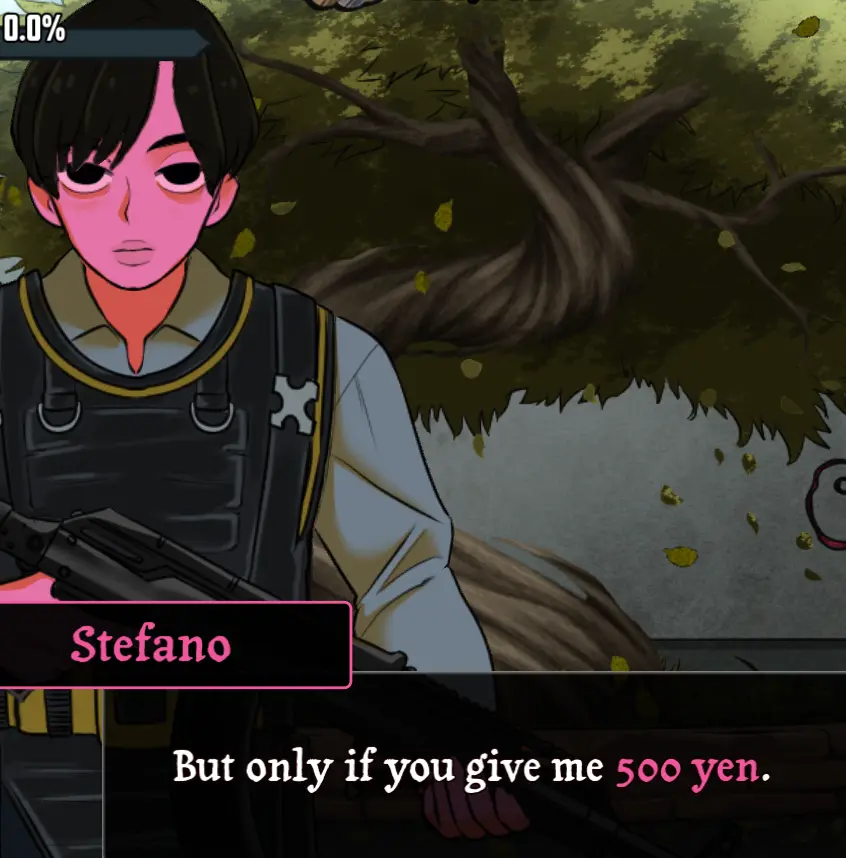
For another simple achievement, I go to the Mysterious Tree and talk to the armed man. On my first visit he asked for 500 yen, but he can also ask for a random item before letting me pass.
After that, I clone any item, come back, collect it, and unlock the achievement below.

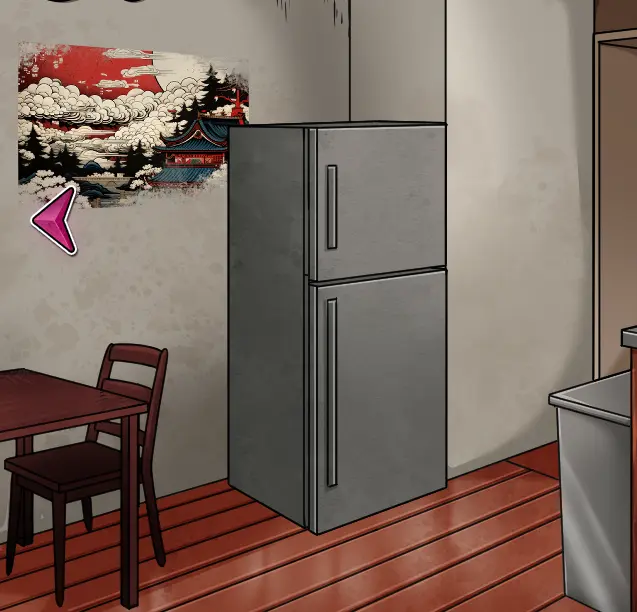
The fridge achievement is also very simple. I go to the apartment, use the fridge on the left, and store any item inside.

Next, I focus on achievements for earning yen through begging.


To make the earning achievements easier, I use the Perfection Road mutation. I have two methods for this. The first method is cheaper, while the second spends more money but also unlocks an extra achievement.
Every Item and Earning Achievement Part 2
For the first method, I return to the vending machine and put in 10 yen coins to receive small amounts of apple seeds. Popcorn can appear too. If I do not mind spending more, I use exactly 5,000 yen to get 5,000 apple seed bags.
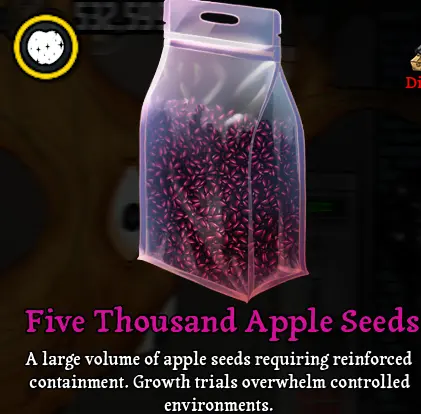
I use enough apple seeds to reach the final stage, then beg at the Mall Entrance until I have 100,000 yen. I use this transformation because passers-by give a lot of money, and I cannot be captured with it. Even if an alert appears while danger drops, I keep begging.

For method 2, I use two 50,000 apple seed bags instead of 5,000 bags. This unlocks the achievement below along with the earlier money achievements.

To do this, I give 50,000 yen to the crow in Dark Street.

The next day, I collect the 50,000 yen coin, put it in the vending machine, and receive the 50,000 apple seed bags. I use the first bag, rebirth directly, choose ascension to unlock a new road, then use the second bag and beg at the Mall Entrance until I reach 100,000 yen.
The remaining money-spending achievements are tied to using large amounts of yen. I do not rush them, because they come naturally while using the vending machine. I watch my Steam achievement progress so I do not accidentally reach 1,000,000 yen too early, since that resets the game.


Every Route and All Endings
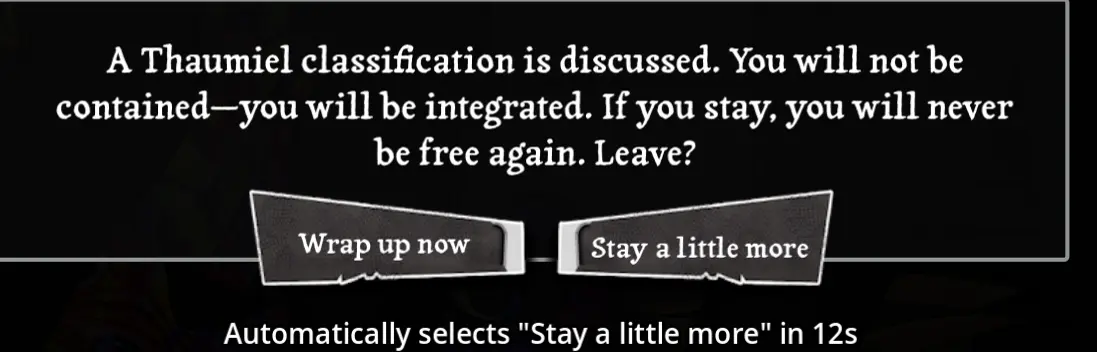
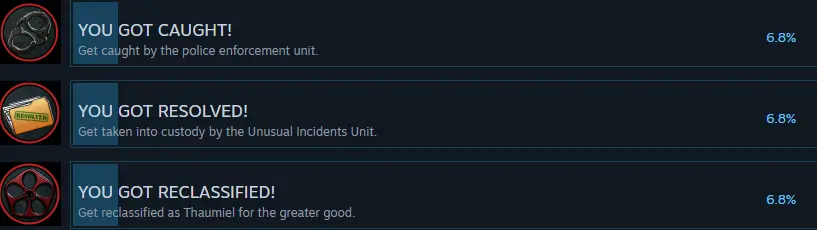
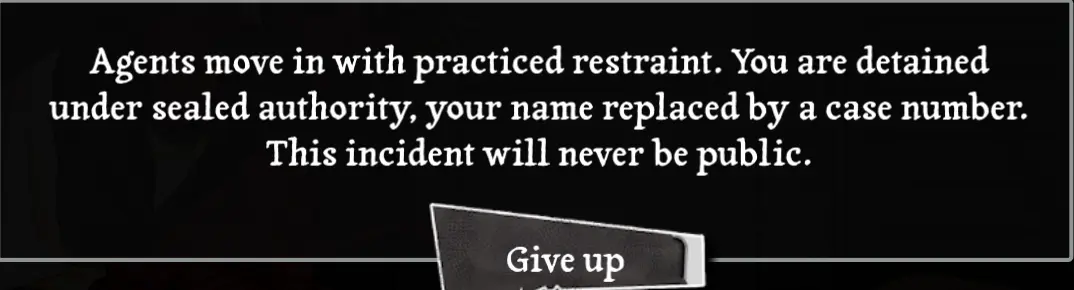
Now I move to the routes and the run-ending events. These are the outcomes where I get reclassified, captured, killed, sold, or transferred to an SCP facility.


I start with the simplest ones. After the earlier steps, I make a rebirth and choose ascension whenever I need to unlock a new route.
For the first ending route, I put 50 yen into the vending machine until I get Figi Water or another item with the correct icon. I drink enough to reach the first stage, then beg at the Mall Entrance until the alert messages appear. I keep going until the message and achievement appear.

For the next one, I do the same process with 100 yen at the vending machine and look for an item with the correct icon.

I eat enough to reach stage 3, then beg at the Mall Entrance again until I receive the message and achievement.

For the next route, I unlock two achievements: the Road of Avarice and You Got Neutralized. I take Rat on Stick items until I reach the final mutation stage and unlock the route achievement.

Then I beg again until the alert appears and the neutralized achievement unlocks.

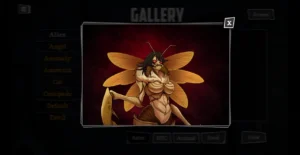
For the next one, I put 2,000 yen into the vending machine. This gives angelic and demonic items. I only take the demonic items with the correct icon.

When I reach the final stage, I unlock the demonic route achievement, then beg again until the ending achievement appears.


If the achievement loops on the same alert without capture, I either wait longer or return later with another mutation.
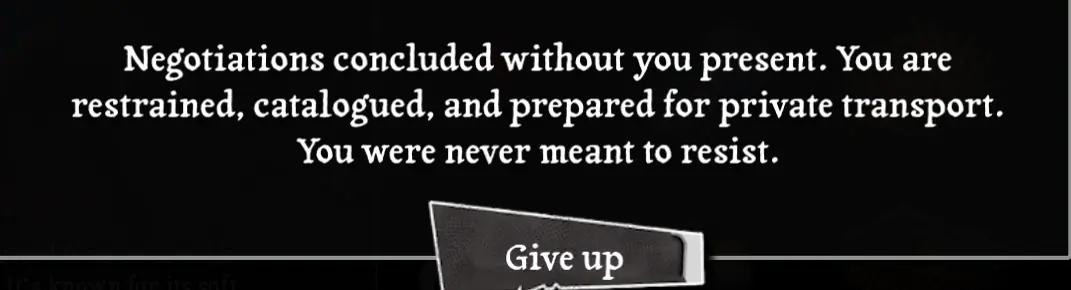
For the last ending of this type, I only use items with the shown logo. I take everything in my inventory with that logo, and if I still need more, I use the vending machine with the exact number for an item I have already found.
This route only has three stages, but it needs more items than expected. When I reach the final stage, I get the route achievement, then I beg until the ending alert appears.

After these endings, I focus on the remaining route achievements. The order no longer matters, as long as the roads are unlocked. To unlock the remaining roads, I choose ascension after rebirth each time.

For the famine route, I simply avoid eating for a long time. When hunger reaches 0%, I enter the famine phase. This route has seven stages, and the achievement unlocks at the final stage.

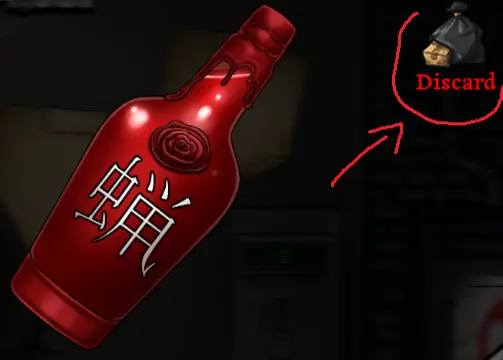
For the discard route, I use the discard option on many items. I click an item in my inventory and use the small button at the top left until I reach the final stage.
I repeat that until the final stage and achievement unlock.

For the next route, I only take items with this icon. Many drinks have it, and I can use the vending machine with 100 yen until I have enough for the last mutation stage.


For the next route, I only take items with the shown logo. I use 50 or 100 yen at the vending machine until I find one, then use that exact number to gather enough for the final stage.


For the next route, I again only take items with the displayed icon. I test 50 or 100 yen until I find a matching item, then repeat that value until I reach the final stage.


For the next route, I use only items with this icon. I start by testing 50 yen until I find the correct item, then continue until the final stage unlocks the achievement.


For the next route, I use only items with this logo. I test 100 yen, find the correct items, and eat them until I reach the last stage.
Every Route and All Endings Part 2

For this route, I only take items with the shown logo. To make it easier, I use 34, 55, or 182 yen and keep going until the final stage.


For the next route, I only take items with this icon. I use 50 or 100 yen until I have enough to reach the final stage.


For the next route, I only take items with the correct icon. I use 50 yen at the machine and continue until the final stage.


For the next route, I only take items with this icon. The easiest method is to put exactly 600 yen into the machine until I have enough.


For the angelic route, I use only items with this icon. I put 2,000 yen into the machine and only eat the angelic items, ignoring the demonic ones.

For all of the following routes, I use the 1,000 yen vending machine pool. All of these item types are grouped there, so I need to put 1,000 yen into the machine many times to gather enough items for each route.

For this route, I only take items with this icon and eat enough to reach the final stage.


For the next route, I again use the 1,000 yen pool and only eat items with the shown icon.


For this route, I continue using 1,000 yen items until I have enough objects with the correct icon to complete the transformation.


For the next route, I only take items with this icon. I keep using 1,000 yen at the machine until I finish it.


For this route, I repeat the same 1,000 yen method and only use items with the correct icon.


For the next route, I keep using the 1,000 yen pool and eat only the matching icon items.


For this route, I again use 1,000 yen at the machine until I gather enough matching items.


This route has a small extra detail: for the three related forms, I only take items with this icon.


Each time I move from the default character into the first phase, I normally have a one-in-three chance to develop one of the three routes. I check whether the first phase matches the one I need, and if not, I devolve the character with another mutation type.

For this route, I only take items with the shown icon and keep using the 1,000 yen item pool.


For the next route, I continue the same 1,000 yen method until I have enough matching items.


For this route, I only take items with the correct icon. These felt harder to get in my run, so I simply kept using the machine until I had enough.


For the final route in this part, I stay with the same 1,000 yen pool and only use items with the correct icon until the achievement unlocks.
