This guide will help you with ways to deal extra damage in Sin Spire, combat weapons, monsters, and much more.

Survival and Progression Guide
Here are ways to deal extra damage in Sin Spire, the best melee weapons, and lists of monsters!
Table of Contents
Getting Started
This guide explains my early Dungeon 1 strategy, focusing on safe progression, efficient looting, and long term preparation rather than fast wins.
I start by securing Purified Semen, which is essential for making money and clearing threats. Without it, early progress is slow.
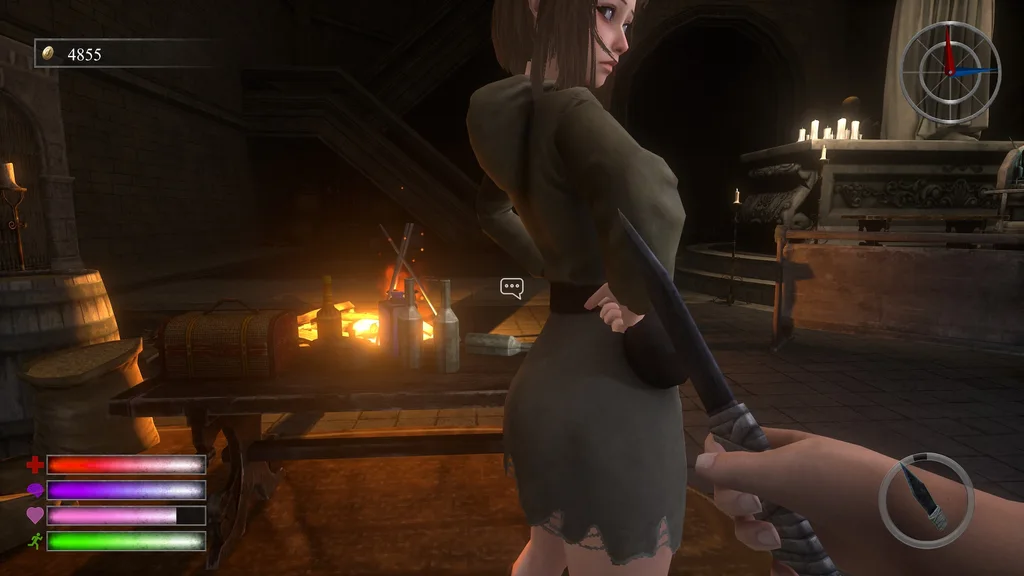
I intentionally die once to obtain a shiv from Savina. The shiv is not a real weapon. It is only used for parrying and dealing with the weakest enemies while I focus on looting.
During early runs, I do not try to win. I explore, loot, and leave as soon as my health drops to around 40 percent to avoid losing gold. Survival and gold retention are more important than clearing floors.
While looting Dungeon 1, I prioritize finding an axe or a pipe. The axe is used for stealth kills, while the pipe is reliable for open combat and helps preserve durability. Consumables are used carefully. Health potions are fine to use early, adrenaline is usually saved, and lust pills are only used on high value enemies. Repair kits are never used early.
Gold management is the core of progression. I focus on raising vitality to level 10 to unlock the Piggy Bank blessing, which reduces gold loss on death. After that, I raise libido to level 25 to prepare for the Healing Touch blessing, which greatly improves sustain.
For gold farming, I target leg amalgams and butchers and always check grey tile rooms since they contain chests and no enemies.
Once properly equipped, winning becomes consistent. I rely on the blue compass for navigation, avoid running unless necessary, prioritize stealth kills, abuse timer resets, parry when forced into combat, and manipulate enemy attack patterns. I memorize room layouts, avoid interacting while multiple enemies are aware, and invest evenly into strength, agility, vitality, and infusion after reaching libido 25.
This approach builds a strong foundation for consistent runs and long term success.
How to Progress and Unlock All Dungeons
Step 1: Complete a Full Run
I clear a run by reaching floor 10. In the teleporting rock room with two golden chests, I collect the orb and teleport back to the starting room altar.
Step 2: Use the Orb on the Gargoyle
Near the locked door in the starting room, there are stone gargoyle heads. I place the orb into the gargoyle’s mouth.
Step 3: Leave Through the Portal
I immediately leave the starting room using the portal. I do not re enter the dungeon, because it will be the same layout with no new items or orbs.
Step 4: Collect All Orbs
Each dungeon may have multiple gargoyle heads. I can repeatedly leave through the portal and re enter to generate new dungeon layouts and collect more orbs.
Step 5: Open the Boss Door
Once all gargoyle heads are filled, the boss door opens. I enter, fight the stalker, and purify it. This completes progression for that dungeon.
Best Ways to Deal Extra Damage
I always prioritize mechanics over raw stats when it comes to damage.
- Parrying and Headshots
- Parrying increases damage for both melee and guns. Headshots also massively boost damage. When I combine parry + headshot, enemies melt.
- Sneak Attacks
- Sneak attacks deal huge bonus damage. Guns also benefit from sneak tech.
Sneak tech + headshot = insane damage output.
- Sneak attacks deal huge bonus damage. Guns also benefit from sneak tech.
- Strength Upgrade
- The strength upgrade from the altar helps with raw damage and faster kills, especially on tanky enemies.
Best and Worst Melee Weapons
Shiv
- DPS: S
- DMG: D
- Durability: S
- Ranking: C
I use the shiv for running around and parrying. It is perfect for saving my main weapon durability and for stealth kills.
Axe
- DPS: C
- DMG: S
- Durability: B
- Ranking: A
This is my go-to weapon for almost everything. It works great for both stealth and combat.
Katana
- DPS: S
- DMG: S
- Durability: B
- Ranking: S
This is the best weapon in the game. I save it for boss fights and tanky enemies. Perfect for stealth kills and high-threat encounters.
Pipe
- DPS: C
- DMG: B
- Durability: A
- Ranking: B
I use the pipe when my katana and axe durability are low. It is a reliable backup weapon.
Best Stats to Invest In
Vitality
Rank: S
- This is my main focus. The blessings are extremely strong and make dungeon clears easier.
- I always hard focus it early for Piggy Bank, then upgrade later for powerful blessing synergy. The other blessings are overpowered and massively increase survivability.
Mind
Rank: F
- I only upgrade libido here. Blessings are boring and I can regain sanity through gameplay actions.
Strength
Rank: B
- No blessings hurts, but faster kill speed makes combat much easier.
Stamina
Rank: C
- Infusion and consumables replace stamina entirely. The tank upgrade is too expensive for what it gives. Infinite running is not important.
Agility
Rank: B
- Good for speedrunning and fast dungeon clears.
- Fast Recovery blessing is bad. I never take it.
Libido
Rank: A
- Perfect for grinding purified enemies.
- Healing Touch blessing turns defeated enemies into:
- Gold
- Health potion
- C. Pill
This is one of the strongest farming mechanics in the game.
Infusion
Rank: A
- Health potions and consumables are extremely clutch, and infusion makes them much stronger.
Handling
Rank: C
- Low value stat. Weapon switching is easier than upgrading this. No blessings and mostly quality-of-life value.
How to Get Pages for the Bestiary
Papers spawn on the floor in every dungeon. I always check rooms carefully while exploring.
Dungeon Survival Tips
Blue Needle on the Compass
- The blue needle always points to the next blue door.
- If I backtrack and go down a floor, it points to the next descent door.
- Learning room layouts is essential. With experience, I can predict door locations without wasting time.
If time runs out, the stalker spawns where the blue needle points.
Getting Swarmed by Enemies
This happens in dead ends when multiple enemies chase me. I train them like zombie hordes:
- Parrying saves me
- Dash attacks can break formations
- Some situations are unavoidable
Traps
- Chip damage from traps can end runs.
- I keep my camera leveled to see floors and ceilings.
- I walk instead of sprinting to react faster.
- World 3 is the most dangerous with pits and bear traps.
Playing at Critical Health
- If I drop to 30 percent health with no potions, I leave.
- Keeping money is more valuable than dying.
- Low time + stalker spawn usually means instant death.
If I have Piggy Bank, death is not as punishing since I can recover my money later.
Savina’s Shop Strategy
- I only buy obsidian keys if I am desperate.
I do not recommend buying weapons or consumables. - Health potions are only worth buying for boss fights.
Dungeon 2 is full of chests, so items are easy to find naturally.
Monster Combat Guide
The Witness
- Health: B
Spawn: Dungeons 1, 2, 3, 4
Danger Level: D- I bully them with the shiv.
- Parry makes them drop to their knees for free hits.
- Dash attack is fast but parryable.
- Long lunge is slow and easy to punish.
- If I struggle, it means there is a horde nearby.
The Leg Amalgam
- Health: B
Spawn: Dungeons 1, 2, 3
Danger Level: A- Axe stealth kill works.
- I always parry before attacking.
- Best tactic is medium distance to bait the long dash.
- Quick close-range combo is dangerous.
- She can dodge attacks, so patience wins fights.
The Butcherette
- Health: S
Spawn: Dungeons 1, 3
Danger Level: B- I loop her close-range attack pattern and step back before she strikes.
- Her dash attack is risky to parry, so I avoid triggering it.
The Lost
- Health: C
Spawn: Dungeon 2
Danger Level: D- I parry the lunge and hit the head.
- Very easy enemy.
The Maid
- Health: B
Spawn: Dungeon 2
Danger Level: B- I stun lock using pipe or axe after baiting long-range attack.
- Hit, step back, hit again.
- Long-range attack is easy to parry.
- Shotgun headshot one-shots her.
The Statues
- Health: Very low
Spawn: Dungeon 2
Danger Level: A- I kill them immediately if no enemies are attacking me.
- Running away is extremely dangerous.
- They can move even when I look at them.
- Buggy behavior makes stealth kills the safest option.
The Smiler
- Health: B
Spawn: Dungeons 3, 4
Danger Level: A- I shoot her before she starts wailing.
- Noise and timer do not matter here.
- Sneak kills are ideal.
- In World 3, she can knock me into pits.
- Breaking line of sight stops her scream.
Flying Ghost Lady
- Health: Tanky
Danger Level: B- I avoid her grab dash by running wide.
- Parrying is unreliable due to delayed hit timing.
- My pattern is run, hit, run again.