In Oaken Tower, knowing the main limits can save a strong run from suddenly ending with a one-shot. In this guide, I explain the important crit chance, trigger rate, cooldown, weapon timing, and endless mode item mechanics that I needed to understand.
Oaken Tower Limits: Crit Chance, Trigger Rate and Cooldown Explained
In this guide, I go over the hard limits in Oaken Tower and explain how they affect damage, buffs, multicast triggers, shields, heals, and one-shot builds.
100% Crit Chance Limit
The first important limit is 100% crit chance. Any crit chance above 100% does not directly improve my damage.
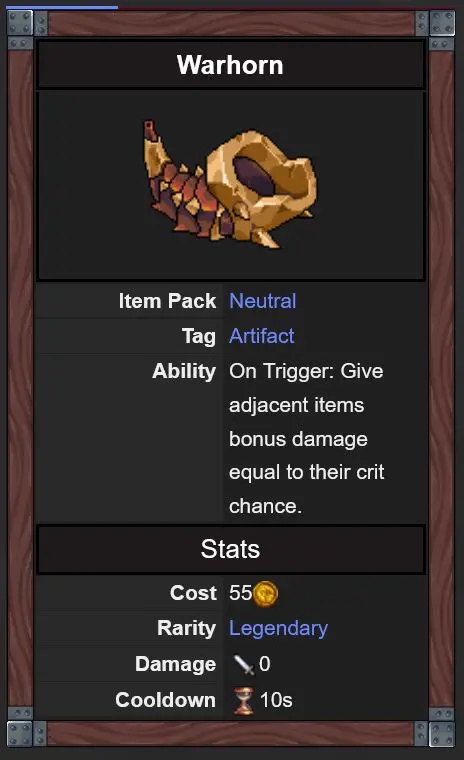
However, there is one important exception. The legendary item Warhorn gives my items bonus damage equal to their crit chance, and this mechanic has no cap.
10 Triggers Per Second Limit
Another major limit is 10 triggers per second. Any trigger above this limit does not improve my damage or buffs.
This means that if I have an item with a 1 second cooldown, any multicast above 10 does not improve it. However, if I have an item with a 2 second cooldown, 20 multicast can still improve my output, but anything above that does not add more value.
1.0 Second Item Cooldown Limit
The item cooldown cannot be lowered below 1.0 second. There is also a very important difference between melee weapons and ranged weapons.
Melee weapons hit almost instantly at around 0.03 seconds, while ranged weapon attacks need to travel across the board and take around 0.07 seconds. Heals and shields also need around 0.07 seconds, and they happen after melee attacks.
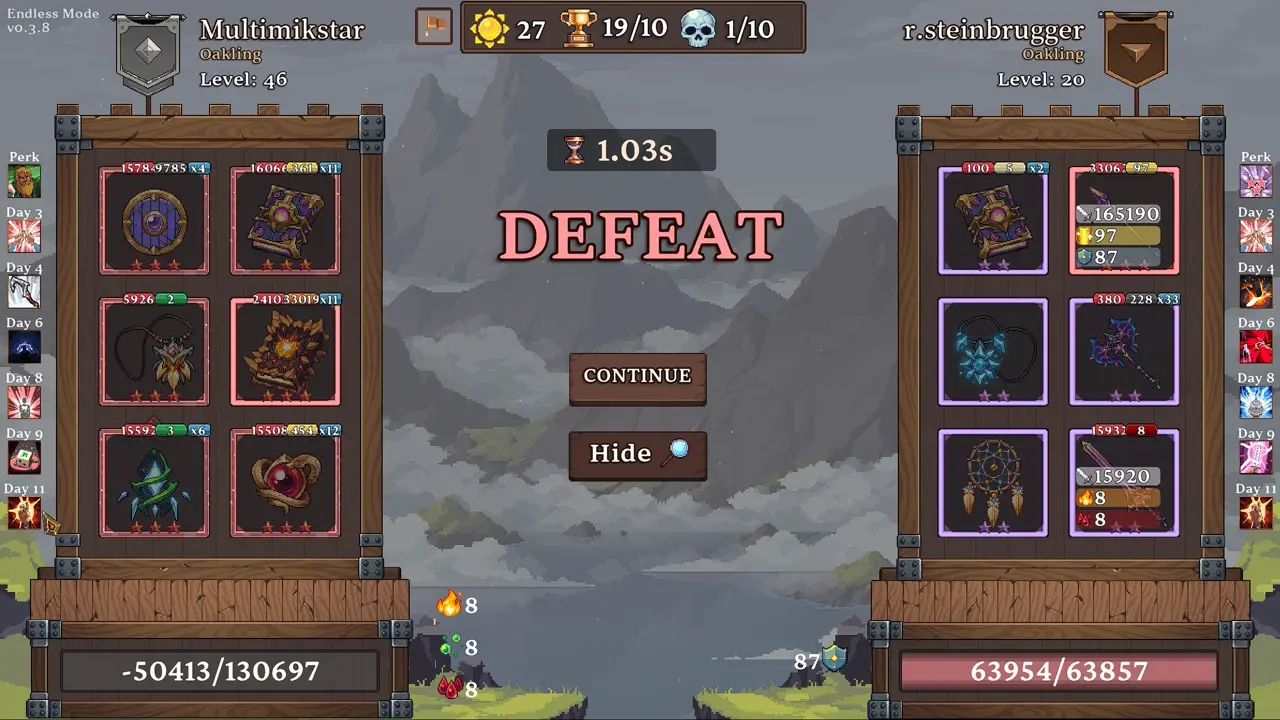
In the first test, my enemy one-shot me. I only had ranged weapons, and they did not activate. My shields and heal also did not activate. The time needed was 1.03 seconds.
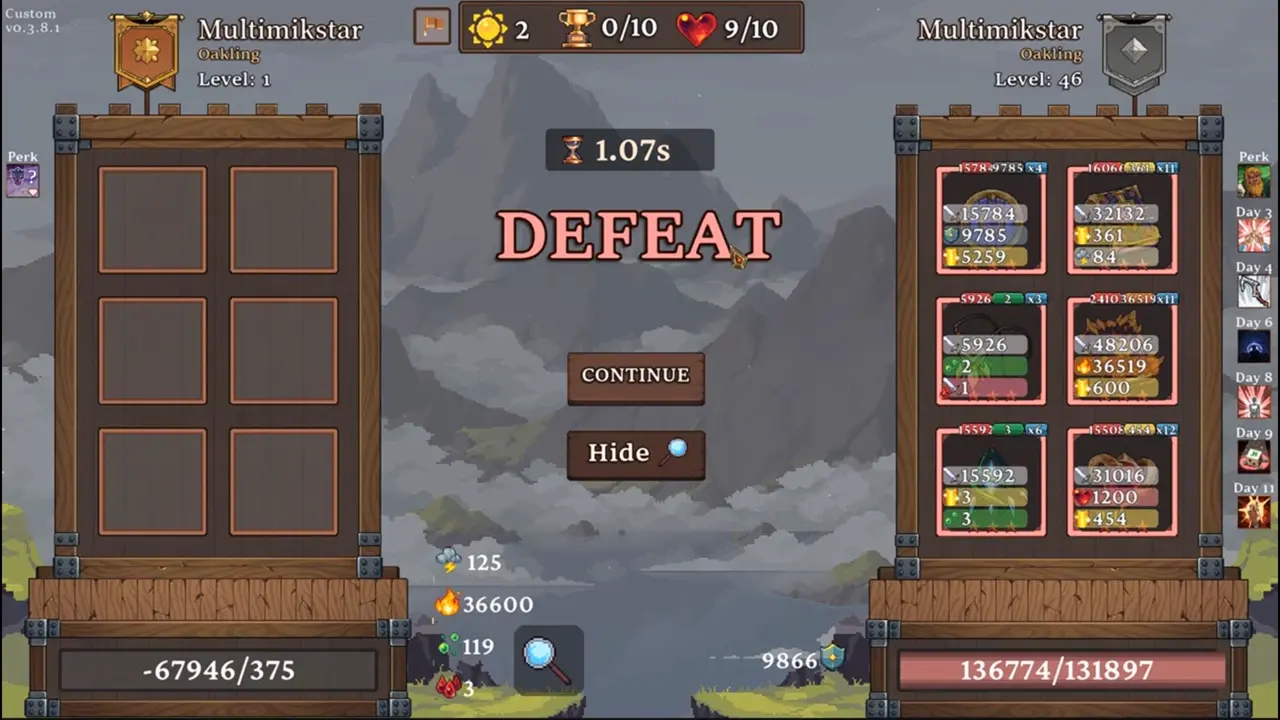
In the second test, I fought against my own build from the first test. I got one-shot by the ranged weapons, but the heal and shield also activated. The time needed was 1.07 seconds.
How Multicast Timing Works
After analyzing some YouTube videos from runs far into endless mode, I realized that multicast triggers do not all hit at the exact same time. In those examples, the attacks should have one-shot the enemy, but the enemy survived because not all the damage was blocked.
It was always 4x the weapon damage, which means 4 multicast triggers went through before the shield activated. Based on the clues from my tests, where weapons activated after 1.03 seconds and shields after 1.07 seconds, it may mean that every multicast trigger needs around 0.01 seconds to activate. This would explain the 10 triggers per second limit.
Best Setup for One-Shot Builds
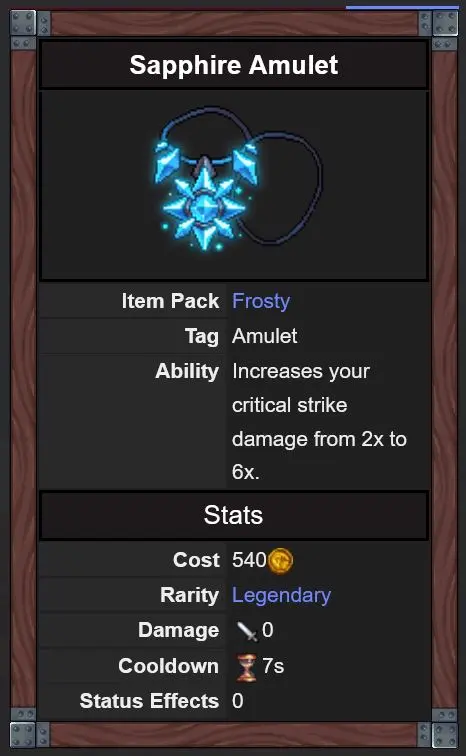
For one-shot builds, I want a melee weapon with as much damage as possible, 100% crit chance, and a 1.0 second cooldown.
With Sapphire Amulet at 3 stars, my critical strikes deal 6x damage instead of 2x damage.
Useful Start of Day Item Mechanics
Start of day items do not need to be inside my tower to activate. I can keep them in my selection bar or in my pouch, and they will still activate.
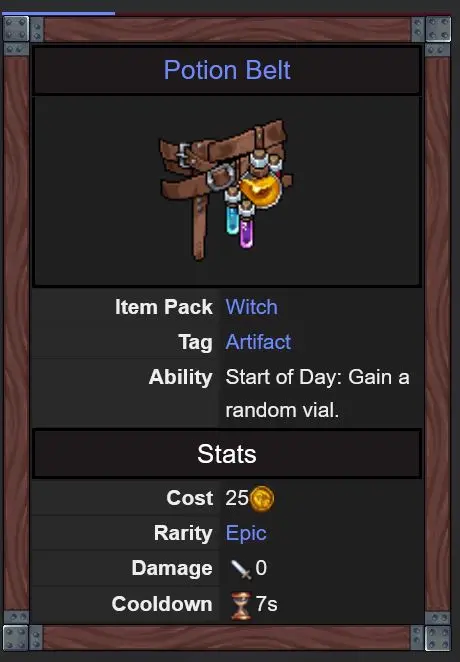
This also works with Potion Belt. I did not know this for some time, and I originally thought the item was not good because it wasted a slot in my tower.
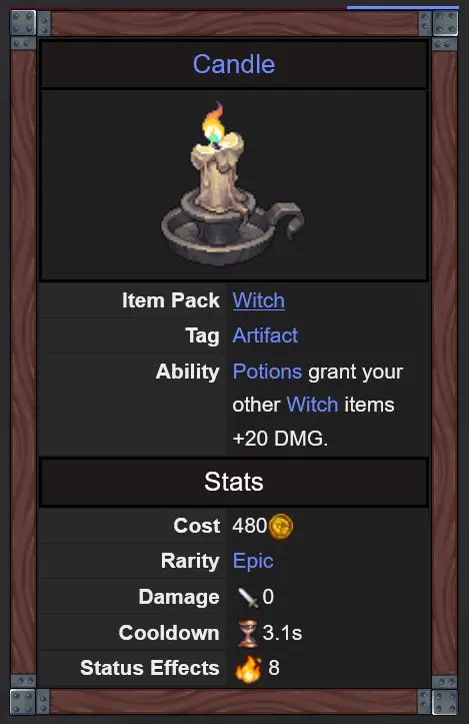
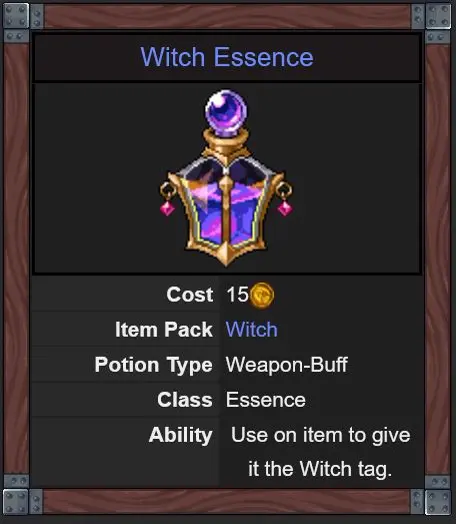
However, Potion Belt is one of the most broken items for endless mode when combined with Candle at 3 stars and all my items with the Witch tag. I can receive the Witch tag through Witch Essence.