This detailed guide includes all the Knights in Of Ash and Steel’s first main quest, as well as the locations of Chad, Melt, Beltran, and Dalar.
Where to Find All Knights
I wrote this guide to explain exactly where I found every Knight in the first main quest of Of Ash and Steel and how I recruited each one. I stayed on a single path from the start of the game through the end of the quest, picking up every Knight and completing every requirement on the way.
Chad, Melt, Beltran and Dalar Locations
I started at the entrance to the city, where two guards demanded 200 gold to let me inside. After I passed them, I turned right and then immediately left.
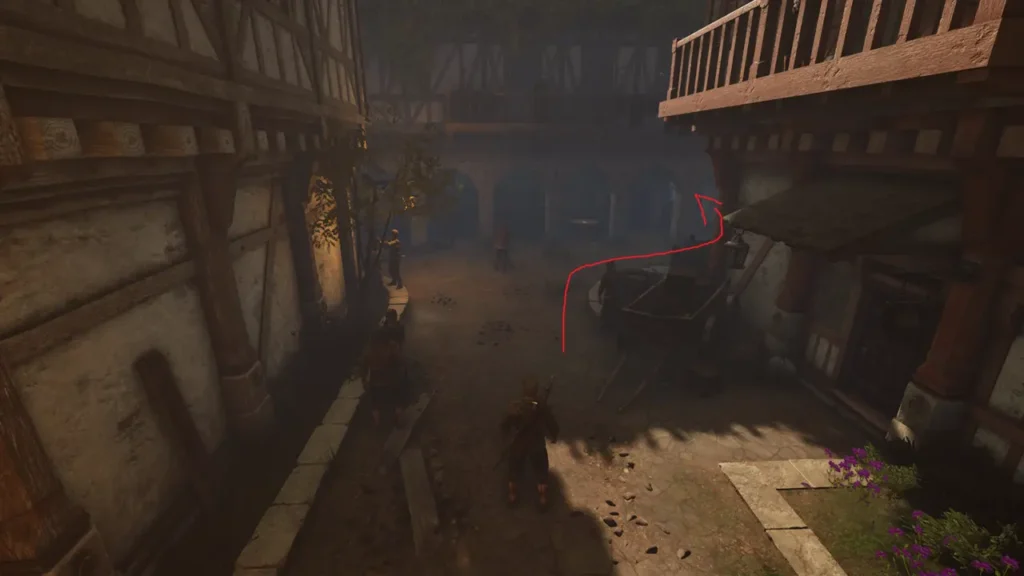
Straight ahead was a tavern. I went up its stairs.
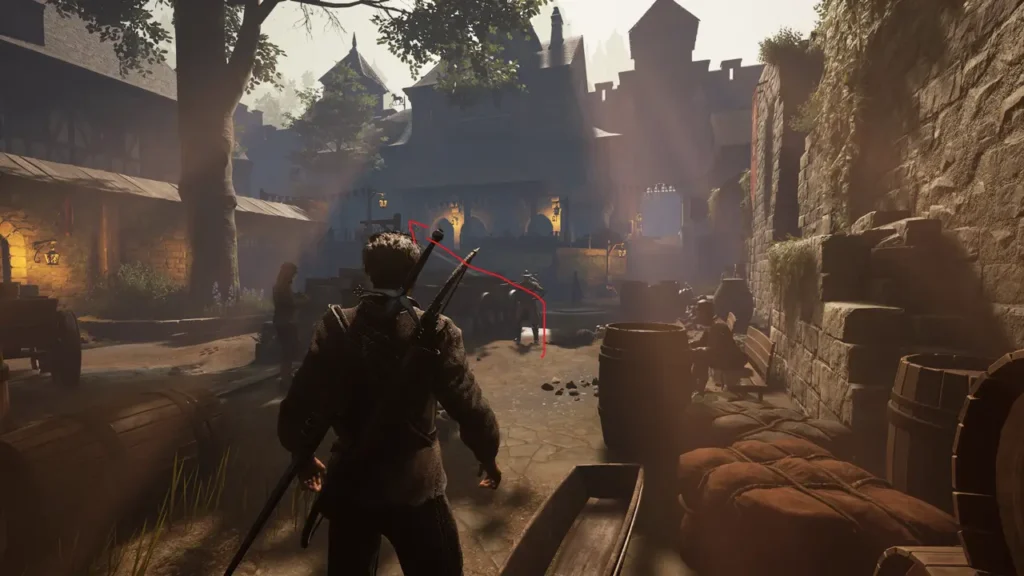
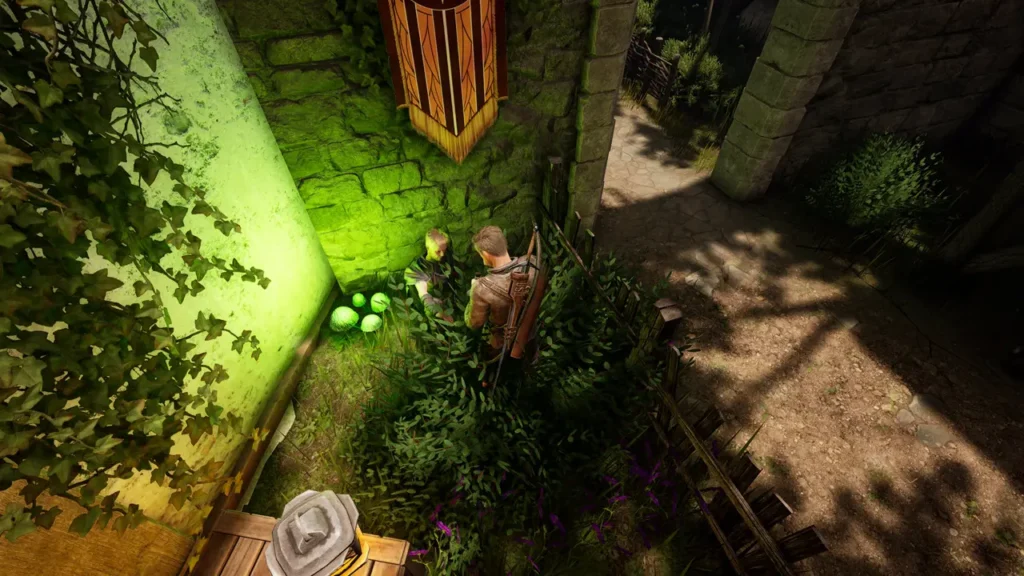
While facing the tavern door, I turned left and found Chad hiding in a bush.
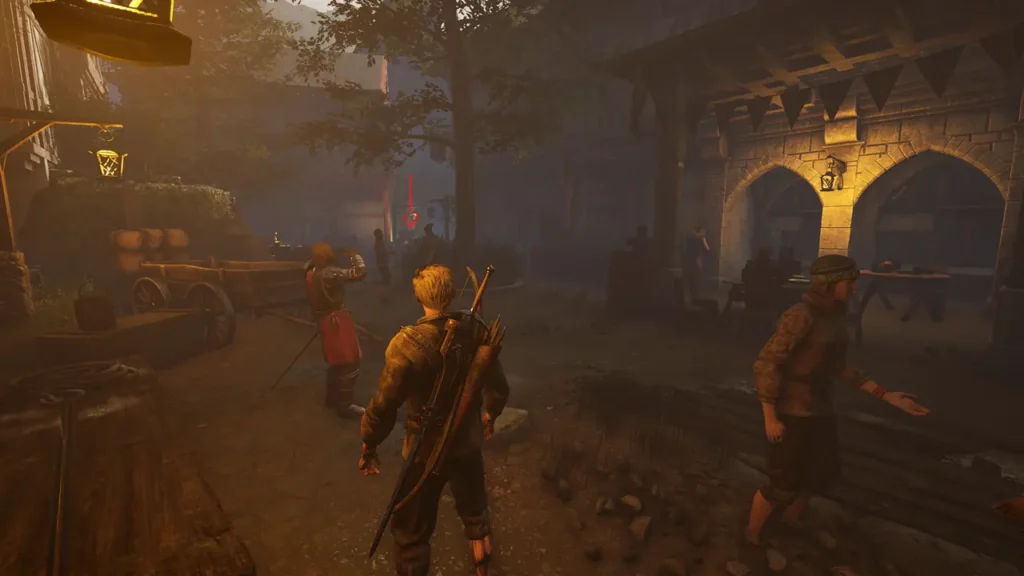
He was embarrassed because he had lost his armour. He refused to join me until I recovered it.
Almost everything that follows takes place outside the city. I needed 100 gold to recruit Melt, and later I needed one iron ore, one steel bar, and one fine wine to recruit Beltran.
The entire trip took me about ten to twenty minutes on foot. Along the way I recruited every Knight and completed every step of their quests. I know there may be different ways to finish some tasks, but I am describing the route I used from start to finish.
To begin, I needed information about Chad’s armour, so I left the city through the same entrance where the guards asked for 200 gold.
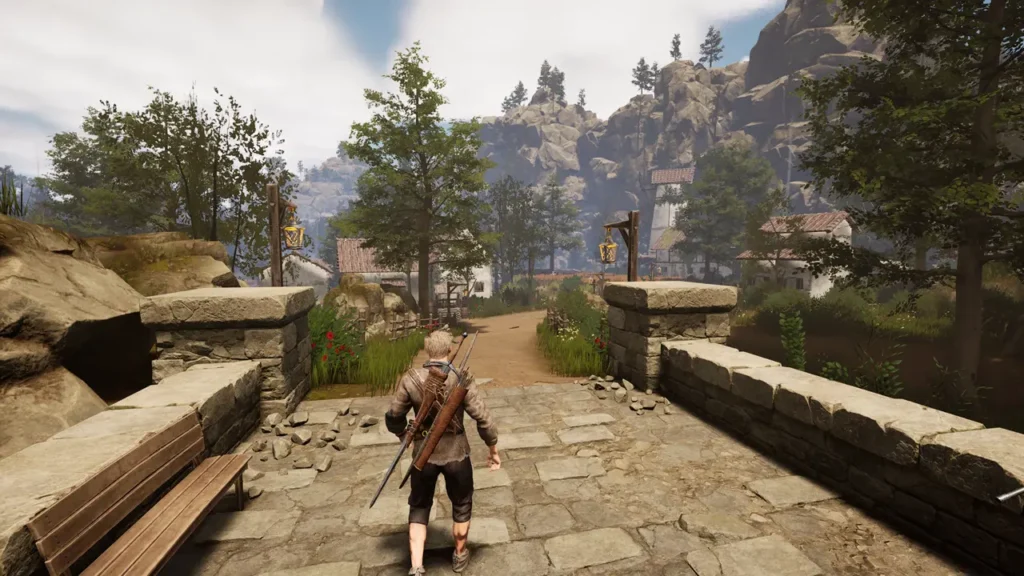
I walked straight ahead until the houses ended. Vilma lived in the last house on the right.
When I asked her about the armour, she told me she did not have it. After speaking with her, I walked back toward the city along the same road.
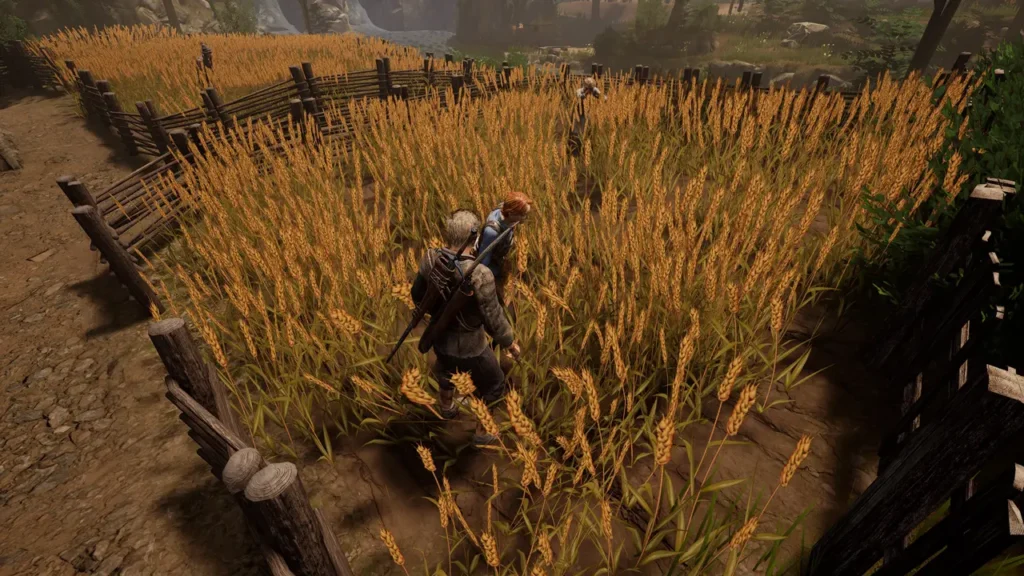
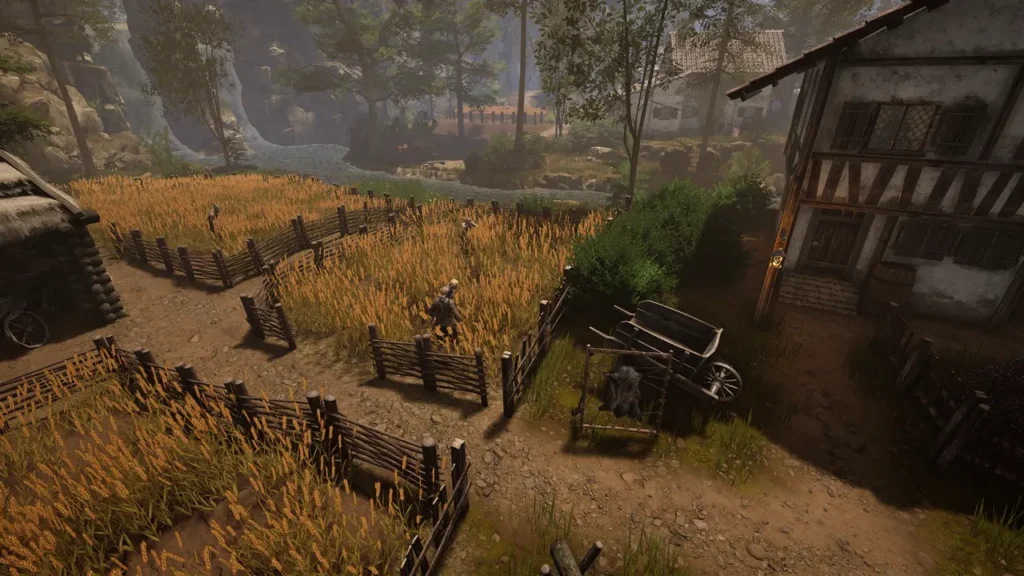
Eventually I arrived at a large statue standing at a crossroads. Here the road split. Turning right led to the guard tower and Melt.
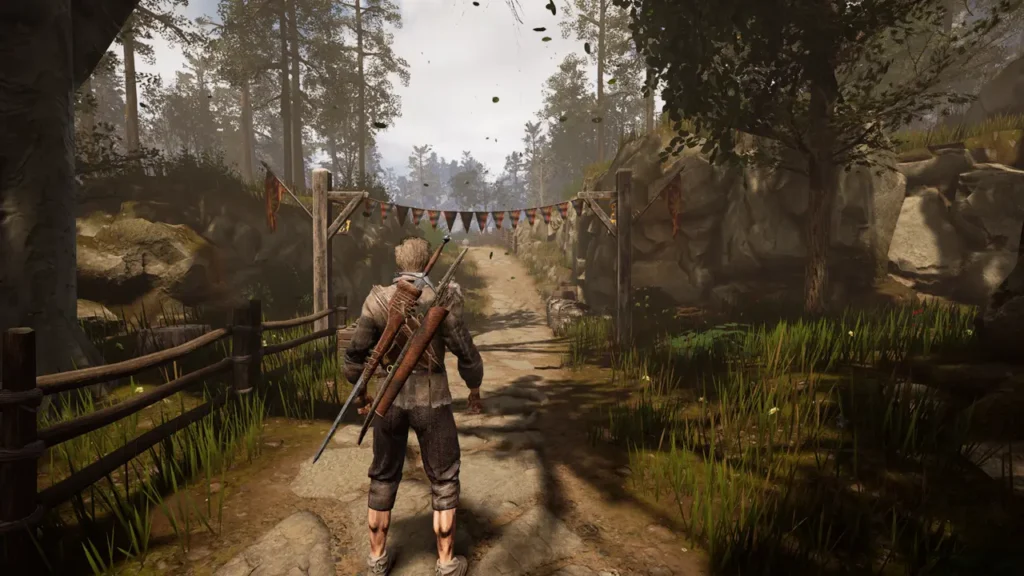
Turning left led to the Greyshaftian Hound Tavern where Beltran was staying.
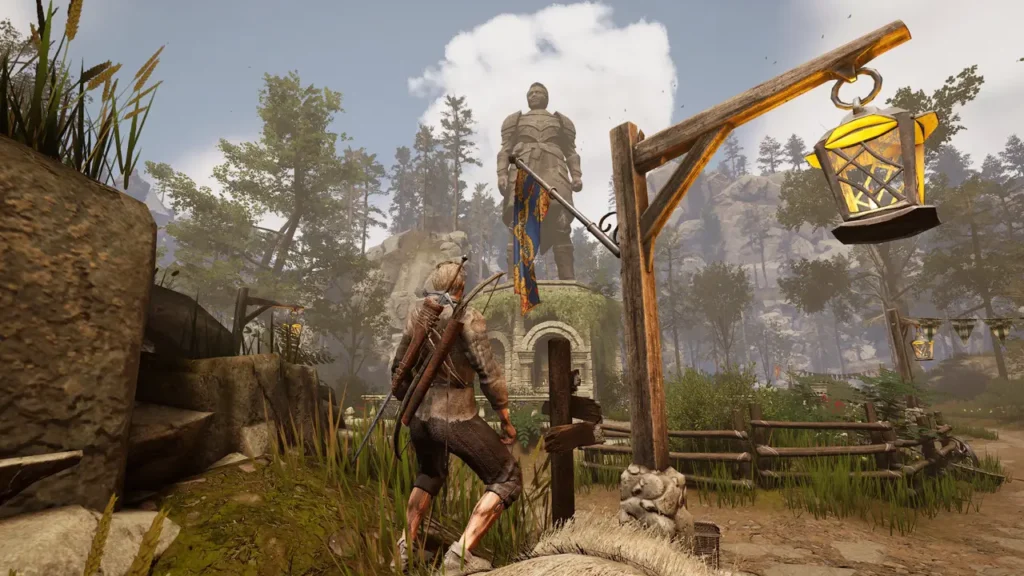
I went right first. I walked until I reached the guard tower again.
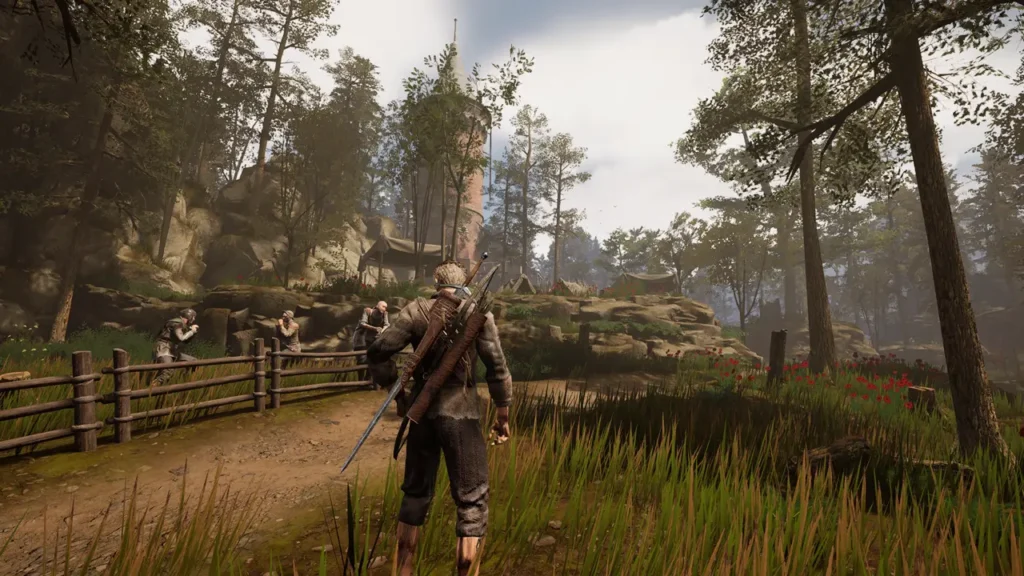
At the base of the tower was a fenced tavern without a proper building. Melt was inside, drinking. To recruit him, I had to pay the innkeeper 100 gold to cover Melt’s drinks. Once I paid, Melt agreed to join me.
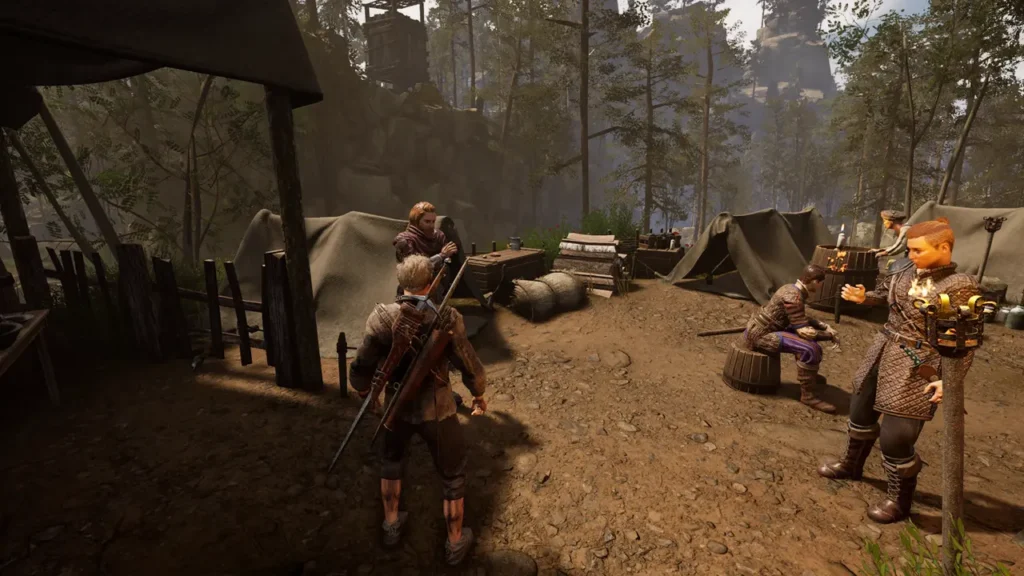
After recruiting Melt, I returned to the statue and went left toward the Greyshaftian Hound. I followed the road signs until I saw a large building in the distance.

That was the tavern. Inside, I found Beltran. He told me he had lost his sword and refused to return until I recovered it.
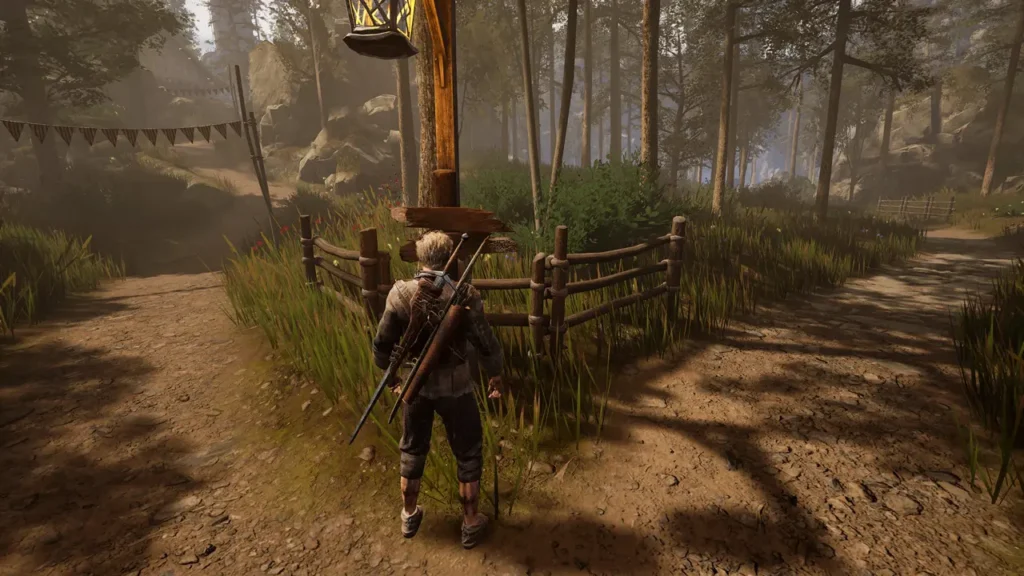
I left the tavern and continued forward on the road.
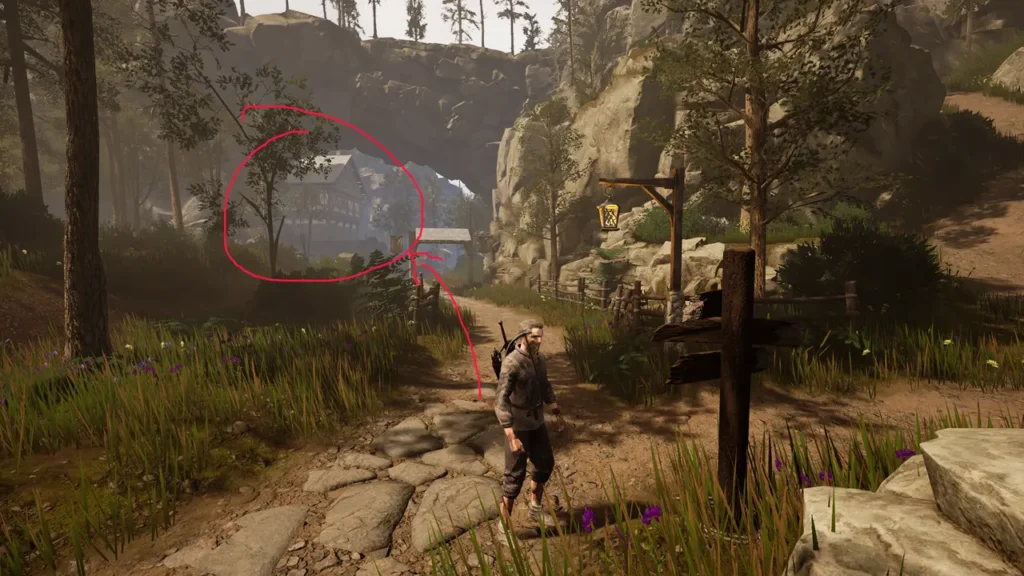
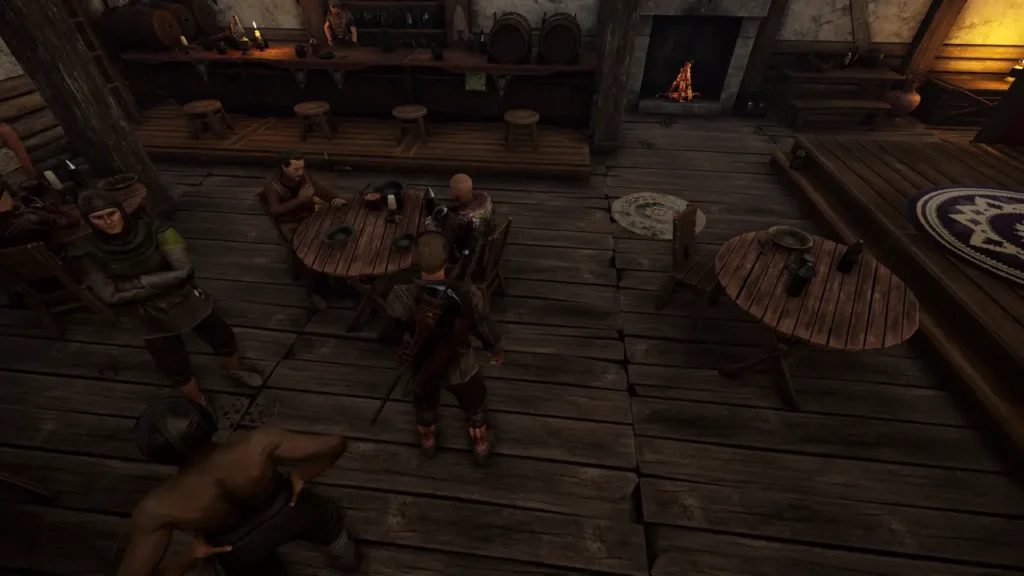
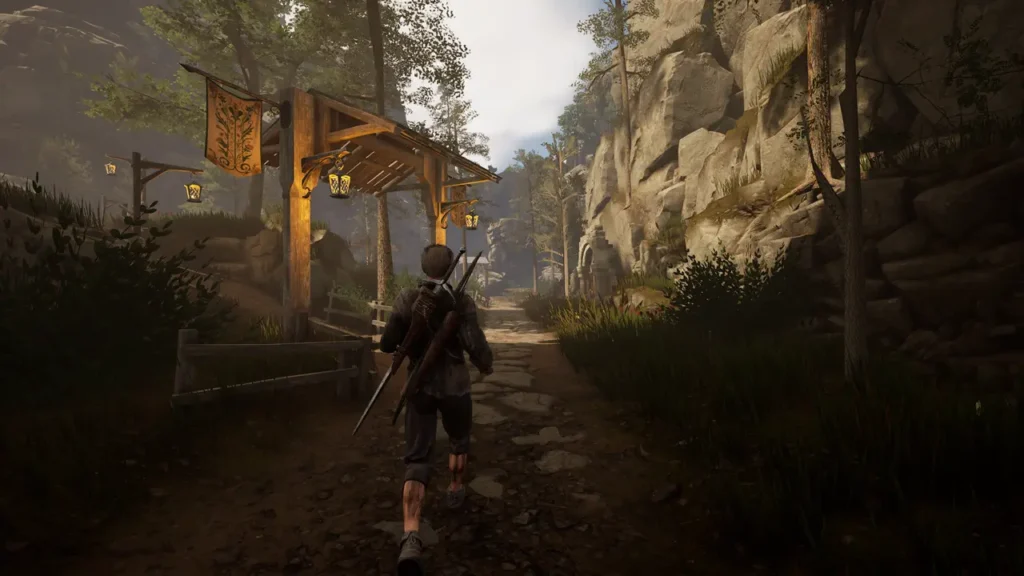
I followed the signs toward the Fishing Village.
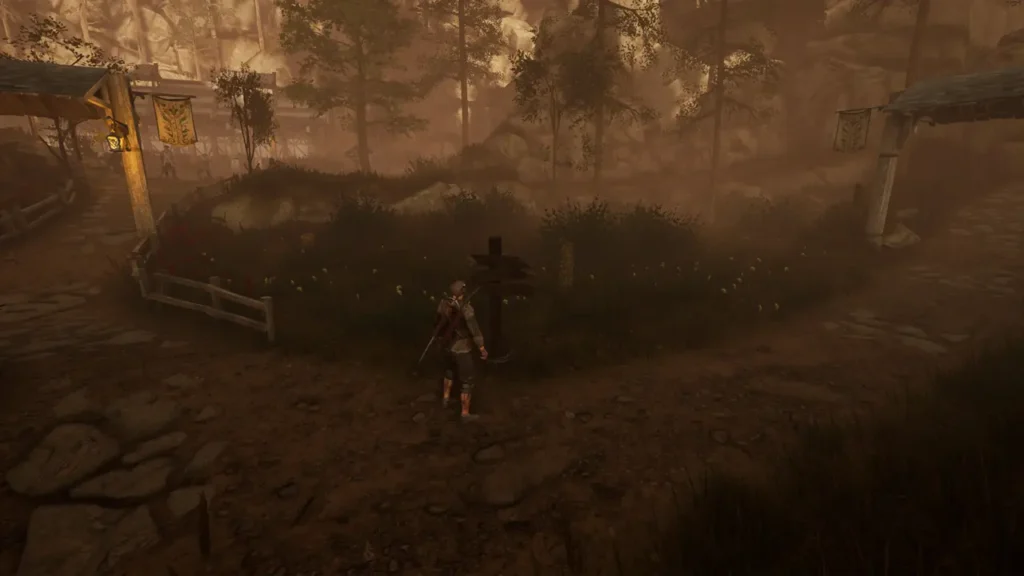
After passing a wooden passage, I turned left and stayed on the road. Turning right would have led to level twenty five monsters.
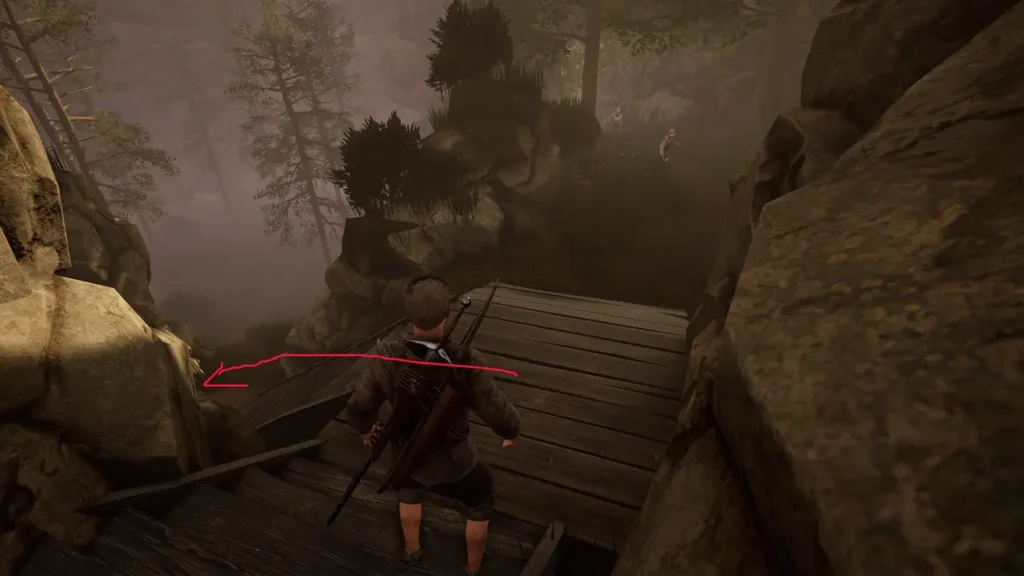
I knew I was going the right way when I saw guards fighting just beyond a small wooden bridge.
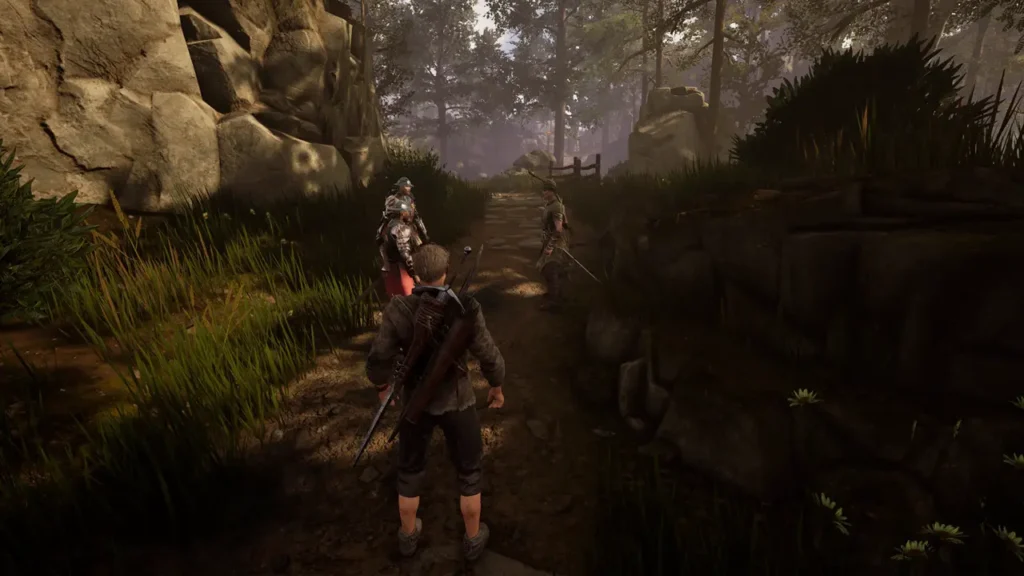
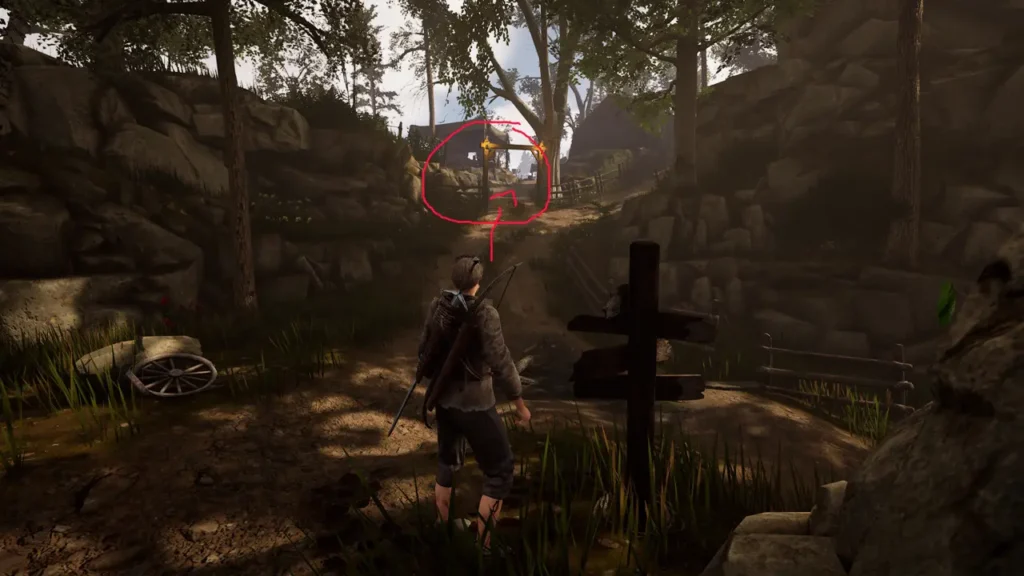
I eventually reached another road sign. Beside it was a small camp with a blacksmith. He was the key to restoring Beltran’s sword.
He needed his anvil, wheel, and hammer before he could help me.
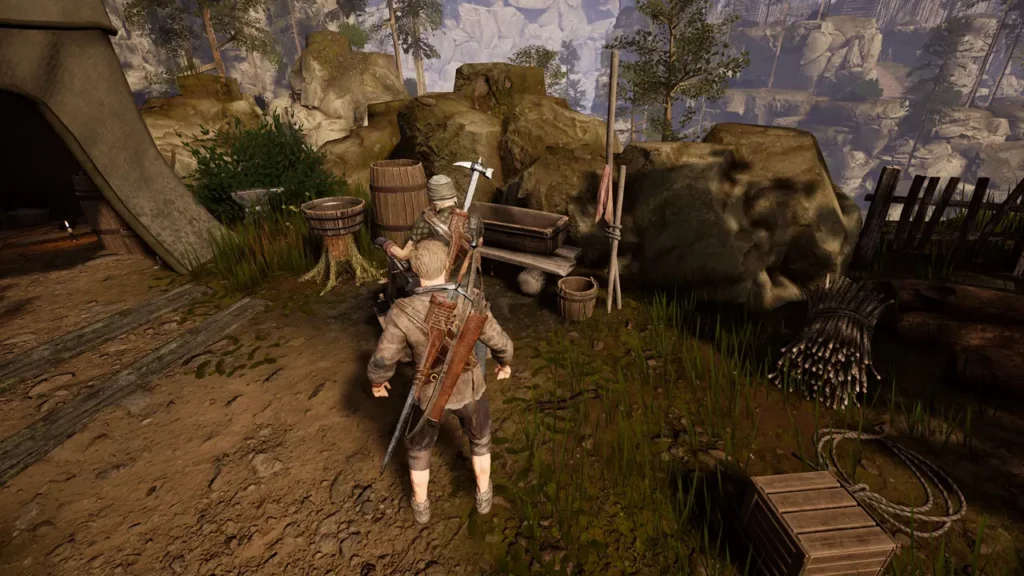
The anvil was beside his tent.
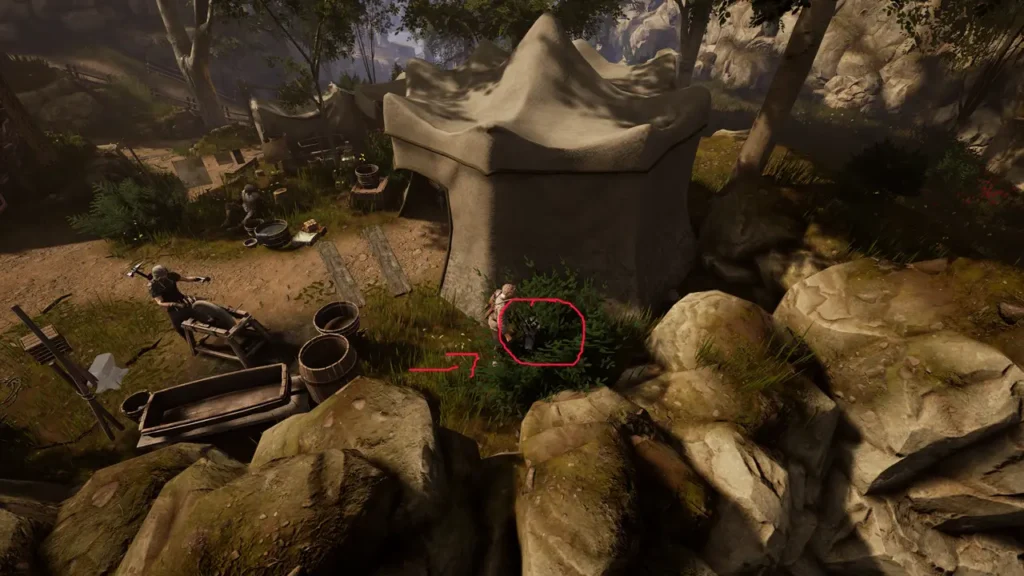
The wheel was inside a nearby tent.
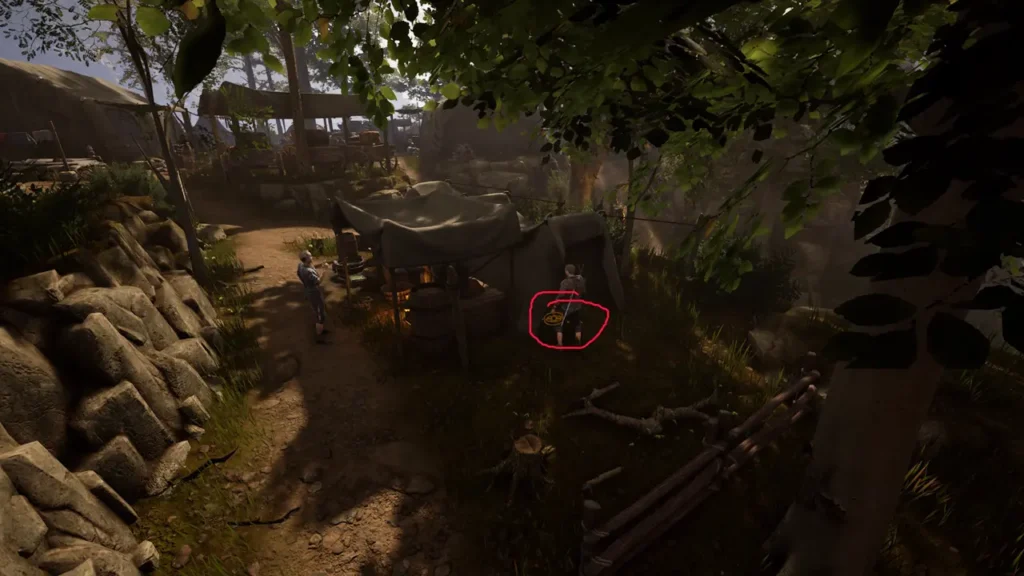
The hammer was behind a tree in the camp.
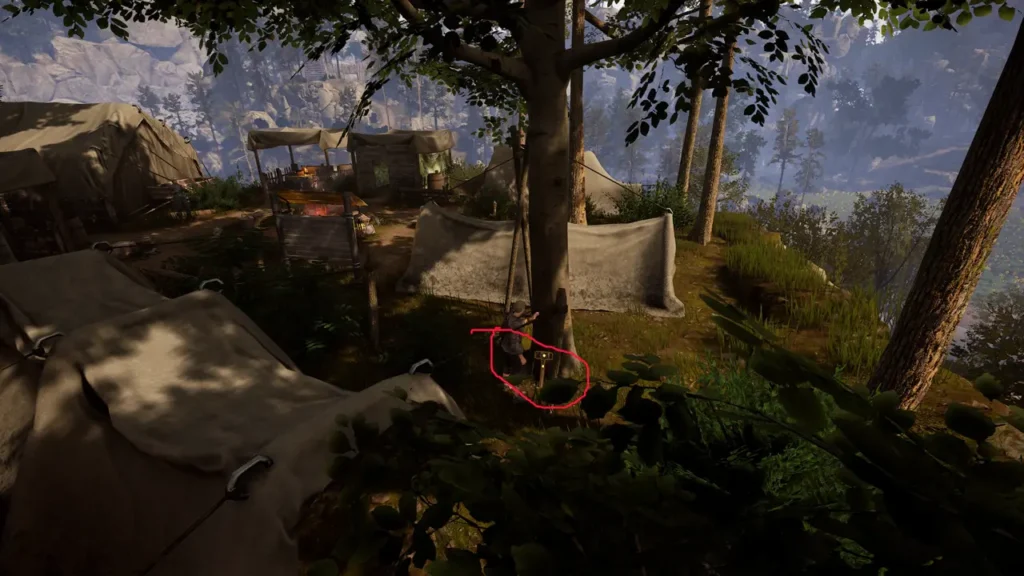
Once I returned all three items, he asked for one iron ore, one steel bar, and one good wine. He also asked which prayer line should appear on the blade. Beltran had told me the sword originally had four lines, but here I had to choose one. I selected the first option. Beltran accepted the completed sword when I brought it back later.
After finishing at the camp, I returned to the road sign and followed the path toward the Fishing Village.
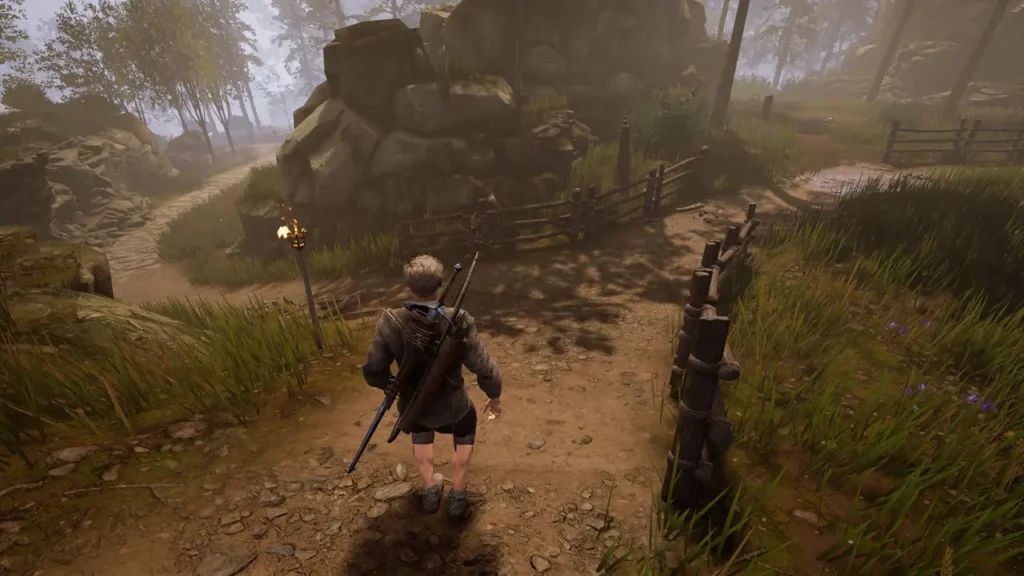
When I arrived, I spoke to an NPC who stood out clearly in the small village. I told him I was from the order.
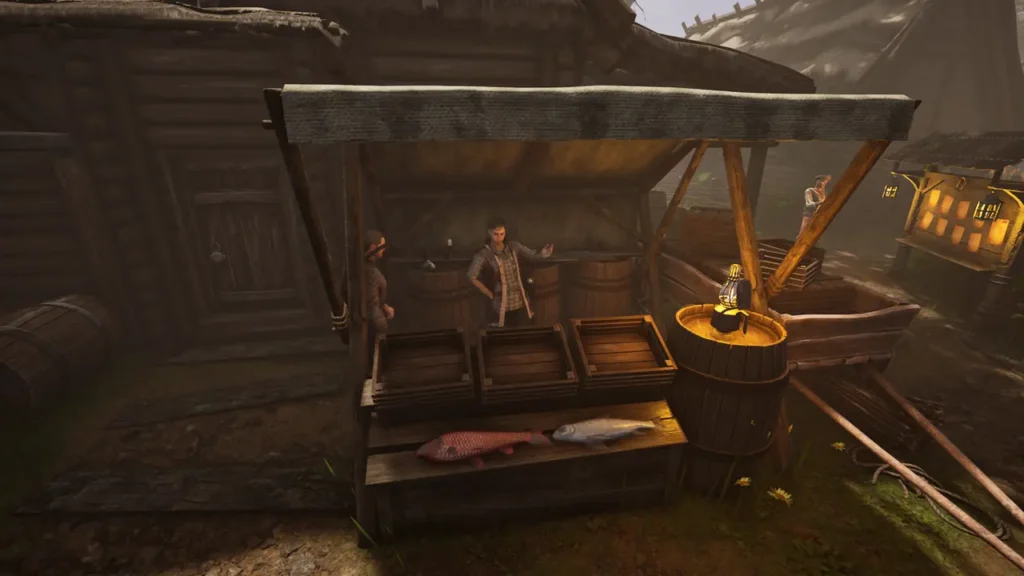
He directed me to Dalar’s aunt’s house, which was uphill.
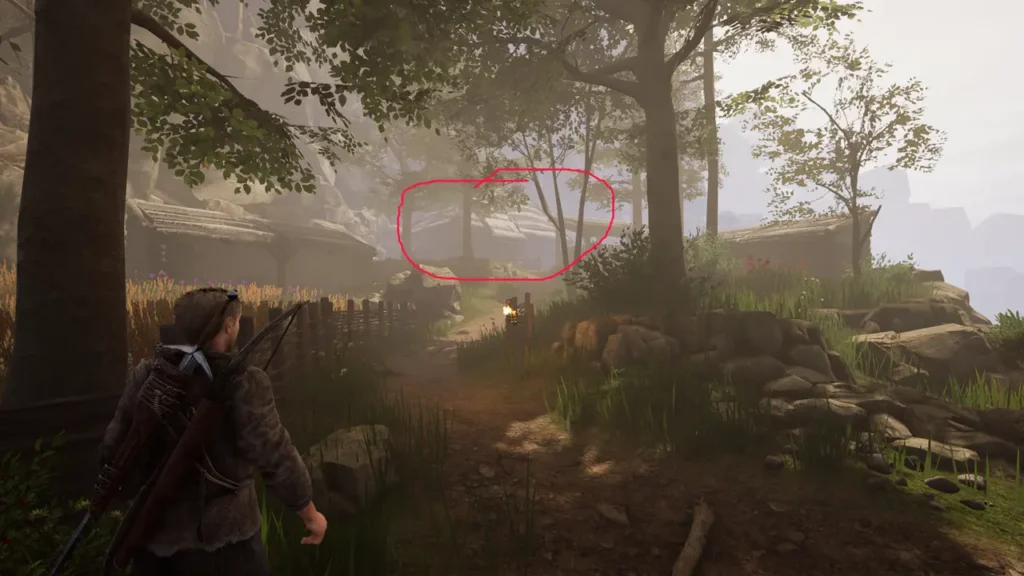
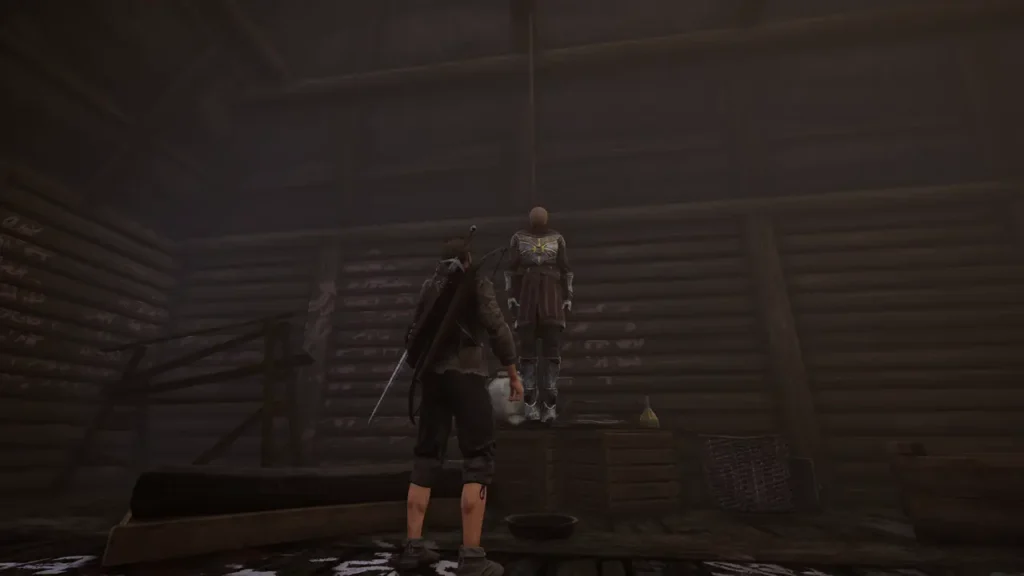
I knocked on the door three times. Inside, I found the final Knight, who had taken his own life. I took down the body and informed the first NPC about what had happened.
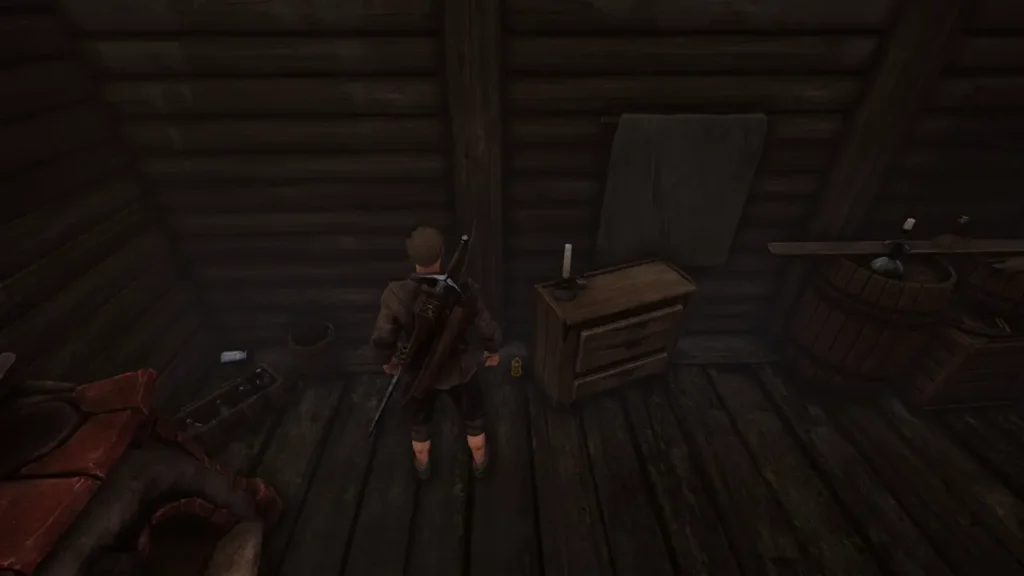
Before leaving the house, I picked up a status potion beside the nightstand. Drinking it gave a permanent one point stat boost, but it could also be sold for 650 gold.
I left the village and followed the road toward the sunflower fields, then continued on the path to the Free Hunters Base.
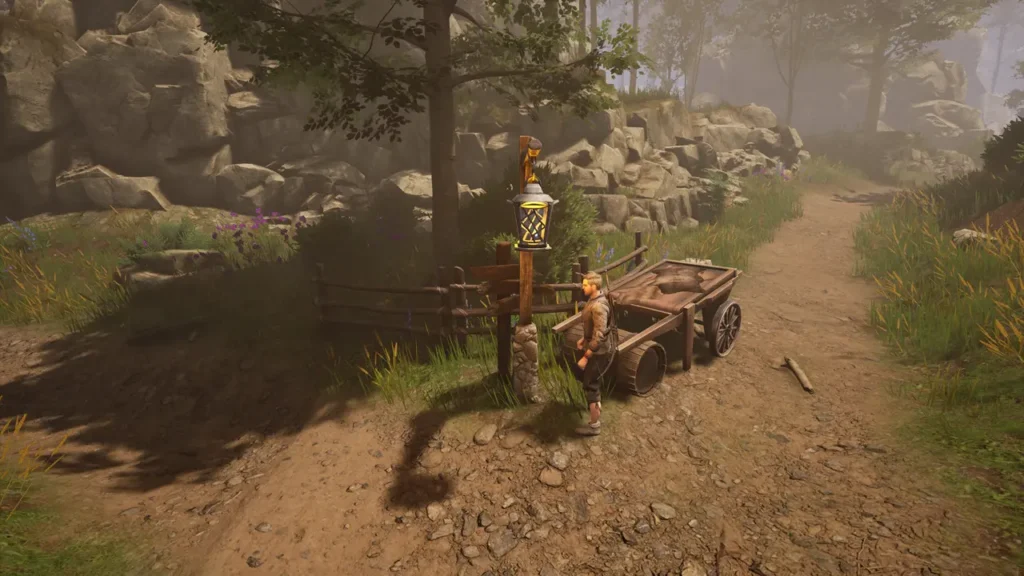
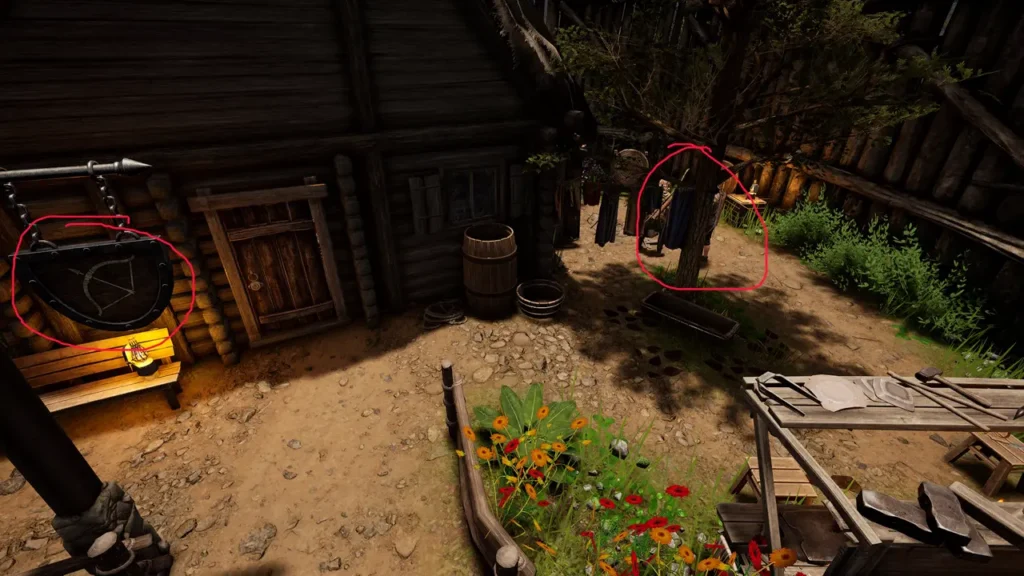
The road was long, but I eventually reached the Free Hunters Camp. Selma, Chad’s lover, was on the right side of the camp near a house marked with a bow and arrow sign.
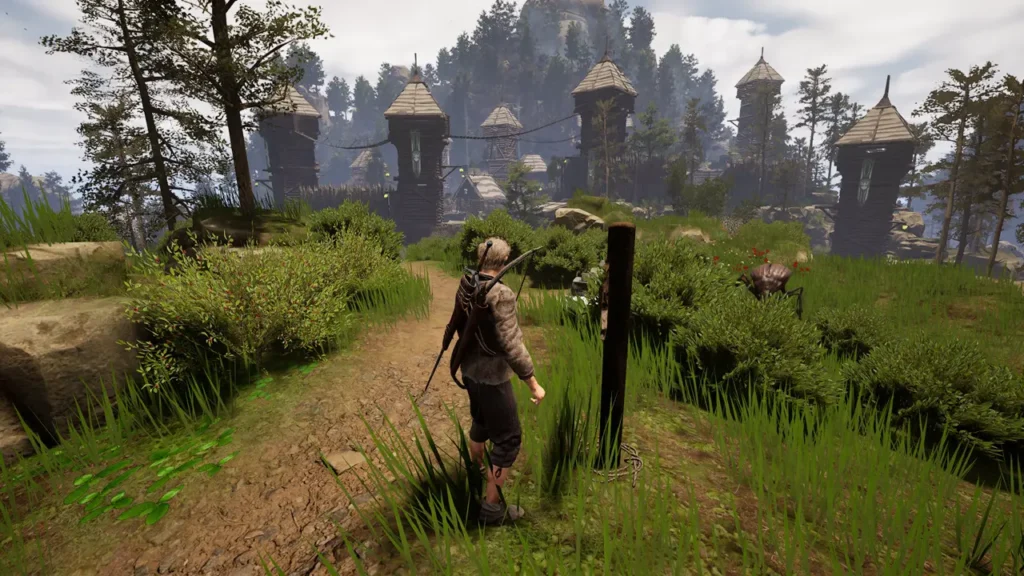
From here, I returned toward the city. On the way, I stopped at the Greyshaftian Hound to return Beltran’s sword, then continued back to Chad.
After I updated him, he told me that neither Viola nor Selma had his armour. He directed me to find a woman named Johanna who smelled of fish.
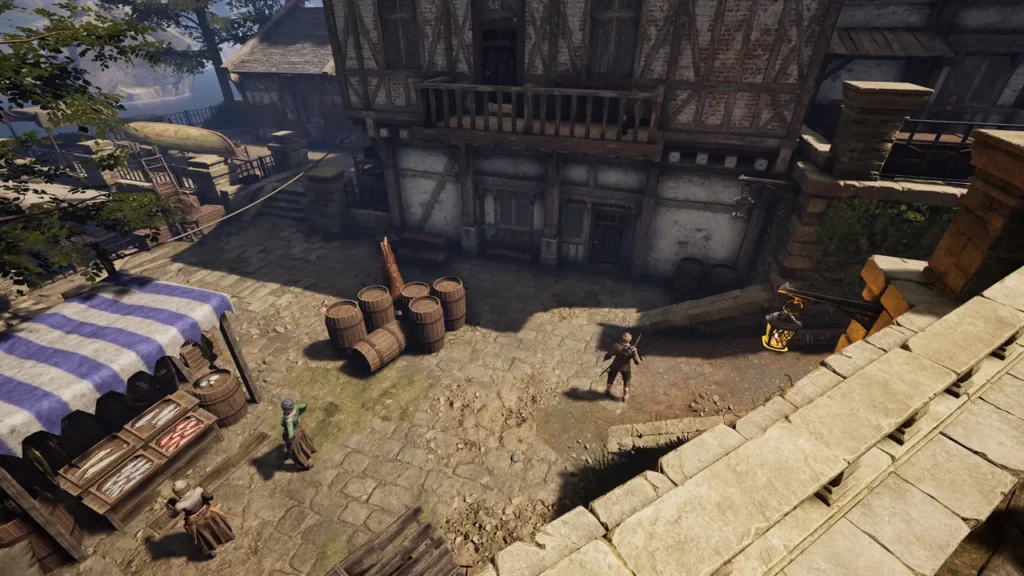
I found Johanna inside a house next to the fishmonger at the harbour. I saved my game here. I had to fight her husband, loot the key from him once I defeated him, then go upstairs. I spoke to Johanna and then opened the chest in her room. Inside was Chad’s armour. I returned it to him.
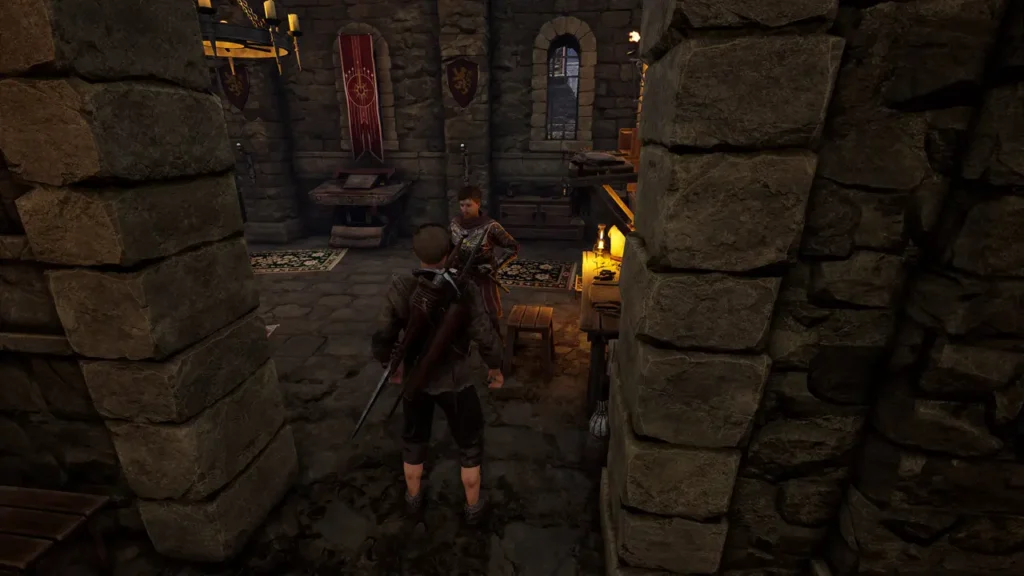
Once every Knight was accounted for, I returned to the Order. I went upstairs and spoke to Gabriel. After that, Act One was ready to complete, and I was free to join the Order.