This walkthrough guide is a comprehensive guide that includes the items, spirits and relics locations you will need in ENDER LILIES Quietus of the Knights, as well as a bestiary and all the details.
Table of Contents
Ender Lilies: Quietus of the Knights Complete Guide
This guide is designed to help you understand the basics of Ender Lilies and provide essential tips for progressing through the game. Here, you’ll find key information that will make your journey smoother. Let’s dive in!
Level and Exps
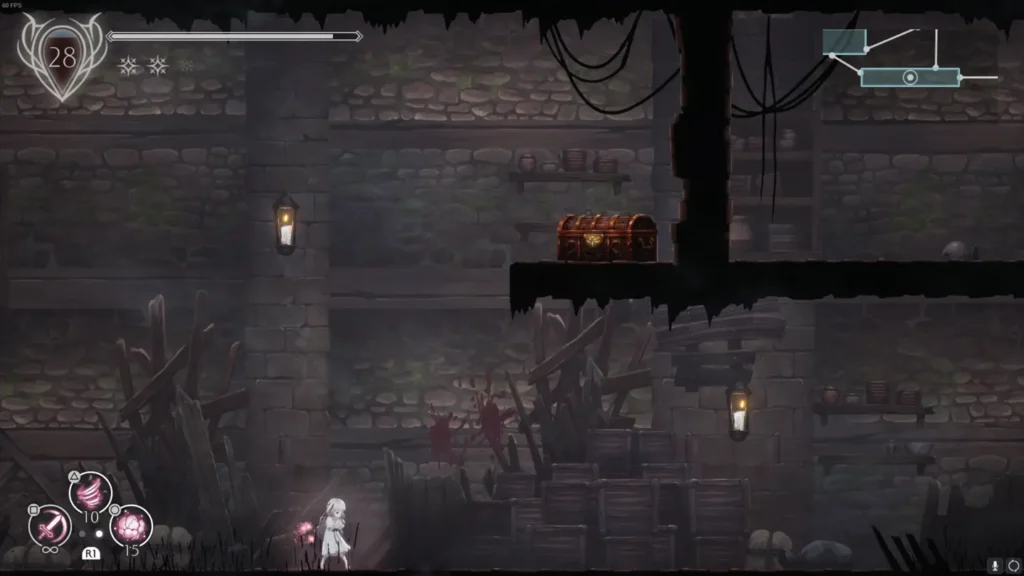
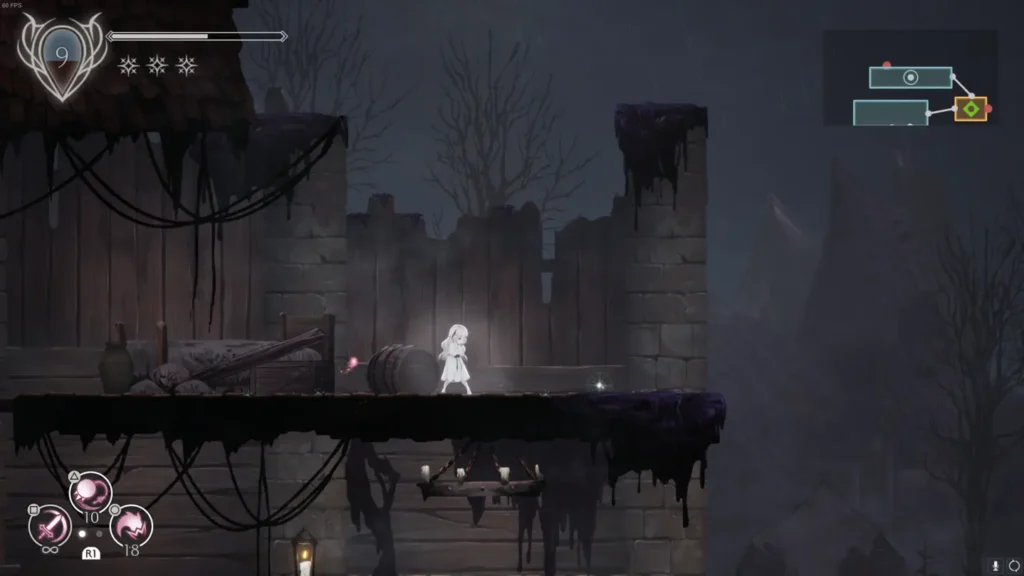
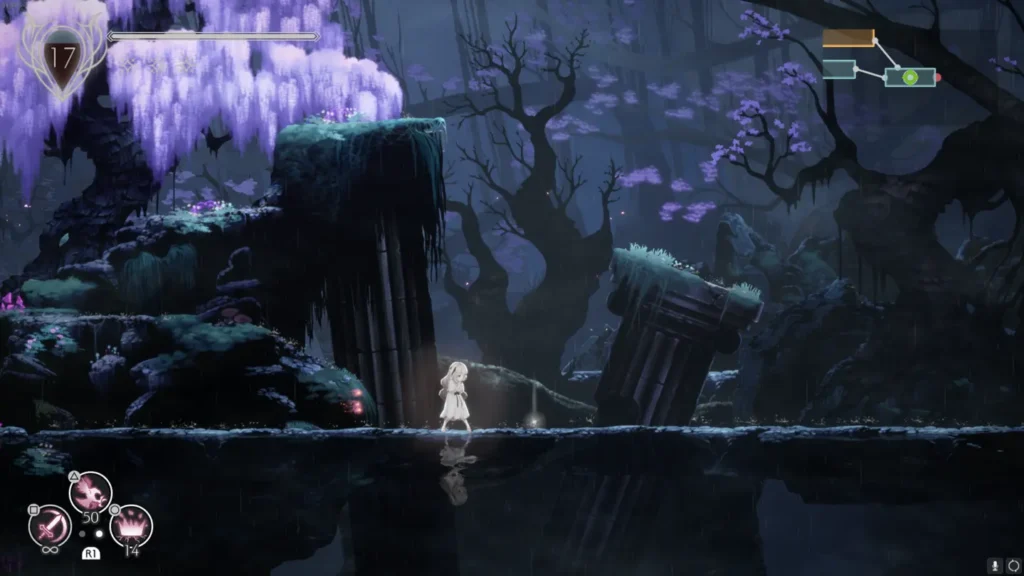
- The gauge on the top left of your screen represents your level, which currently maxes out at level 100.
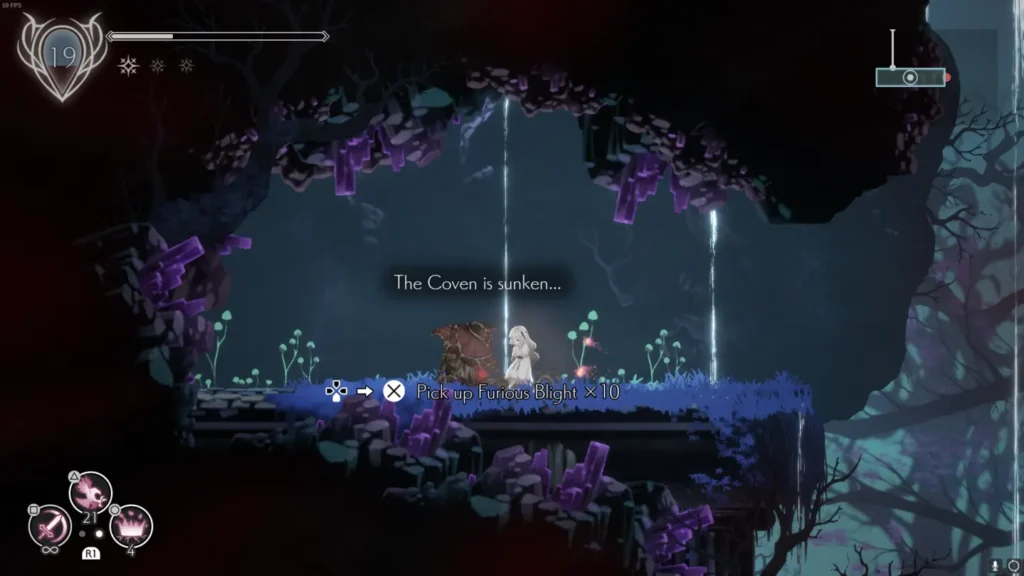
- You gain experience by defeating enemies, and this experience is labeled as “Blight” on your Records page. This is different from the Stagnant and Furious Blight that you collect throughout the game.
Leveling Up and Stat Powers
- Each time you level up, Lily’s attack power increases. The amount of increase depends on whether the level is even or odd:
- Even levels (2, 4, 6, etc.): Attack increases by 2.
- Odd levels (3, 5, 7, etc.): Attack increases by 1.
- Lily starts with an attack power of 50. By the time you reach level 100, her attack power will be 200. Although the theoretical maximum should be 199, there’s an odd level that gives a +2 attack boost instead of +1.
World Difficulty Settings
- The game’s difficulty increases as you defeat area bosses. This means that enemies, including bosses, will have more health and deal more damage as you progress through the game.
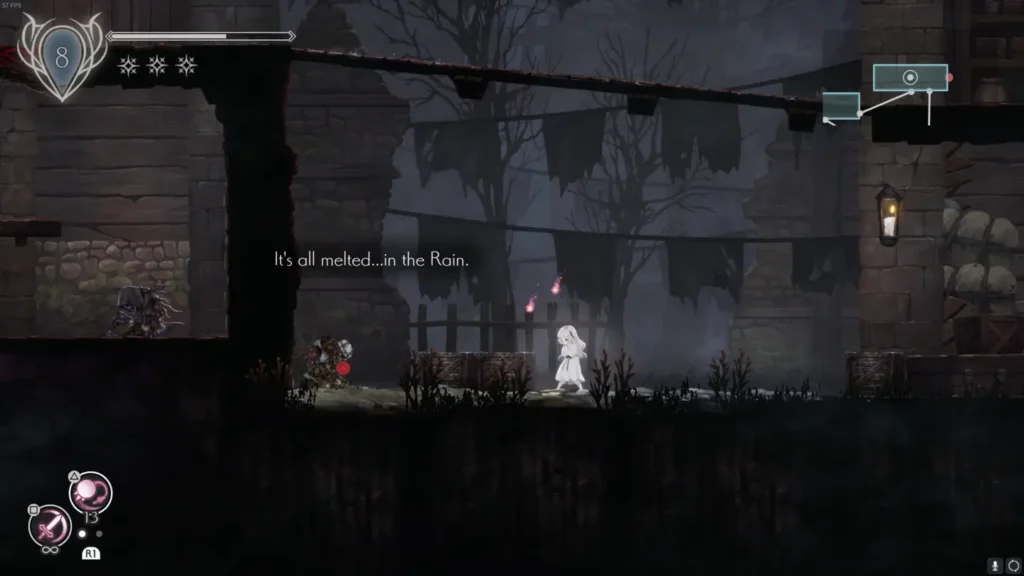
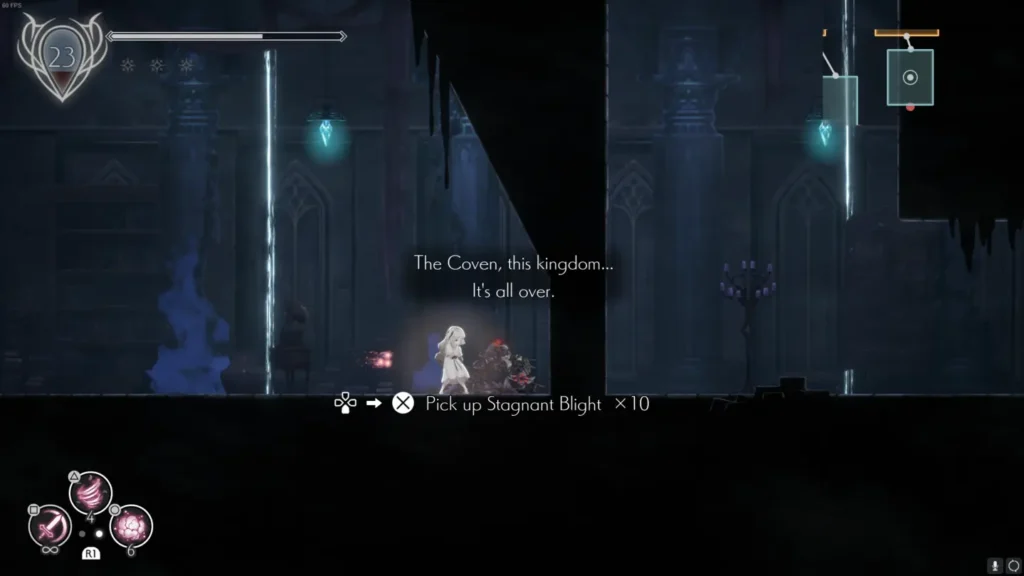
Lily’s Appearance Changes
- Each time you purify an area boss, Lily’s appearance changes to reflect the toll the Blight is taking on her. This visual change is a sign of her progression and the burden she carries.
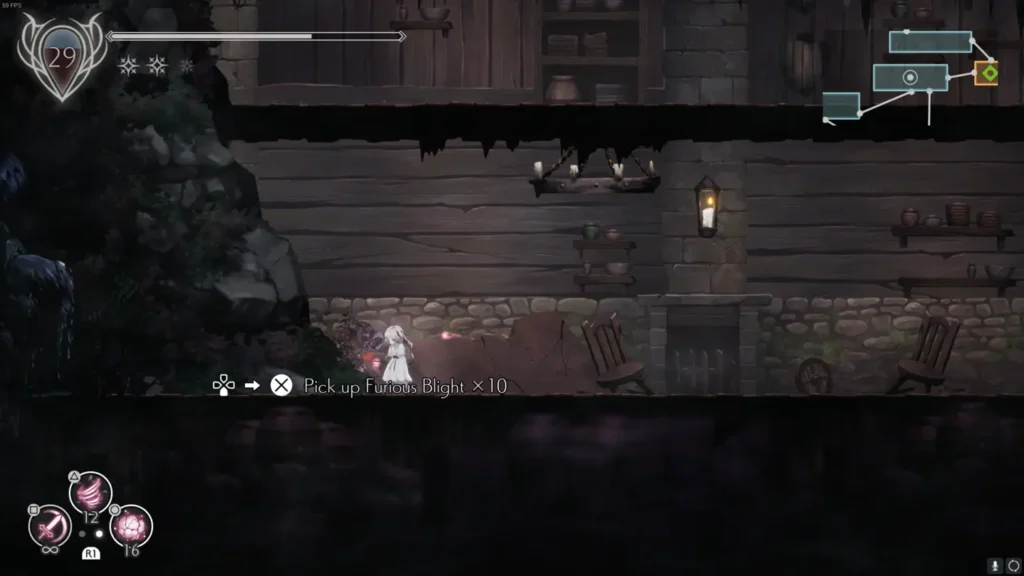
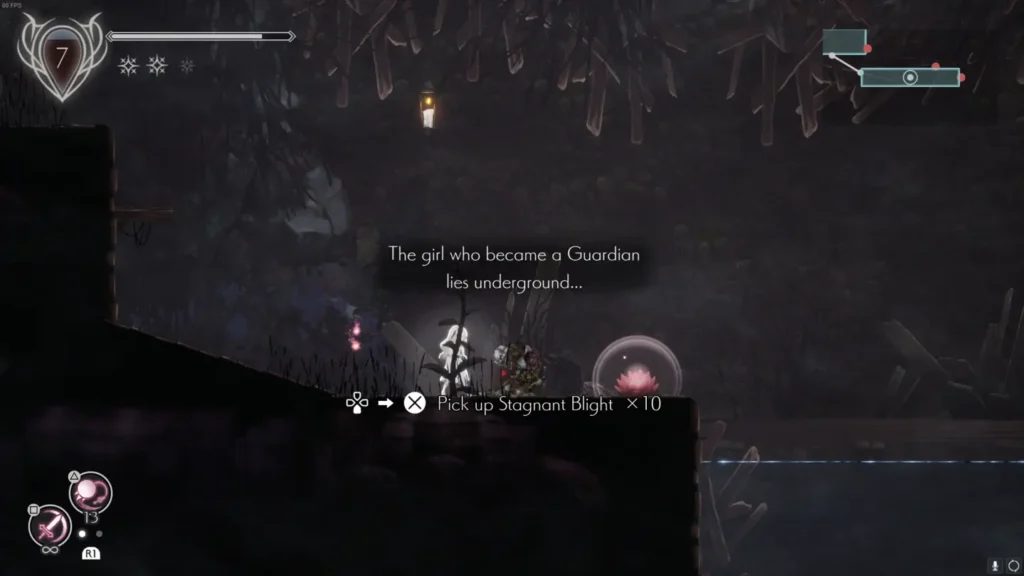
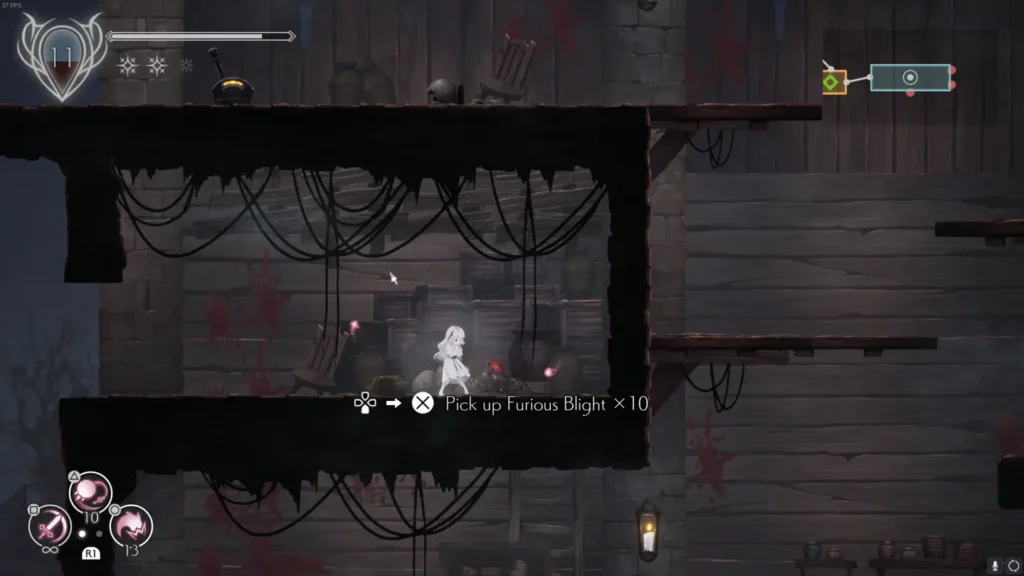
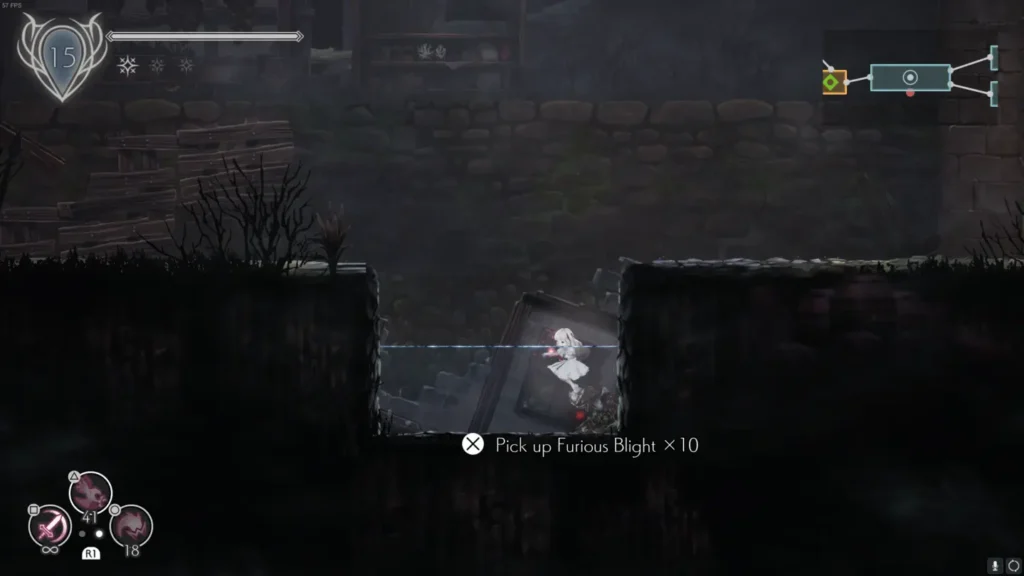
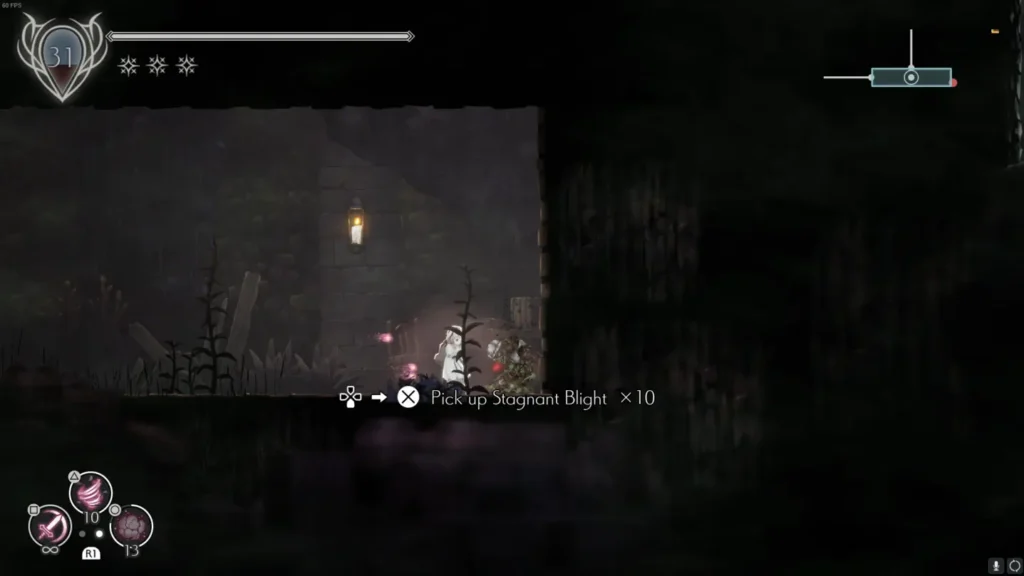
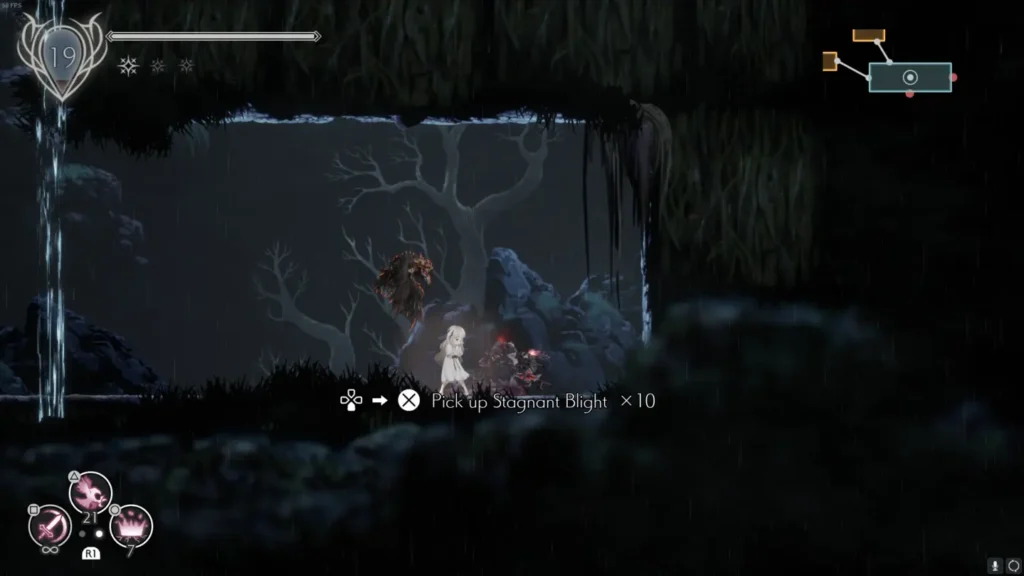
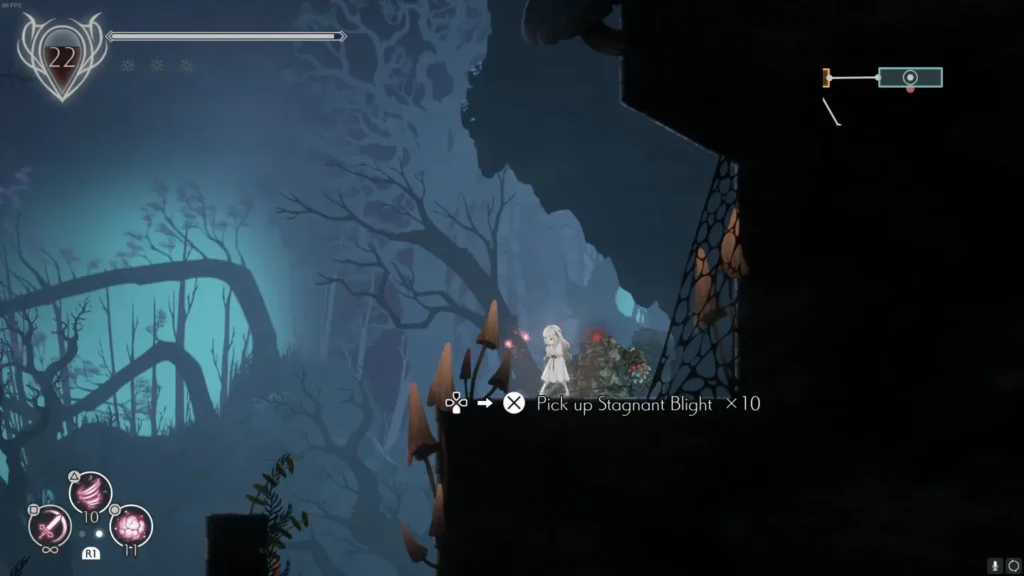
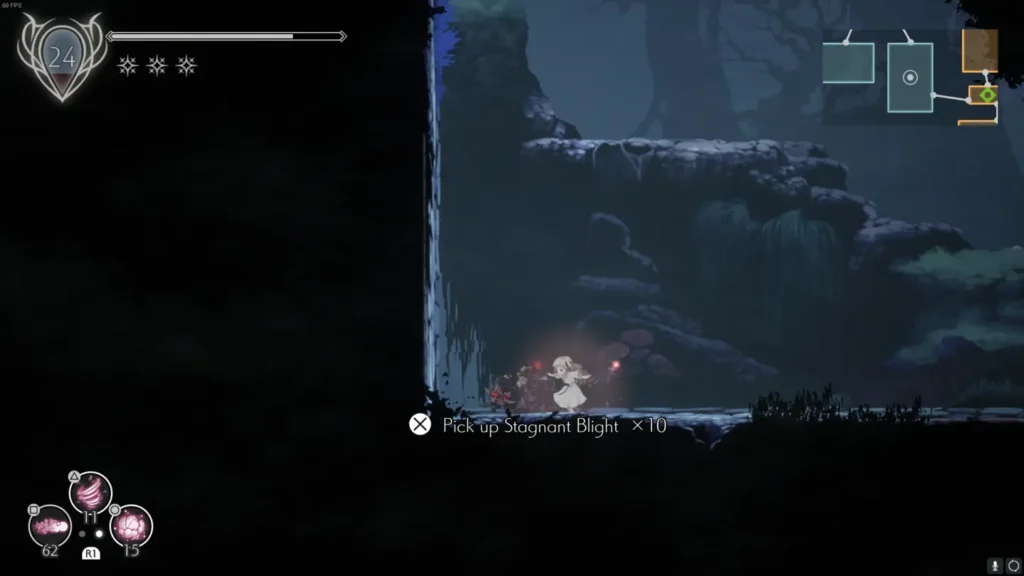
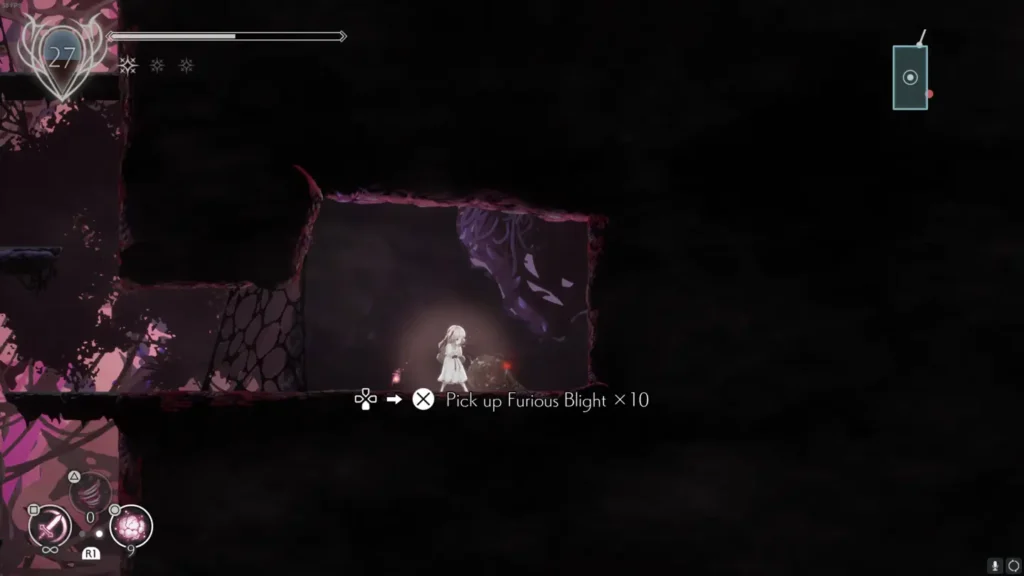
Collecting Blight from Containers
- After you’ve gathered all the static Blight in the game, the only way to obtain more is through breakable containers. The chances of finding Blight in containers are as follows:
- 20-25% chance for Stagnant Blight.
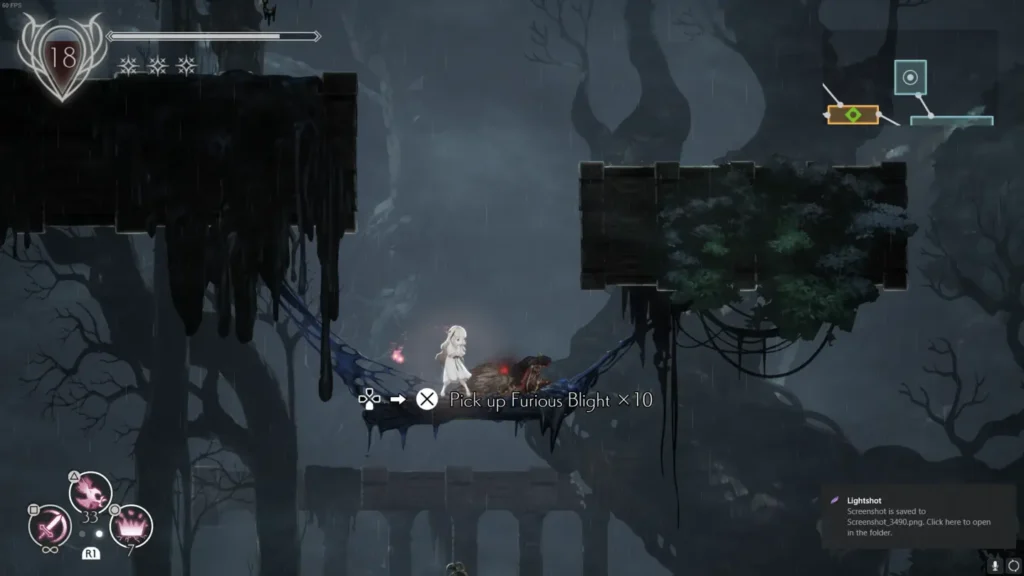
- 10-15% chance for Furious Blight.
- This data was gathered by breaking 500 barrels, so it’s not exact but gives a good estimate. Containers can also drop smaller versions of Red and White Flowers, which heal Lily and restore Spirit uses.
Leveling Up Spirits
- To level up your spirits, you need Blight. Here’s the amount of Blight required for each level:
- Level 1: 0 Blight
- Level 2: 10 Blight
- Level 3: 30 Blight
- Level 4: 90 Blight
- Level 5: 270 Blight
- Level 6 (Max Level): 800 Blight
- Note: The Umbral Knight requires Ancient Souls instead of Blight to level up.
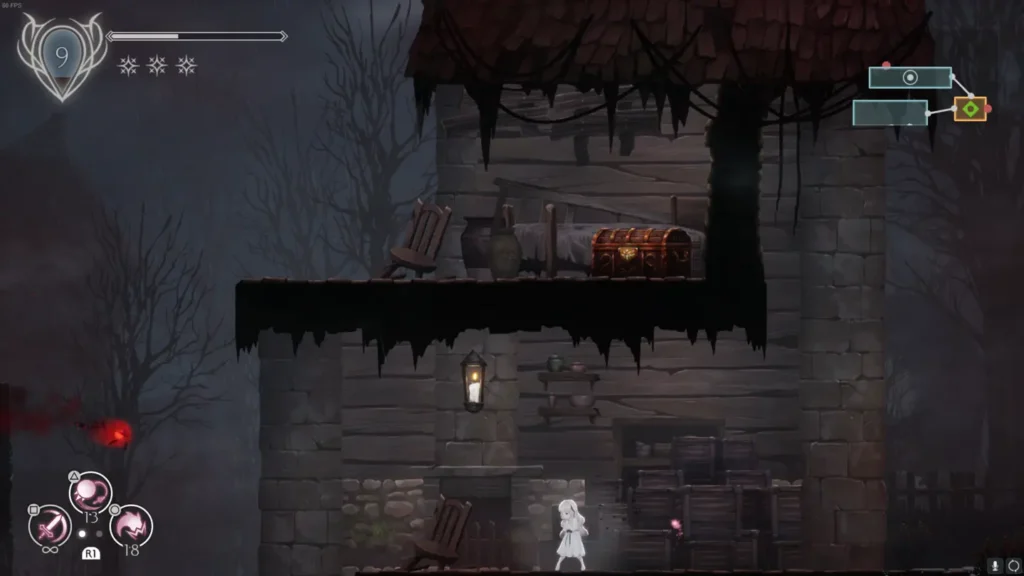
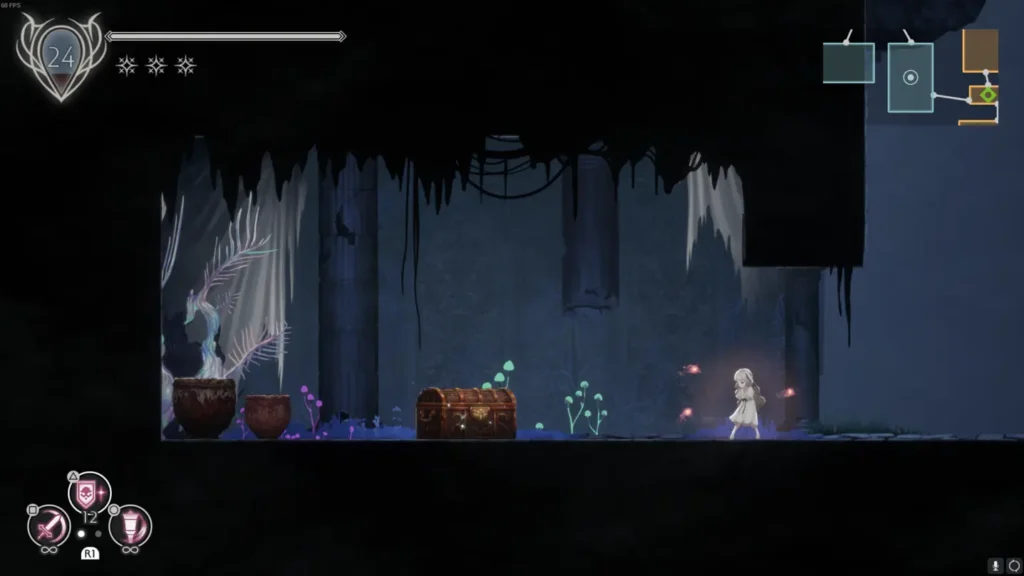
Collectibles
There are six types of collectibles in Ender Lilies, and you can view all of them in your menu:
- Items: These passively increase your stats without needing to be equipped. They stack with each other infinitely, so once you collect them, you don’t have to worry about them anymore.
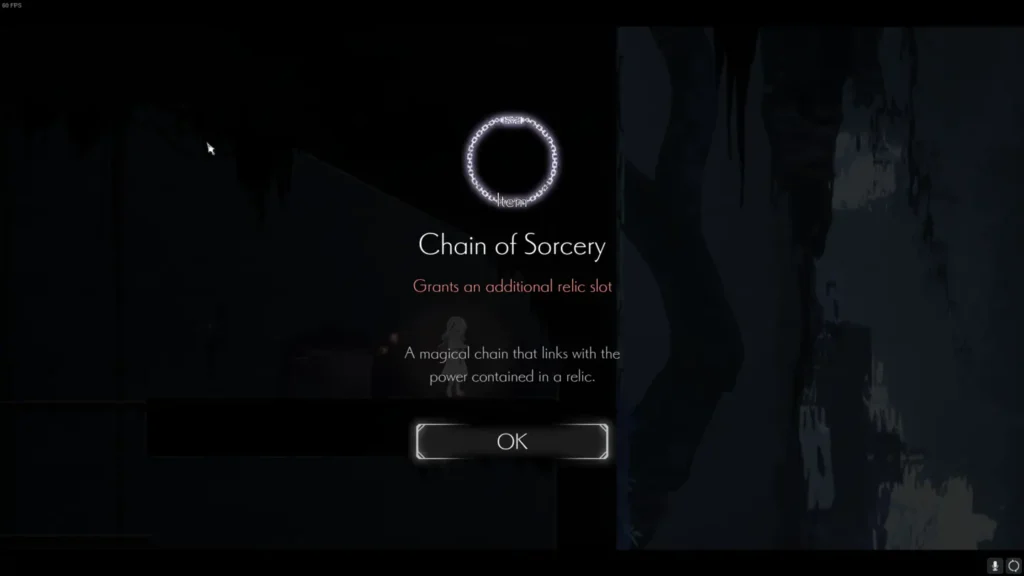
- Relics: Like items, relics also increase your stats, but they need to be equipped at a respite (a resting point). Each relic has a “Relic Slot” cost, and you can increase your number of slots by finding Chains of Sorcery.
- Findings: These are pieces of lore scattered throughout the world that provide backstory and context to the game’s narrative.
- Spirits: After defeating an area boss or miniboss, you can collect their spirit. Spirits are categorized into two types:
- Main Skills: These are like basic attacks. They have no cooldown and usually have infinite uses.
- Sub Skills: These are like spells. They have a cooldown and a limited number of uses before needing to recharge at a respite.
- Blight/Ancient Souls: This refers to the Stagnant and Furious Blight you find on purified enemies, which are used to upgrade your Spirits. Ancient Souls are currently not available in the Early Access version.
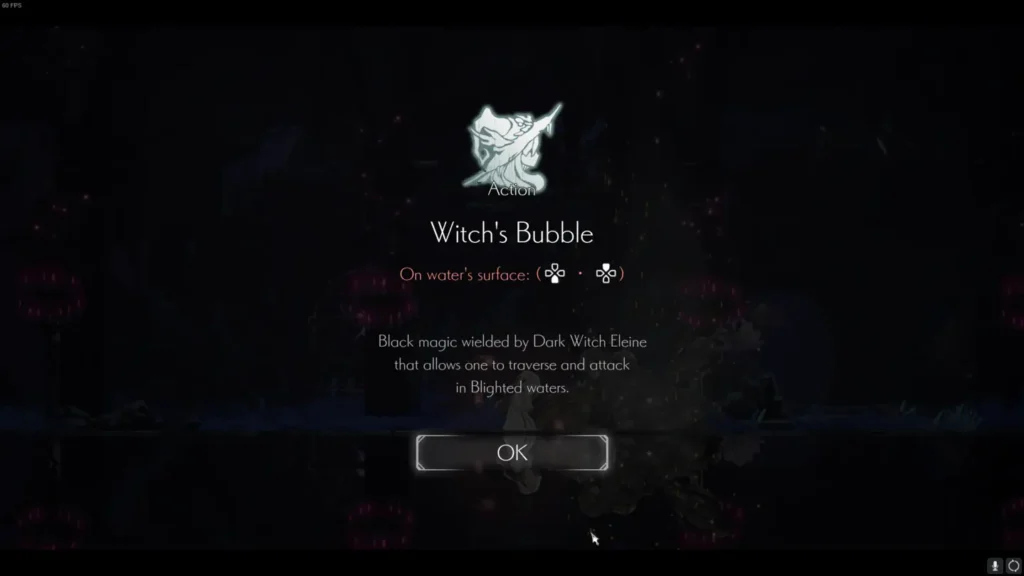
- Actions: Only found on area bosses, Actions are passive abilities that allow Lily to access new areas. They don’t need to be equipped and are always active.
Map Completion
- On your map, rooms marked in blue are “Incomplete,” meaning you’re missing a collectible from that room. Rooms marked in orange are “Completed,” meaning you have found everything available in that room.
Enemy Health and Poise Bars
- Each enemy has two bars: a health bar on top and a poise bar underneath. When the health bar is empty, the enemy dies. When the poise bar is empty, the enemy is staggered, making them vulnerable to additional attacks.
- Tip: If you stagger a flying creature, it will take damage based on the distance it falls.
Non-Aquatic Creatures and Water
- Non-aquatic creatures will die instantly if they come into contact with water. Use this to your advantage in certain areas.
Umbral Knight Combo Attacks
- When using the Umbral Knight, the standard attack combo multiplies Lily’s current attack power as follows:
- First attack: 0.9x multiplier
- Second attack: 1.0x multiplier
- Third attack: 1.1x multiplier
- This means a full combo deals 300% of Lily’s attack power in damage.
Aerial Attacks with Umbral Knight
- Attacking while in the air reduces the damage of the attack by 30% (or a 0.7x multiplier). Be mindful of this when planning your attack strategy.
Experience Required for Leveling Up (Up to Level 50)
Below is the amount of experience needed to level up from level 1 to level 50. This will help you plan your grinding sessions:
Here is the table format for the experience points required to level up in Ender Lilies:
| Level | EXP Required |
|---|---|
| Level 1 | 140 EXP |
| Level 2 | 148 EXP |
| Level 3 | 157 EXP |
| Level 4 | 166 EXP |
| Level 5 | 176 EXP |
| Level 6 | 187 EXP |
| Level 7 | 198 EXP |
| Level 8 | 210 EXP |
| Level 9 | 222 EXP |
| Level 10 | 235 EXP |
| Level 11 | 249 EXP |
| Level 12 | 264 EXP |
| Level 13 | 280 EXP |
| Level 14 | 296 EXP |
| Level 15 | 314 EXP |
| Level 16 | 333 EXP |
| Level 17 | 353 EXP |
| Level 18 | 374 EXP |
| Level 19 | 396 EXP |
| Level 20 | 419 EXP |
| Level 21 | 444 EXP |
| Level 22 | 471 EXP |
| Level 23 | 499 EXP |
| Level 24 | 528 EXP |
| Level 25 | 560 EXP |
| Level 26 | 593 EXP |
| Level 27 | 628 EXP |
| Level 28 | 666 EXP |
| Level 29 | 705 EXP |
| Level 30 | 747 EXP |
| Level 31 | 792 EXP |
| Level 32 | 839 EXP |
| Level 33 | 888 EXP |
| Level 34 | 941 EXP |
| Level 35 | 997 EXP |
| Level 36 | 1,057 EXP |
| Level 37 | 1,119 EXP |
| Level 38 | 1,186 EXP |
| Level 39 | 1,256 EXP |
| Level 40 | 1,331 EXP |
| Level 41 | 1,410 EXP |
| Level 42 | 1,494 EXP |
| Level 43 | 1,583 EXP |
| Level 44 | 1,677 EXP |
| Level 45 | 1,777 EXP |
| Level 46 | 1,883 EXP |
| Level 47 | 1,995 EXP |
| Level 48 | 2,113 EXP |
| Level 49 | 2,239 EXP |
| Level 50 | 2,372 EXP |
Ender Lilies Walkthrough
In this section, we’ll guide you through every room in the game, providing detailed information on what you can find and do in each area. Let’s start with Area A.

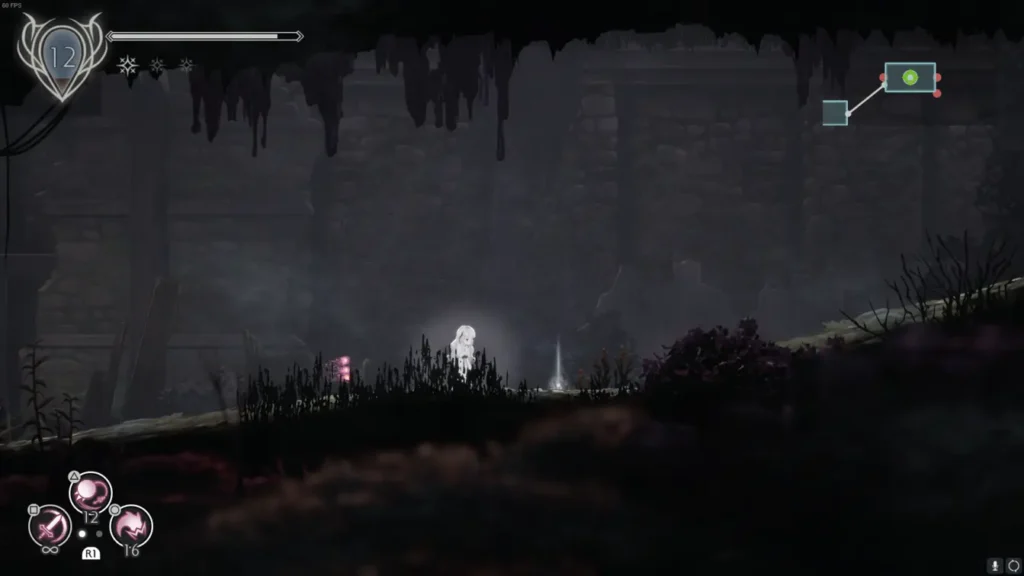
Walkthrough: Area A

Room A1
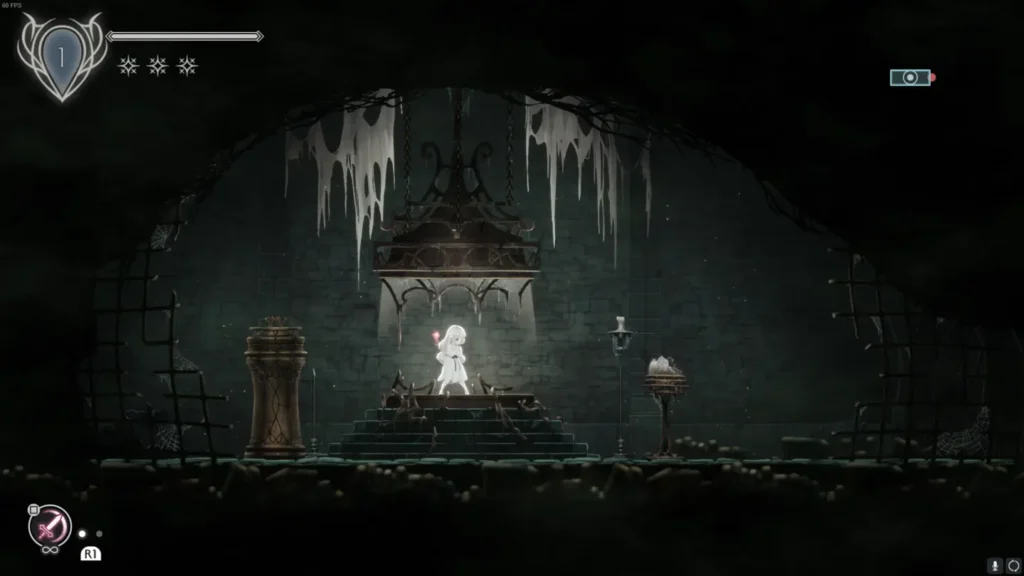
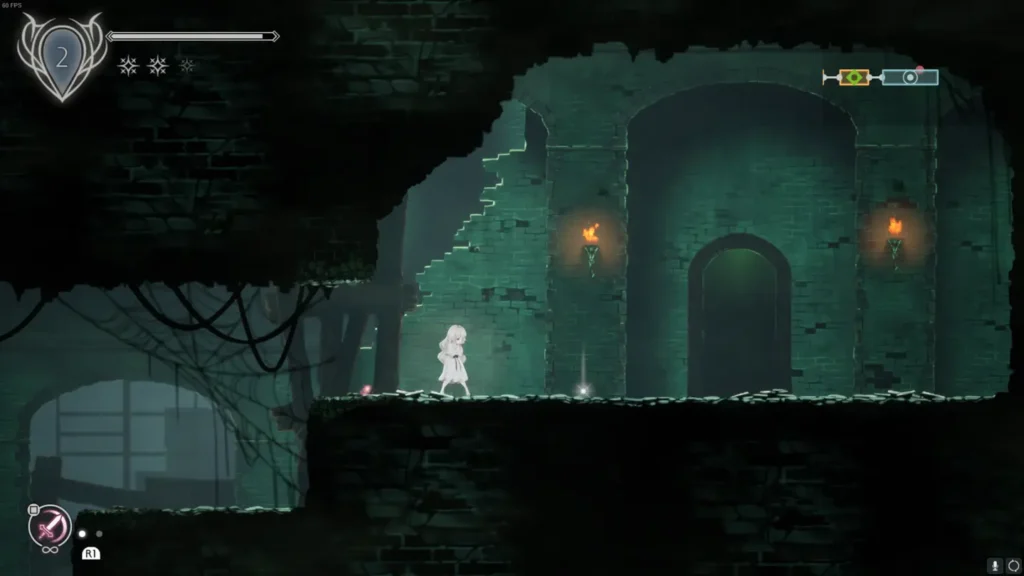
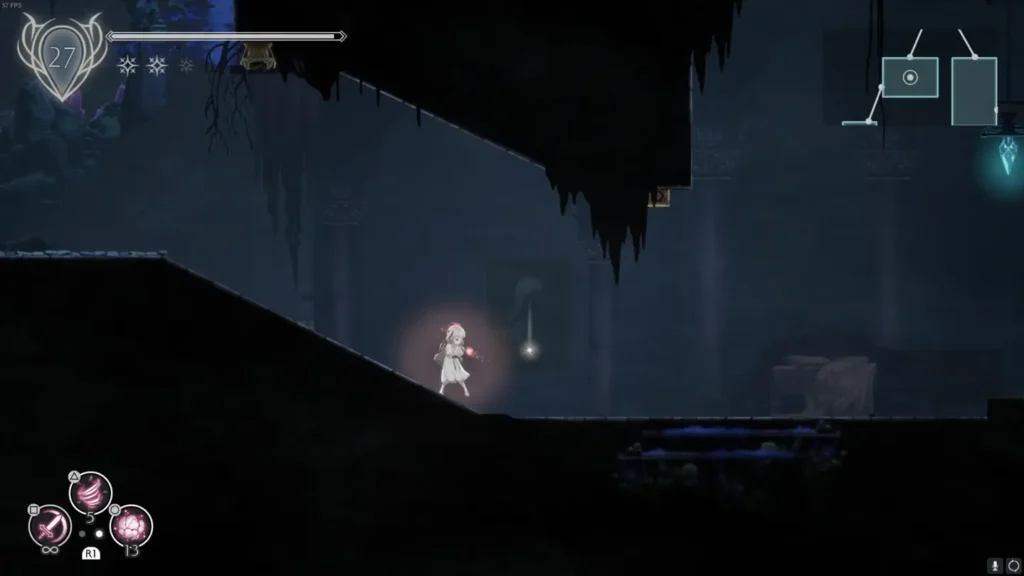
- Objective: When you first gain control of Lily, you’ll be in a small room with only one visible exit to the right.
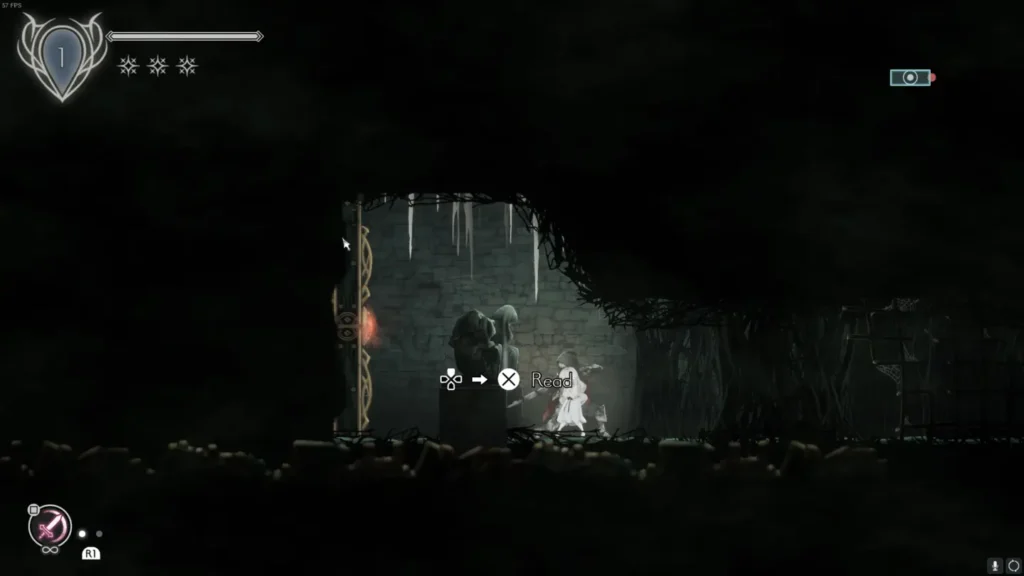
- Tip: To complete this room, walk to the left to reveal a hidden room. Continue until you see two statues and a Finding before a locked door. Pick up the Finding titled “Statue Inscription” and then leave the room to the right.
Room A2
- Collectibles: This room has no collectibles. There is a route through the ceiling that is currently inaccessible.
Room A3
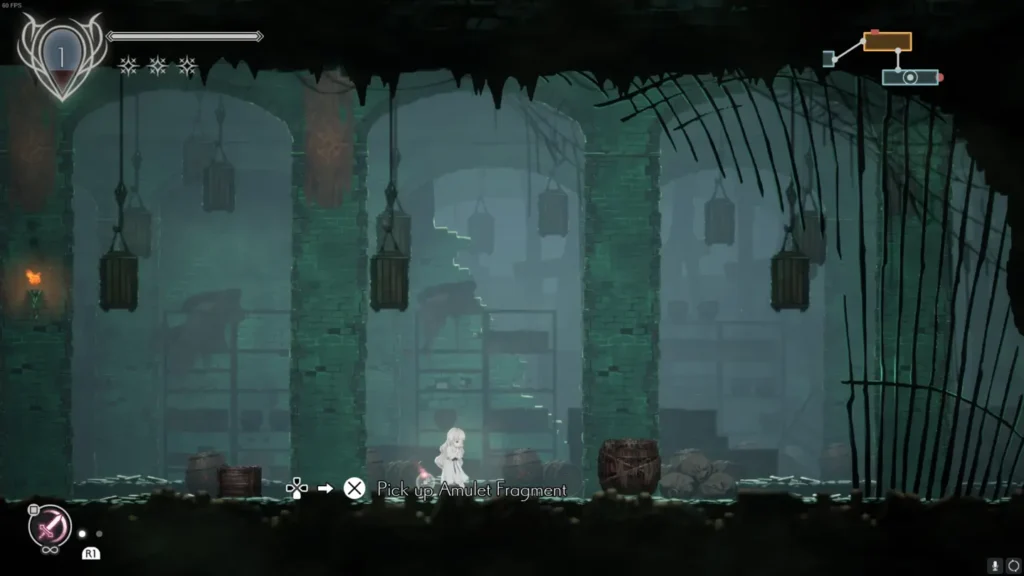
- Collectibles:
- Finding: “Eleine’s Letter”
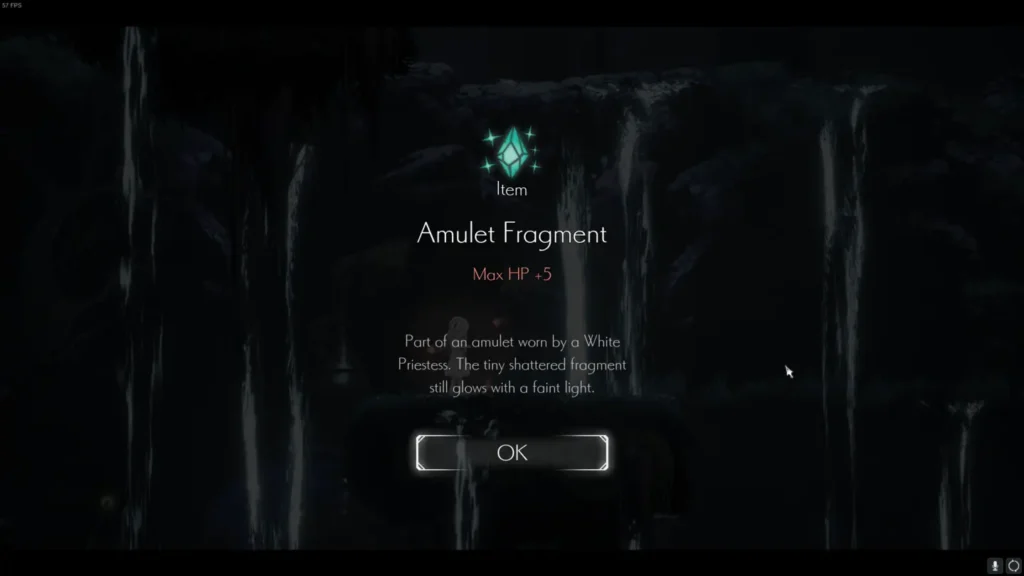
- Item: Amulet Fragment
Room A4
- Collectibles:
- Finding: “On the Blighted I”
- Finding: “On the Blighted II”
Room A5
- Collectibles:
- Amulet Fragment: Found at the bottom of the pit with the lever.
- Finding: “The Parish Way I,” located just before the door to the next area.
Room A6

- Collectibles:
- Relic: Found on the far left of the room. Requires the “Guardian’s Leap” (Double Jump) ability, which is obtained from Guardian Siegrid in Room A7.
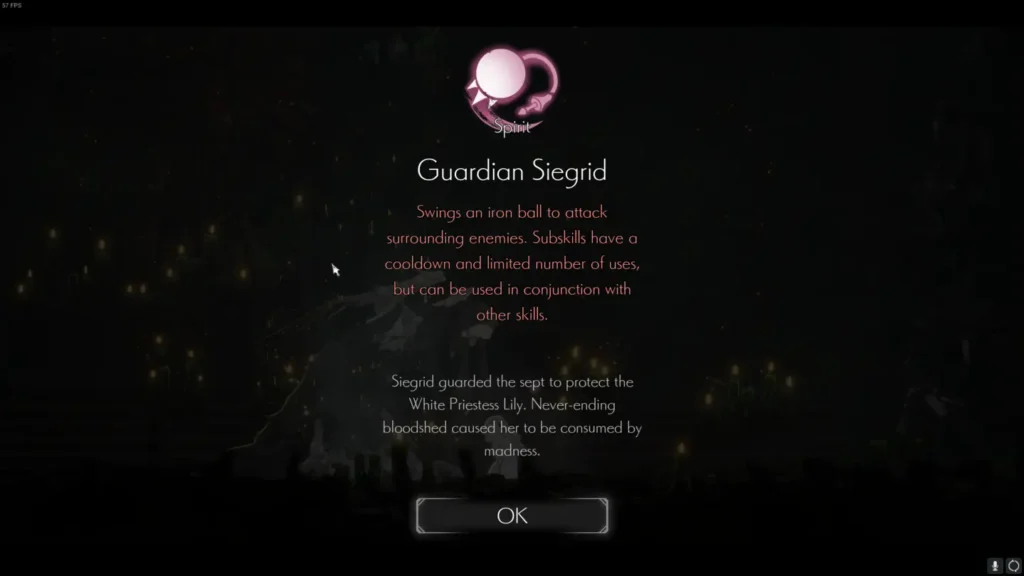
Room A7


- Objective: This is the boss room for Guardian Siegrid. After defeating her, you obtain her spirit and the action “Guardian’s Leap.”
Room A8
- Collectibles:
- Finding: “Groa’s Letter,” located near the far right of the room after a cutscene.
Room A9
- Collectibles: This room has no collectibles.
Room A10

- Collectibles:
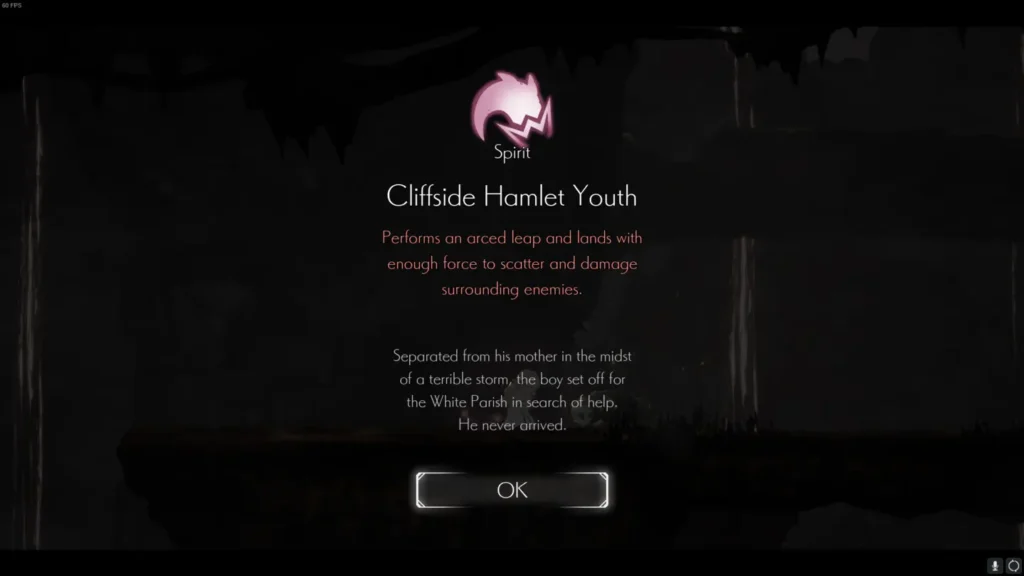
- Miniboss: “Cliffside Hamlet Youth.” Defeating him allows you to obtain his spirit.
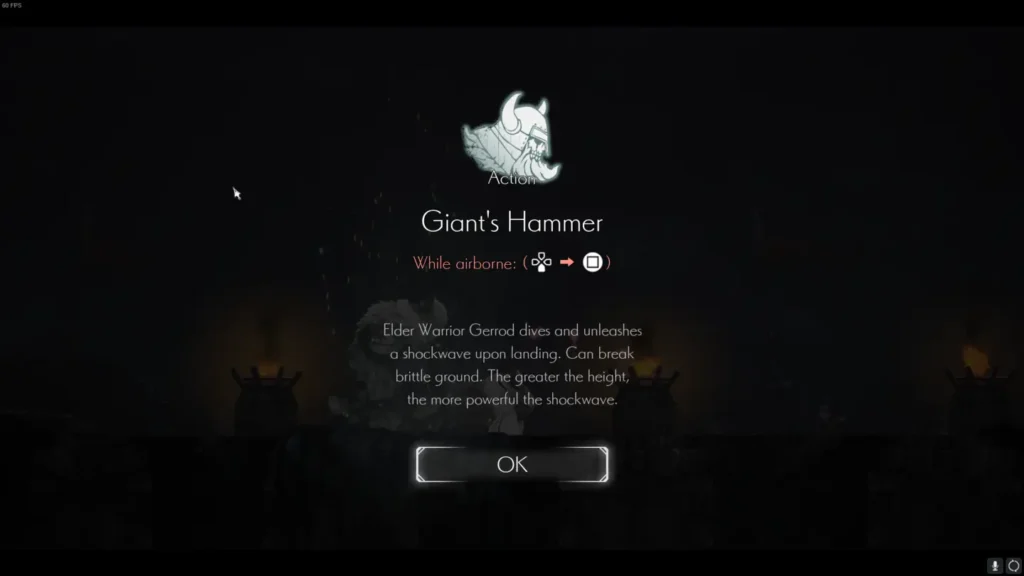
- Item: Chain of Sorcery. Requires the action “Giant’s Hammer,” which is obtained from Elder Warrior Garrod in Room B16.
Walkthrough: Area B Part 1 (Rooms B1 – B11)

Room B1

- Collectibles:
- Amulet Fragment: Located under the first segment of water as you enter. Requires the “Witch’s Bubble” ability (obtained from Dark Witch Eleine in Room C14).
- Finding: “The Parish Way II,” located on the top path on the right side of the room, just after the wooden bridge.
Room B2
- Collectibles: This room has no collectibles.
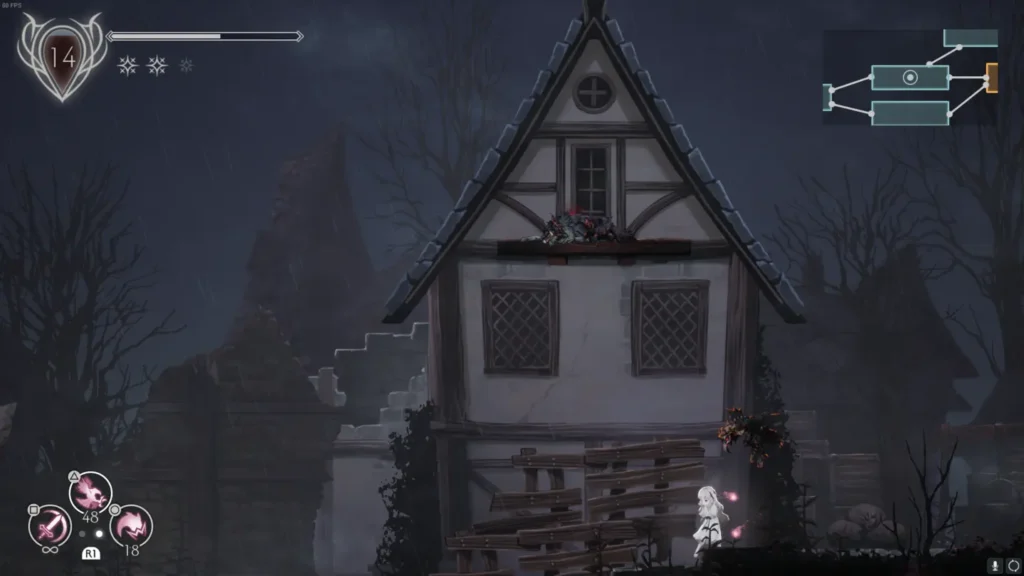
Room B3
- Collectibles:
- 30x Stagnant Blight: Found above you as you enter, but tricky to reach.
- Amulet Fragment: Located in the basement of the house on the left-hand side inside breakable containers.
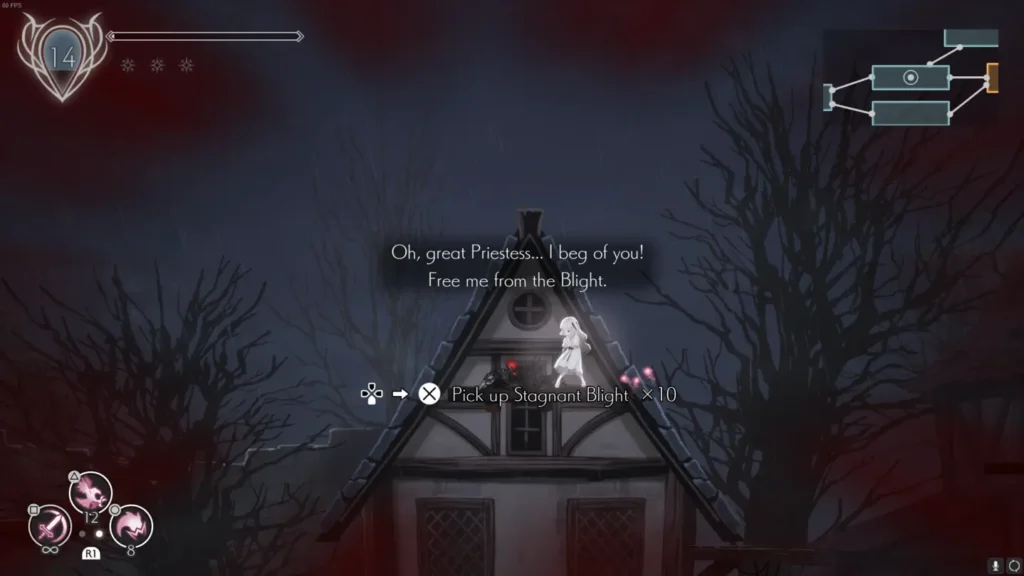
Room B4


- Collectibles:
- 10x Stagnant Blight: Located between the first and second houses.
- Amulet Fragment and 10x Furious Blight: Found in the basement of the second house. Requires the “Giant’s Hammer” ability.
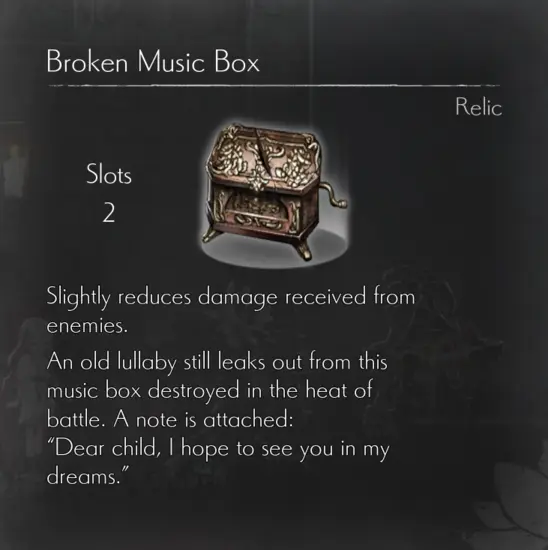
- Relic: Broken Music Box, found in a relic chest under the left side of a broken bridge.
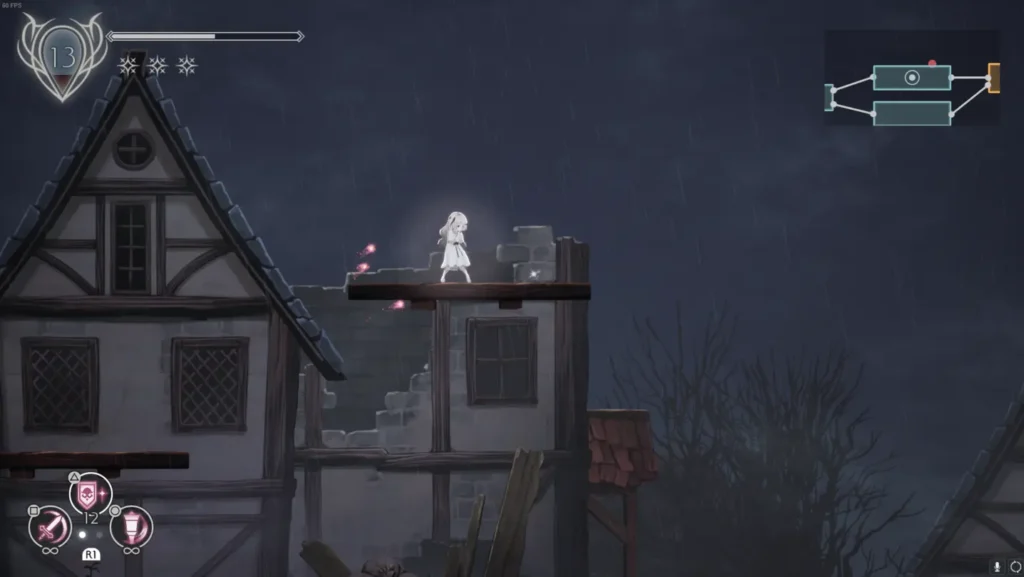
Room B5


- Collectibles:
- Chain of Sorcery: Found in crates on the right side of the drop-down area.
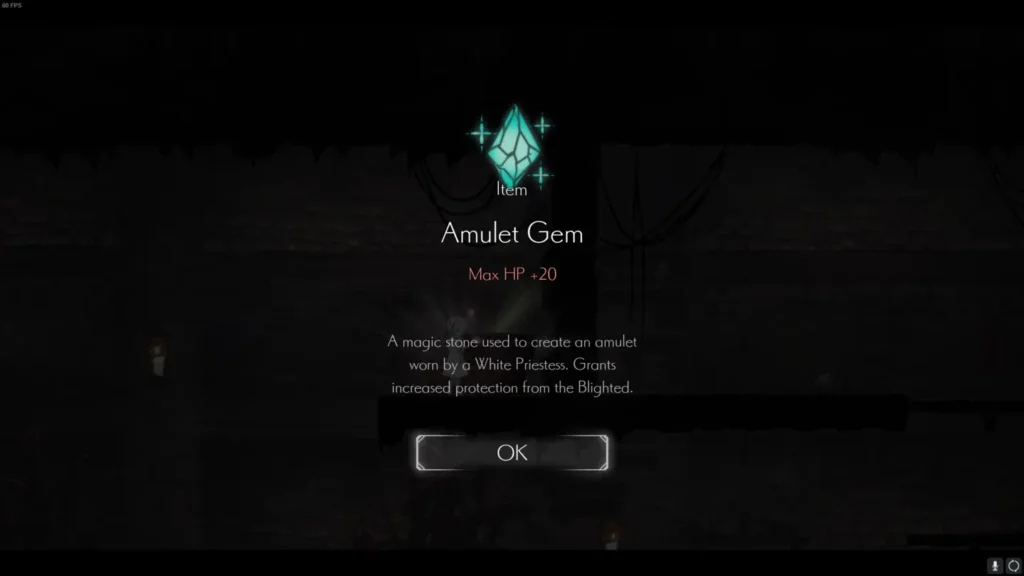
- Amulet Gem: Found in a chest on an upper ledge. Use a jump and dodge technique to reach it.
- Relic: Found below the water after using the lever to open the gate.
- 10x Stagnant Blight: Found near the water’s edge.
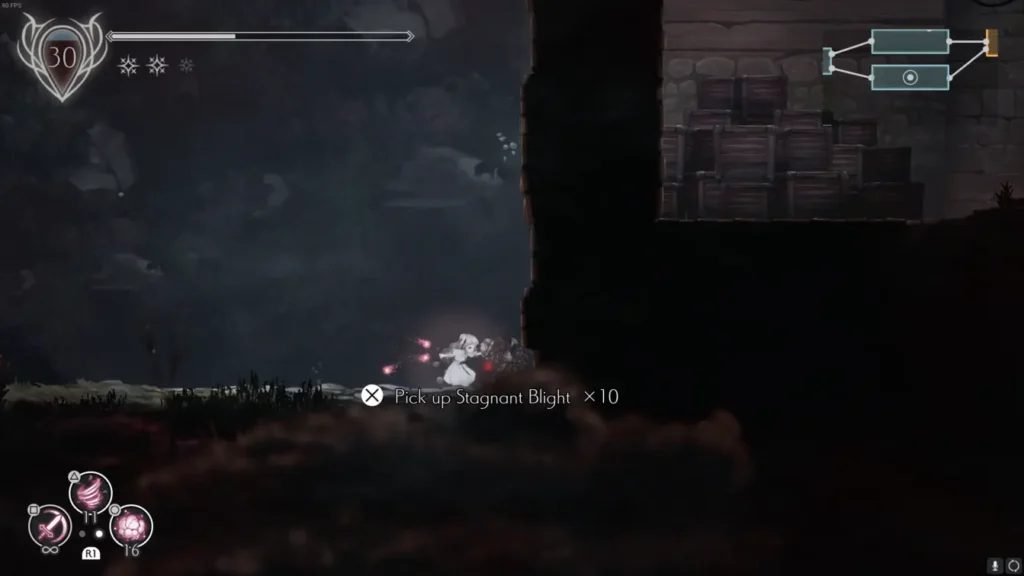
Room B6

- Collectibles:
- Finding: “True Believer’s Note,” located near the respite.
Room B7

- Collectibles:
- Relic: Bloodstained Ribbon. Initially unobtainable but later accessible with new techniques.
- Amulet Fragment: Found on the roof of a house on the left side of the room.
- 10x Stagnant Blight: Found in an underground passage accessed from the bottom floor of the house.
Room B8
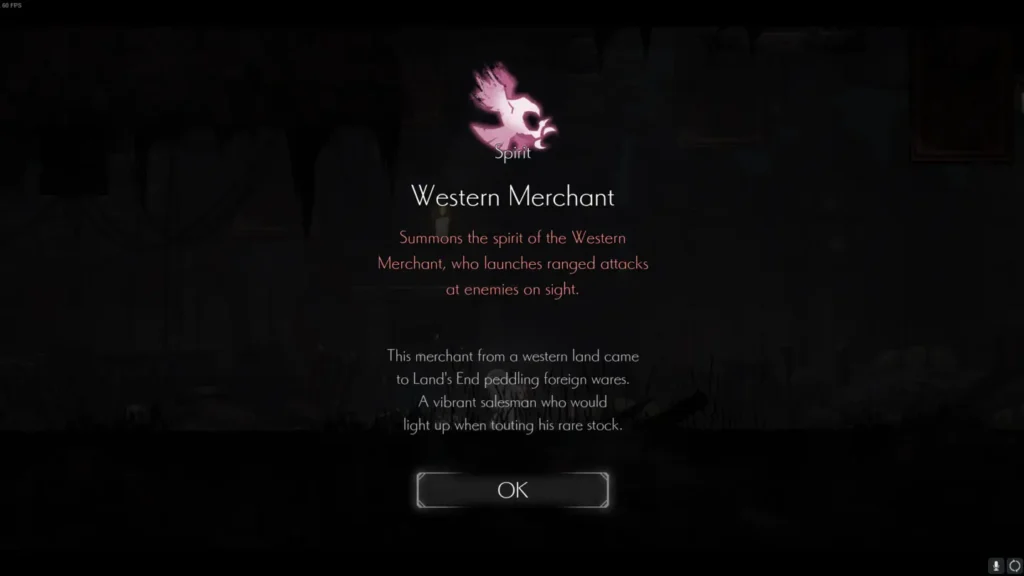
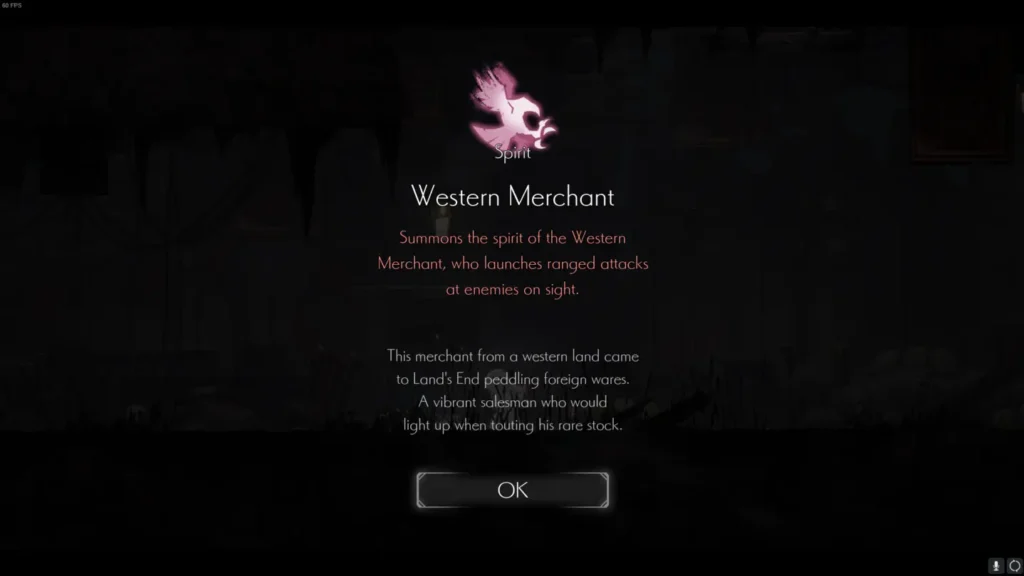
- Objective: This room is dedicated to the miniboss “Western Merchant.” Defeating him gives you his spirit.
Room B9


- Collectibles:
- Amulet Fragment: Found on the roof of the first house.
- 20x Stagnant Blight: Found under a Giant’s Hammerable part on the right side of the map.
- 10x Furious Blight: Found in a secret room underneath the right side of the top floor of the house with the second lever.
Room B10
- Collectibles:
- 10x Stagnant Blight: Found after opening the gate by entering from Room B9 and going back to Room B5. Requires the “Witch’s Bubble” ability.
Room B11
- Collectibles:
- Chain of Sorcery: Found on a platform in the room.
- Blight: One is obtainable, another is not. Requires several spirits and a specific strategy to reach the top exit.
Walkthrough: Area B Part 2 (Rooms B12 – B19)
Room B12

- Collectibles:
- 10x Stagnant Blight: Found under the water as you enter from the left. Requires the “Witch’s Bubble” ability.
- Amulet Fragment: Found in a secret wall in the basement of the house on the right side of the room.
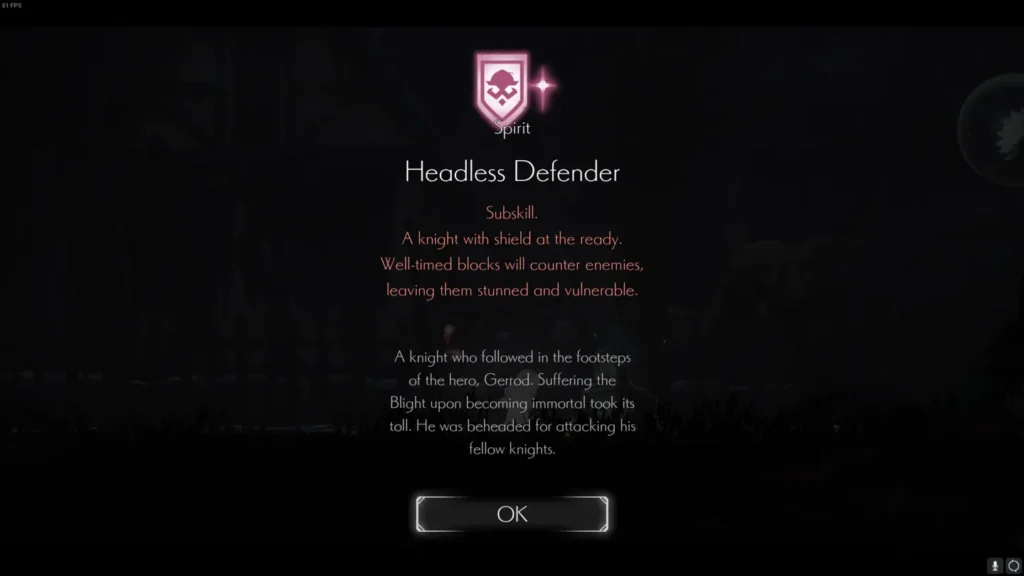
- Miniboss: “Headless Defender.” Defeating him allows you to obtain his spirit.
Room B13
- Collectibles: This room has no collectibles and represents the end of early access content for this route.
Room B14
- Collectibles:
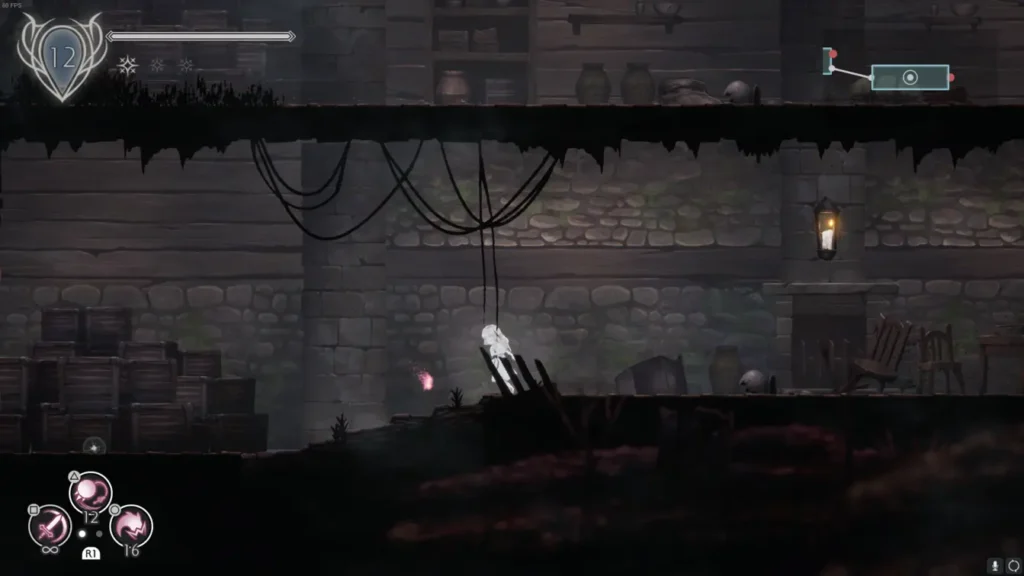
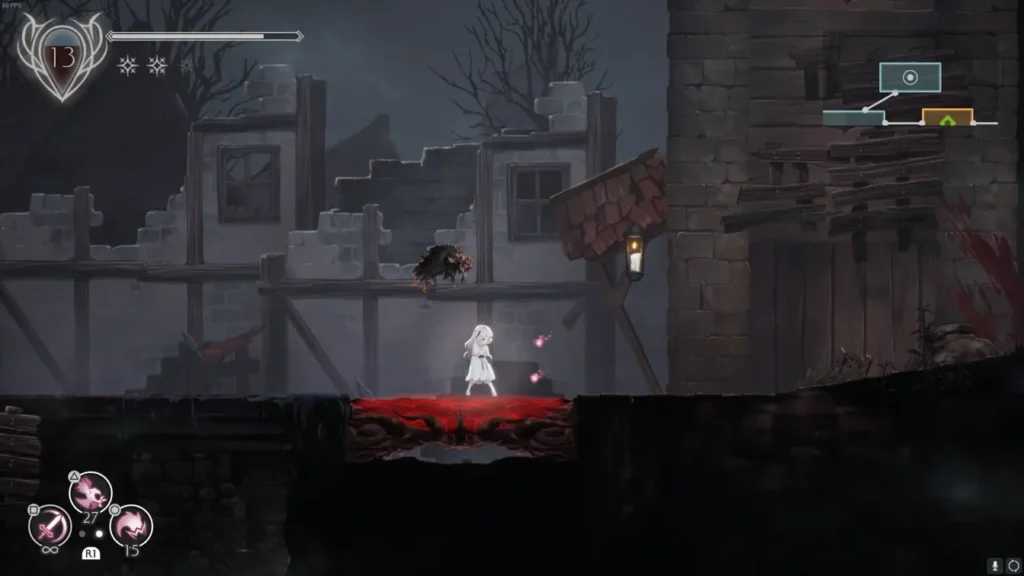
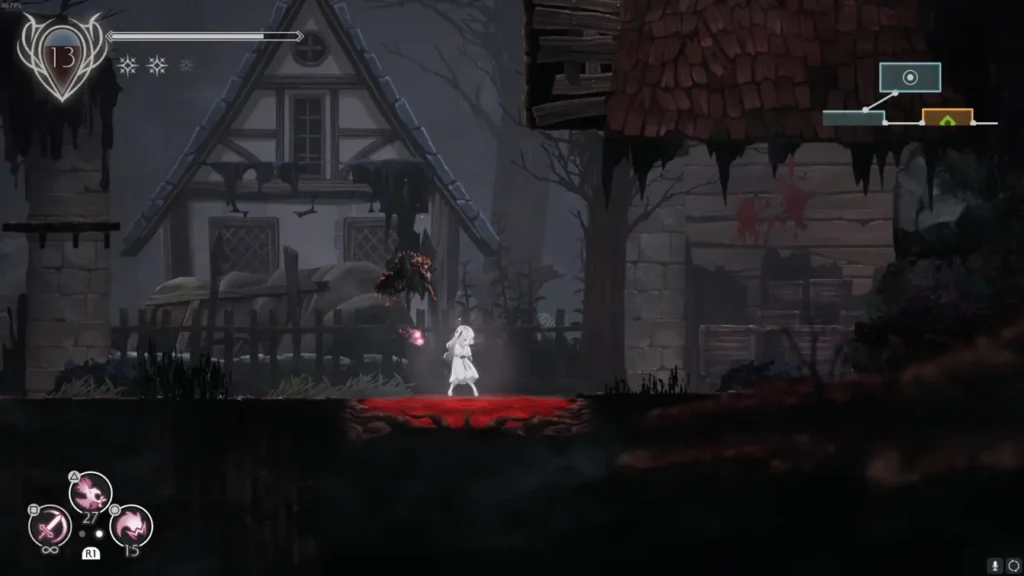
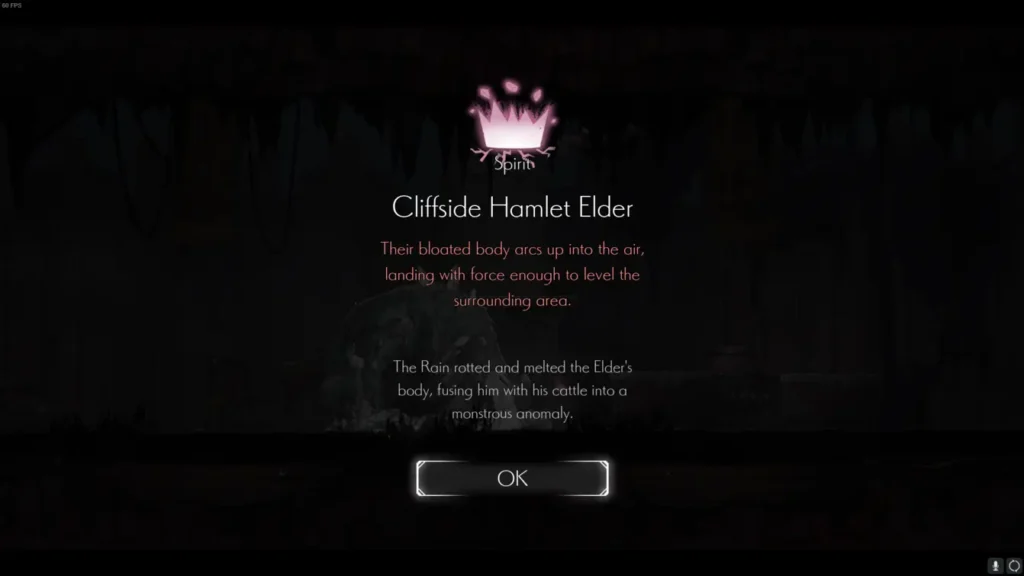
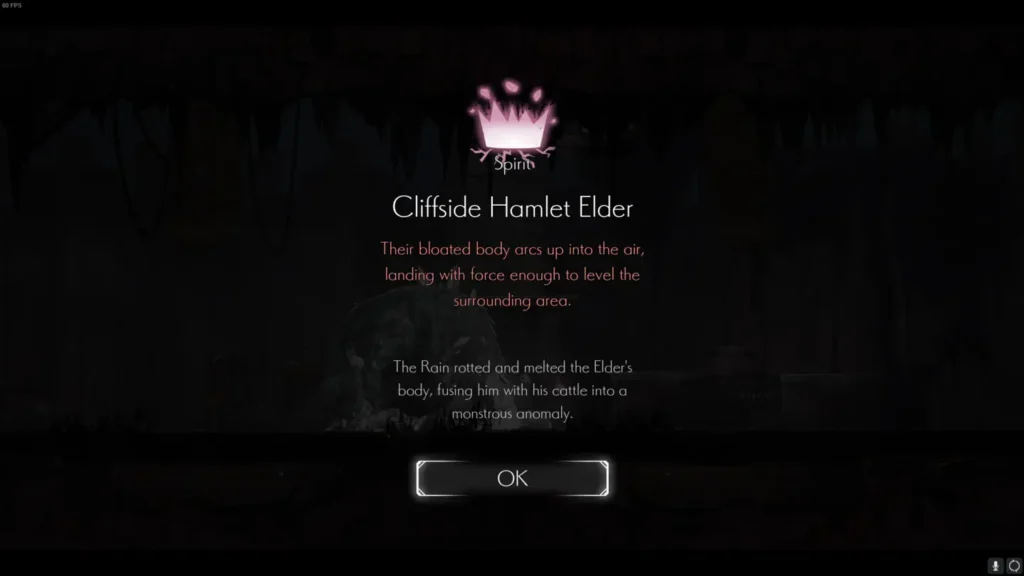
- Miniboss: “Cliffside Hamlet Elder.” Defeating him grants access to his spirit.
- Blight: Found at two Giant’s Hammer spots. One is accessible with a specific method.
Room B15
- Collectibles:
- Finding: “Hamlet Request I,” found in the bottom left of the room.
- Finding: “Adherent’s Letter,” found just before the respite in the top right.
Room B16
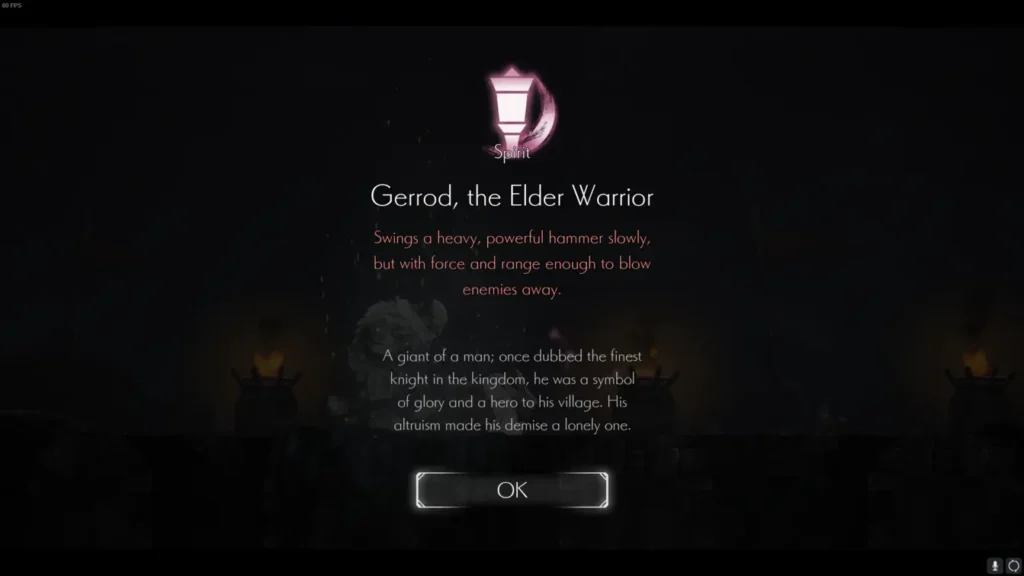
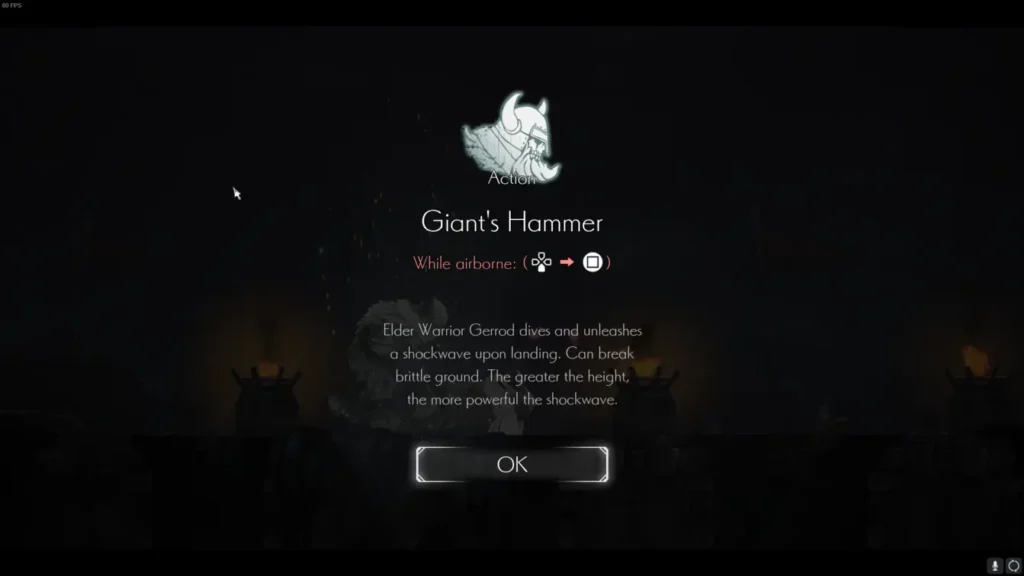
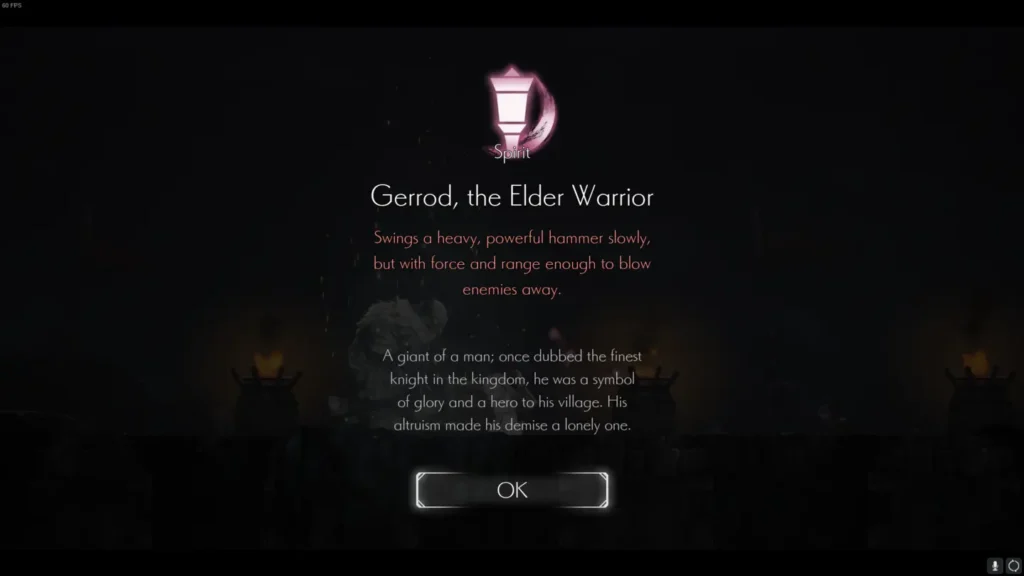
- Objective: This room is dedicated to the area boss “Gerrod, The Elder Warrior.” Defeating him gives you his spirit and the action “Giant’s Hammer.”
Room B17
- Collectibles:
- 10x Furious Blight: Found after opening a gate with the “Witch’s Bubble” ability.
Room B18
- Collectibles:
- Finding: “Hamlet Scrawl,” found on the wall as you enter.
- Finding: “Hamlet Request II,” found on the ground past the entrance to Room B19.
- 10x Furious Blight: Found on the far side of the room.
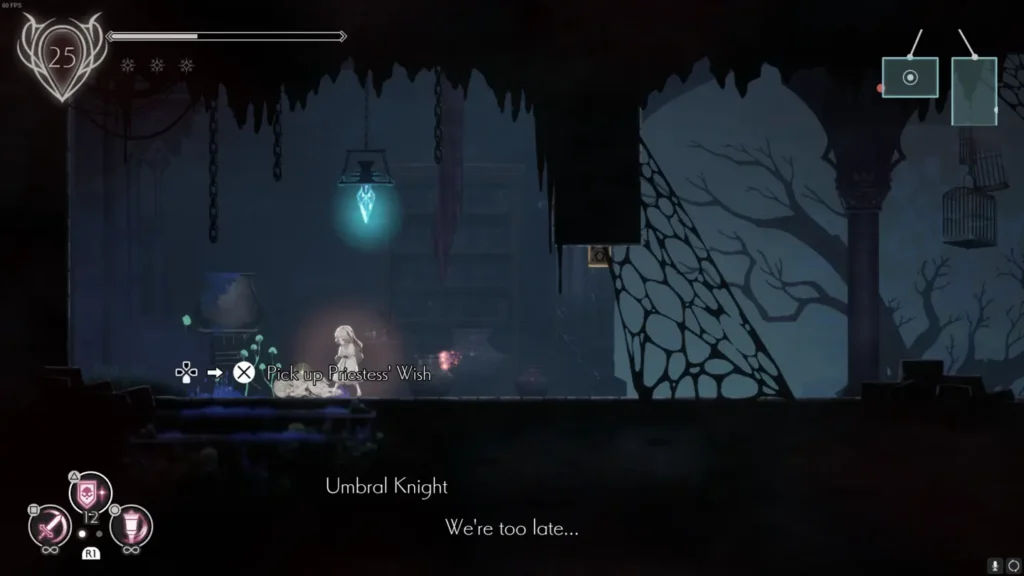
Room B19
- Collectibles:
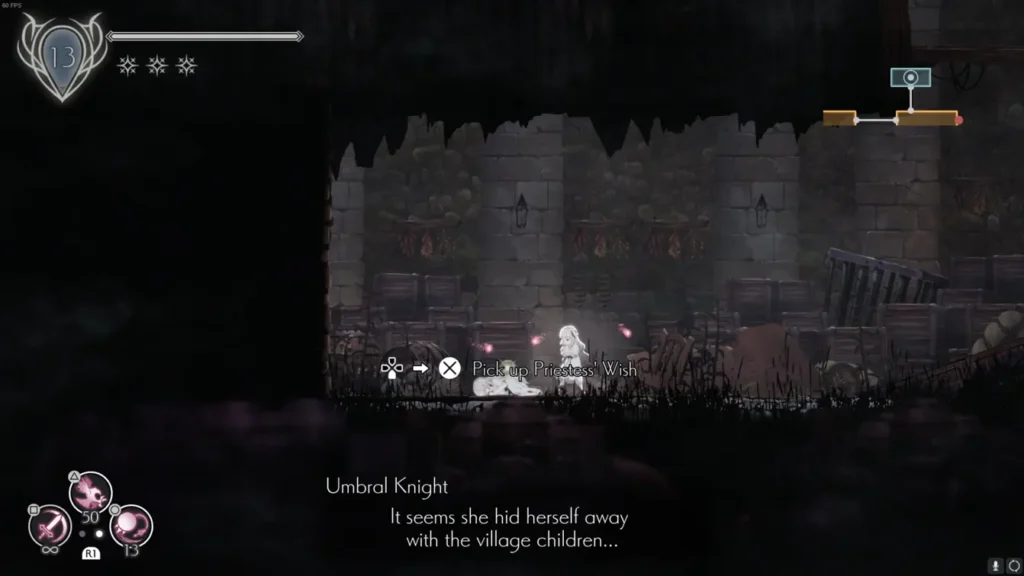
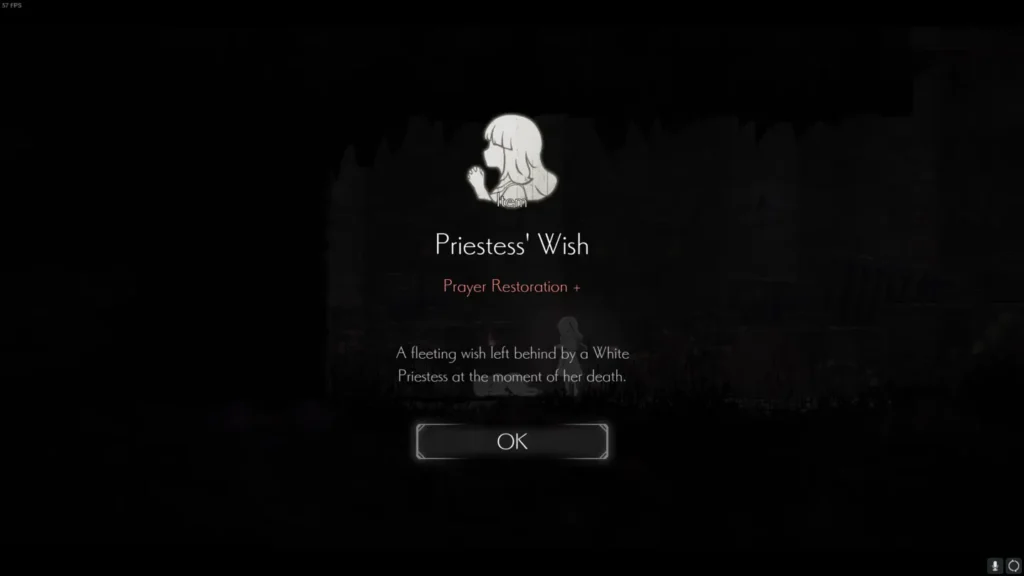
- Item: “Priestess’ Wish,” found inside a Giant’s Hammer spot.
Walkthrough: Area C Part 1 (Rooms C1 – C11)

Room C1
- Collectibles: This room has no collectibles.
Room C2
- Collectibles:
- 10x Stagnant Blight: Found directly beneath you as you enter. You’ll have to go around to reach it.
Room C3


- Collectibles:
- Amulet Fragment: Found in a pot on the far side of the room.
- 10x Stagnant Blight: Found in a spot that requires the “Giant’s Hammer” ability to access.
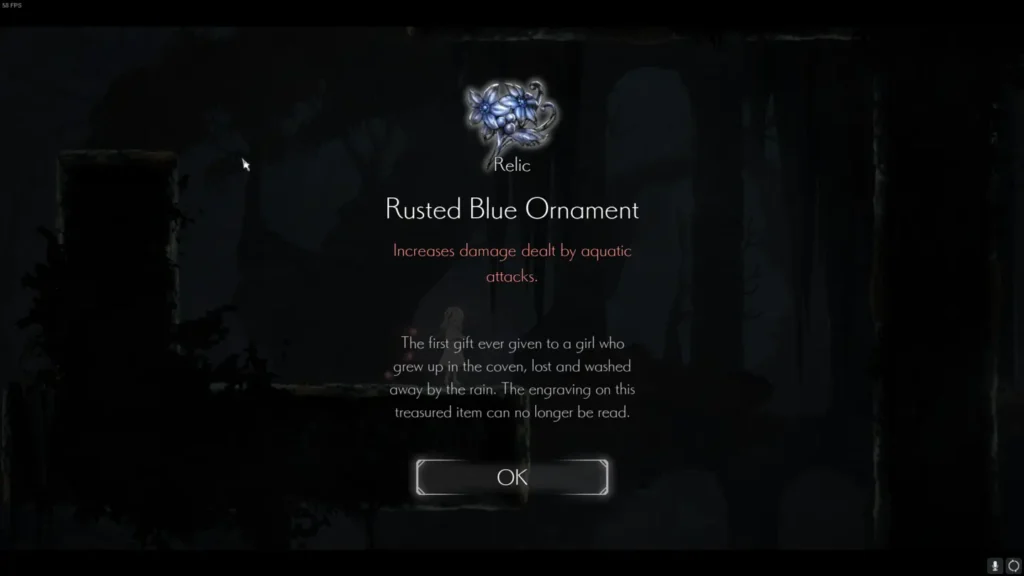
- Relic: “Rusted Blue Ornament,” found on the floor in the top left of the room.
Room C4


- Collectibles:
- Amulet Fragment: Found on the left side of the room after jumping over some pillars and going underwater. Requires the “Witch’s Bubble” ability.
- Chain of Sorcery: Found under an island on the right side of the room, also requiring the “Witch’s Bubble” ability.
Room C5
- Collectibles:
- Finding: “Coven Handbook,” found in the respite room.
Room C6

- Collectibles:
- 10x Stagnant Blight: Found after walking all the way to the right over the top of the room. Drop down to the alcove in the bottom right.
- Amulet Fragment: Found in one of the barrels on the platforms in the middle of the room.
Room C7


- Collectibles:
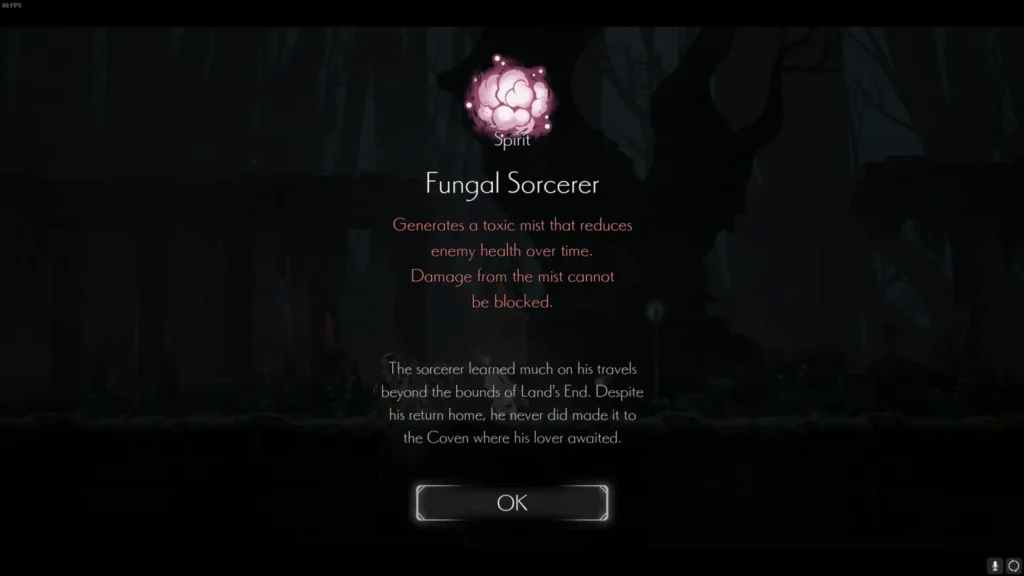
- Miniboss: “Fungal Sorcerer.” Defeating him gives you his spirit.
- Finding: “Lover’s Letter,” found to the right of the miniboss.
- 10x Stagnant Blight: Found in a spot that requires the “Giant’s Hammer” ability to access.
Room C8


- Collectibles:
- 10x Furious Blight: Found on a shelf to the left as you drop down.
- Relic: “Manisa’s Ring,” found in a chest on a platform in the middle of the room.
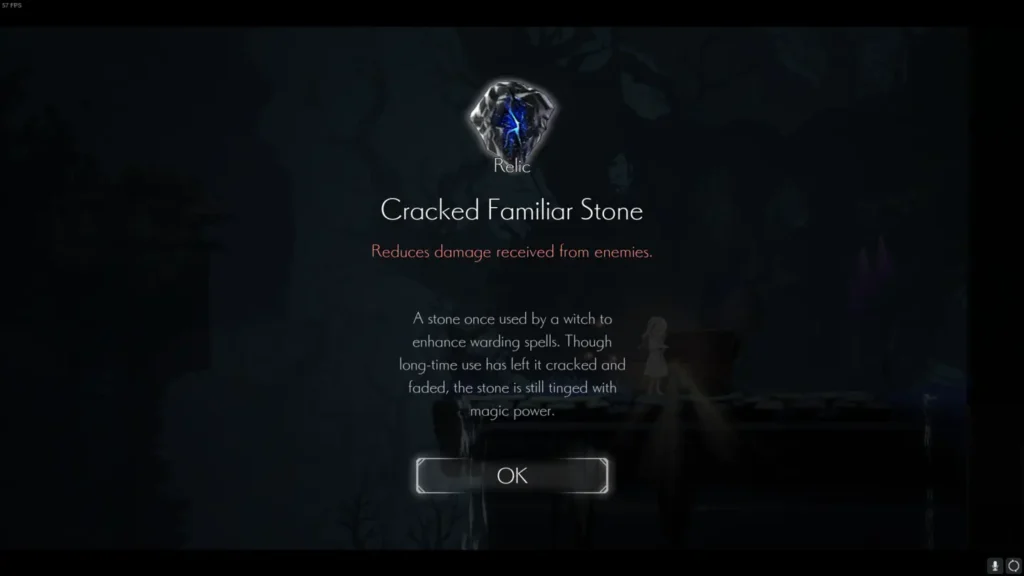
- Relic: “Cracked Familiar Stone,” found in a chest in the top right of the room.
Room C9
- Collectibles:
- Finding: “Sorcerer’s Notes,” found as the only collectible in this room.
Room C10
- Collectibles:
- Amulet Fragment: Found in the pots toward the bottom of the room.
- 10x Stagnant Blight: Found in an alcove on the far right of the room.
Room C11
- Collectibles:
- 10x Stagnant Blight: Found in one of the rooms to the right side of the waterfall.
Walkthrough: Area C Part 2 (Rooms C12 – C16)
Room C12


- Collectibles:
- Amulet Fragment: Found in a secret compartment on the left wall as you enter.
- Chain of Sorcery: Found in a barrel below the elevator.
- Chain of Sorcery: Found in a container on the top right shelves.
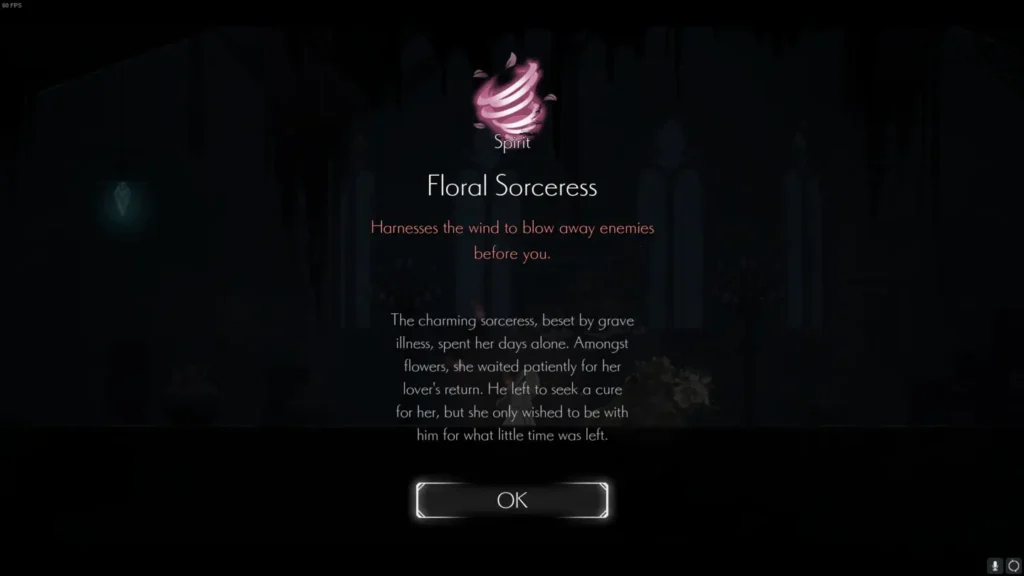
- Miniboss: “The Floral Sorceress.” Defeating her gives you her spirit.
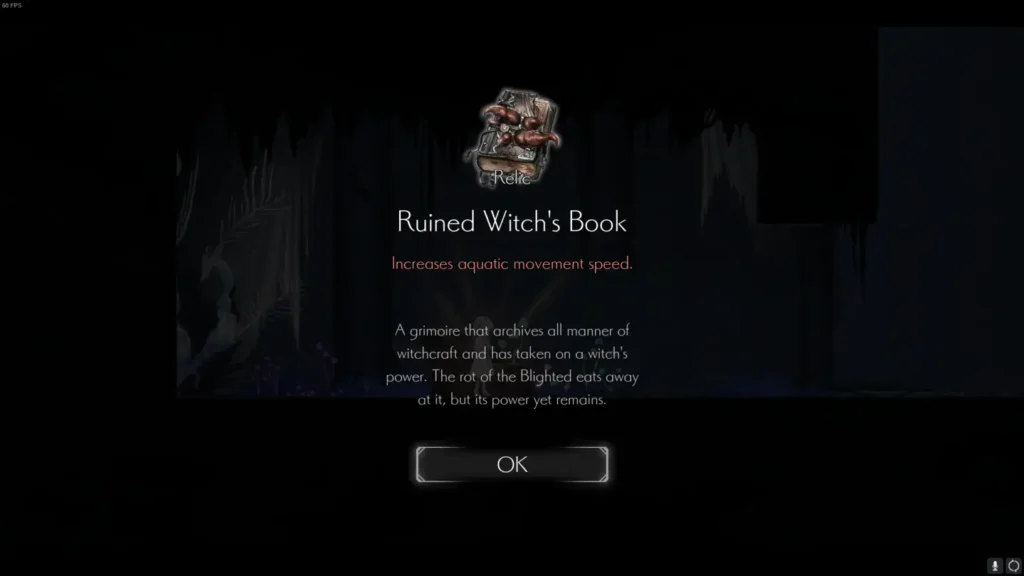
- Relic: “Ruined Witch’s Book,” found in a relic chest in an alcove to the left after jumping out of the waterfall.
- 10x Stagnant Blight: Found at the bottom of the room under the water.
Room C13
- Collectibles:
- Finding: “The Parish Way III,” found in the respite room.
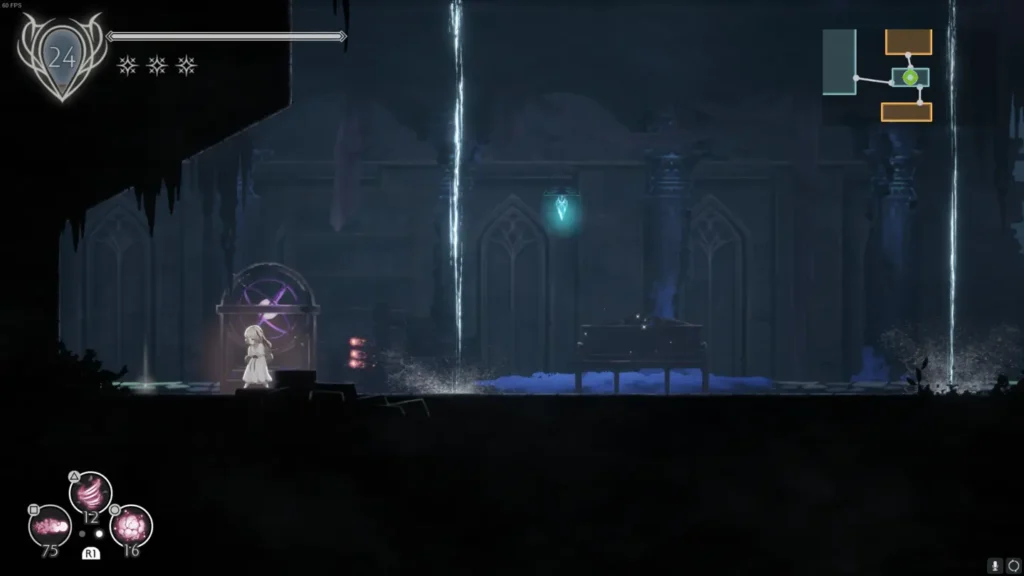
Room C14

- Objective: This room is dedicated to the area boss “Dark Witch Eleine.” Defeating her gives you her spirit and the action “Witch’s Bubble.”
Room C15

- Collectibles:
- 10x Furious Blight: Found in the bottom right of the room after swimming through tunnels. Requires the “Witch’s Bubble” ability.
- Item: “Priestess’ Wish,” found in a door that can be opened by a nearby mechanism in the top left.
- Finding: “Tarnished Picture,” found on a painting in the top middle of the room.
Room C16

- Collectibles:
- 10x Furious Blight: Found in a secret compartment in the wall.
Spirits and Actions: Locations and Uses
Below is a list of important spirits and actions, along with their locations:
- Guardian Siegrid + Guardian’s Leap: Located in Room A7.
- Gerrod, the Elder Warrior + Giant’s Hammer: Located in Room B16.
- Dark Witch Eleine + Witch’s Bubble: Located in Room C14.
- Cliffside Hamlet Elder: Located in Room B14.
- Cliffside Hamlet Youth: Located in Room A10.
- Western Merchant: Located in Room B8.
- Headless Defender: Located in Room B12.
- Fungal Sorcerer: Located in Room C7.
- Floral Sorceress: Located in Room C12.


Item Locations
Below is a list of important items and their locations:
- Amulet Fragment: Located in Rooms A3, A5, B1, B3, B4, B5, B7, B9, B12, C3, C4, C6, C10, and C12.
- Chain of Sorcery: Located in Rooms A10, B5, B11, C4, and C12.
- Priestess’ Wish: Located in Rooms B19 and C15.
- Amulet Gem: Located in Room B5.
Relic Locations
Below is a list of relics and their locations:
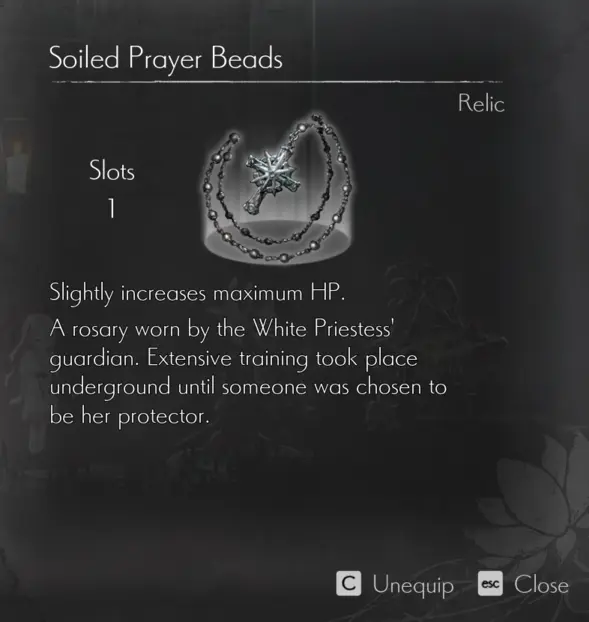
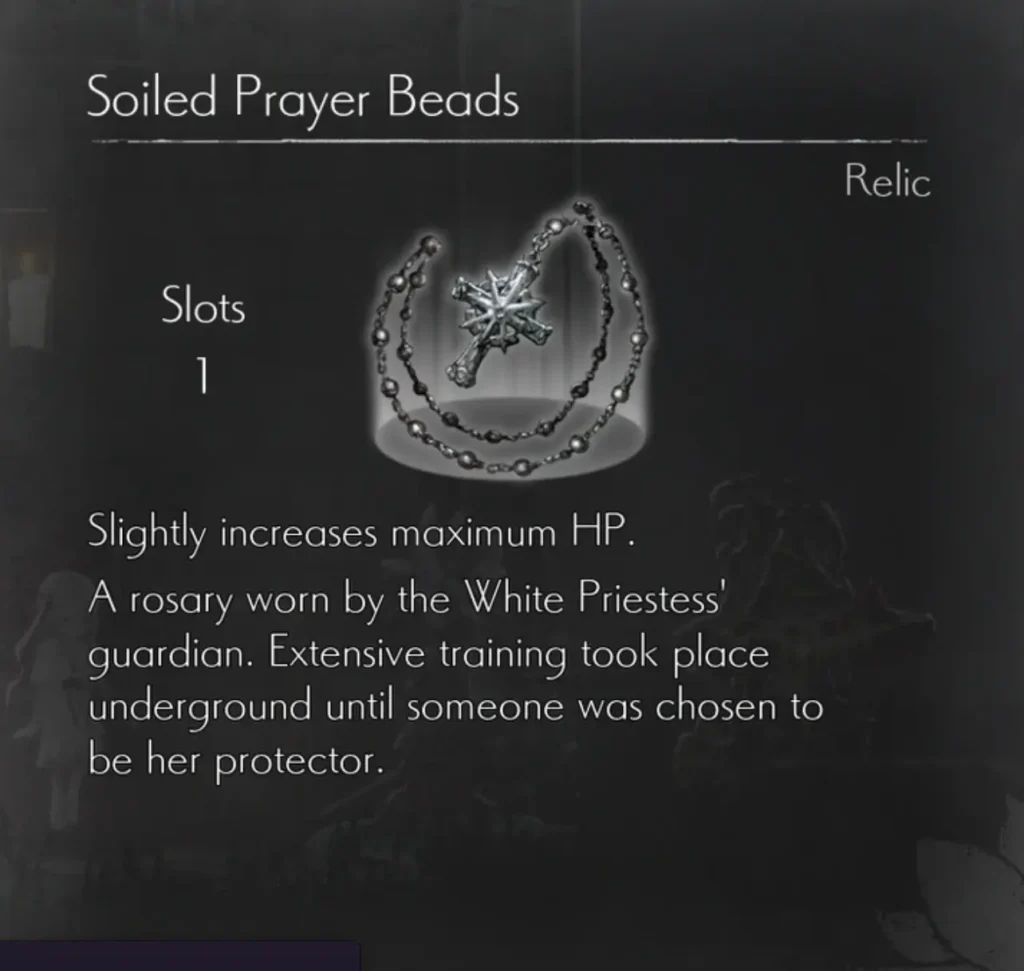
- Soiled Prayer Beads: Located in Room A6.
- Rusted Blue Ornament: Located in Room C3.
- Manisa’s Ring: Located in Room C8.
- Cracked Familiar Stone: Located in Room C8.
- Ruined Witch’s Book: Located in Room C12.
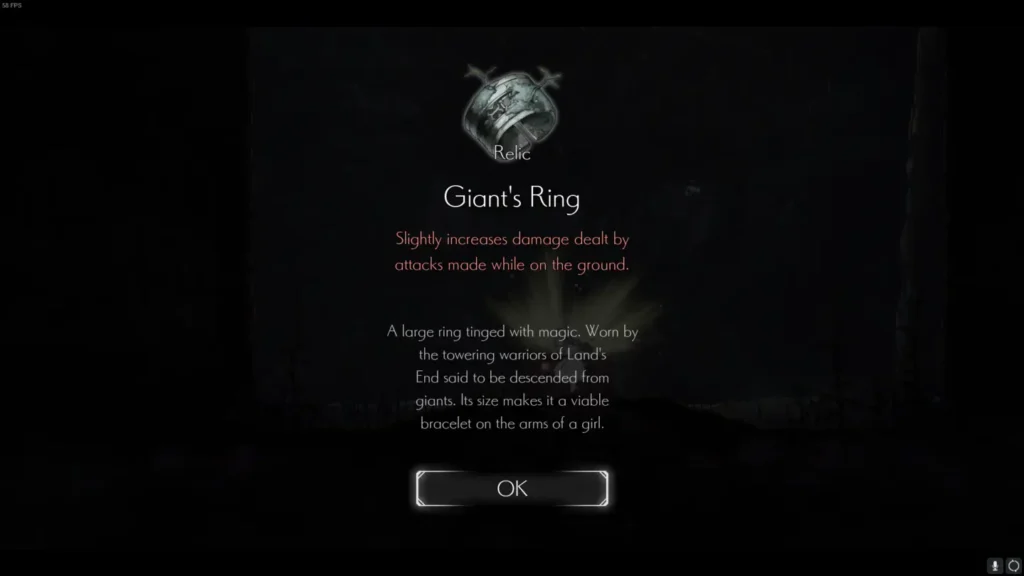
- Giant’s Ring: Located in Room B5.
- Broken Music Box: Located in Room B4.
- Bloodstained Ribbon: Located in Room B7.

Ender Lilies Enemies
Below is a brief overview of the enemies you’ll encounter, their movement patterns, and attack styles:
- Blighted Worshipper: Does not move or attack, but its collision can hurt you.
- Slug: Slowly wriggles and can jump attack using its collision hitbox.
- Blighted Soldier: Walks and runs, with a slashing attack that can be hard to dodge.
- Blighted Knight: Does not move but can thrust or slash. Dash through to attack from behind.
- Blighted Nun: Shuffles and can summon a damaging tornado on Lily’s position.
- Blighted Archer: Attacks from a distance with a flaming arrow.
- Wolf: Fast, with a running and dashing bite attack.
- Ravager: Slow, with powerful jumping and slashing attacks.
- Regurgitator: Slow, with a jump attack and a regurgitated hot liquid that creates a damaging zone.
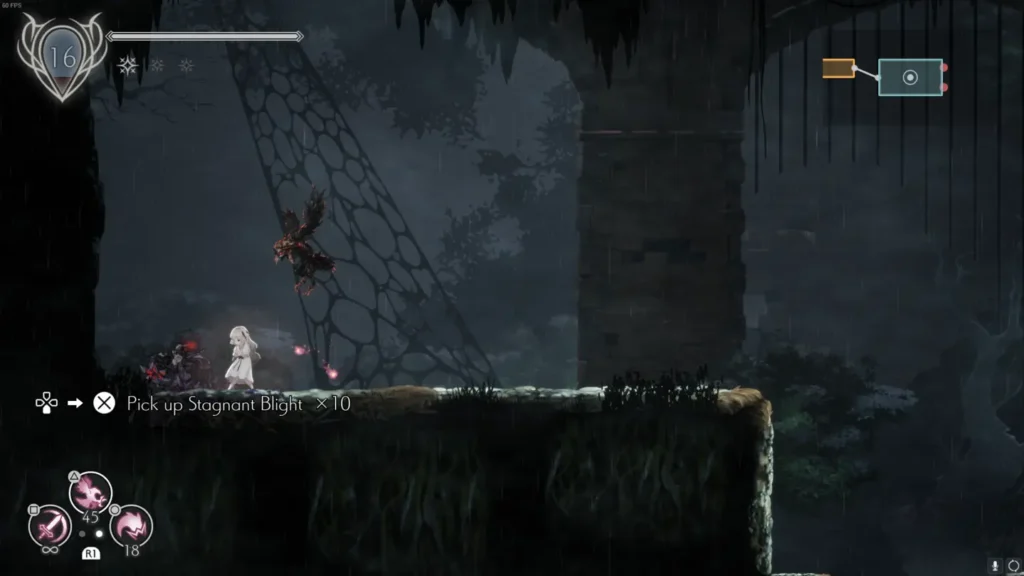
- Crow: Flies and shoots a bolt of homing energy.
- Mimic: Drags itself along with a bite attack.
- Purple Mage: Flies and shoots four purple balls that fall to the ground.
- Fungal Mage: Shoots a homing bolt and summons a poisonous gas cloud.
- Floral Mage: Shoots three bolts of dark red energy and summons a tornado.
- Thorn Mage: Summons a wall of thorns on Lily’s position.
- Burrower: Burrows and reappears, shooting bolts of energy.
- Kappa: Swims and dashes at Lily.
- Root Cannon: Shoots an arcing ball of orange.
- Detonator: Walks or runs, then explodes.
Minibosses
Here’s a summary of the minibosses you’ll encounter:
- Cliffside Hamlet Youth: Crawls and jumps at you.
- Headless Defender: Walks slowly with a thrust and slash attack.
- Western Merchant: Flies and shoots a homing energy ball.
- Cliffside Hamlet Elder: Slow with slashing and jumping attacks.
- Floral Sorceress: Shoots dark red energy bolts and summons tornadoes.
- Fungal Sorcerer: Teleports and shoots a ball of poisonous gas.
Area Bosses
Here’s a summary of the area bosses and their attack phases:
Guardian Siegrid
- Phase 1:
- Forward jumping attack
- Flail swings (3 in front, 2 behind)
- Single swing
- Phase 2:
- Forward swing
- Backhand
- Running attack
Garrod, the Elder Warrior
- Phase 1:
- Two-part mace combo
- Jump and slam with a small shockwave
- Phase 2:
- Two-part mace combo
- Jump and slam with a larger shockwave
- Slow wind-up upward swing
- Ground shockwaves
- Phase 3:
- Repeated jump and slam
- Dash toward Lily
Dark Witch Eleine
- Phase 1:
- Teleport and shoot six red energy bolts
- Fast-moving homing bolt
- Phase 2:
- Teleport and shoot twice
- Create a damaging tornado
- Phase 3:
- Rain down energy balls with gaps
- Stab at Lily with spines after teleporting
Other Enemy List
Here’s some additional data on enemy health, damage, and experience at different world difficulty levels:
Blighted Worshipper
- World Difficulty 1:
- 2 EXP
- 13 damage (contact)
- ~40 HP
- World Difficulty 2:
- 4 EXP
- 13 damage (contact)
- ~60 HP
- World Difficulty 3:
- 8 EXP
- 18 damage (contact)
- ~90 HP
- World Difficulty 4:
- 16 EXP
- 23 damage (contact)
- ~110 HP
Slug
- World Difficulty 1:
- 4 EXP
- 22 damage (contact)
- ~100 HP
- World Difficulty 2:
- 8 EXP
- 23 damage (contact)
- ~110 HP
- World Difficulty 3:
- 15 EXP
- 32 damage (contact)
- ~175 HP
- World Difficulty 4:
- 30 EXP
- 41 damage (contact)
- ~220 HP
Knight
- World Difficulty 1:
- 8 EXP
- 29 damage (contact/attack)
- ~200 HP
- World Difficulty 2:
- 13 EXP
- 30 damage (contact/attack)
- ~300 HP
- World Difficulty 3:
- 25 EXP
- 41 damage (contact/attack)
- ~480 HP
- World Difficulty 4:
- 50 EXP
- 53 damage (contact/attack)
- ~640 HP
Blighted Soldier
- World Difficulty 1:
- 6 EXP
- 29 damage (contact/running attack)
- [11 x 5] + [8 x 1] (63) damage (slashing attack)
- ~155 HP
- World Difficulty 2:
- 10 EXP
- 30 damage (contact/running attack)
- [12 x 5] + [9 x 1] (69) damage (slashing attack)
- ~165 HP
- World Difficulty 3:
- 20 EXP
- 41 damage (contact/running attack)
- [16 x 5] + [12 x 1] (92) damage (slashing attack)
- 263 HP
- World Difficulty 4:
- 40 EXP
- 53 damage (contact/running attack)
- [21 x 5] + [15 x 1] (120) damage (slashing attack)
- ~360 HP
Blighted Nun
- World Difficulty 1:
- 8 EXP
- 25 damage (contact/attack)
- ~550 HP
- World Difficulty 2:
- 15 EXP
- 26 damage (contact/attack)
- ~750 HP
- World Difficulty 3:
- 30 EXP
- 32 damage (contact/attack)
- ~900 HP
- World Difficulty 4:
- 60 EXP
- 47 damage (contact/attack)
- ~1290 HP
Guardian Siegrid
- Phase 1:
- 37 damage (Jump and downswing)
- 25 damage (Cyclonic swing)
- 25 damage (Single swing)
- ~1200 HP
- 0 EXP
- Phase 2:
- 25 damage (Forward Slash)
- 25 damage (Backhand slash)
- 37 damage (Jump slam)
- 12 damage (Dash attack contact)
- 50 damage (Dash attack swing)
- ~1350 HP
- 100 EXP
This Ender Lilies walkthrough guide should provide you with all the information you need to navigate the world of Ender Lilies effectively and efficiently. Write us the sections you want help with, we will be happy to help.