I will explain in detail how to achieve Rodland of Pipes and how to finish all the pipes.
How to Complete all Pipes in Rodland of Pipes
Learn how to complete all the pipes!
Flyers are actually pretty easy to find if you keep an eye out. Most of them will be directly in your path, and they’re kinda brighter than other objects so you can see them easily. There also aren’t many flyers to find, and the Main Menu will tell you how many Flyers are in each level, and how many you’ve obtained.
Once you collect a flyer (or “Other” collectibles), they will stay collected, even if you die, reset, or quit.
Pipes Guide
Pipe 1
- Depth: 32.8 ft.
- Enemies: (1 Flyer)
This is the tutorial level, designed to help you get familiar with the basic mechanics. It’s incredibly straightforward—there are no dangers or traps, so just follow the instructions and move forward. Don’t worry about hazards; you’re completely safe in this pipe.
Pipe 2
- Depth: 76.2 ft.
- Enemies: (2 Flyers)
In this pipe, a new mechanic comes into play—Heat. If you run out of heat, you die. Heat decreases gradually over time but will deplete faster when using specific equipment like your map, probe, or when your heat lamp is turned off. Managing your heat becomes crucial.
Key Mechanics:
- Heat Management: Always keep an eye on your heat level. You’ll need your heat lamp on most of the time, but there are moments when you must switch it off.
- Rodland: This is a creature you’ll need to watch out for. When you see Rodland, turn off your heat lamp immediately to ward it off. Rodland will vanish after a few moments, but make sure you only turn your lamp back on after it’s gone.
Important Tip:
Monsters in the pipes, including Rodland, can appear in front of you or from the side when you’re distracted by your map or probe. However, they will never approach from behind, so keeping an eye forward helps.
Pipe 3
- Depth: 182.4 ft.
- Enemies: (3 Flyers)
In this pipe, you’ll encounter a new hazard—sharp debris. Occasionally, when clearing debris, you might accidentally cut yourself on hidden sharp objects, spilling blood into the pipes. This makes monsters far more aggressive for a short time. Be cautious and avoid any debris piles if possible.
Key Mechanics:
- Debris Hazard: Sharp objects within debris are invisible, so there’s no guaranteed way to detect them. If you do get cut, it’s best to wait for the blood to dissipate before moving further.
- The Augur: This is a new type of enemy that only appears when you hear heavy breathing. When this occurs, immediately hold down the ping button on your probe. You may need to keep the ping held for a second or two to ensure the Augur retreats.
Pipe 4
- Depth: 441.0 ft.
- Enemies: (3 Flyers, 1 Other)
In Pipe 4, you’ll encounter a strange new enemy called The Crail. This enemy has a bird/dog-like head and must be handled carefully. To avoid death, break eye contact with Crail by pulling out your probe, map, or a flyer. Failure to break eye contact will result in instant death, with your body becoming too irradiated to retrieve.
The “Other”:
This pipe also contains an “Other” collectible—a Photographic Plate. While it seems out of place, the next pipe will provide more context on its use.
Hints for the “Other”:
- Location: The Photographic Plate is found at E5. It’s easy to locate if you explore thoroughly.
- Usage: In Pipe 4, hold the Photographic Plate up when you encounter Crail. It will reveal hidden symbols, which will be important for future pipes.
Pipe 5
- Depth: 762.1 ft.
- Enemies: (4 Flyers, 1 Other)
By now, you’ve encountered all the hazards and enemies the game has to offer, and this pipe puts everything together in one final challenge. Flyers are out in full force, so stay alert and continue probing locations as you collect flyers. The Photographic Plate from Pipe 4 becomes essential in solving a major puzzle.
Hints for Classified Pipe Unlock:
- The Other in this pipe is another puzzle element, and you won’t be able to solve it if you haven’t completed the Photographic Plate puzzle from Pipe 4.
- You’ll need to align the valves in this pipe to match the symbols you found with the Photographic Plate in Pipe 4.
How to Solve the Valve Puzzle:
- Align the valves to match the symbols from Pipe 4’s Photographic Plate. Once aligned, a secret door will open, revealing a deep-red hallway at G5. At the end of this hallway, you’ll find a cryptic napkin that signals the mission’s end. Completing this puzzle unlocks Classified Pipe 1.
Classified Pipes
Classified Pipe 1
- Depth: 840.0 ft.
- How to Unlock: Complete the “Other” puzzles in Pipe 4 and Pipe 5.
This pipe features a complex puzzle without any enemies. Instead of using your probe, you’ll be searching for a piece of black plastic. You won’t have a map either, but rather a scribbled napkin that’s difficult to understand.
Key Mechanic:
- Puzzle Focus: This level focuses on a strange, esoteric puzzle. It’s arguably the hardest challenge in the game, so be prepared to spend some time solving it.
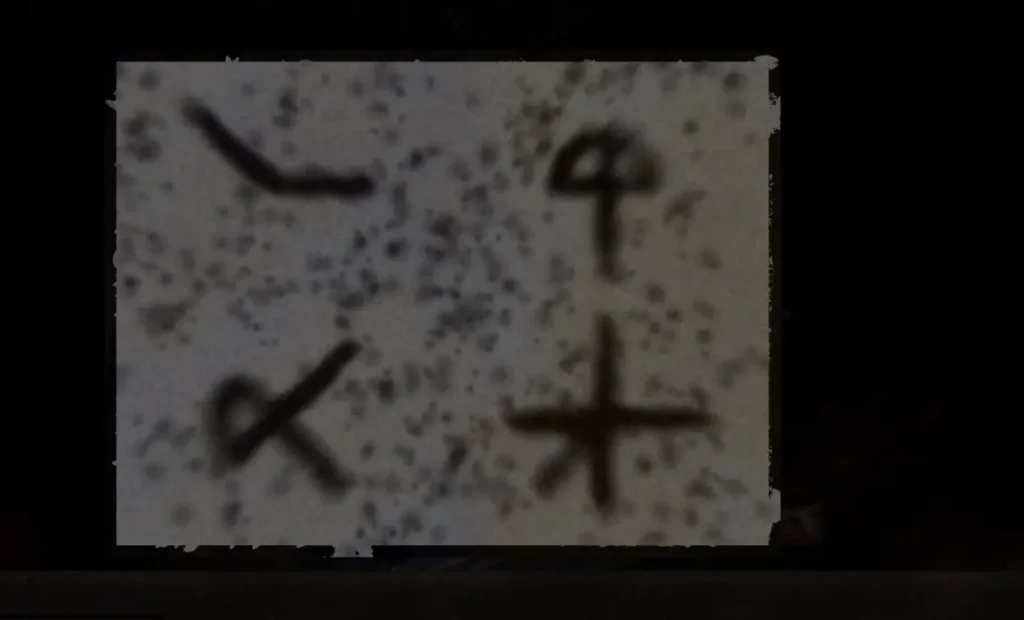
- Hint 1: The napkin you find serves as the map for this area, but the quadrants are randomized. To solve this, you’ll need to do some basic math.
- Hint 2: The valves in this area can be turned in eight directions, matching something on the napkin.
Complete Puzzle Solution:
The valves correspond to numbers based on the direction they are turned. The trick is to match the numbers on the X and Y axes of the napkin by adding up the valve numbers. Once solved, a secret door will open, revealing half a map and allowing you to exit.
Classified Pipe 2
- Depth: 971.2 ft.
- How to Unlock: Complete Pipes 1–5
This pipe introduces Heavy Energy, which allows you to move faster than usual. This is essential because the heat in this pipe drains rapidly, making it difficult to complete the level before your lamp goes out.
Enemies:
The only enemy here is The Phantom, which appears when your heat runs out. The key to surviving this pipe is to move quickly and efficiently, gathering fragments and avoiding hypothermia.
Route Tip:
- You start at I4, facing north. Here’s an optimized route for speed:
- Take a right, then the first left into the top-right area of the map.
- Head to L1, then reverse and continue to the next dead end at A6.
- Backtrack slightly, then move through a series of turns to reach F6, and finally, exit.
Classified Pipe 3
- Depth: 992.9 ft.
- How to Unlock: Collect all Flyers
This pipe reintroduces enemies and features blue doors that open and close, creating alternating pathways. These paths are crucial to navigate, as each time the door opens, the available route changes.
Key Mechanics:
- Wait outside the blue doors for the right pathway to appear before proceeding. Timing is key to avoid getting trapped in the wrong area.
Classified Pipe 4
- Depth: 1200.6 ft.
- How to Unlock: Complete Classified Pipes 1 and 2
This pipe is the hardest yet, combining all previous mechanics and hazards, including alternating blue doors. To survive, you’ll need to master everything you’ve learned in the game. There are no new puzzles, just pure survival.
Previous Incident Reports
These reports are generated based on the various ways you can die in the game. Here’s how you can trigger each one:
- (SSMID 4.1) Rodland: Fail to turn off your heat lamp when encountering Rodland.
- (SSMID 4.2) Augur: Don’t press and hold the ping button when you hear breathing.
- (SSMID 4.3) Crail: Don’t break eye contact when encountering Crail.
- (???) The Phantom: Run out of heat from your lamp, causing hypothermia.