This guide will show you all the rooms that can be seen on the map in Dungeon Clawler and their corresponding icons.
Icons of All Rooms and Bosses
If you are not sure which door to choose and for little tips and tricks, use the information below.
Table of Contents
Rooms
List of all rooms:
Fight Rooms
The most common rooms are these two fighting rooms.
These rooms get harder for every floor and once completed reward the player with the choice between three items, with the option to pay for re-rolls.
Sometimes it’s better to not choose an item at all and press “skip”, due to otherwise filling the clawmachine with sub-optimal items.
Fight
These rooms are the easiest ones of the two rooms. However IMO at higher floors they are sometimes harded than the “Hard Fight” rooms.
Icon on the map:

Inside room:
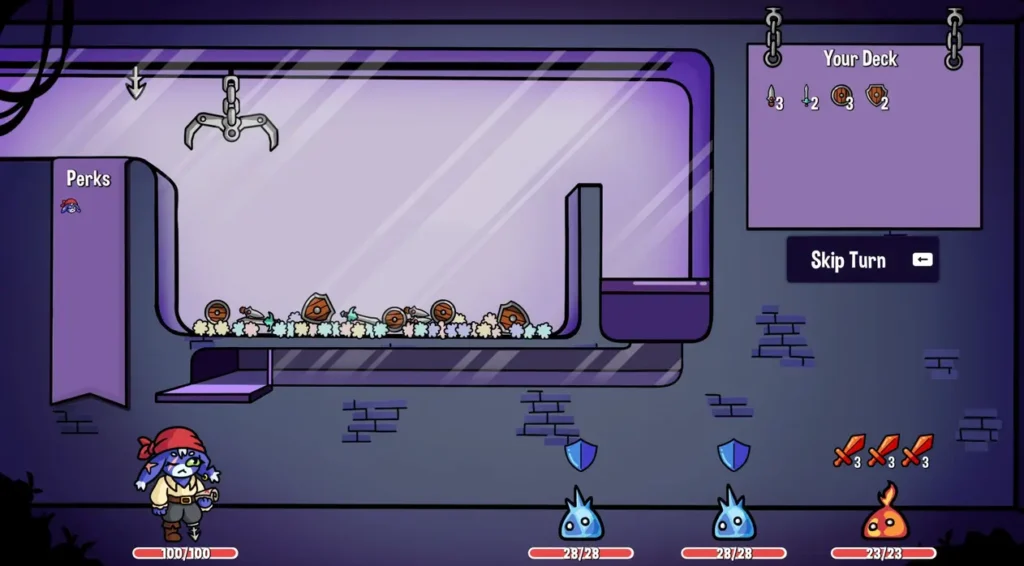
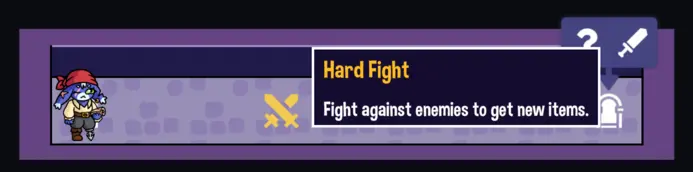
Hard Fight
The harder variant of the two fight rooms.
Icon on the map:
Inside room:
Special Rooms
These rooms let the player either upgrade items or reward the player with perks or items. Most of the interactions cost coins and the prices increase with every floor and rarity (Shown under “Black Smith”). There are 3 different types of special rooms; the “Item Engaging Rooms”, “Reward Rooms” & “Mystery Rooms”.
Item Engaging Rooms
In these rooms the player can upgrade, destroy or change the items material.
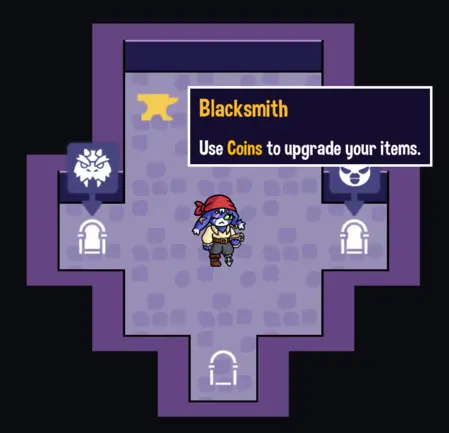
Black Smith
Here the player will meet “Smitty Barb”. She will upgrade most items. Which depending on the items rarity costs different amounts.
Note that I was at a high floor when these pictures were taken, the prices are more reasonable than they seem.
Icon on the map
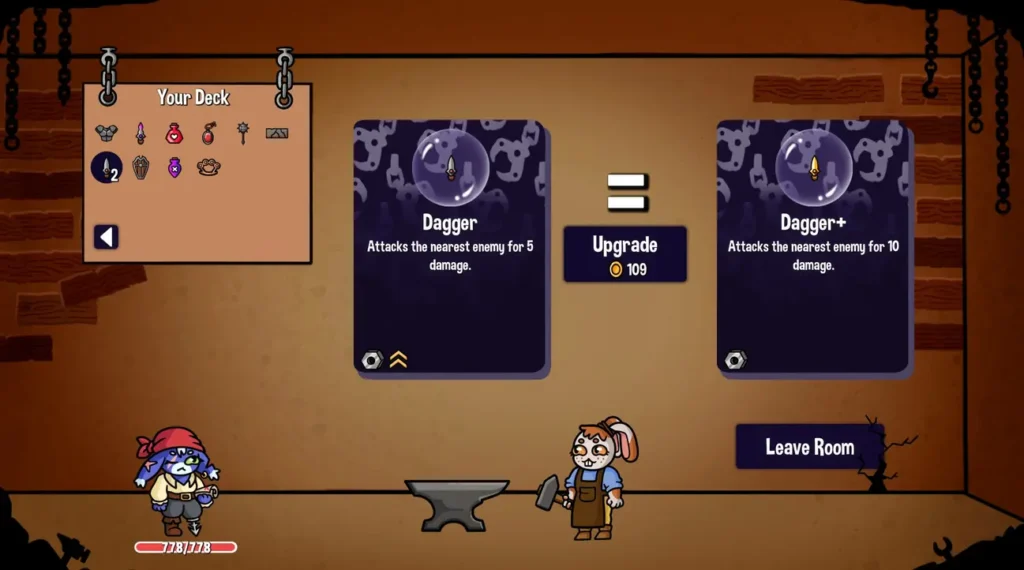
Inside the room
Common upgrade
Rare upgrade

Epic upgrade

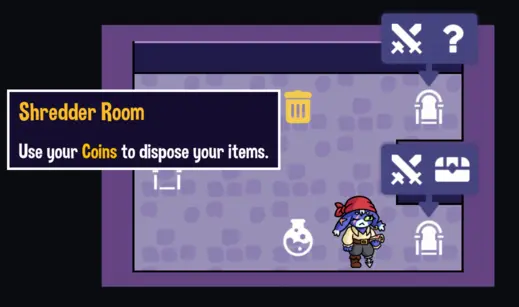
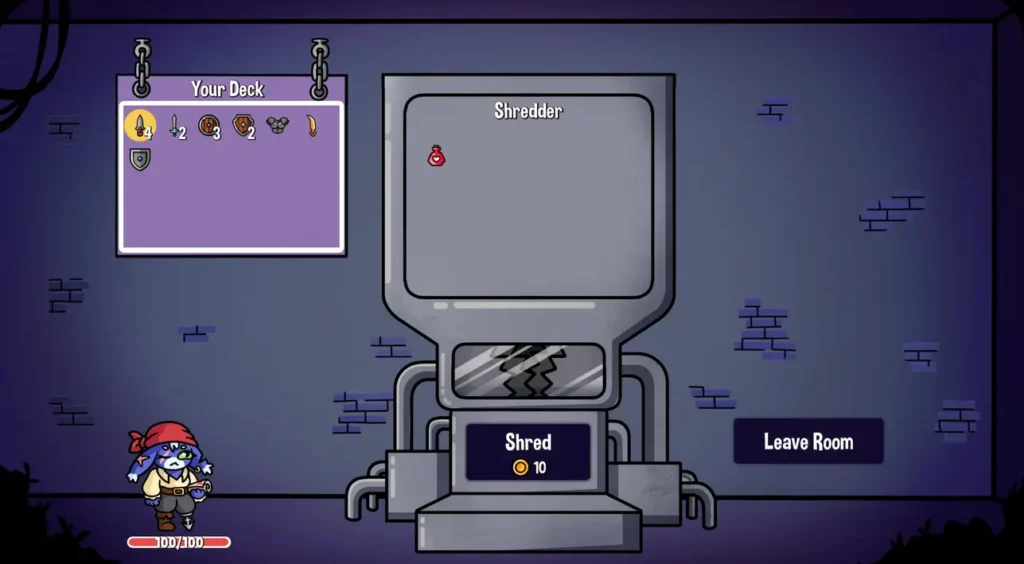
Shredder Room
In the Shredder Room the player is able to destroy items. Alike the blacksmith the cost differs.
Icon on the map
Inside the room
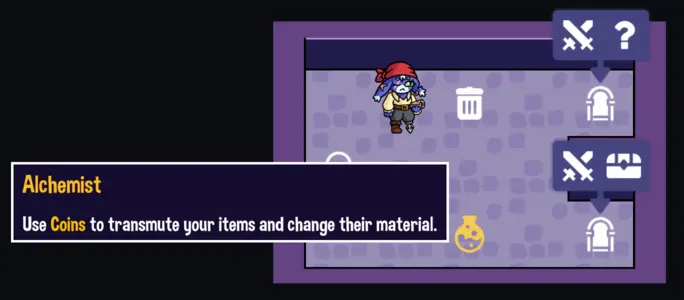
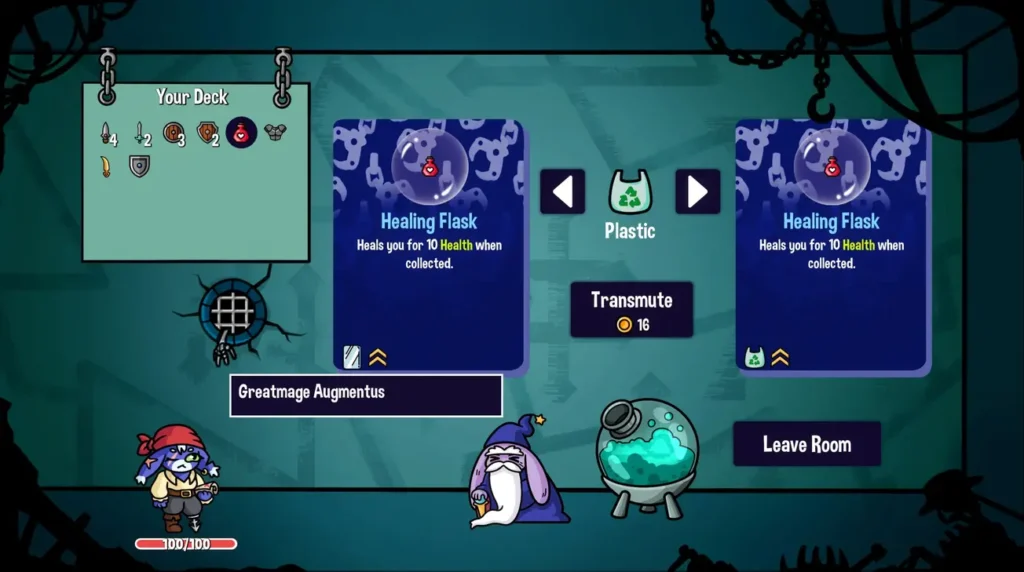
Alchemist
Here you will meet “Greatmage Augmentus”. This mage will change the material-properties of items. Which may be useful for different combos, for example making items metallic for the magnetclaw or plastic for the trashcan.
Icon on the map
Inside the room
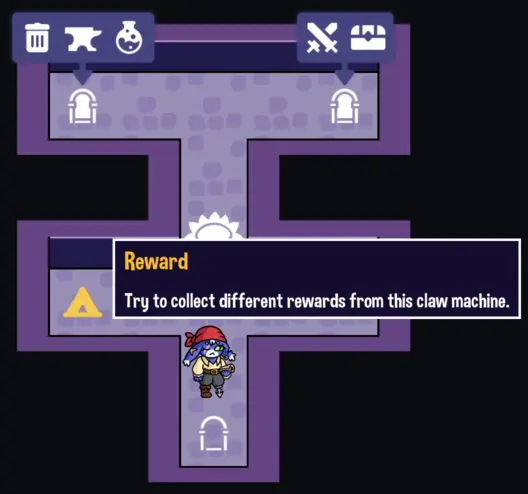
Reward Rooms
There are three types of reward rooms; the “Reward” (Granny) Room, Perk-O-mat and Pachinko Machine. These rooms will reward the player with either perks, items, health or coins.
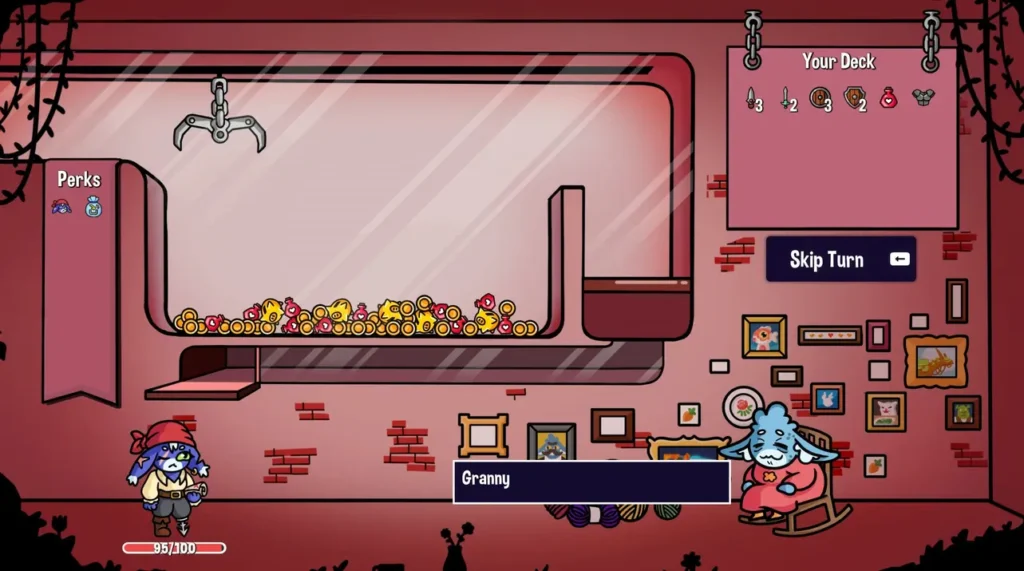
Reward (Granny) Room
Here the player will meet this lovely old Granny which gives a chance to pick up gold and/or health potions.
Icon on the map
Inside the room
Perk-O-Mat
In this room two random perks will fall out of which one can be chosen. Note that the “skip” button only skips the animation and the player will be given the choice instantly.
A little tactic to manipulate the machine if a certain perk inside the machine is wanted. Is to press “skip” if the wanted item is unlikely (due to its position) to fall out. Because when pressing “skip” two random items will be presented.
Icon on the map

Inside the room

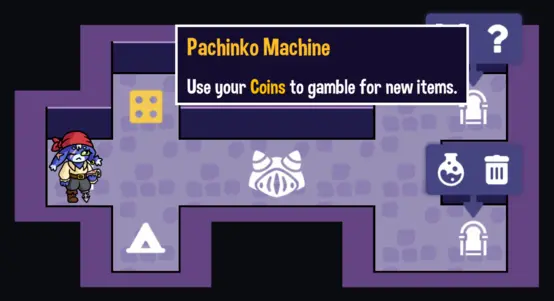
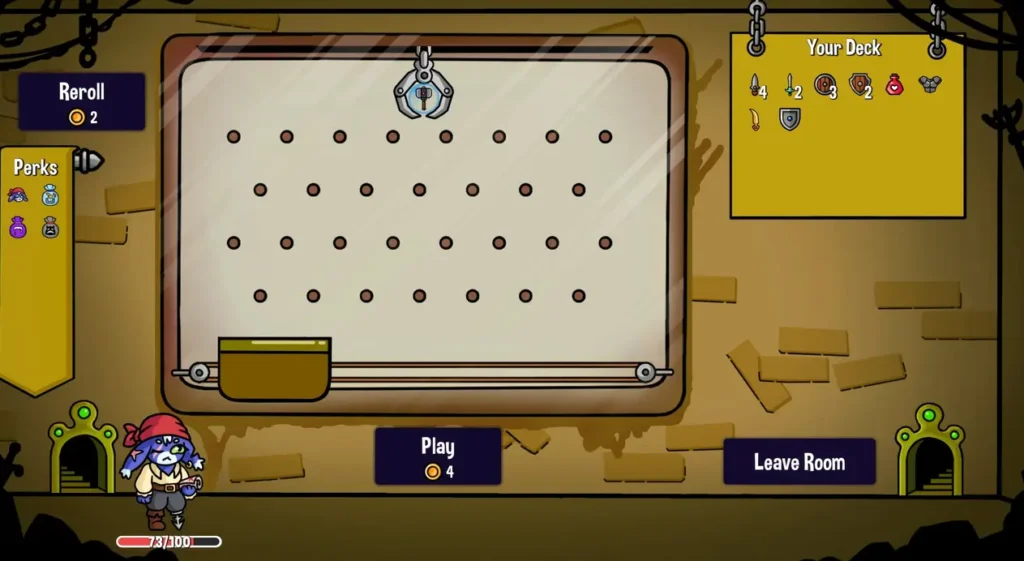
Pachinko Machine
This room contains a Pachinko Machine which will drop a item down itself. A small tip is to think about the “normal distribution” aka most items will end up in the middle more or less.
Icon on the map
Inside the room
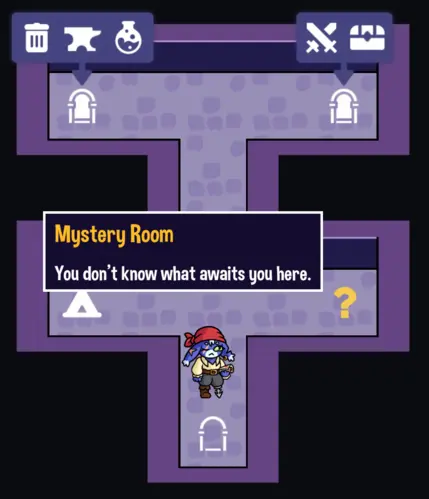
Mystery Rooms
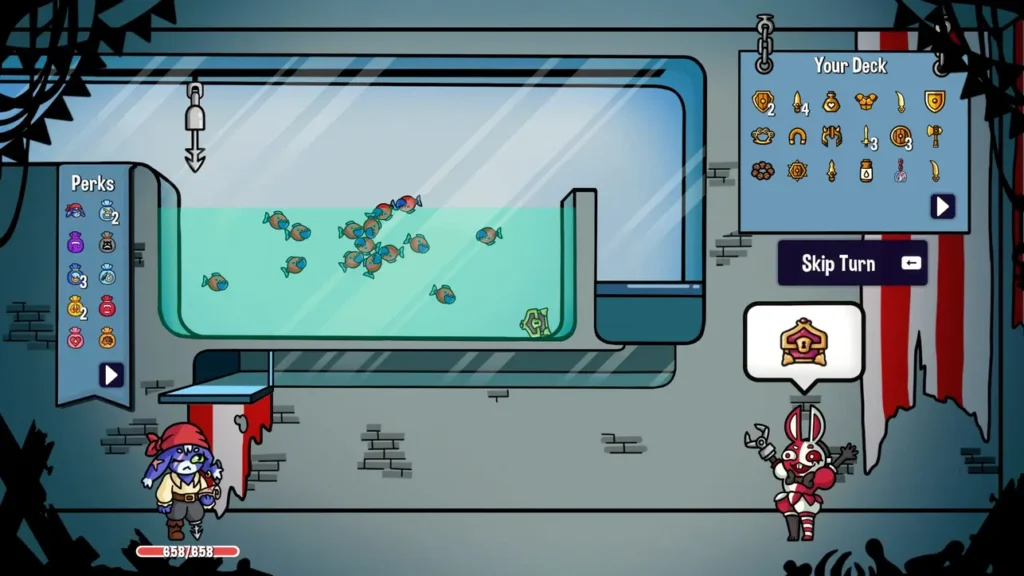
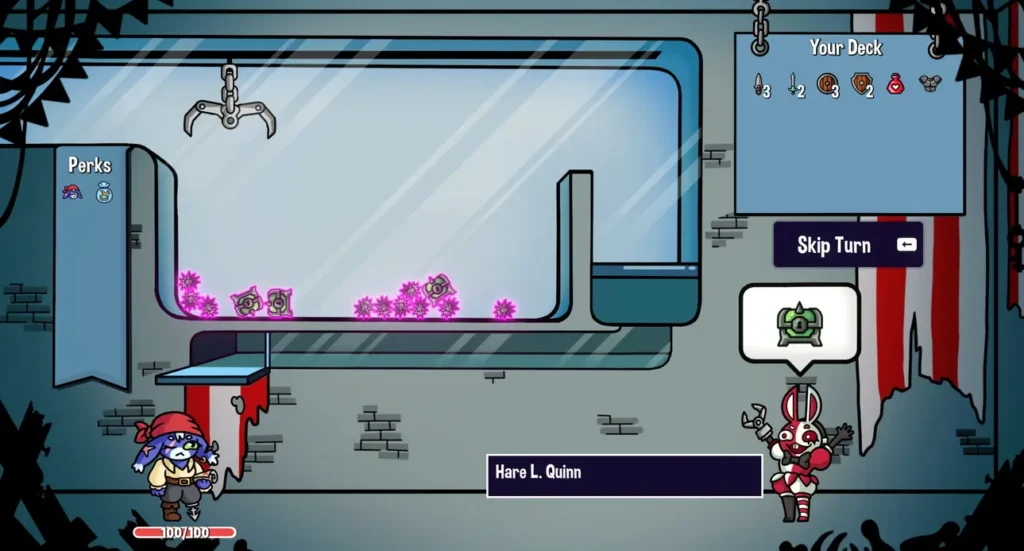
The Mystery Rooms are truly myserious. The player will meet “Hare L. Quinn” which will present the player with a random (not rly random but feels like it) “challenge”; of which there are seven.
Icon on the map
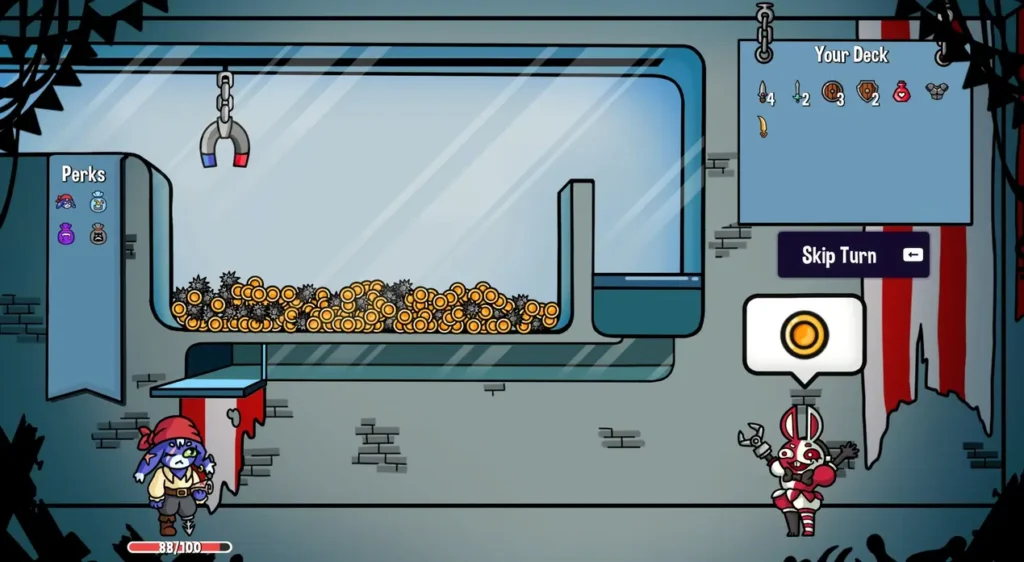
The following are the seven different variants of the room.
“Fish Room” – Chest contains rare item
“Coin Room” – Yes.. I have died in this room..
“Green Chests Room” – Chests contains common item
“Health Room” – Chest contains rare item
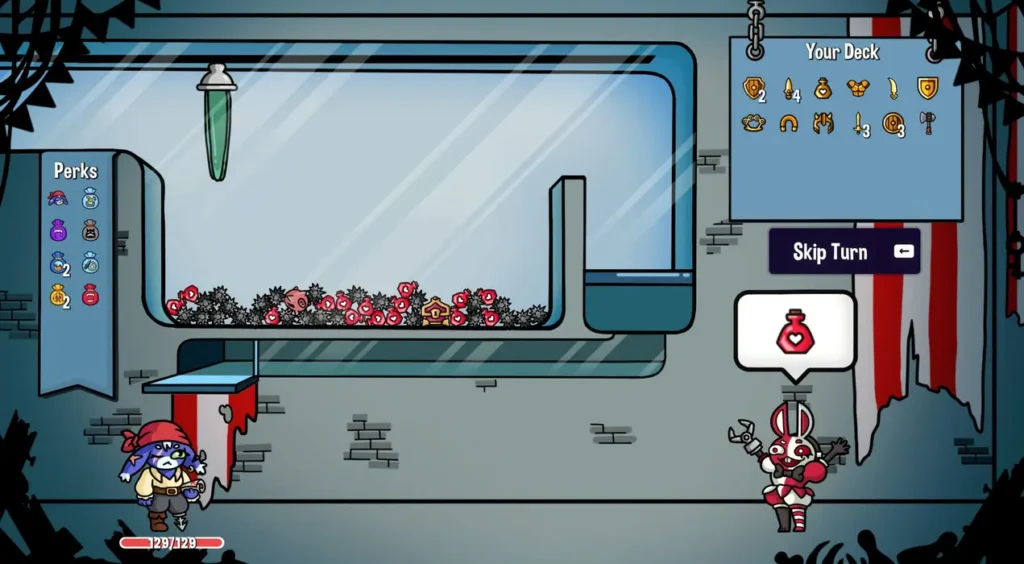
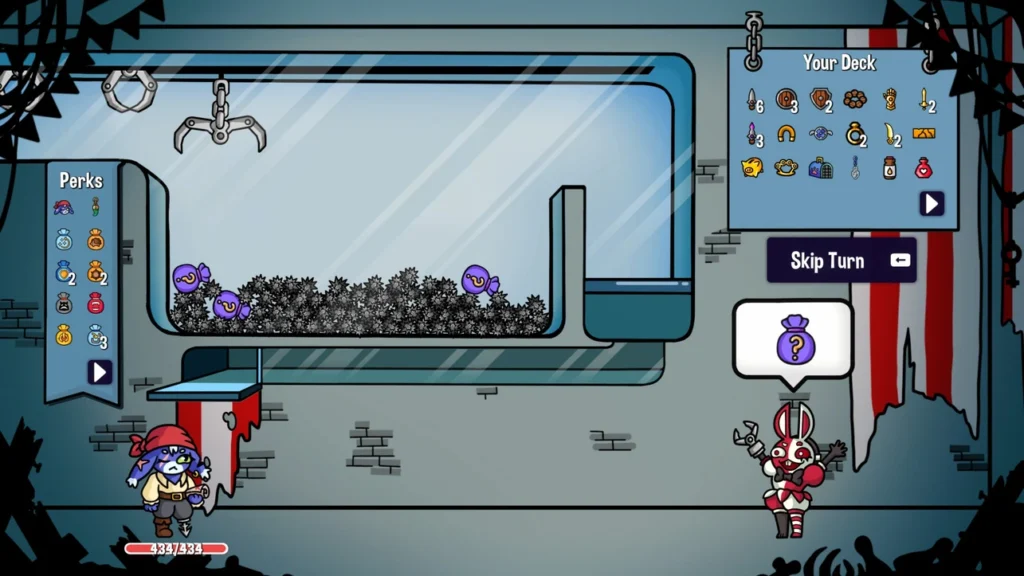
“Purple Bag Room” – Purple bag contains a perk
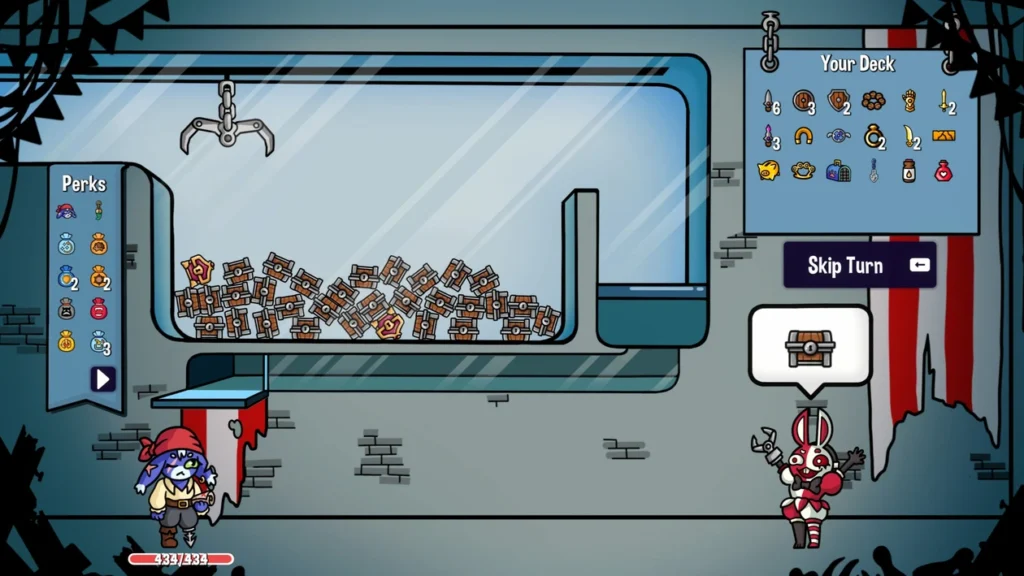
“Chest Chaos Room” – Wooden/Red chest contains common/rare item
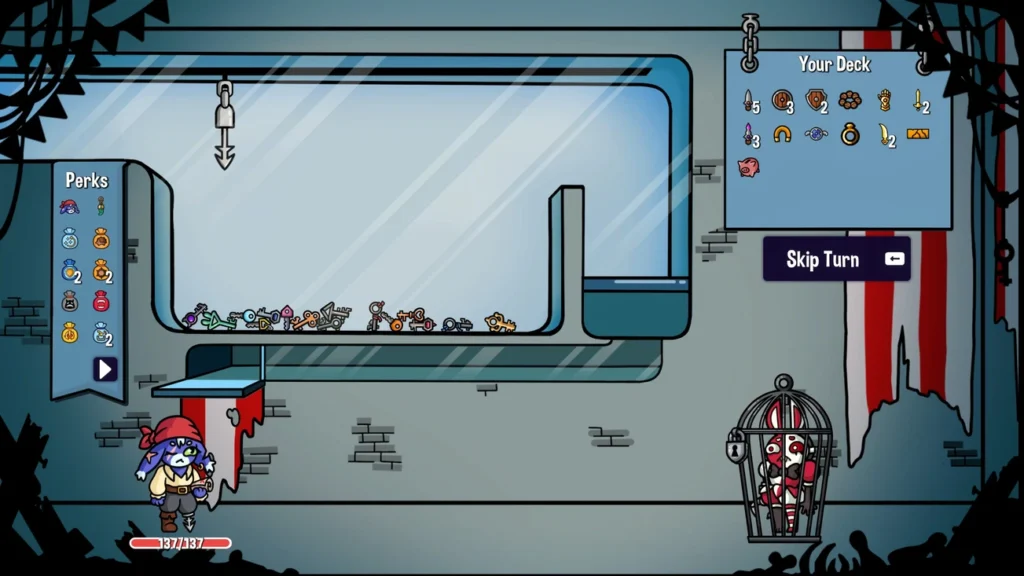
“Cage” – Found at floor 20
Bosses
The nine different bosses all have different abilities and buffs. In this guide I will not go trough all abilities. Only 2 of them. There will probably be a different guide for all soon (not by me lol). BUT I will down below show them all and their corresponding icons. Which may be useful when choosing which path to take.
Be aware that if you havent completed your first run yet this will certainly include spoilers!
Once a boss is completed the player will be presented with the choice of 3 different perks. And if defeated on “normal” difficulty the player will also be fully healed.
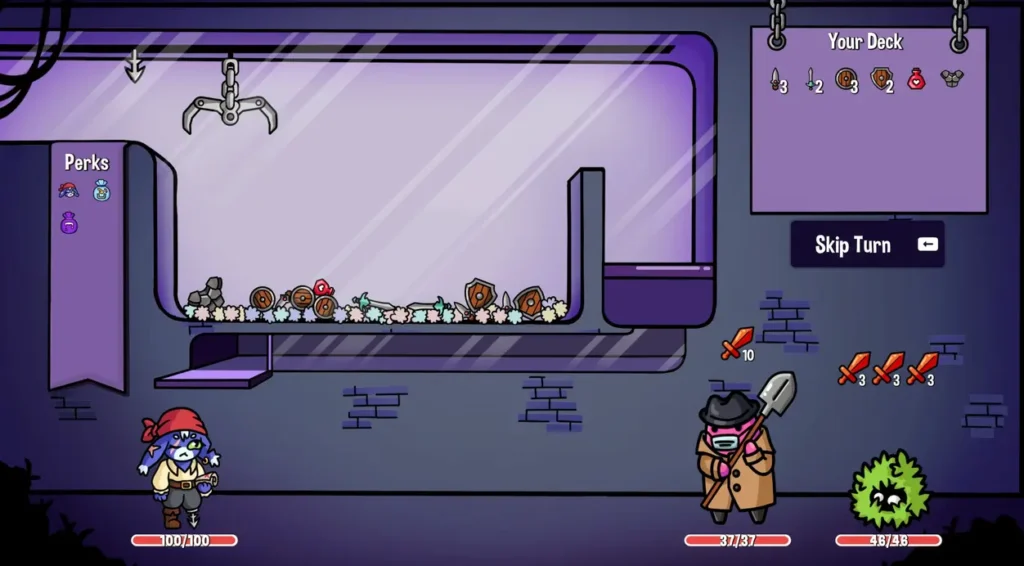
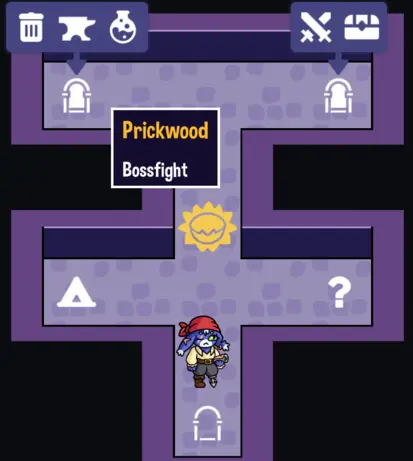
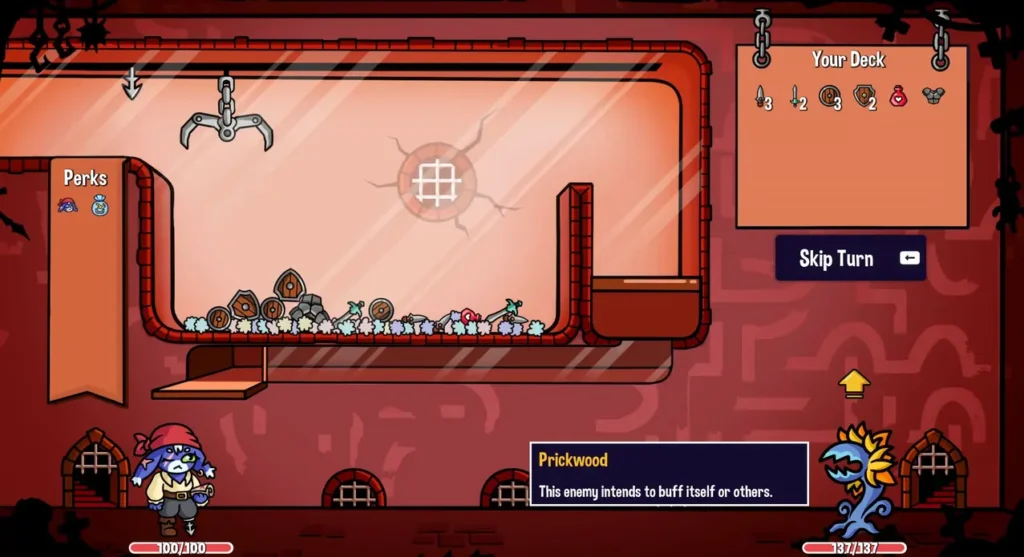
The first boss the player will encounter is “Prickwood”. He is quite easy but might end some runs early..
Icon on map
Inside boss-battle
The following are two bosses which I found had mentionable abilities/perks
Queen Beeatrice
Icon on map
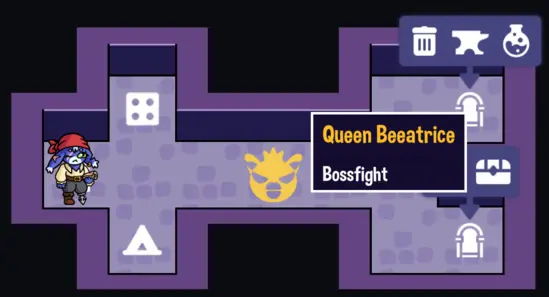
This bee-utiful queen has a quite sweet ability; both for her and the player. She will drop “honey balls” inside of the claw-machine. These sticky balls will stick to items and once a connected item is picked up the entire “clump” of items will follow along. However, sometimes the player will fall short and the “clump” won’t fit into the chute. (This was a bigger problem before the patch, thank you devs <3)
Inside boss-battle

Melimon
Icon on map
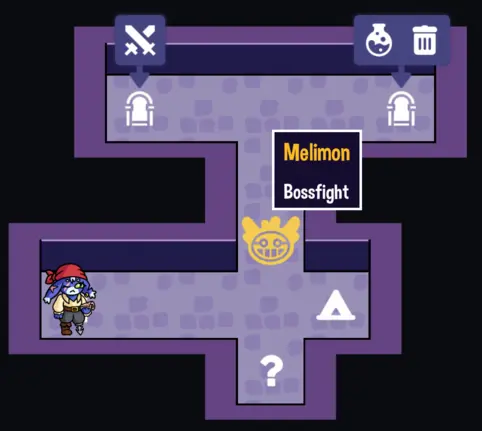
Melimon is a sneaky bastard boss and will drop his self-branded bombs into the players claw-machine. These bombs will, if picked up damage him (what comes around goes around) and if left in after the turn damage the player.
Inside boss-battle

Here is the rest of the bosses:
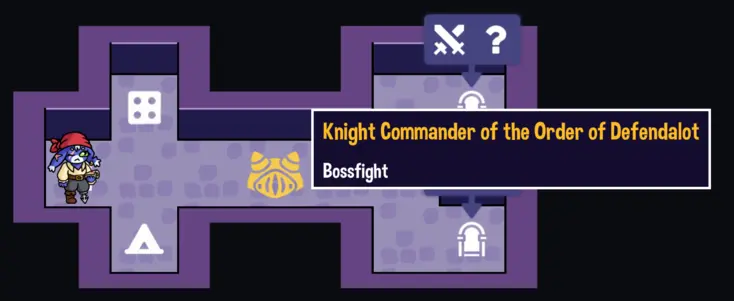
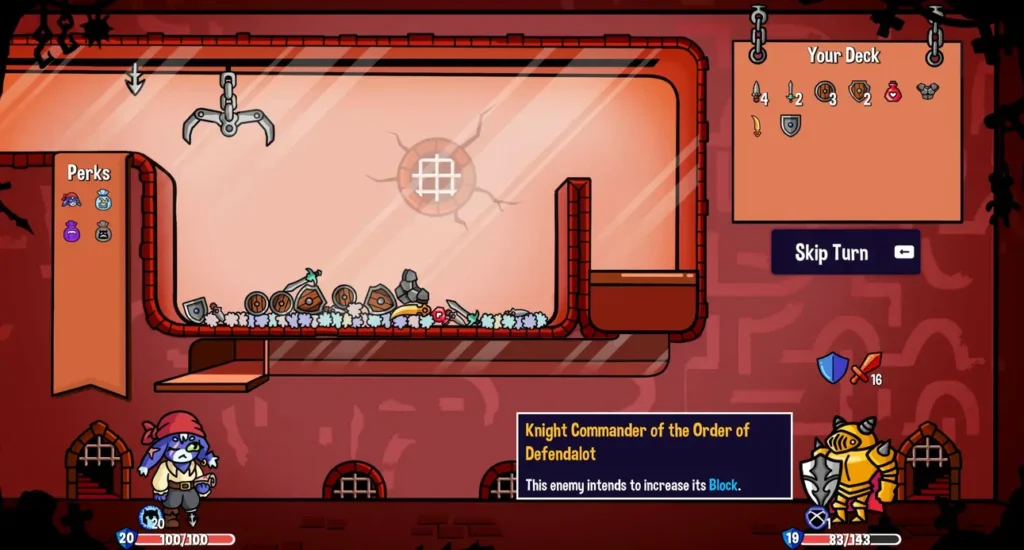
Knight Commander
Icon on map
Inside boss-battle (squashed edition)
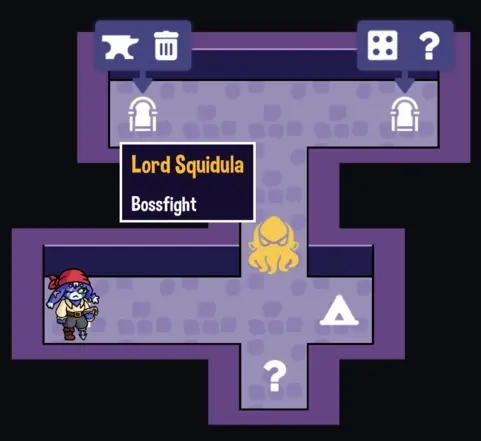
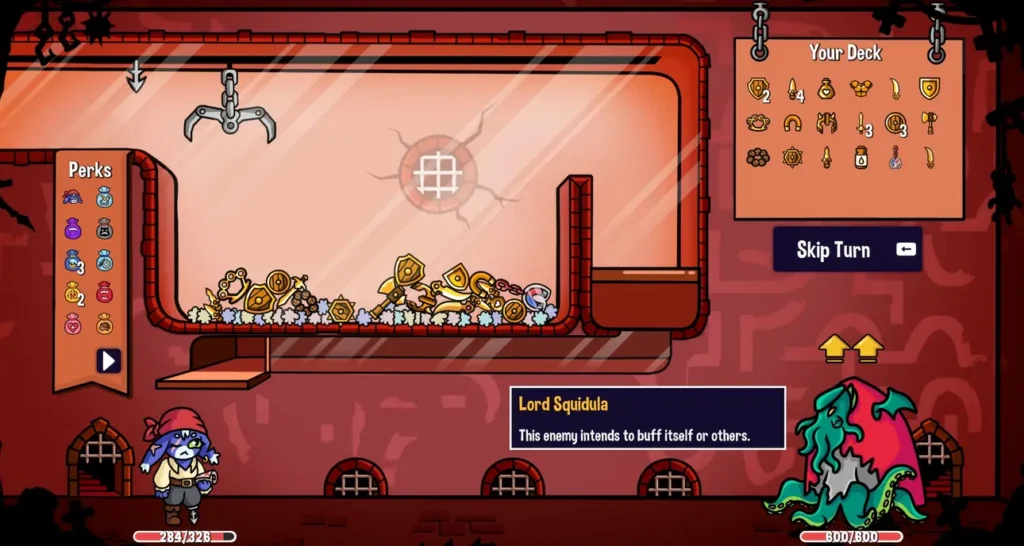
Lord Squidula
Icon on map
Inside boss-battle
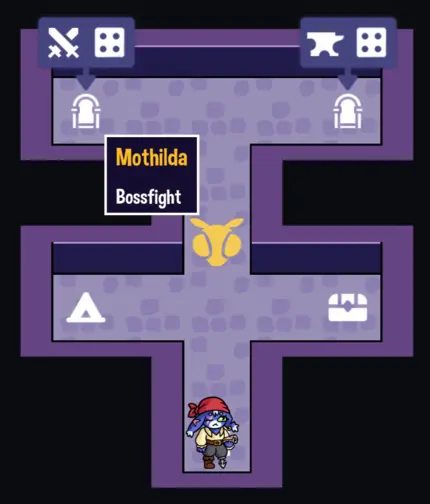
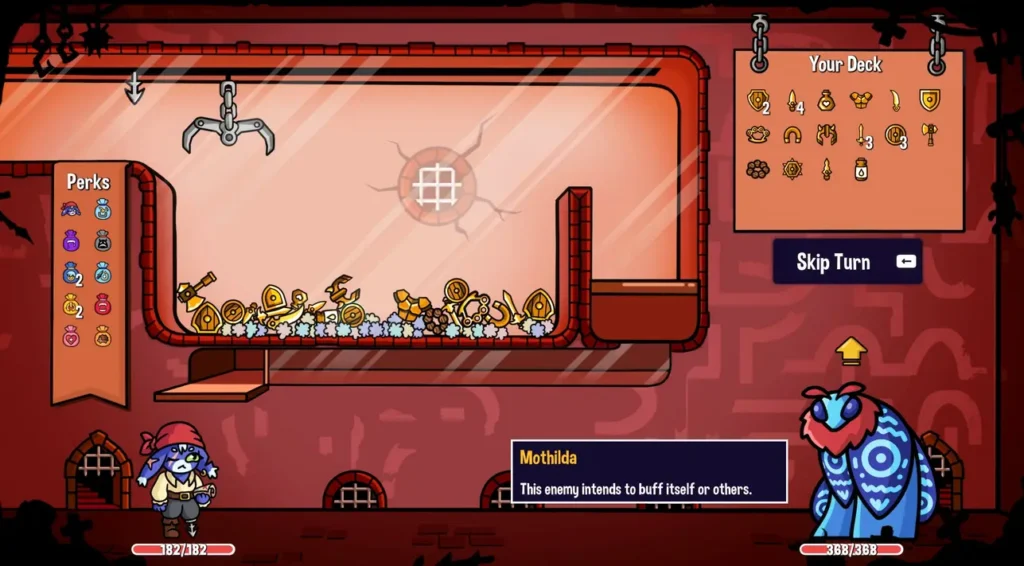
Mothilda
Icon on map
Inside boss-battle
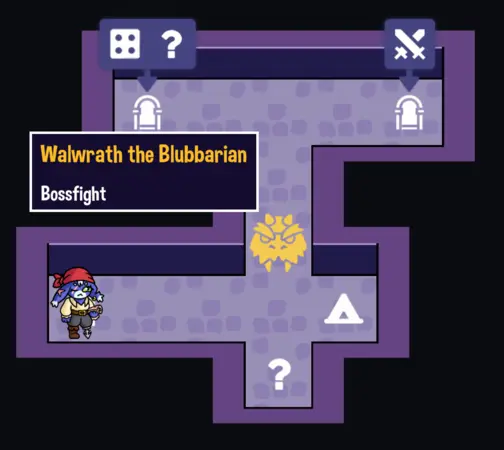
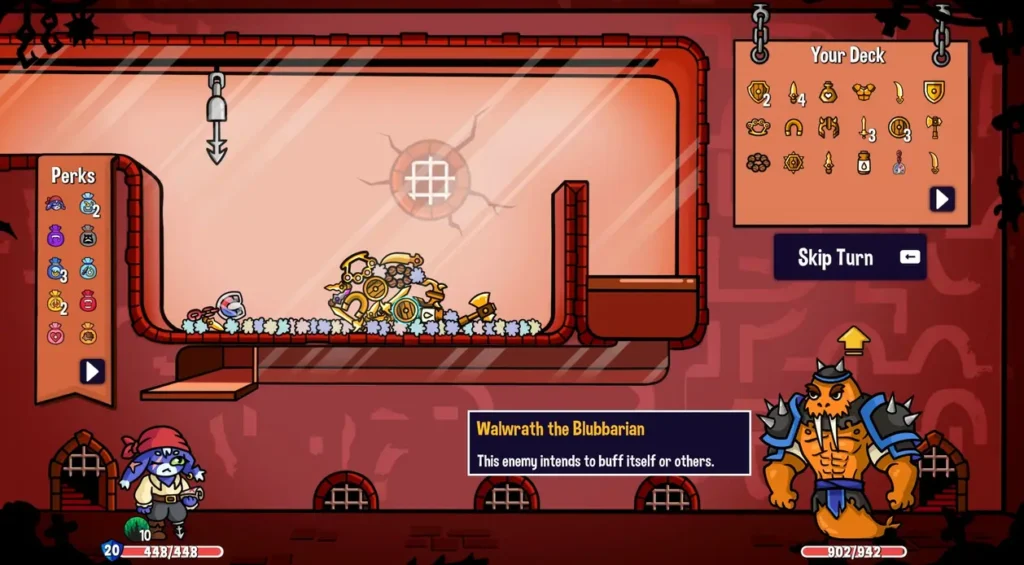
Walwrath the Blubbarian
Icon on map
Inside boss-battle
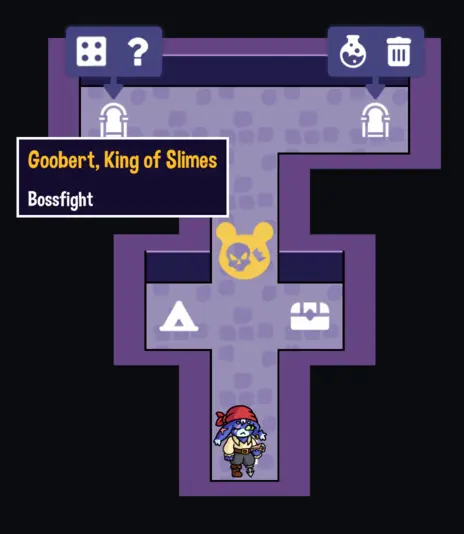
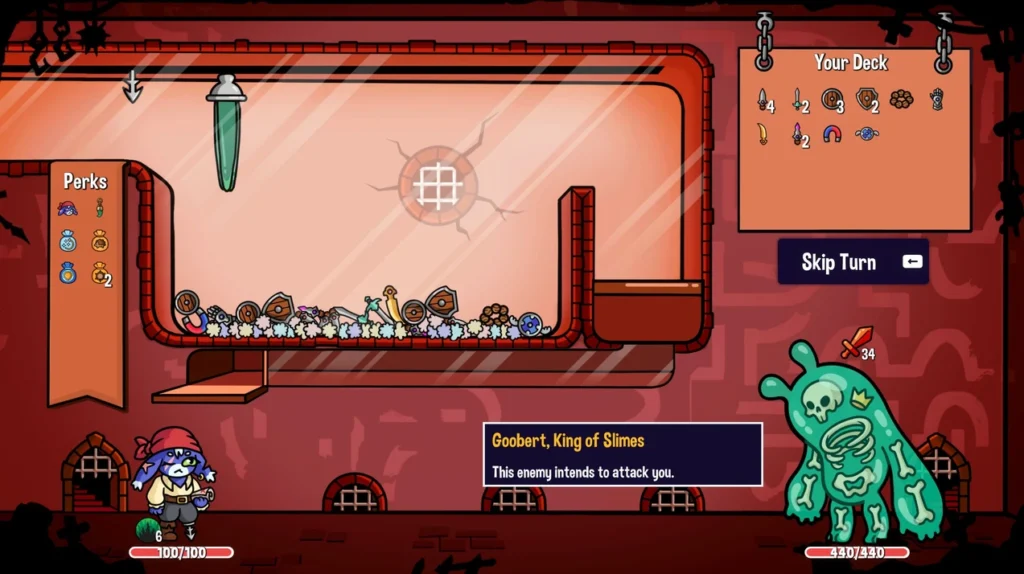
Goobert, King of Slimes
Icon on map
Inside boss-battle
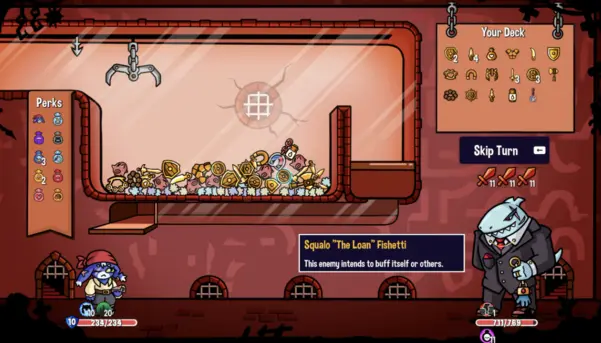
Squalo “The Loan” Fishetti
The final boss!
Icon on map

Inside boss-battle