There are various planets in Drill Core and the dangers of these are huge. In this guide I will explain what the different blocks do in Drill Core and how to deal with them.
Planet Blocks in Drill Core
Each planet has different types of blocks. The blocks that they have in common and share are all the resource blocks as well as meta progression blocks (things like the yellow/green/purple resources which you can upgrade at the main screen as well as your platform.).
However each planet has it’s own set of hazards. Blindly running into, for example, the frost planet will yield a crop of many dead workers very quickly. So use this to help you understand the mechanics better and dig deep!
Shared Planet Blocks
| Image | Name | Description |
|---|---|---|
 | Coal | Allows you to dig deeper. Usually, you need 4, but the tier 3 tech will allow you to dig with only 3 coal. |
 | Iron | Used in everything. Prioritize this to begin with. Get lots of it. |
 | Swarmlit | Rarer than iron. Used in most things. Initially, you don’t need much, but as you upgrade turrets and build more buildings, demand will increase. |
 | Yellow | A common yellow resource used in upgrading the meta progression. |
 | Green | A rarer green resource used in upgrading the meta progression. |
 | Purple | The toughest to acquire purple resource. This will be in the highest demand and will often be the bottleneck. |
 | Tech | Allows building of additional structures. Common on floors 1 and 2, but harder to find deeper down. |
Cavernous Planet Events
The cavernous has a few unique properties. Before we dive into the blocks, let’s talk about the various events that can happen:
- Solar Eclipse – Unable to use any day time abilities. This isn’t that bad honestly.
- Terrabor – Worms periodically spawn even during the day. This can be really nasty and if you get bad RNG, basically prevent you from evening mining during the day.
- Earthquake – Periodically the screen will shake, and any “loose” blocks above you that aren’t supported by another have a chance to fall. The falling block will one-shot a worker if it hits them. For this reason, if you see earthquake, make sure you’re mining from the top down and don’t leave blocks above your head. If you’re aware of this event it’s not that bad.
- Arachnor – The big bad boss of the level. Have a couple Mini Gun turrets ready! First time it appears, will run away at 50% health. Then a couple nights later he’ll return (still at 50% health), at which point you kill it.
Cavernous Planet Blocks
| Image | Name | Description |
|---|---|---|
 | Alien | If you mine this, a monster will appear. Just don’t mine it and it’s never an issue. |
 | Monster Eggs | Spawns little monsters randomly, up to 5 or so blocks away. A bit tougher to mine as they take more hits than normal dirt. On higher difficulties, they can endure significant damage before being destroyed. Prioritize clearing them when no active monsters are spawning. |
| Spawning Monster | Created from monster eggs. This marks the spot where a monster is about to appear. You should prioritize it immediately, even if it means stopping other mining activities. | |
 | Shield | Makes all blocks in a 3×3 grid around it tough to mine. Either target this directly or ignore it if only one tile is affected. If multiple tiles are protected, prioritize destroying it. The oscillator or resonant laser can make it easier to handle. |
| Lava Jet | Periodically shoots flames 3 tiles out in all directions, indicated by a red circle. It can have between 1 and 3 jets. | |
 | Boulder | If you mine the tile below this, it will fall and instantly kill you. Never mine from below; instead, clear it from the sides or top. Without extra vision, be cautious mining upward, as you may unknowingly trigger a boulder. |
| Webbing | Mine these when encountered. If left alone, they will slowly duplicate and start taking over the area. They’re easy to mine as long as you stay on top of them. |
Frozen Planet Events
The frozen planet has a few unique properties. Before we dive into the blocks, let’s talk about the various events that can happen:
- Polar Night – Unable to use any night time abilities. As of version 57.4.9, this is by far the worst event in the game. Because night abilities yield so much damage output, this will severely cripple you. Honestly not even sure how to beat the later difficulties (8+) due to this mechanic, as even fully loaded turrets don’t seem enough to stop the enemies.
- Snow Storm – Worker speed and actions are reduced. It’s basically like the snow storm block but over the entire zone. Not too bad though.
- Freezing Storm – Randomly some frozen blocks will appear throughout the zone. Also not that bad. If a worker happens to be on a tile which a frozen block appears they won’t die but rather will just be stuck there until you free them
Frozen Planet Blocks
| Image | Name | Description |
|---|---|---|
 | Snowfall | Mostly a nuisance block. If you mine something below it, snow will fall, slowing down your workers. Over time, more snow blocks will form, creating a snow wall. Mine them as you encounter them to prevent larger issues later on. |
 | Frozen Explosion | Always avoid mining these. When mined, it freezes nearby workers and blocks for several seconds, causing fall damage if there’s space below. The frozen blocks left behind are tough to mine. If necessary, mine it carefully with solid ground below you or use the resonant laser to destroy it. |
 | Freezing Jet | Similar to the Lava Jet but freezes workers instead. The main danger comes from fall damage after being frozen. Take these out from a safe angle or ensure there’s solid ground beneath you before engaging. |
 | Snowstorm | Creates a 2-tile radius snowstorm that slows workers and halves mining speed. It’s not too troublesome unless there’s a nearby monster or worm. Clear these when it’s safe to avoid complications. |
 | Frozen Monster | When you get within 2 tiles, these monsters start to thaw and eventually turn into a small creature that causes damage. They will re-freeze at night if not mined out. If they’re in your path, prioritize clearing them before they unfreeze. |
 | Ice Shard | Acts like a boulder. When mined, a large frozen spike falls directly below, causing massive damage. It typically breaks the block below but can deal heavy damage to tougher blocks. Workers will be instantly killed if hit. |
Tips, Tricks, Strategies
- Never build more than one factory. Diminishing returns and cost just doesn’t make it worth it.
- Boulders – These are actually very useful! I always mine out the ground underneath them from the SIDE. This make the boulder fall, destroying the tile right below it. Two tiles for the price of one!
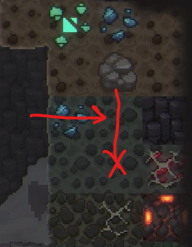
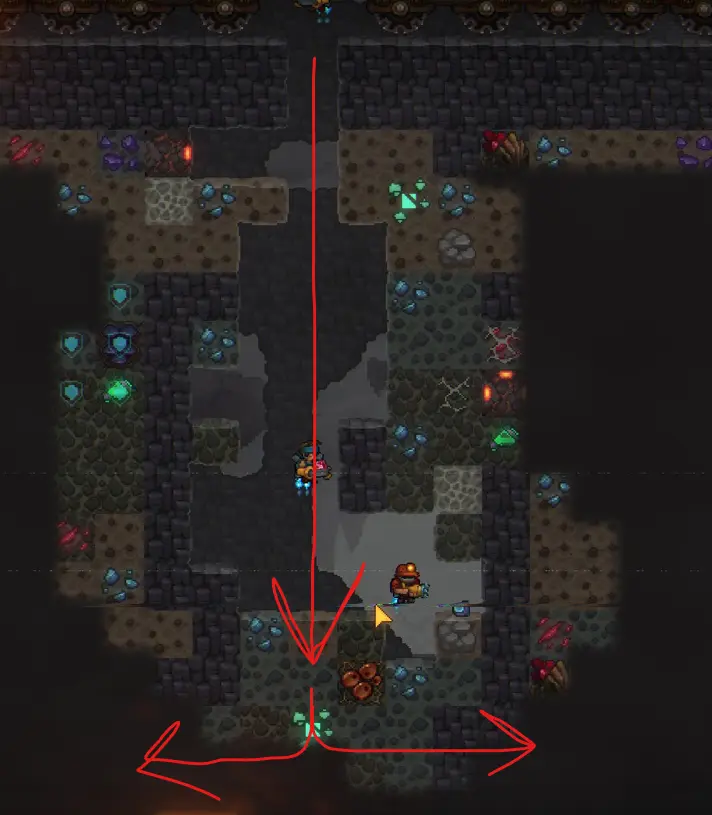
Generally speaking, you want to start off always mining in a downward direction. This is because at night, worms move left/right. You need to be able to have space to avoid them. if you start out digging to the right or left, you’re just making a perfect tunnel with no where to escape to get all your workers insta-killed.
Until you have visibility 2 from the tier 1 technology, try avoid mining upwards. You can’t see boulders above you! It’s a sure-fire way to kill your workers. Or you can always take the gamble…
- The fastest way to get purple resources is to simply beat the level. On top of that, getting the qualifications done yields the most purple reward of anything. It’s the best way to start finishing the meta progression
- As you go up in difficulty, so too does the number of creatures at night. Also blocks start to become a bit tougher to mine. Lastly, more disrupting tiles appear more often. For example, on difficulty 10 you’re going to see shield tiles, lava spitters, and the blocks are really tough to mine out, all on the very first 50m depth.
- Elite workers are amazing. Try to get them right away.
- Nightbay and Drone station are absolutely amazing… maybe best combo. But when you get the last qualification done for the Disruptor (turret does +300% attack speed), always take that. It will allow you to completely decimate the enemy forces. You can launch drones, boost a turret (or if no boost yet, use something like machine gun), pop nightbay, and repeat! Your damage output drastically goes up with Nightbay. Always, always take it.
- Most buildings are pretty worthless. Aim for 1 factory > barracks > barracks > barracks > barracks. After that 1 tech building, and prioritize the mining upgrade first, then speed, then visibility. They’re super cheap and help so much.
- Use Mortar all the time. Make it a starting tech. Makes the first 2 nights a breeze, and will get you through the third night while taking some core damage.
- Don’t fret about placing temporary buildings. Short on turrets but you’re saving for some other technology? If you need some firepower, just drop a turret down. Or if you need some temporary night ability to get you through the night, place it down. It costs 1 iron to sell something but you get full price back. Iron in this game is hardly an issue if you’ve got 10 miners running around.
- Daybay is also really great. Combine it with the resonant laser to quickly clear those tough tiles! Shield tiles, monsters about to spawn you can’t get to, etc. Zap something, daybay, zap again. Also works really great with the Turbo Station. Boost your factory for really fast iron production, daybay, then do it again!
- Drone station – Just get it. Make 5 of them. You’ll thank me later. Also combine with Nightbay and have 5 of these… becomes screen clearing until you’re in the higher difficulties.