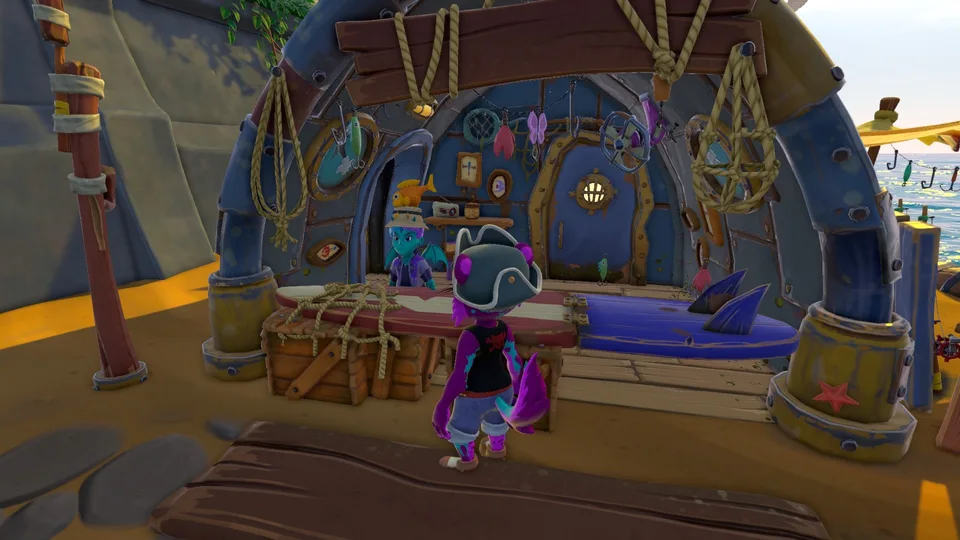
In this guide, I’ve covered the details that will help you set up and optimize your storage in Critter Cove.
Setting Up and Optimize your Storage
While Reynard tells us that the storage trunks are connected, most players don’t know that the way you set up your trunks and storage at the start affects how easy it will be to find things later. Right now, there isn’t a way to change the order of your storage in the game.
This guide will help you organize your storage so you won’t need to move everything around later. It’s a way to save time until the developer adds a feature to let you rearrange your storage more easily.
Why You Shouldn’t Use the Trunks in House
Once you have access to your house, you will have two free trunks. By now, you’ve probably collected a lot of items, and you might be tempted to immediately empty your inventory into these trunks—but don’t! Once you put items into the trunks, you cannot move them until they are empty. It’s best to wait until you have access to the Workshop (more on that later).
How Storage Works in Critter Cove
In Critter Cove, each storage container represents a “page” of storage, similar to turning the pages of a book. For example, if Page 1 of your storage is Materials, and you’ve placed Clothing in the second chest and more Materials in a third chest, the storage UI page order will be:
- Materials
- Clothing
- More Materials
Currently, there is no way to reorder these “pages” except by placing chests in the order and location you want to access them. Additionally, you cannot move a trunk unless it’s first emptied, which makes reorganizing storage tedious, especially later in the game when you have more than two full chests.
While it’s recommended not to use both trunks in your house right away, you can use one until you gain access to the Workshop. Just be aware that you’ll likely need to move it later.
Setting Up Trunks Around the Workshop
Materials and Food (Storage Pages 1 – 5)
You’ll be spending a lot of time in and around the Workshop, as crafting requires many materials. Once you have access to the Workshop, take your two trunks and set them up near the front doors (either inside or outside, depending on your preference). These will be your first two Materials trunks, where you’ll store crafting components. Label them “Materials 1” and “Materials 2” for easy reference.
To make a third trunk, follow the robot’s quest line to unlock a simple cutter, gather recipes for a small crate and basic trunk, and set up a furniture worktable. Once you’ve created a third trunk, label it “Materials 3” or “Misc” and place it in your Workshop. This should cover most of your crafting needs. For now, you can store clothes and furniture in this trunk until you set up dedicated storage for them.
Next, make two more trunks for food storage and place them near your cooking station. Label one “Food 1” for Ingredients/Seeds and the other “Food 2” for Cooked Food.
Setting Up Storage Elsewhere
Overflow, Clothes, Furniture, etc. (Pages 6 – 10+)
Now that your main storage is in place, you can organize the rest. Start by creating an “Overflow” trunk for excess items, unwanted items, or items to give to villagers. Place this trunk in the town square, near Reynard’s shop, for easy access.
For clothing storage, set up a wardrobe or trunk in your house and label it “Clothes.” If you have a lot of outfits, you might want to add a second trunk.
Finally, create a trunk for furniture and place it in your house as well. Label it “Furniture” or “Misc” for easy identification.
You can also place additional trunks in other key locations, like near the dock for quick storage after resource-gathering trips or on different islands. Just be mindful of how many pages of storage you’ll need to flip through as your storage expands.
How and Where to Place Storage and Why
- Materials 1: Trunk in the Workshop for basic materials like rocks, wood, and fibers.
- Materials 2: Trunk in the Workshop for fabricated materials like metal plates and gears.
- Materials 3/Misc: Additional trunk in the Workshop for miscellaneous crafting components.
- Food 1: Trunk outside the Workshop near the cooking station for ingredients and seeds.
- Food 2: Trunk outside the Workshop near the cooking station for cooked foods.
- Overflow/Junk: Trunk in the town center for items to sell, give away, or store temporarily.
- Clothes: Wardrobe or trunk in your house for clothing storage.
- Furniture/Misc: Trunk in your house for furniture and decoration items.
- Optional: Trunk at the dock for quick storage during resource gathering.
- Additional: Trunks in key locations like the crab village, Blackwhisker’s Café, or other islands for convenience.
By organizing your storage this way, you’ll keep items near where they’re needed most, reducing the need to constantly reorganize and flip through storage pages.


